
We all love Google Chrome, and the usage stats speak for themselves. However, lately, there seems to be a problem for a few users updating Chrome. If you are one of those, and you come across the message “Can’t update Chrome,” – we came up with a few methods to try and fix this issue on Windows and Mac.

What is the “Can’t update Chrome” Error?
As per the official information provided by Google, here are some of the following errors that provide you the error message “Can’t update Chrome” or “Update Failed.”
- Update failed: Updates are disabled by an administrator
- Update failed (Error: 3 or 11) An error occurred while checking for updates: Update server not available
- Update failed (Error: 4 or 10) An error occurred while checking for updates: Update check failed to start
- Update failed (Error: 7 or 12) An error occurred while checking for updates: Download failed
- This computer will no longer receive Chrome updates because Windows XP and Windows Vista are no longer supported
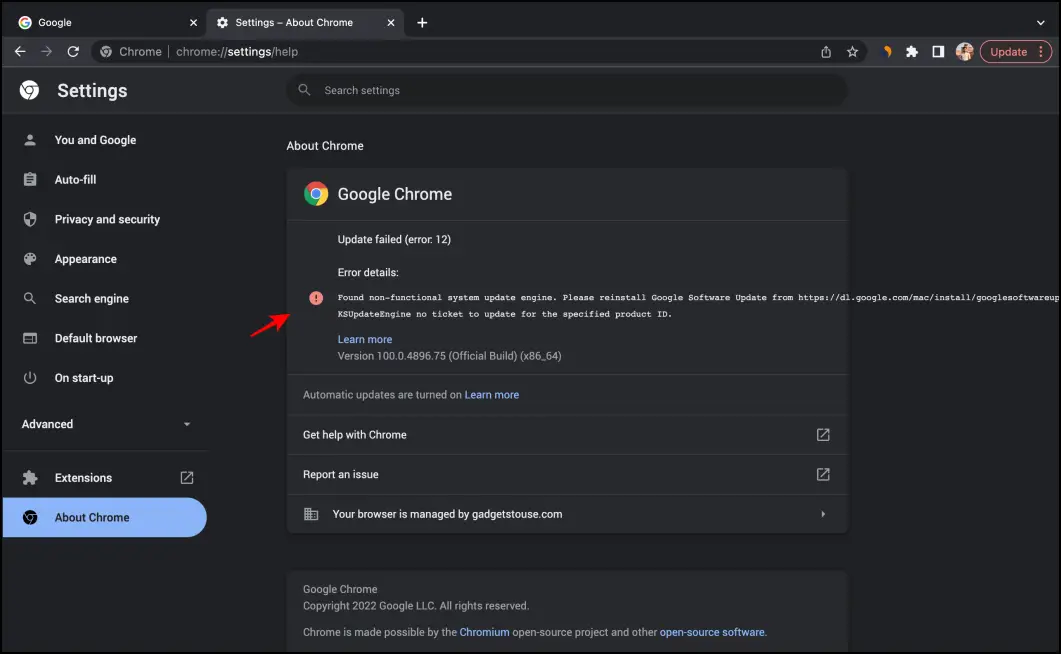 Apart from the above errors, users also are facing the peculiar error, which says, “Found non-functional system update engine.”
How to Fix Can’t Update Chrome on Windows & Mac
Fortunately, a wide range of methods can help fix and update Chrome properly without any issues. We were able to try a few of these, and we can confidently recommend the same. Read on.
1. Check Firewall Settings
The Google Chrome update service runs as a separate .exe application. In case it is restricted from using the internet and network access, you will not be able to update Chrome. To ensure that Chrome update services are getting access to the internet:
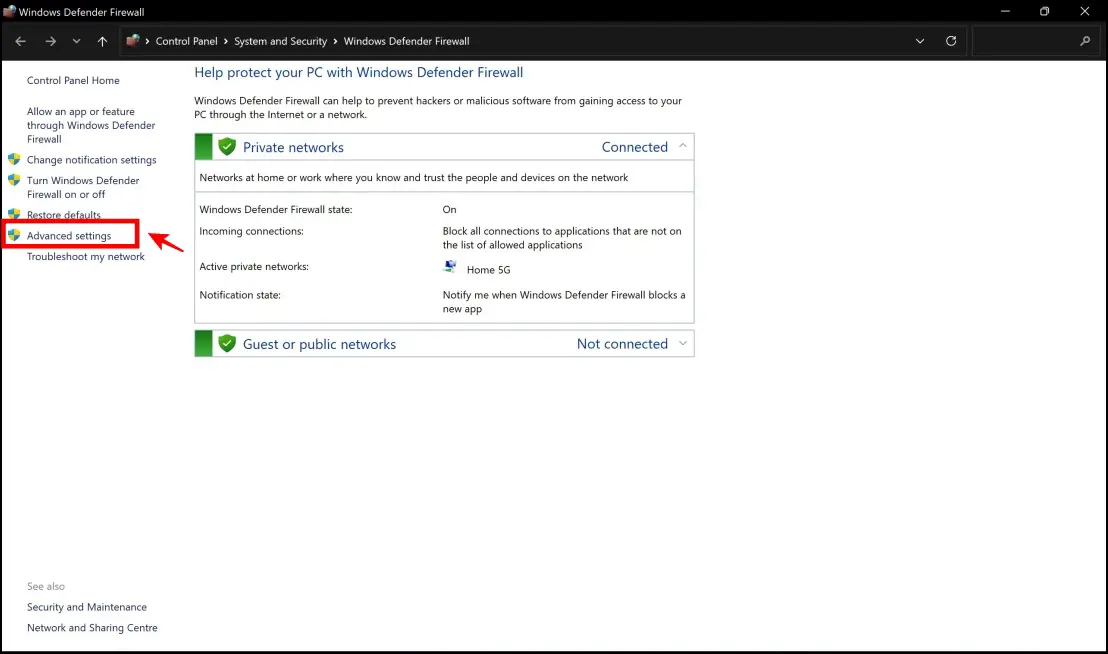
Step 1: Open Control Panel on your PC.
Step 2: Navigate to System and Security > Windows Defender Firewall.
Step 3: Click on Advanced Settings on the sidebar.
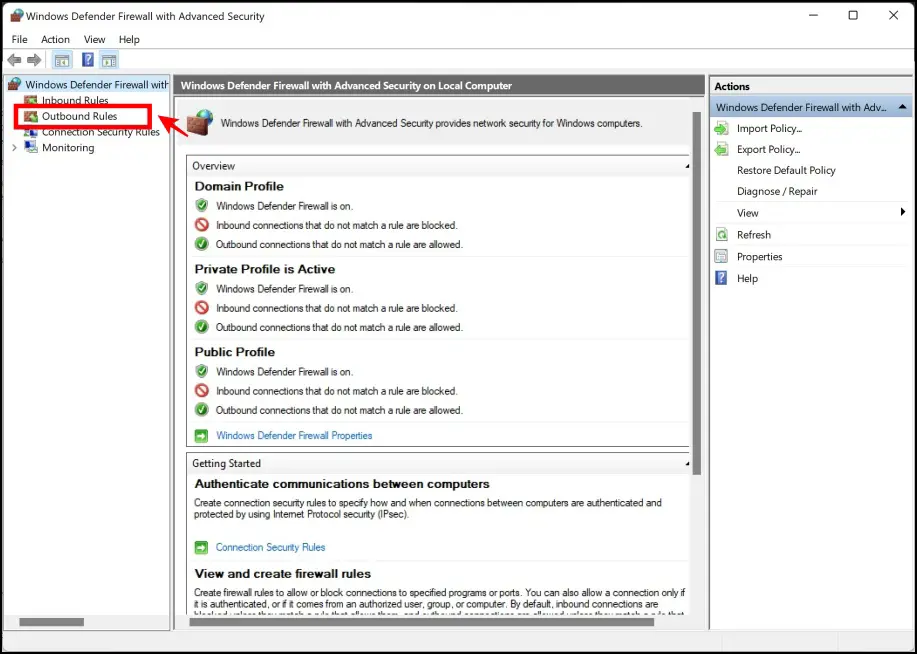
Step 4: Click on Outbound Rules.
Step 5: Click on New Rule.
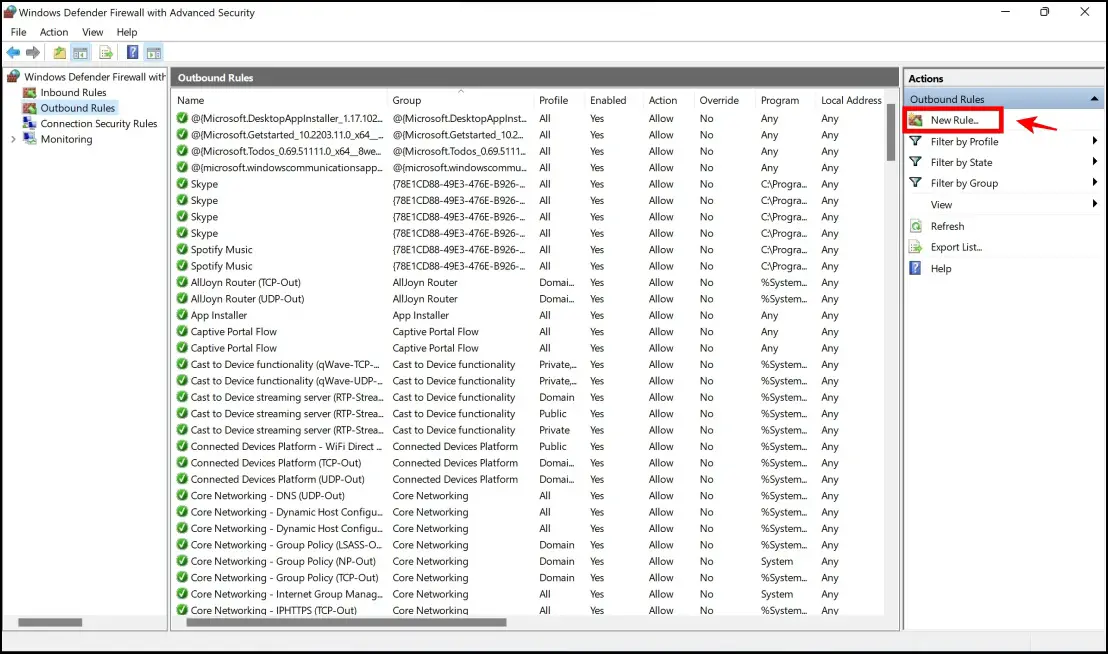
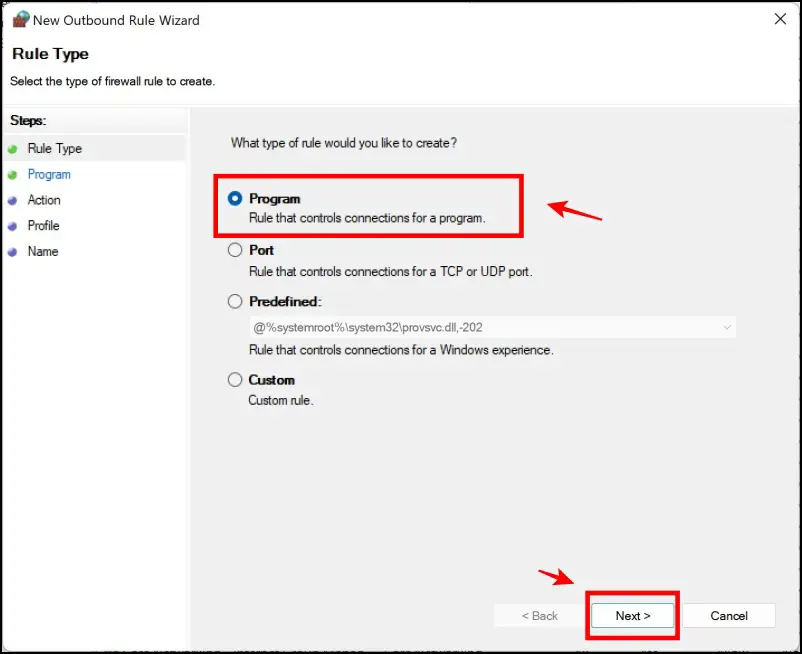
Step 6: In rule type, select the Program option. Click on Next.
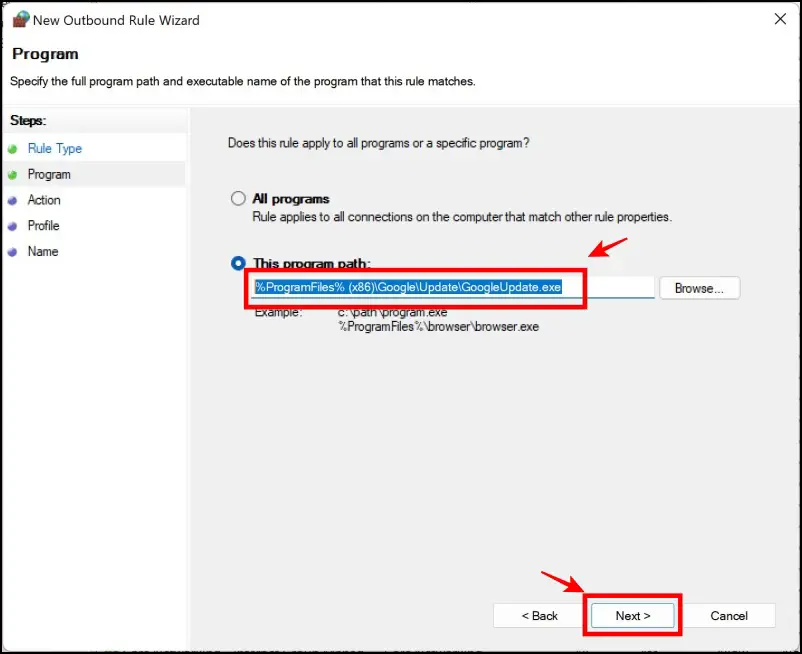
Step 7: In this step, you need to provide the destination path for the Update.exe component. You will have to paste %ProgramFiles%(x86)\Google\Update\GoogleUpdate.exe
Click on Next.
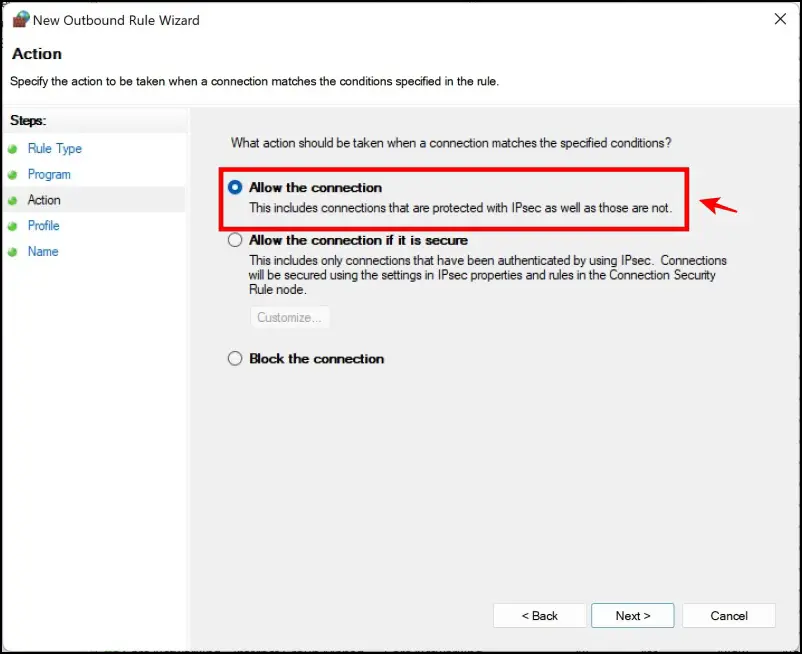
Step 8: Select the option to Allow the connection. Proceed to the Next section.
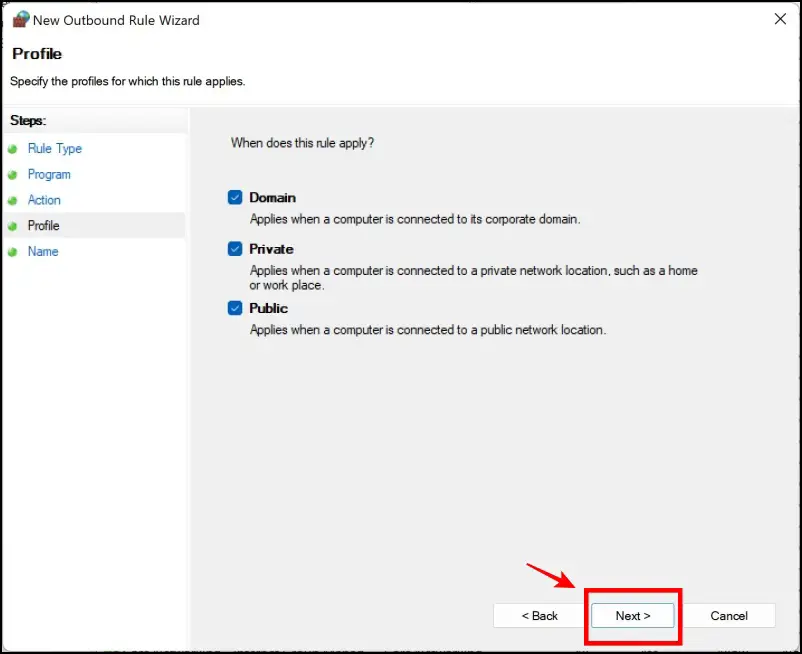
Step 9: Here, ensure that all the options are selected. Proceed to Next.
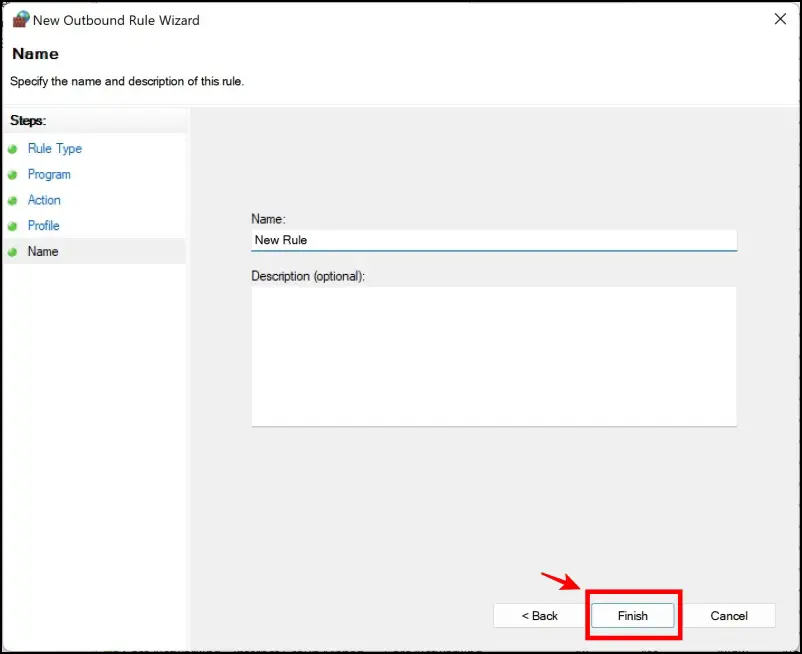
Step 10: Provide a name to the rule you just added. And now, click on Finish.
This will ensure the update component has access to the internet. Now, we also need to ensure that Windows does not block some websites necessary for the update. Here’s how to do it.
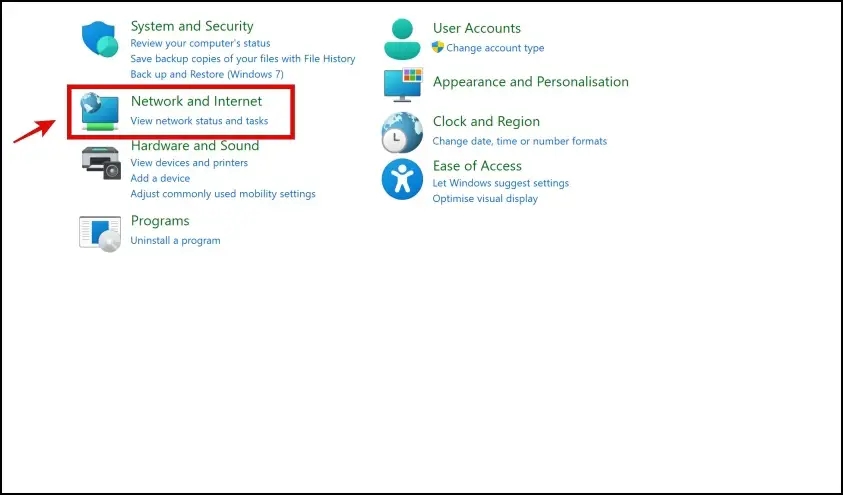
Step 1: In the control panel, click on Network and Internet.
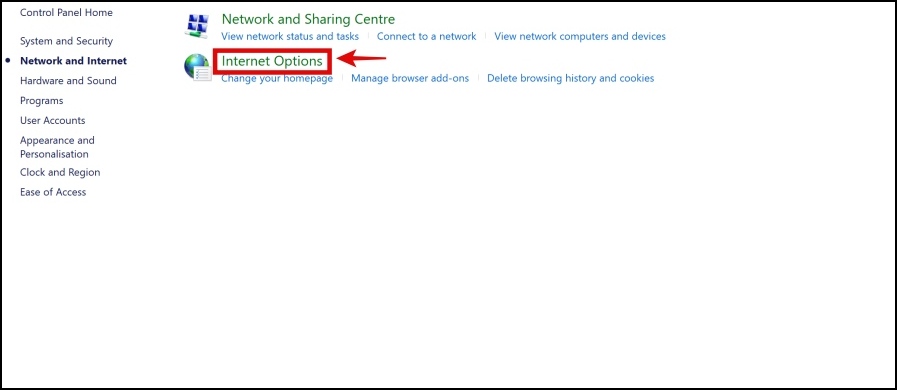
Step 2: Click on Internet Options.
Step 3: Click on Security.
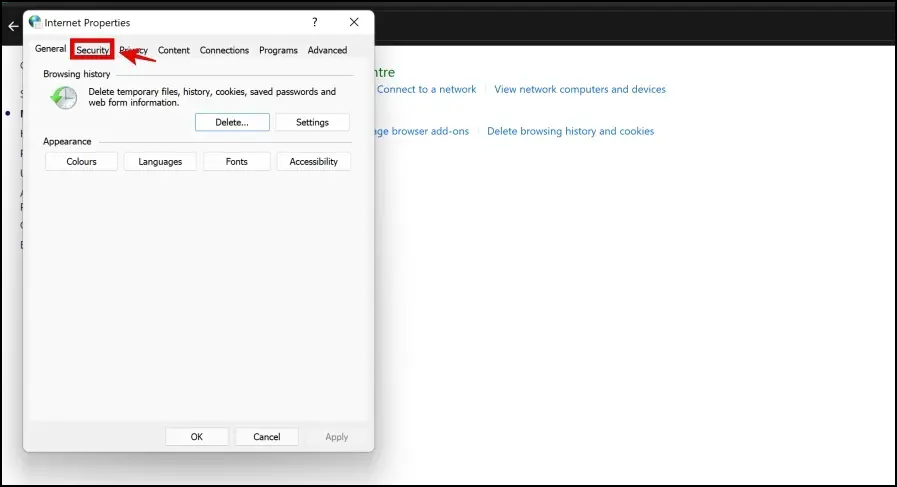
Step 4: Click on Restricted Sites.
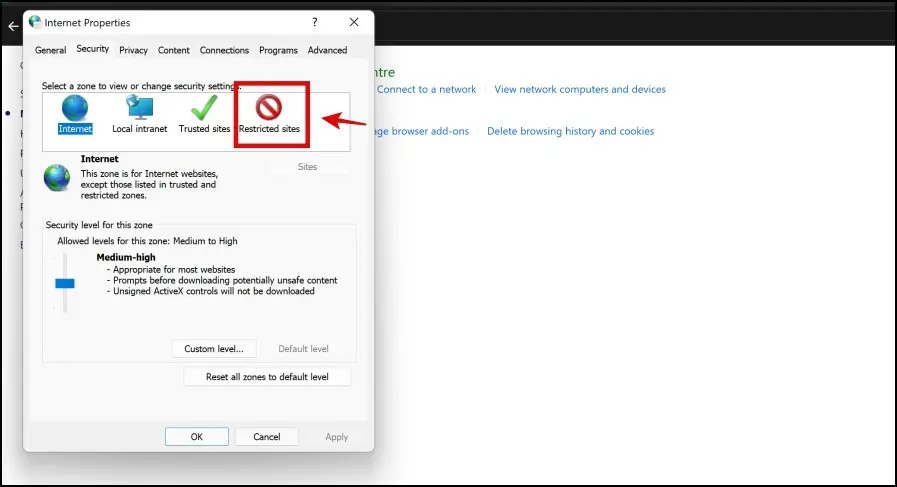
Step 4: In case you find the following URLs in the list :
- tools.google.com
- dl.google.com
Click on them and tap on Remove.
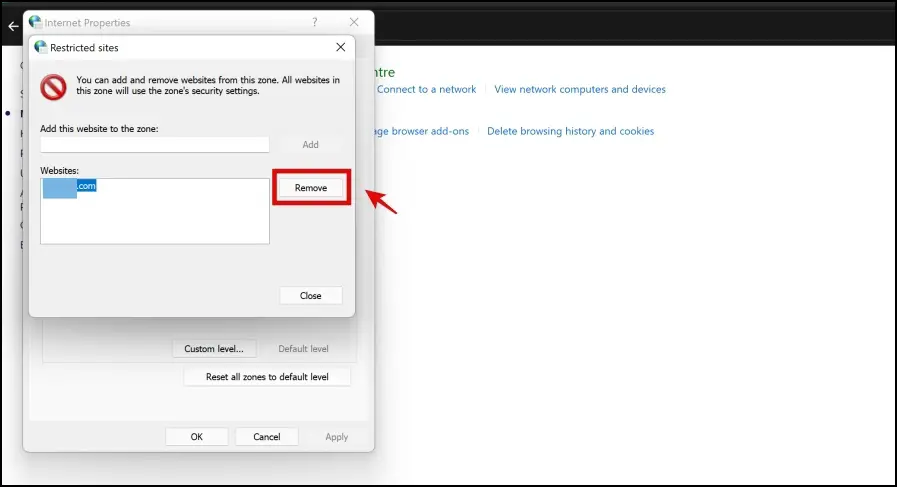
2. Clear DNS Cache
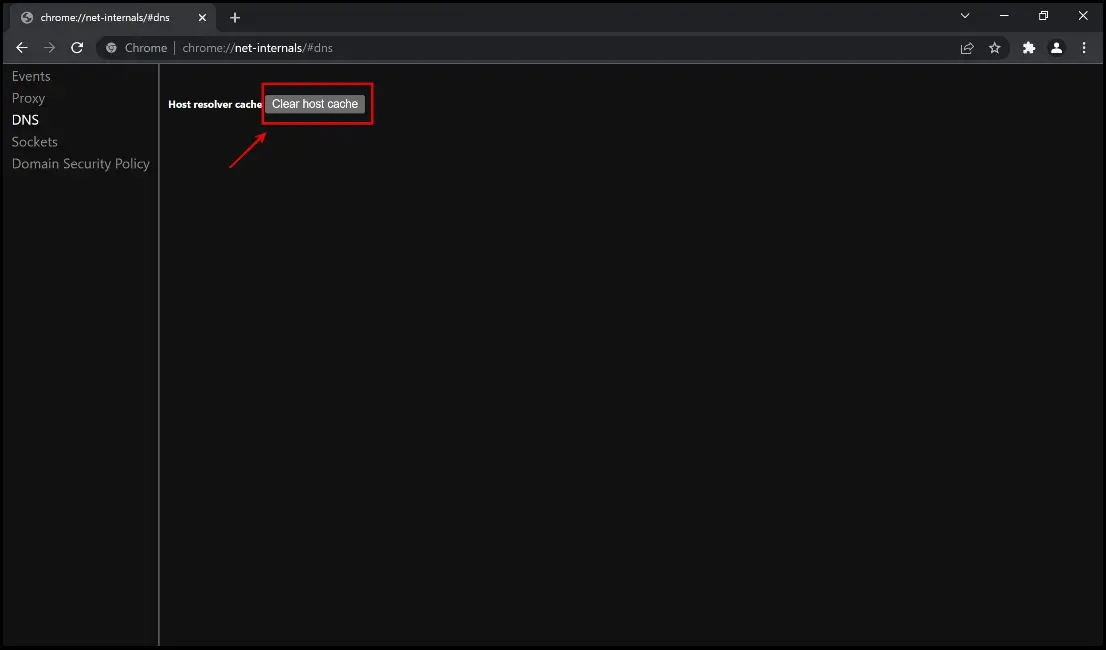
Clearing the DNS cache might help the issue “can’t update Chrome.” Here’s how to clear the host and DNS cache on Chrome.
Step 1: Type in “chrome://net-internals/#dns” in the address bar, and hit Enter.

Step 2: Click on “Clear host cache.”
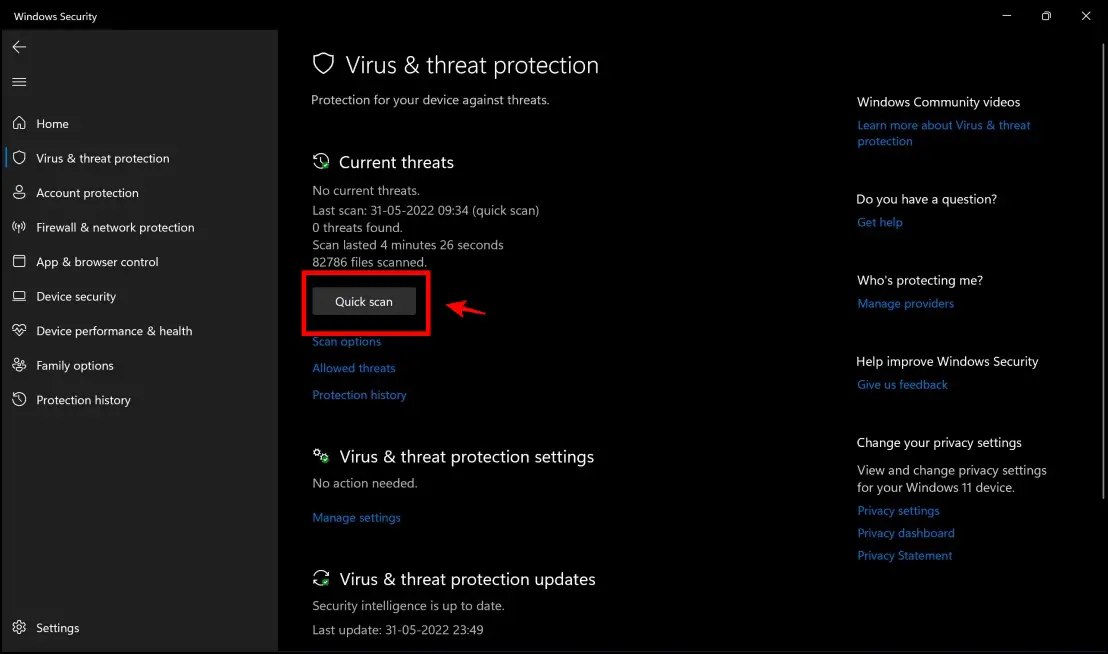
3. Check For Malware
If there are any malicious elements on your PC, they might possibly prevent you from being able to update Chrome. Either way, it is always important to scan your computer once in a while and discard these elements.
You can use Windows Defender on your PC to perform a Quick Scan that can detect and will let you eliminate malware.
As per Google’s official website, they mention a list of applications you will probably have to uninstall to try and fix the issue of concern. Take a look at the apps that made it to this list :
- BrowseFox
- PullUpdate
- Vitruvian
- V-Bates
- SearchProtect
- SupTab
- MySearchDial
- SaveSense
- Price Meter
- Mail.ru Sputnik/Guard
- Conduit Toolbars, Community Alerts & ValueApps
- Wajam
- Multiplug
- Shopper Pro
- Stormwatch
- SmartBar
- Dealply
- SmartWeb
- MySearch123
- AdPea
- Etranslator
- CouponMarvel
- PriceFountain
- Techsnab
- Colisi
- BrApp
- LuckyTab
- OneCall
- Crossrider
- Eorezo
- Consumer Input
- Content Defender
- Movie Dea
4. Fix the Registry – “Updates are disabled by the administrator”
If you are facing the issue of “Updates are disabled by the administrator” and hence not being able to update Chrome, here’s how to fix it.
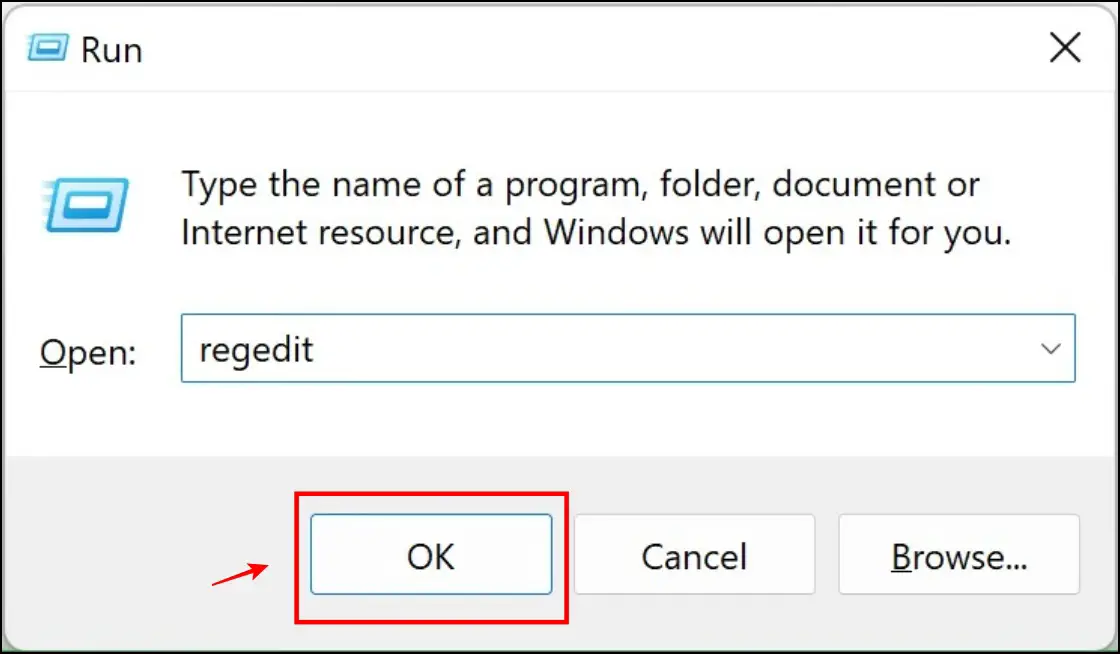
Step 1: Open the Run program on your PC.
Step 2: Type in regedit in the search box.
Step 3: Click on OK.
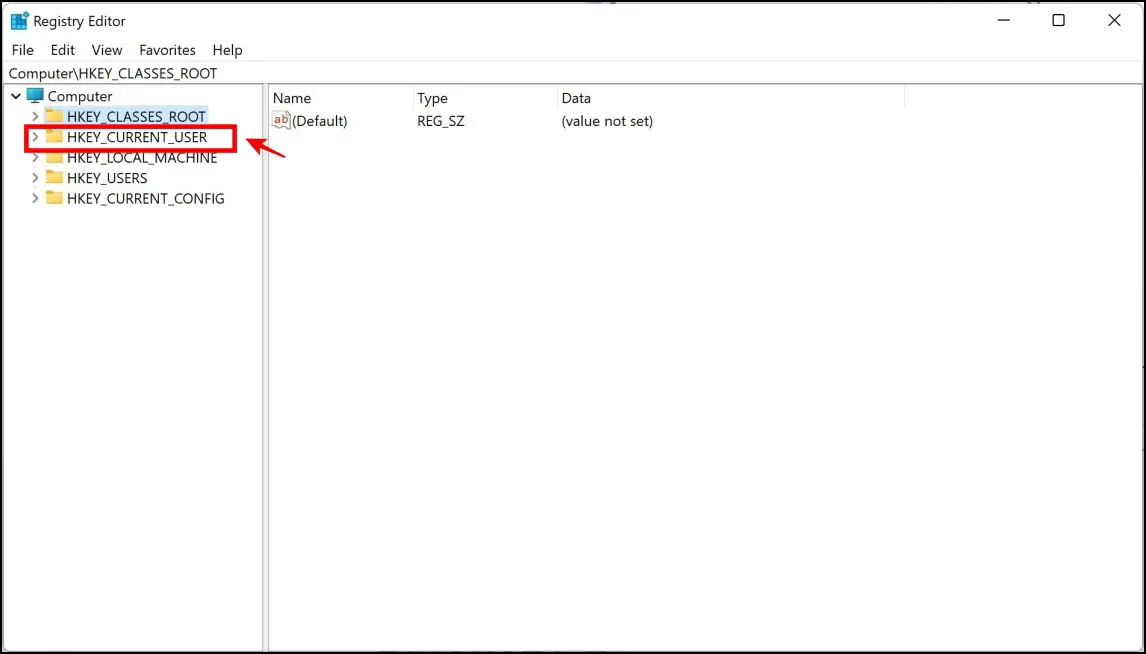
Step 4: In the window that opens up, click on HKEY_CURRENT_USER
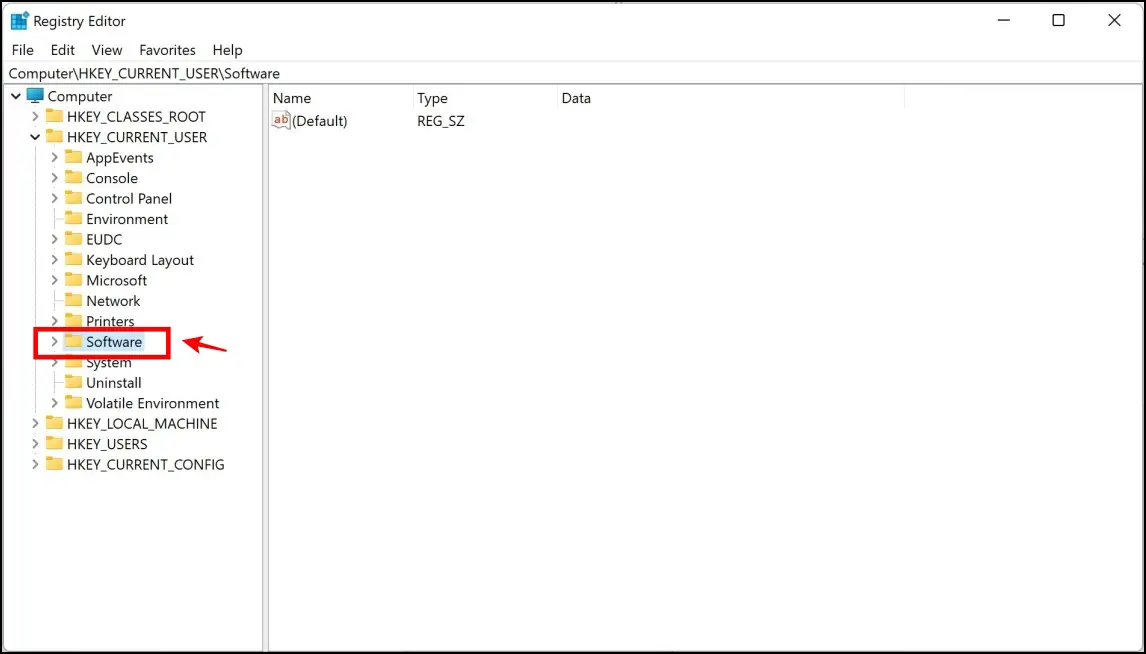
Step 5: In the dropdown list, select Software.
Step 6: The next folder you need to click on in the tree is Google.
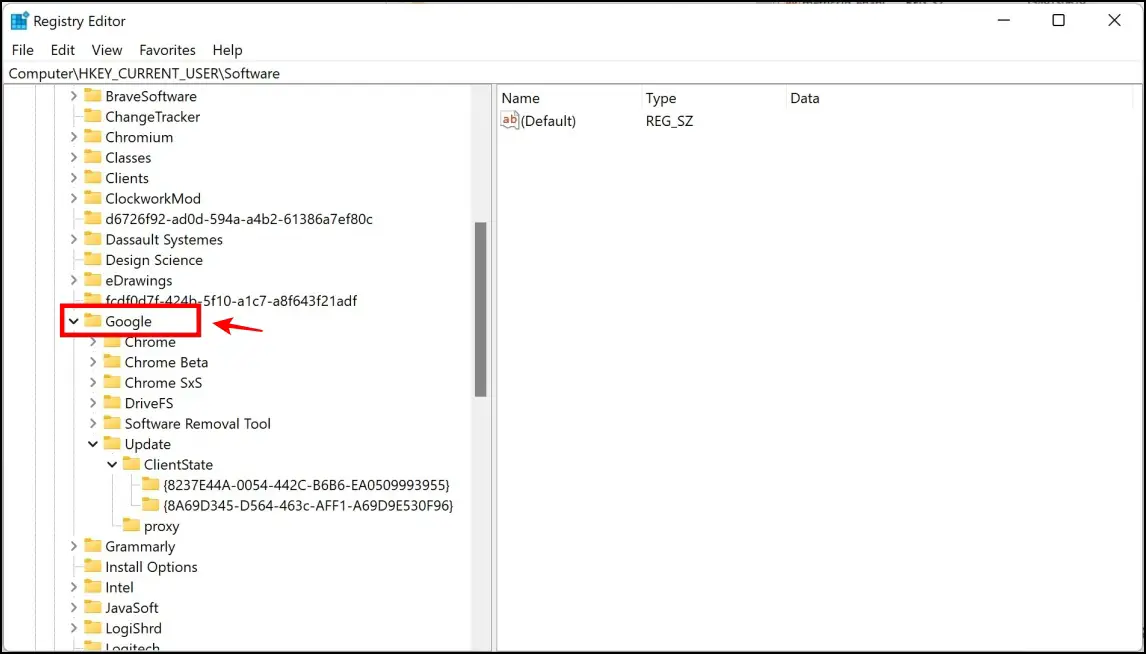
Step 7: Now, tap on the Update folder.
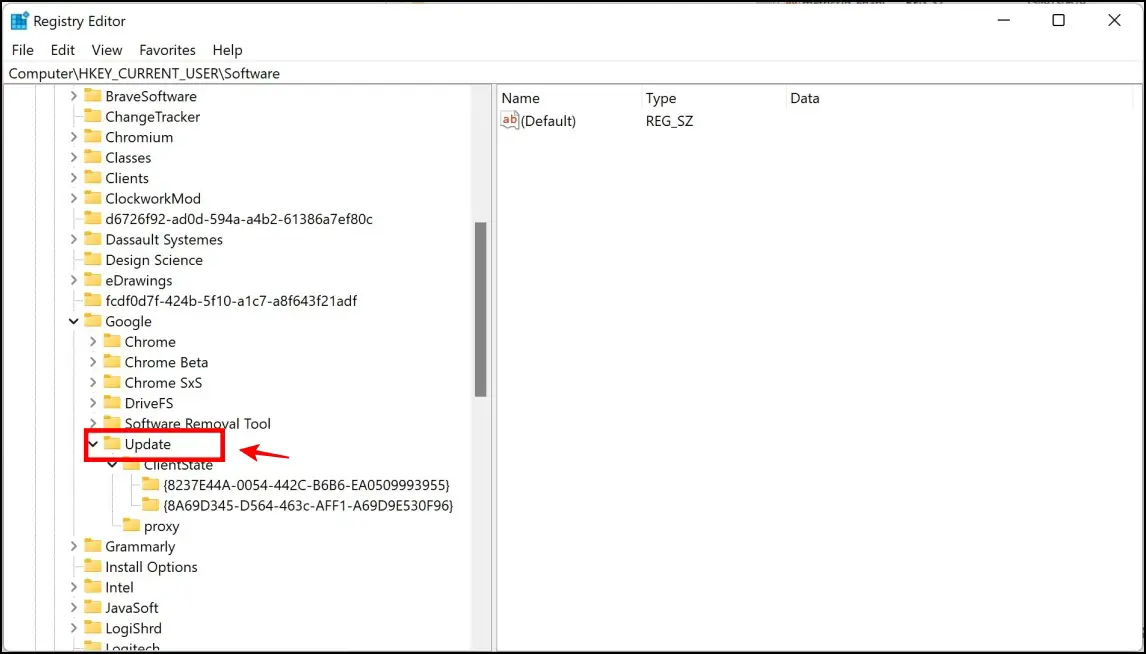
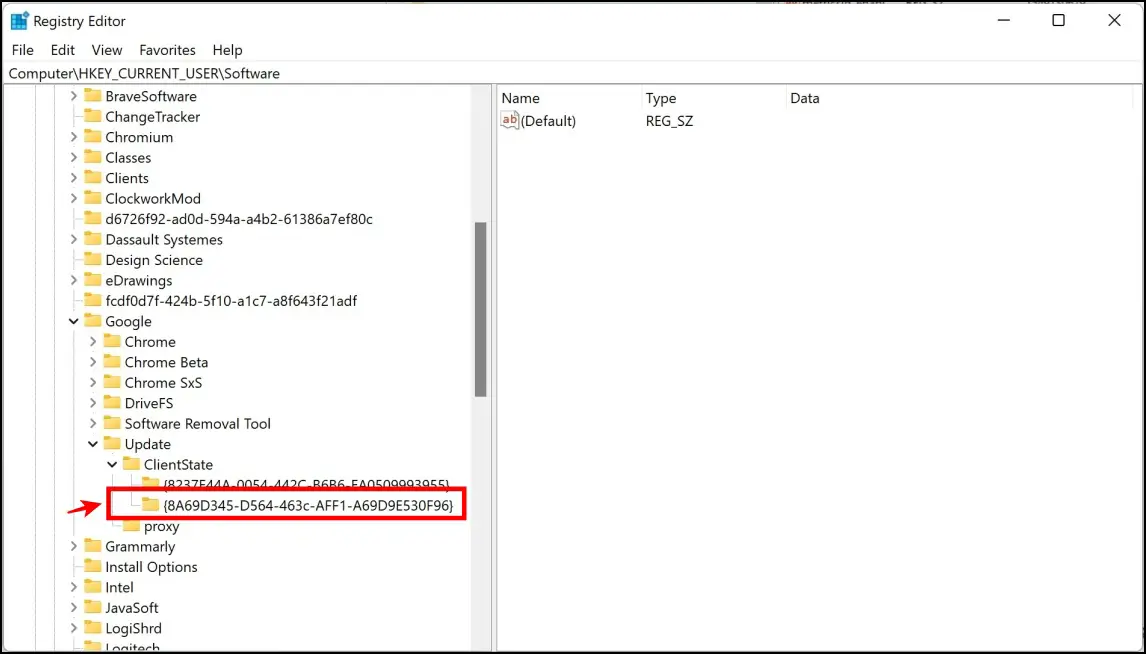
Step 8: In the dropdown list that opens up, click on the second folder.
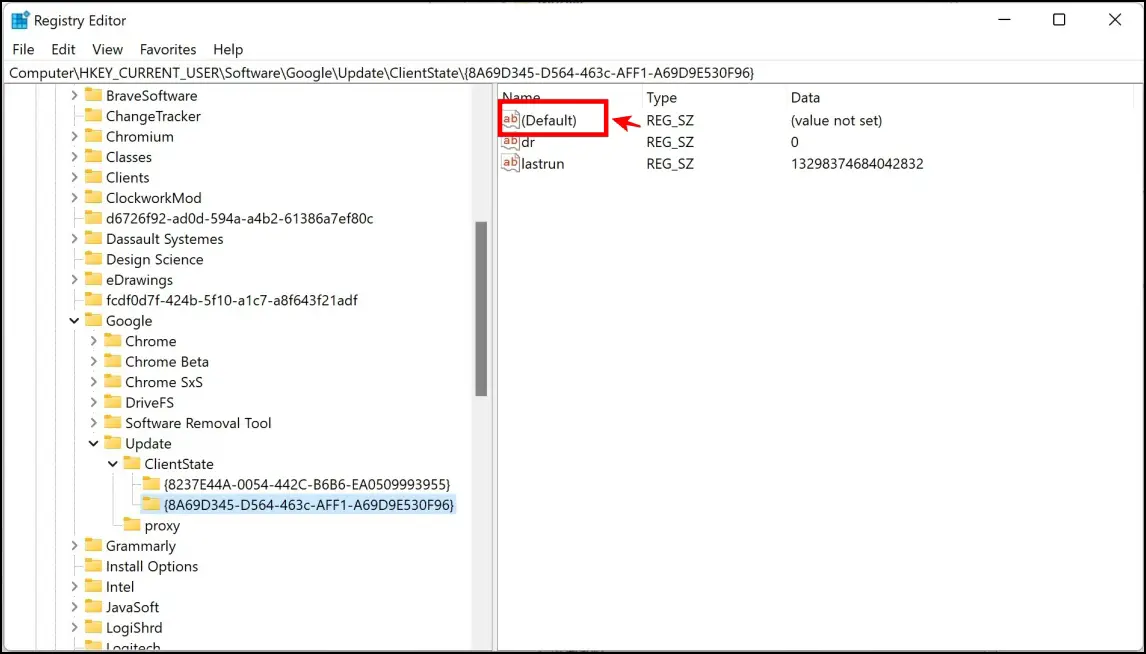
Step 9: In the main window, click on (Default).
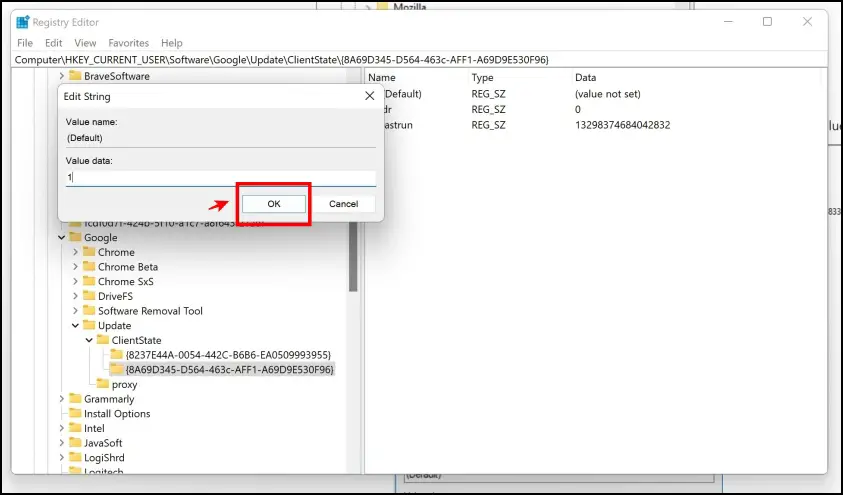
Step 10: In the pop-up box that appears, enter the Value data as 1. Click on OK.
Once you complete all the above steps, you can restart Chrome to check if the “Can’t update Chrome” issue is resolved.
Is your Chrome managed by your organization? Here’s why Chrome shows your browser is managed by organization.
5. Check and Rectify Network Configurations
The issue of Chrome updates failing can also occur due to some issues in your network. Here’s how you can troubleshoot to fix any network issues.
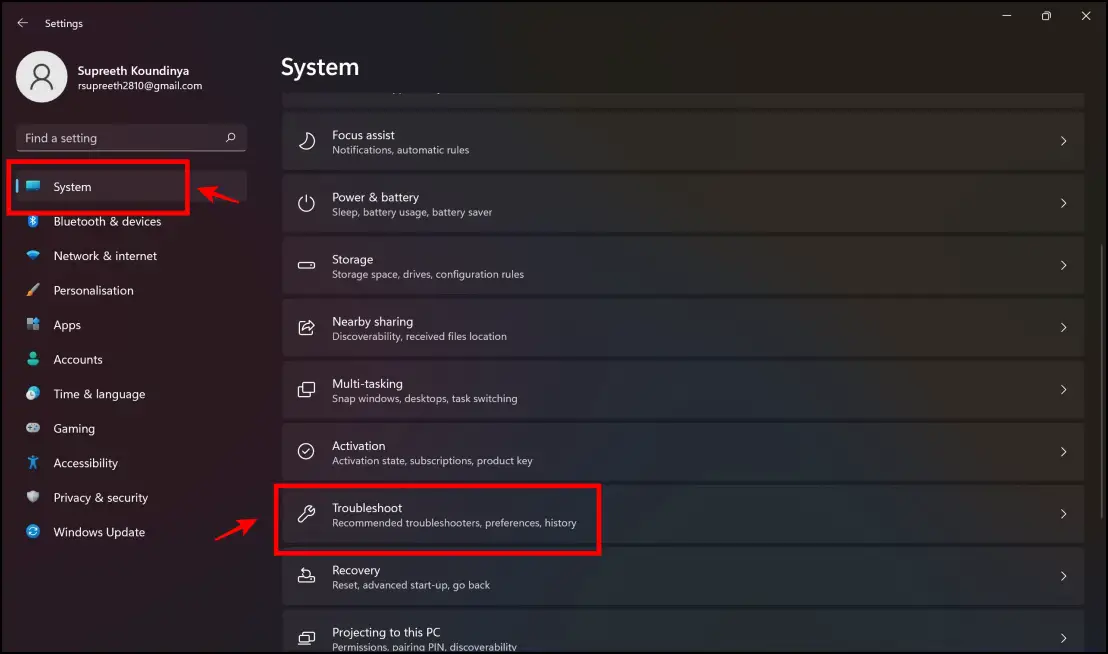
Step 1: Open the Settings app on Windows.
Step 2: Stay on the System section as it opens up. Scroll down to find Troubleshoot.
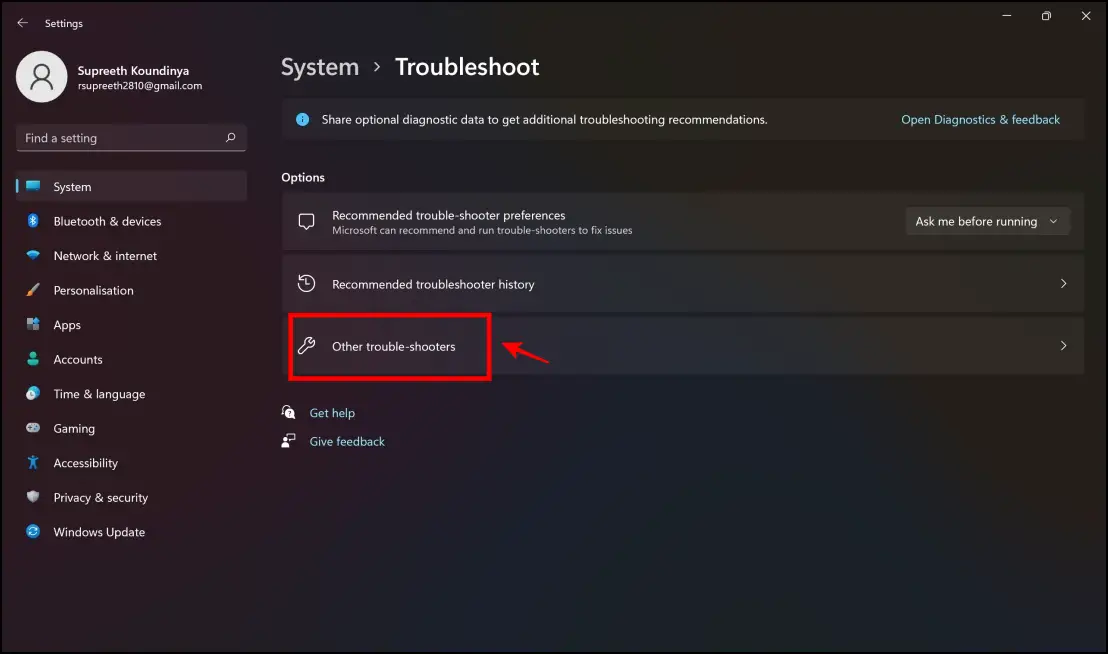
Step 3: Now click on Other trouble-shooters.
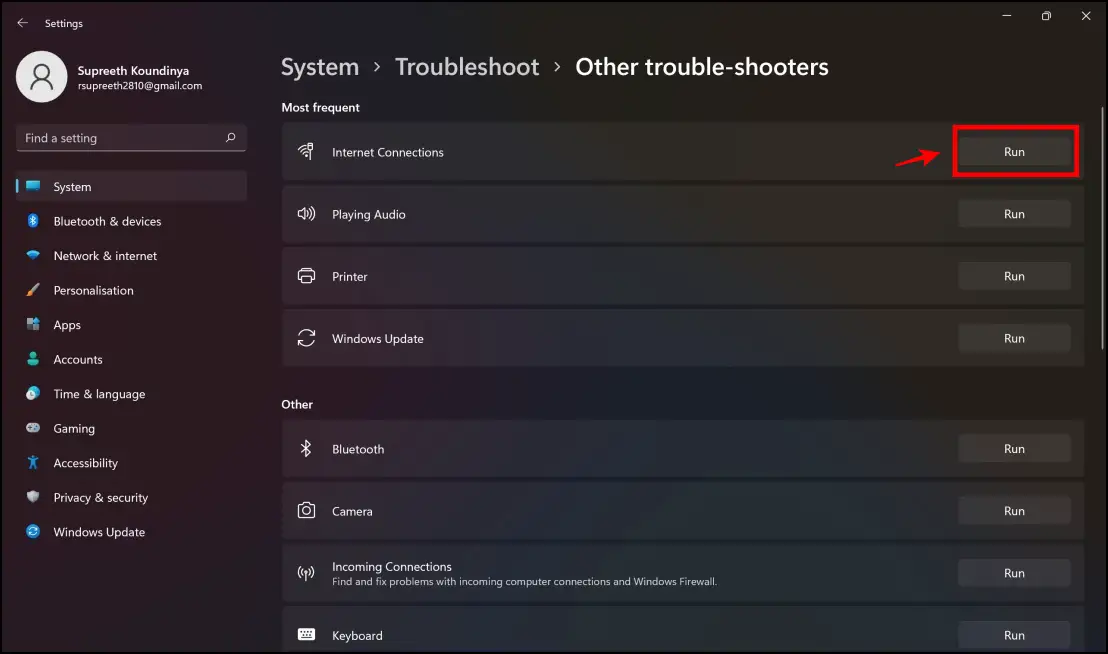
Step 4: In the Internet Connections option, click on Run.
6. Check Compatibility Mode
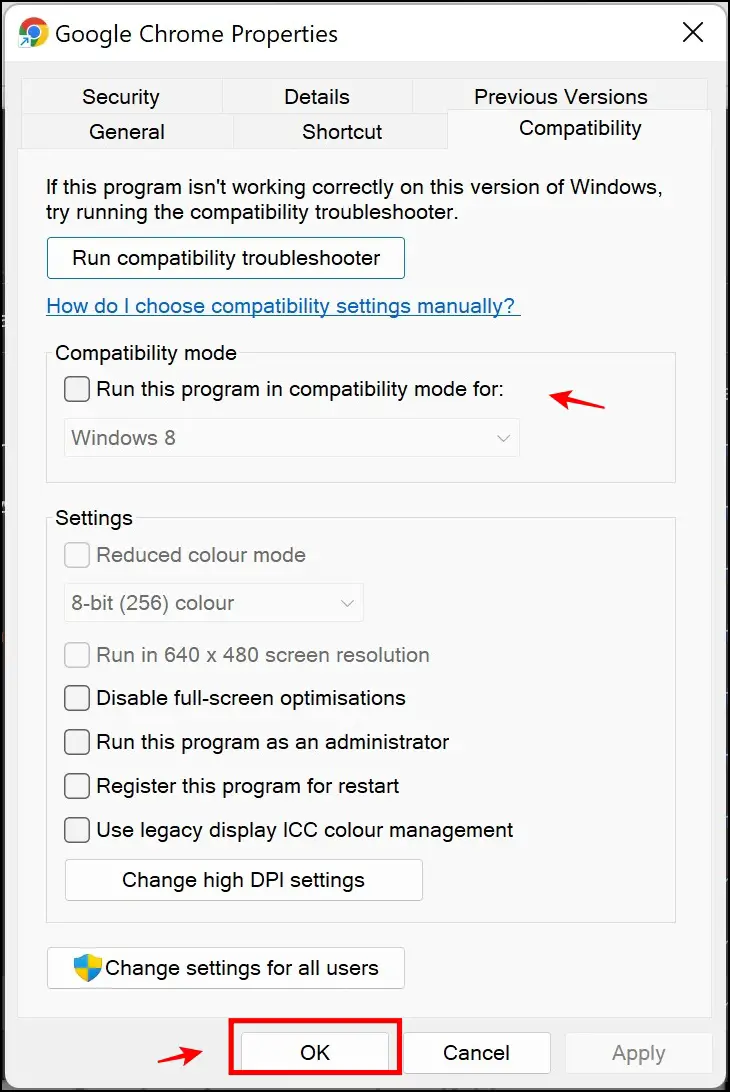
If you have previously enabled any compatibility settings for Google Chrome, it might end up causing issues. So, disable any compatibility mode settings and check if this was the culprit in the failed update.
Step 1: Right-click on the Google Chrome icon.
Step 2: Click on Properties.
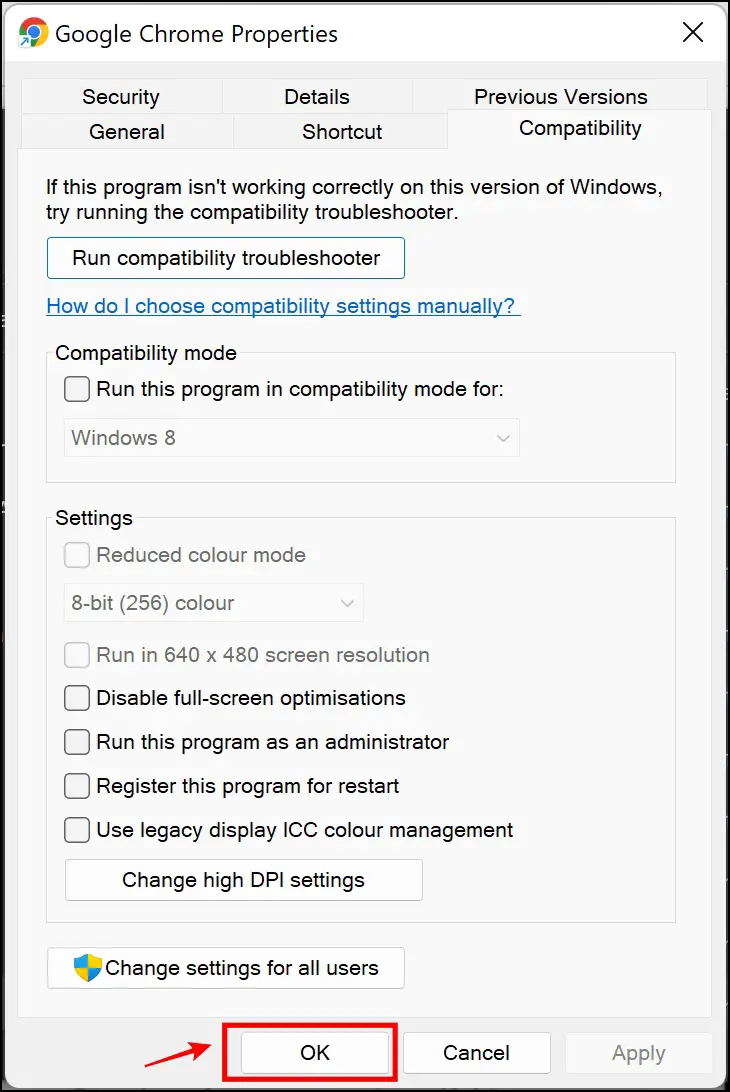
Step 3: Deselect the option to Run this program in compatibility mode for.
Step 4: Now click on OK to complete the procedure.
7. Use Terminal on macOS
Step 1: Close all open Chrome windows.
Step 2: Open Terminal, enter the following, and press enter:
$ sudo rm -rf /Library/Google && sudo rm -rf ~/Library/Google
Step 3: Open Chrome. It may show you a yellow bar to turn on auto-updates. Click that and enter your password as usual.
You should now be able to go back into Chrome settings and update successfully.
8. Ensure System Requirements are Met
A major reason you can’t update Chrome is that you might not be running a compatible operating system version. Here are the operating system requirements you need to use and stay on the latest updated version of Chrome.
Please note that Chrome does not work with the following older platforms:
- Windows XP
- Windows Vista
- Mac OS X 10.6, 10.7, and 10.8
9. Issues With GoogleSoftwareUpdate.App on Mac?
GoogleSoftwareUpdate.app is an essential component that facilitates automatic updates for Chrome on Mac. It could be that you uninstalled it unknowingly or knowingly, especially when using tools like CleanMyMac.
If the component is removed, Chrome will no longer update automatically and throw a “Found non-functional system update engine” error. While you cannot separately reinstall GoogleSoftwareUpdate.app, reinstalling Chrome does bring it back and fix the error.
10. Reconfigure the Google Update Service
You probably can’t update Chrome if the update service does not start automatically. Go ahead and reconfigure the Google Update service, and it can likely help you fix the issue.
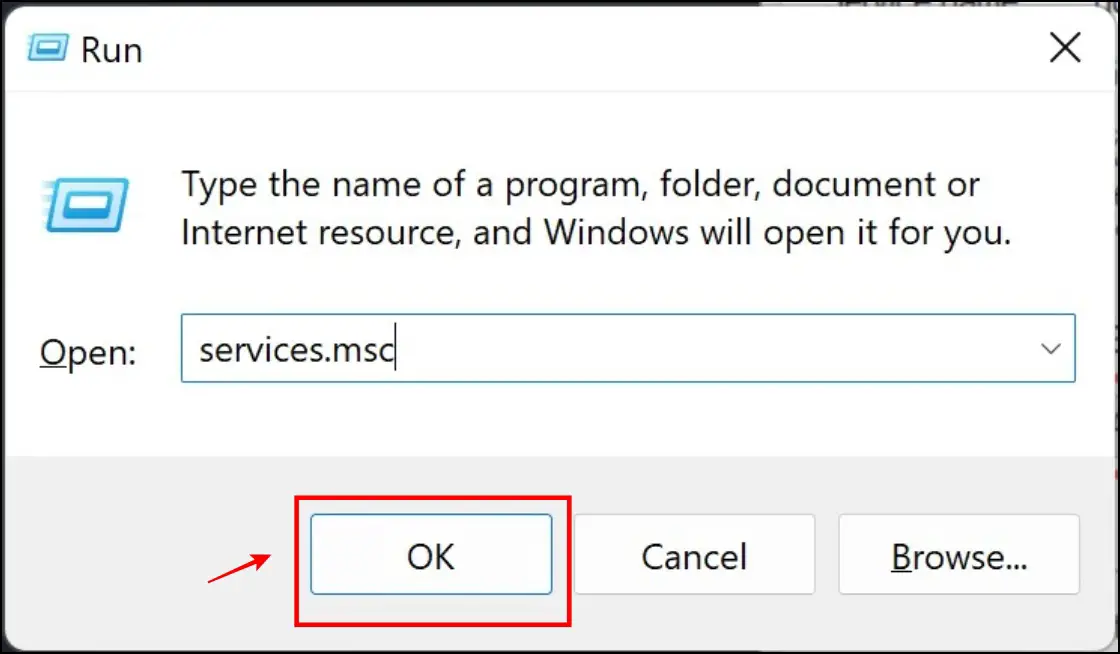
Step 1: Open the Run program on your PC.
Step 2: Type in services.msc in the search box.
Step 3: Click on OK.
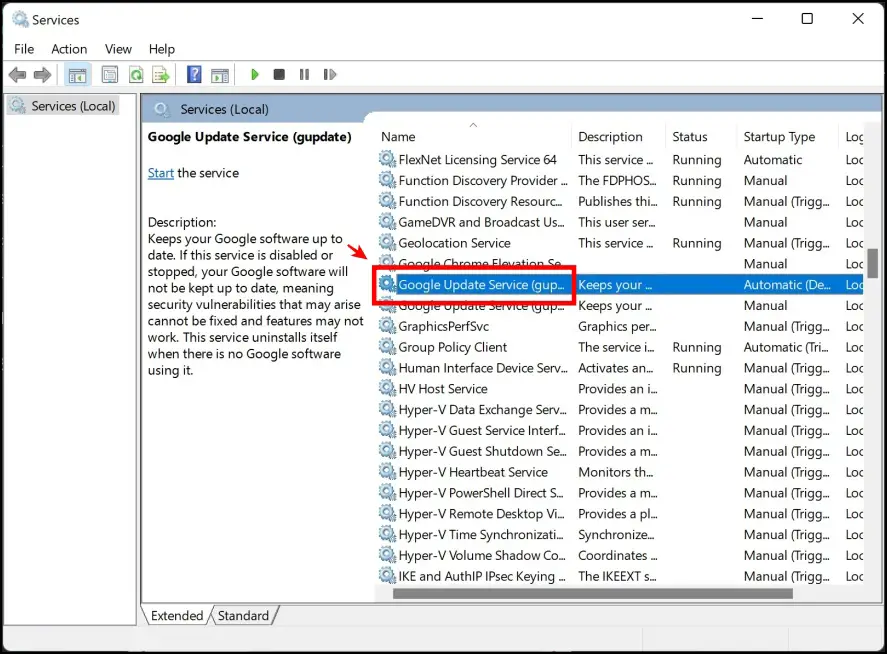
Step 4: Locate the Google Update Service (update).
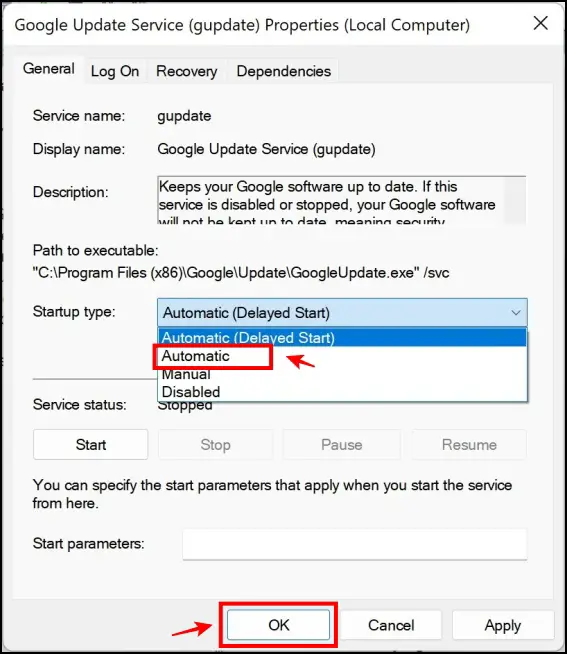
Step 5: In the pop-up menu that appears, click on the dropdown menu in the Startup type option.
Step 6: Now click on Automatic, and now click on OK to apply the settings.
11. Reset Google Chrome
Unknowingly or due to a bug, a few settings might be misconfigured on Chrome. While it might be a bit difficult to pinpoint these settings, an easy way would be to reset Chrome.
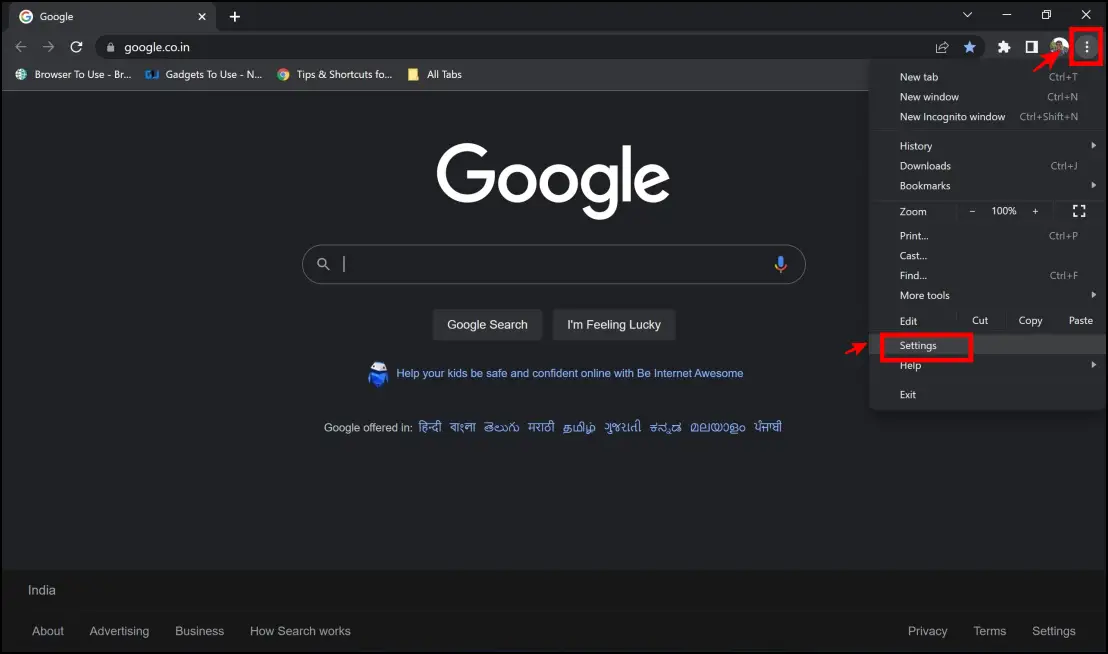
Step 1: Click on the three dots menu in the top right corner > select Settings.
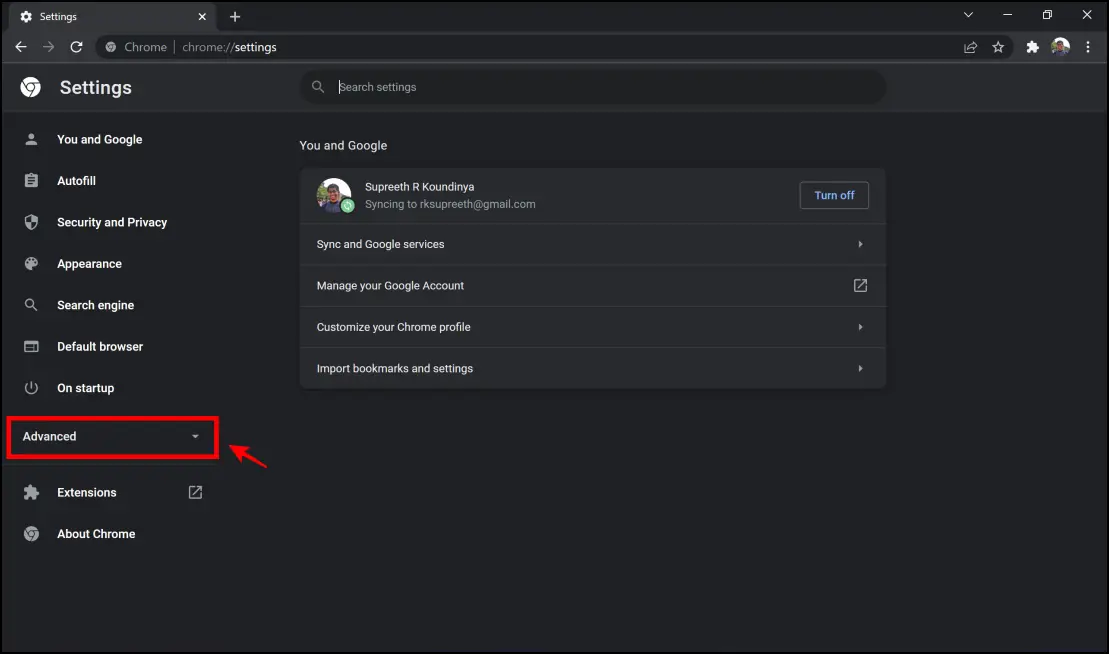
Step 2: Click on Advanced.
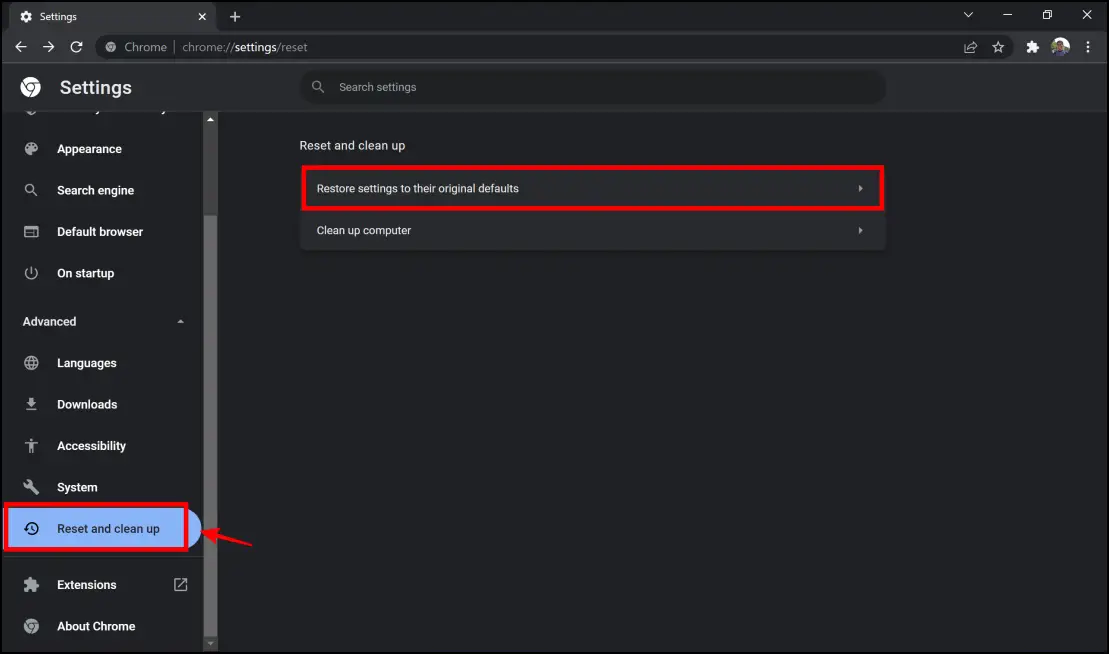
Step 3: Click on Reset and Cleanup > Restore settings to their original defaults.
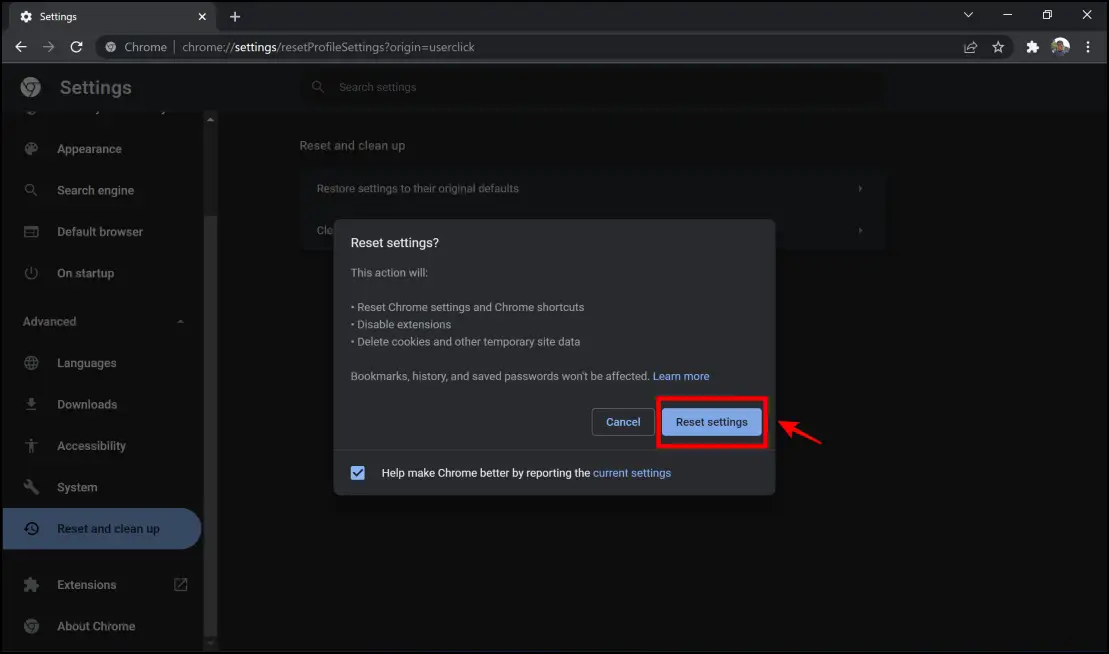
Step 4: Here, tap Reset Settings. All the settings will now be reset on Chrome.
12. Reinstall Google Chrome
As a last resort, if none of the above methods work, you can try and reinstall Chrome. Here’s how to do it.
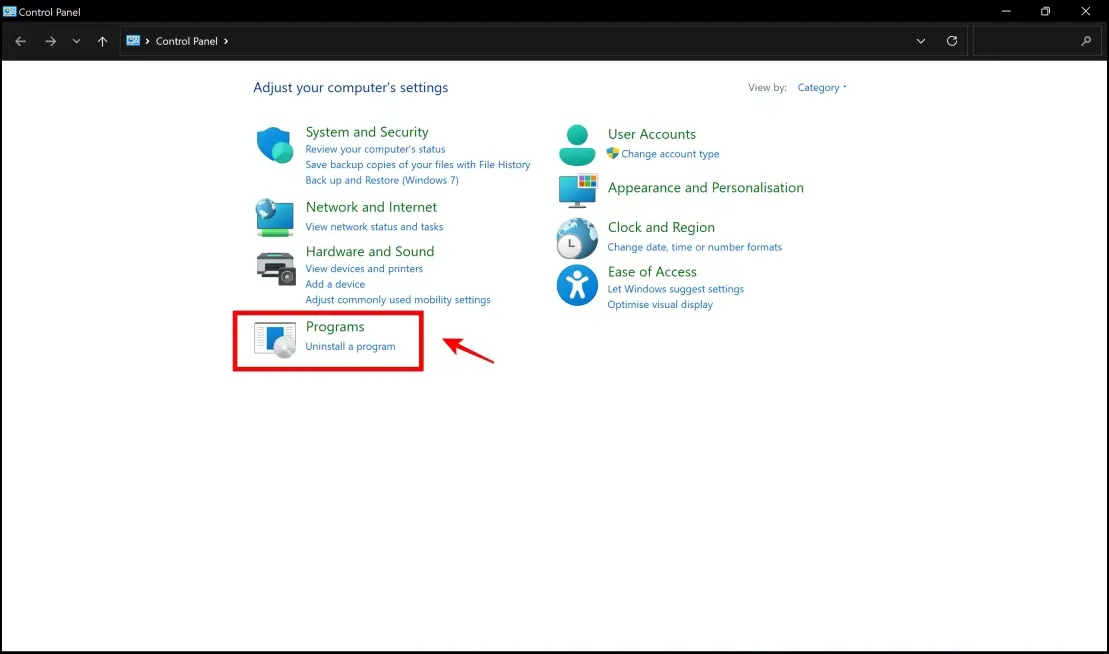
Step 1: Launch Control Panel on your PC.
Step 2: Click on Uninstall a program under Programs.
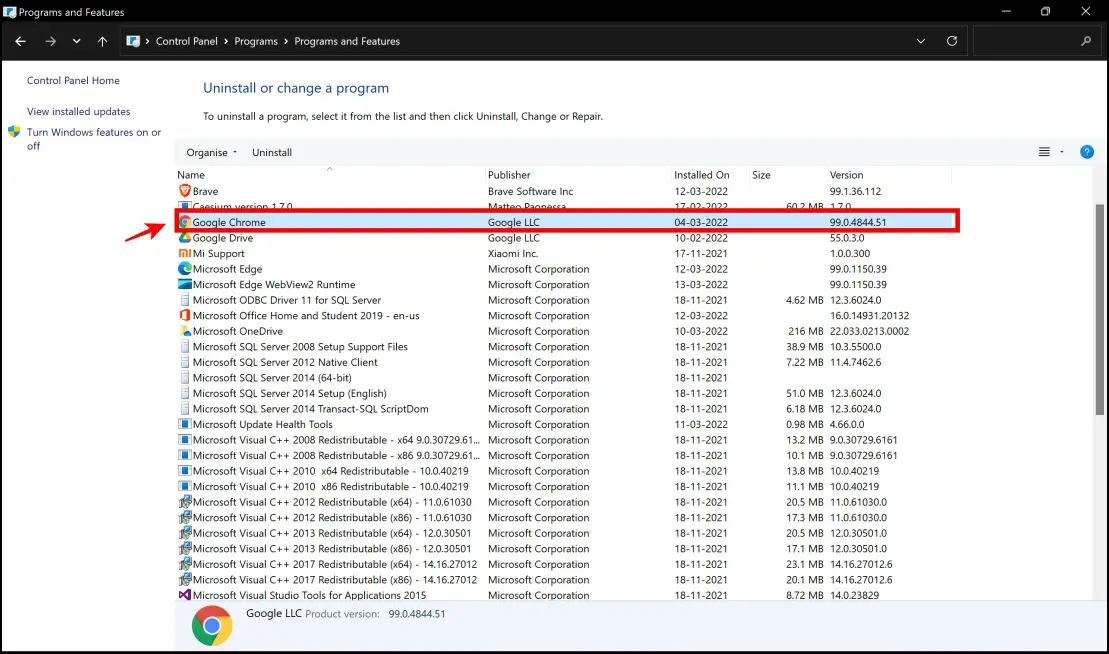
Step 3: Click on Google Chrome.
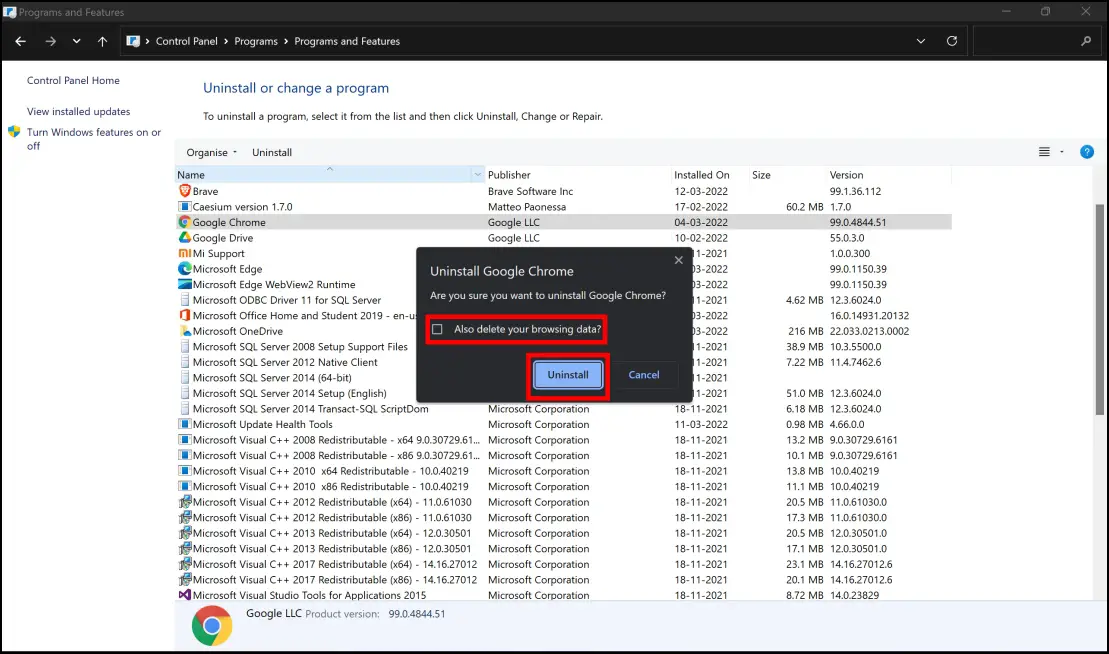
Step 4: Check the box to delete your browsing data. Click on Uninstall.
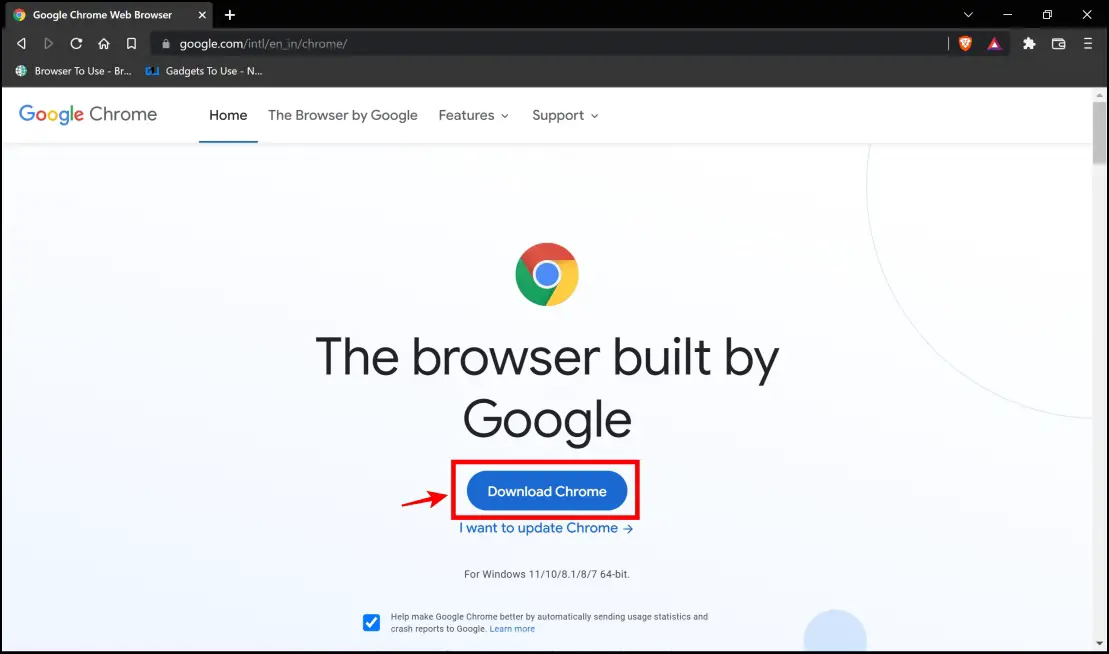
Step 5: Open your secondary browser and visit the Chrome Installation Page. Click on Download Chrome, and install Chrome on your PC.
Wrapping Up
These are some of the issues due to which you can’t update Chrome. With the methods we provided, we hope you were able to resolve the problem and update Chrome normally without any issues. For more such guides and articles focusing on issues that affect your browsing experience, stay tuned to Browser To Use. We always have a fix!
Related: 5 Ways to Update Your Web Browser For Free (Windows, Mac)


