
Over the years, Chrome has developed a reputation as a memory-hungry browser. Computers with low RAM struggle to run Chrome even with limited tabs open. The new Performance options, however, appear to be Google’s attempt to resolve all of these problems. So stay tuned as we discuss how to enable the Memory saver and Energy Saver mode in Chrome.
What is Memory Saver Mode in Google Chrome?
The Memory saver mode is a new addition in Chrome that frees up system memory by putting tabs that haven’t been used in a while to sleep. This is similar to the sleeping tabs in Microsoft Edge. It helps to free up some room in the computer’s RAM for the tabs that are currently in use and helps to improve the overall Browser performance.
How to Enable Memory Saver Mode in Google Chrome?
Memory Saver mode will be available to users running Chrome version 108 or above. The feature is being rolled out as of writing this article, so you might have already received it or will receive it in the upcoming weeks. Till then, you can use the Chrome flag to enable performance settings in your browser.
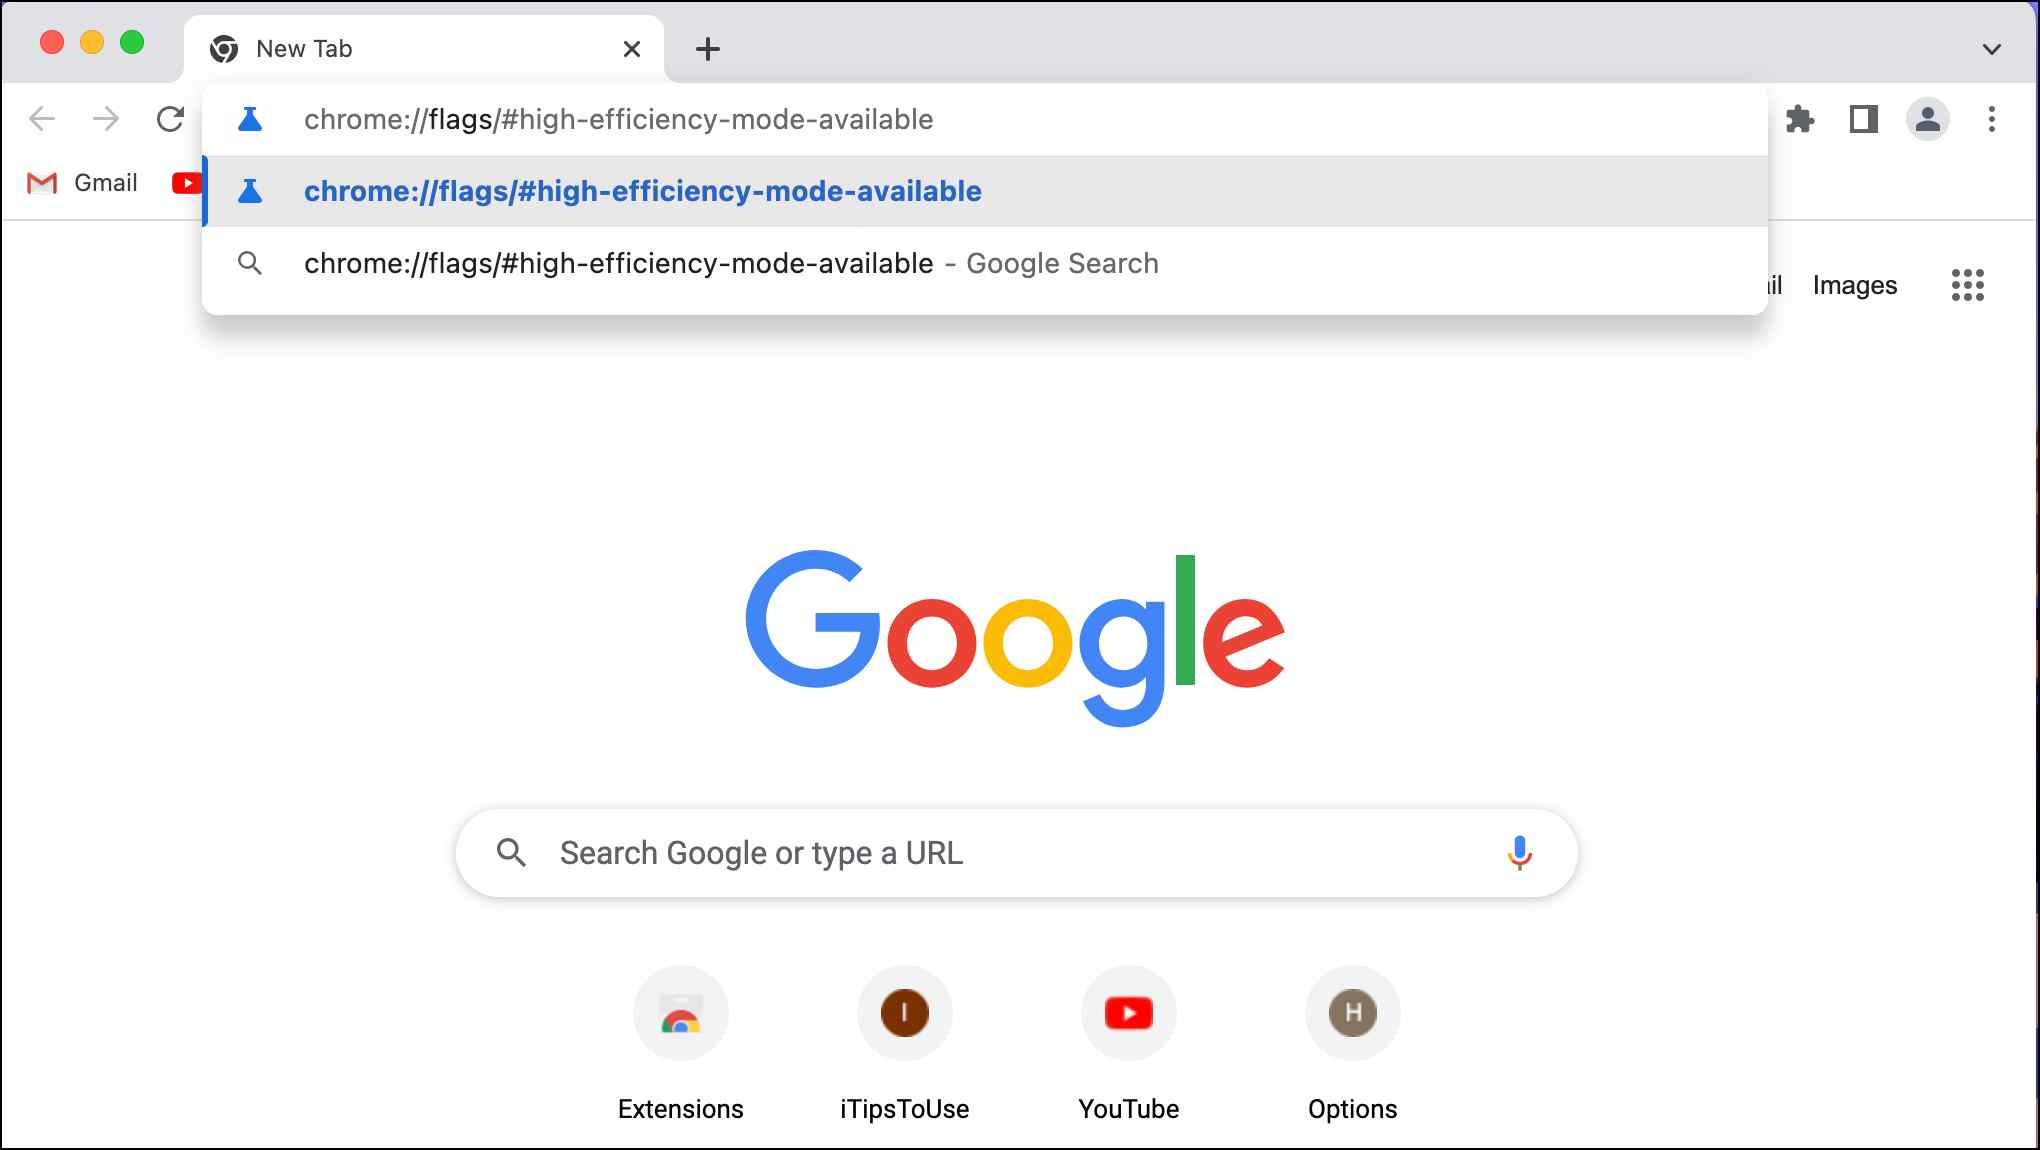
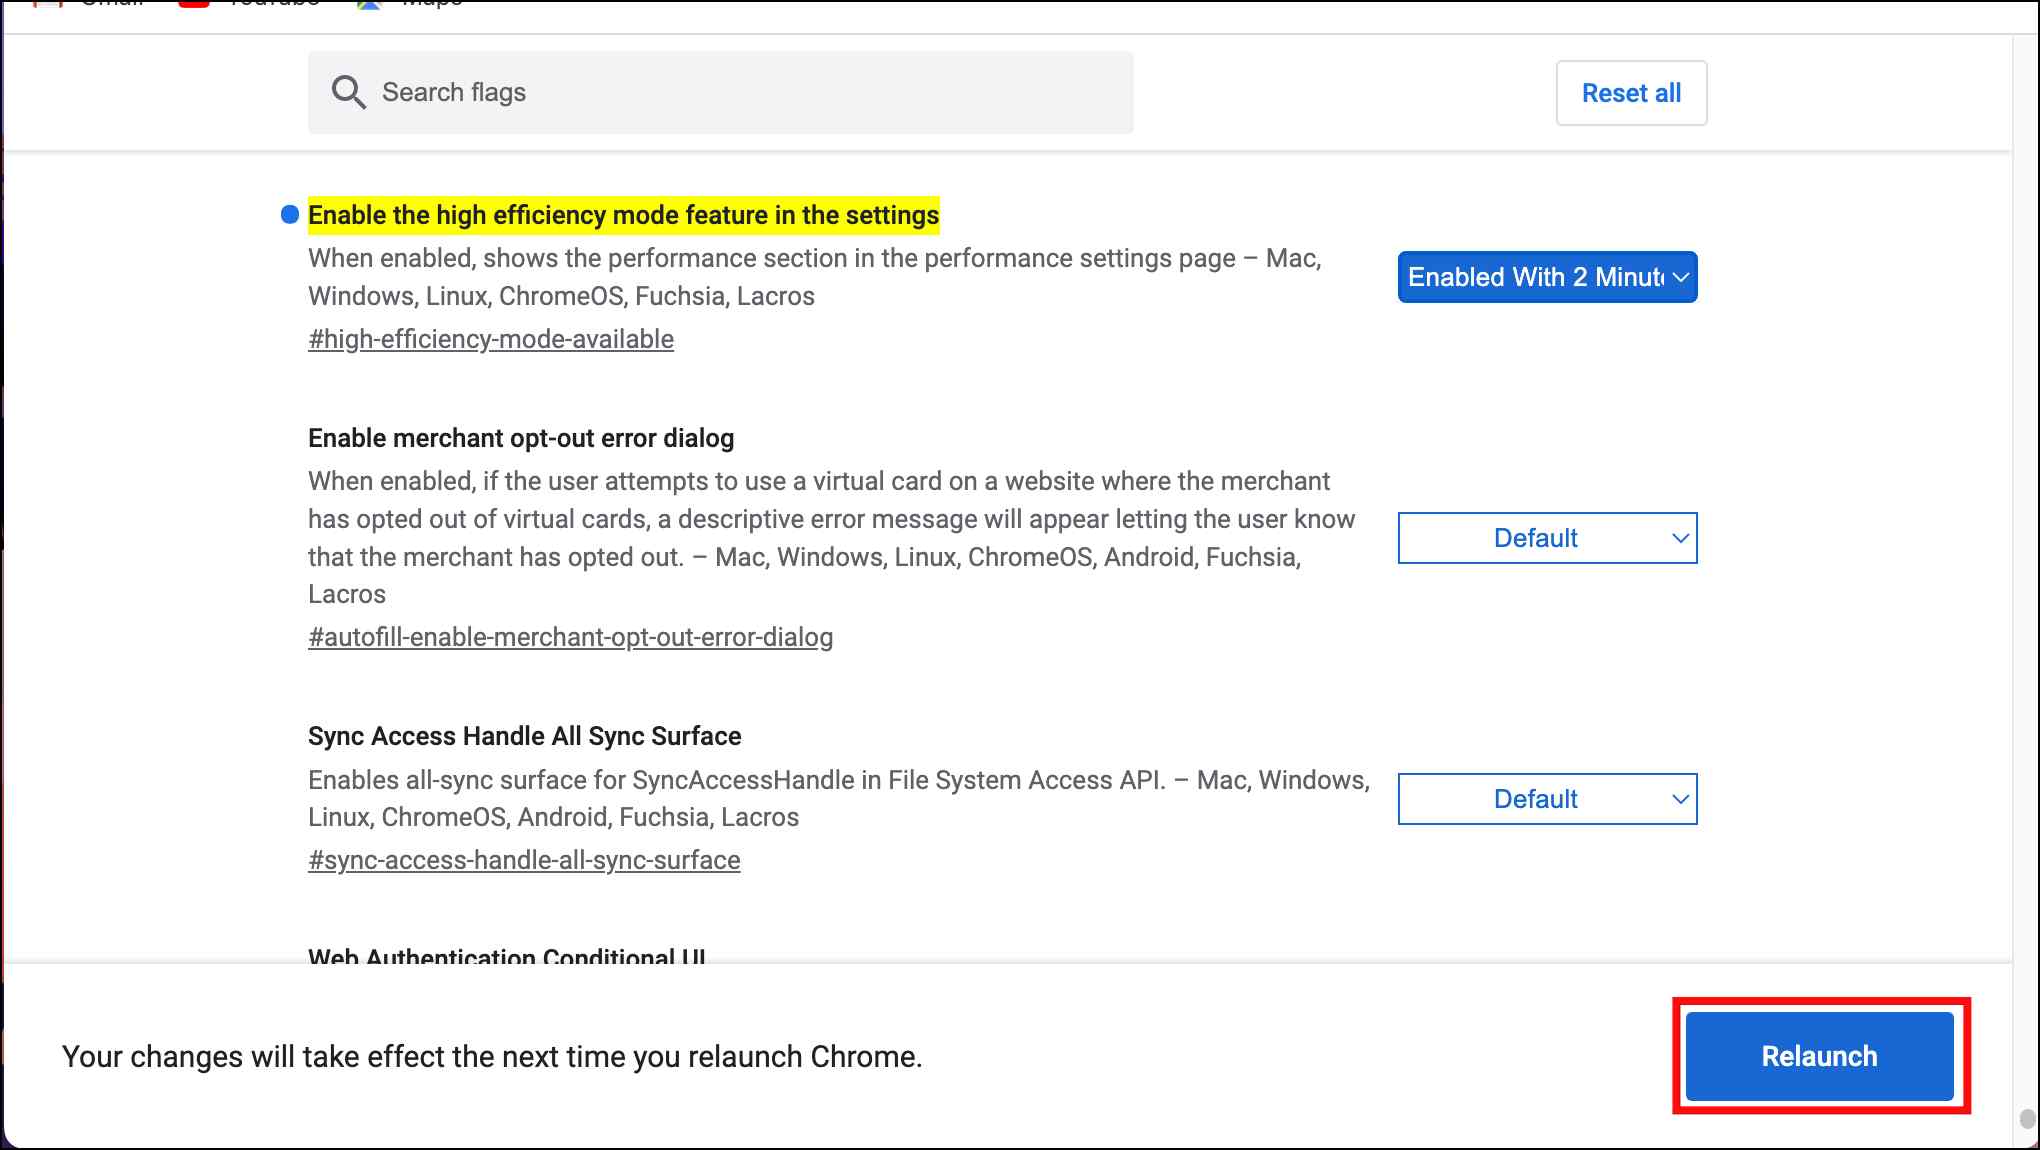
Step 1: Open Chrome and type chrome://flags/#high-efficiency-mode-available in the address bar.
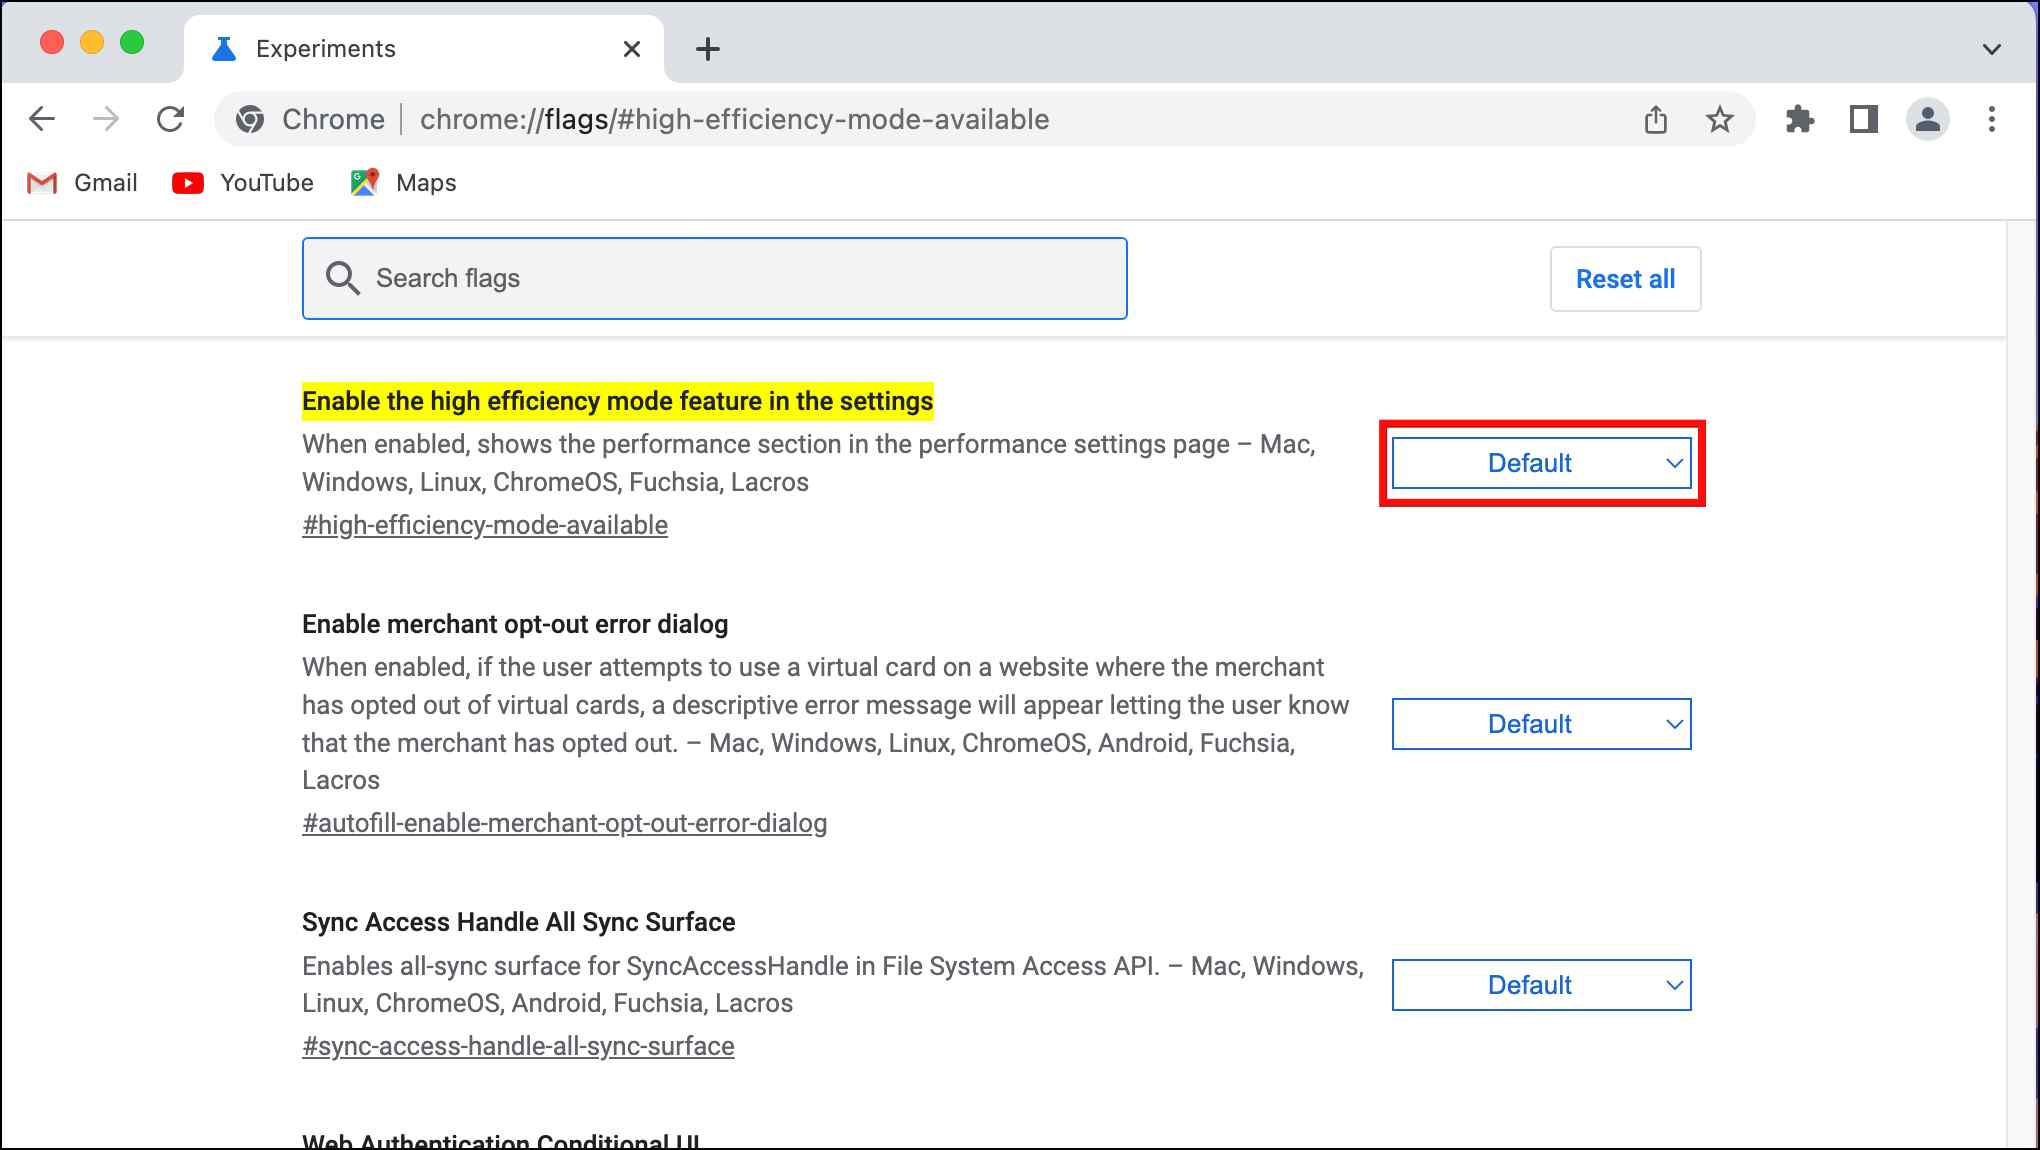
Step 2: Click on the box next to Enable the high-efficiency mode feature in the settings.
Step 3: Select Enabled With 2-Minute Discard.
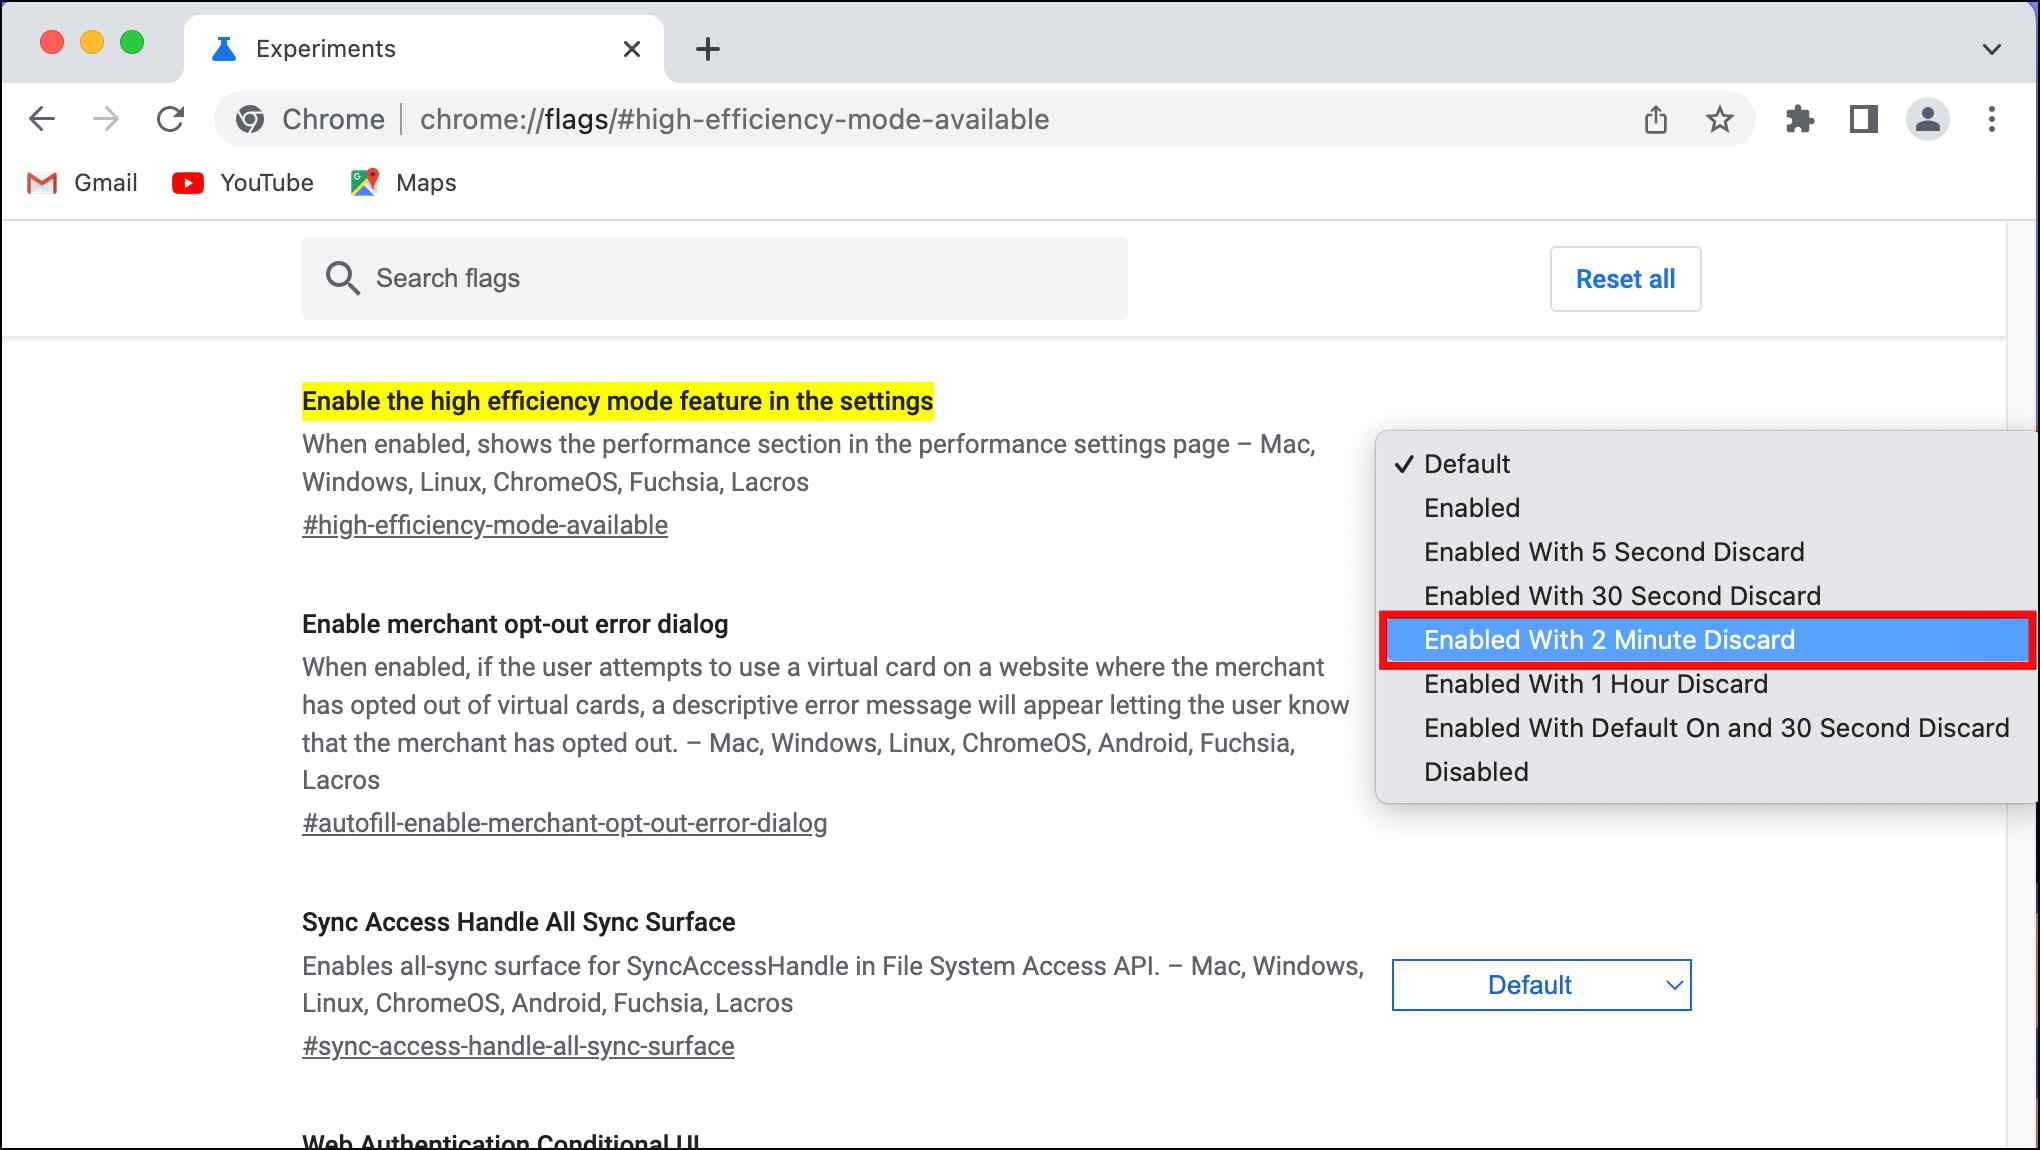
This will put tabs to sleep after two minutes. You can select a lower or higher time range.
Step 4: Click on Relaunch to apply changes.
You can skip these steps if you have already received the Performance mode settings in Google Chrome.
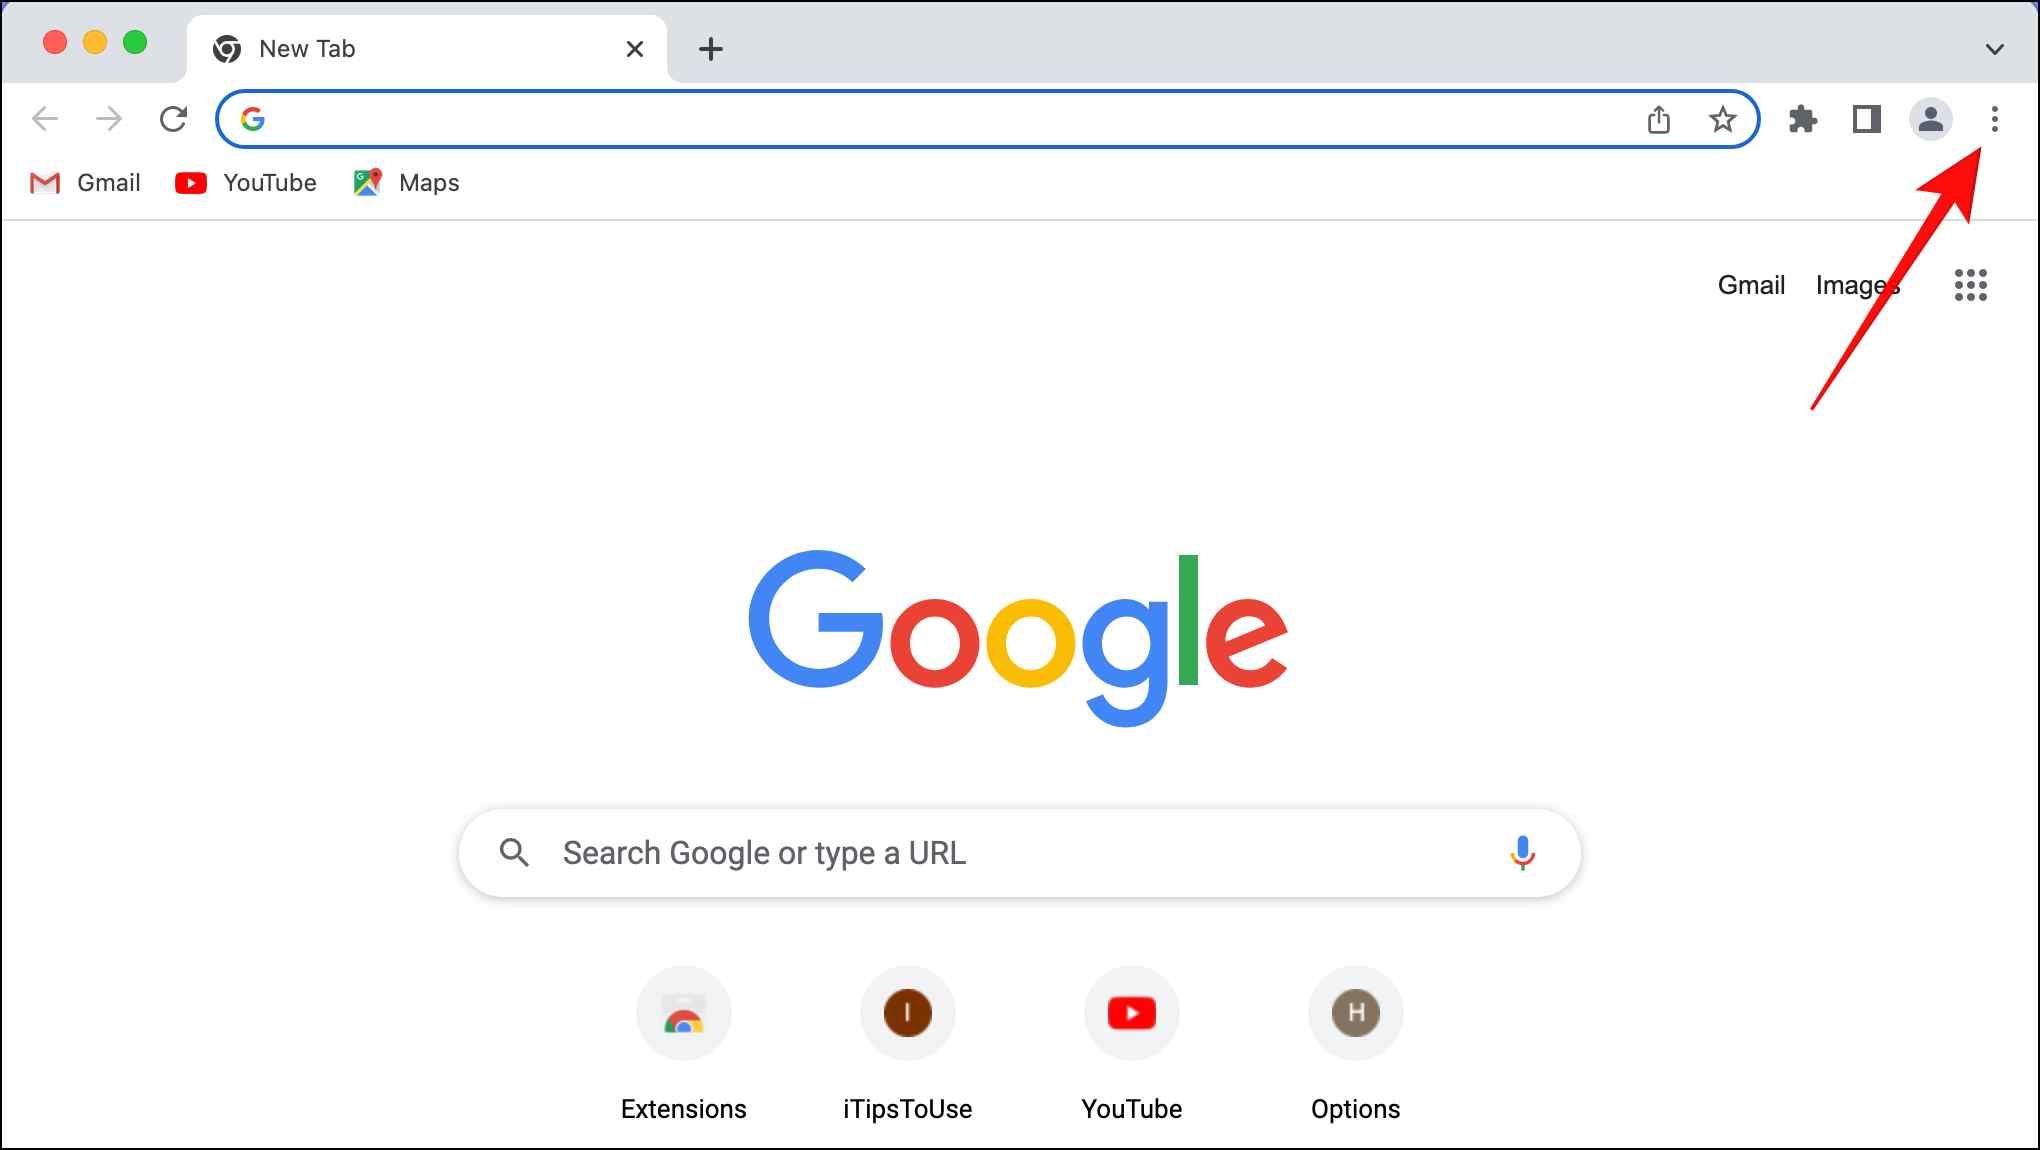
Step 5: To enable Memory saver mode, click on the three-dot menu in the top right corner.
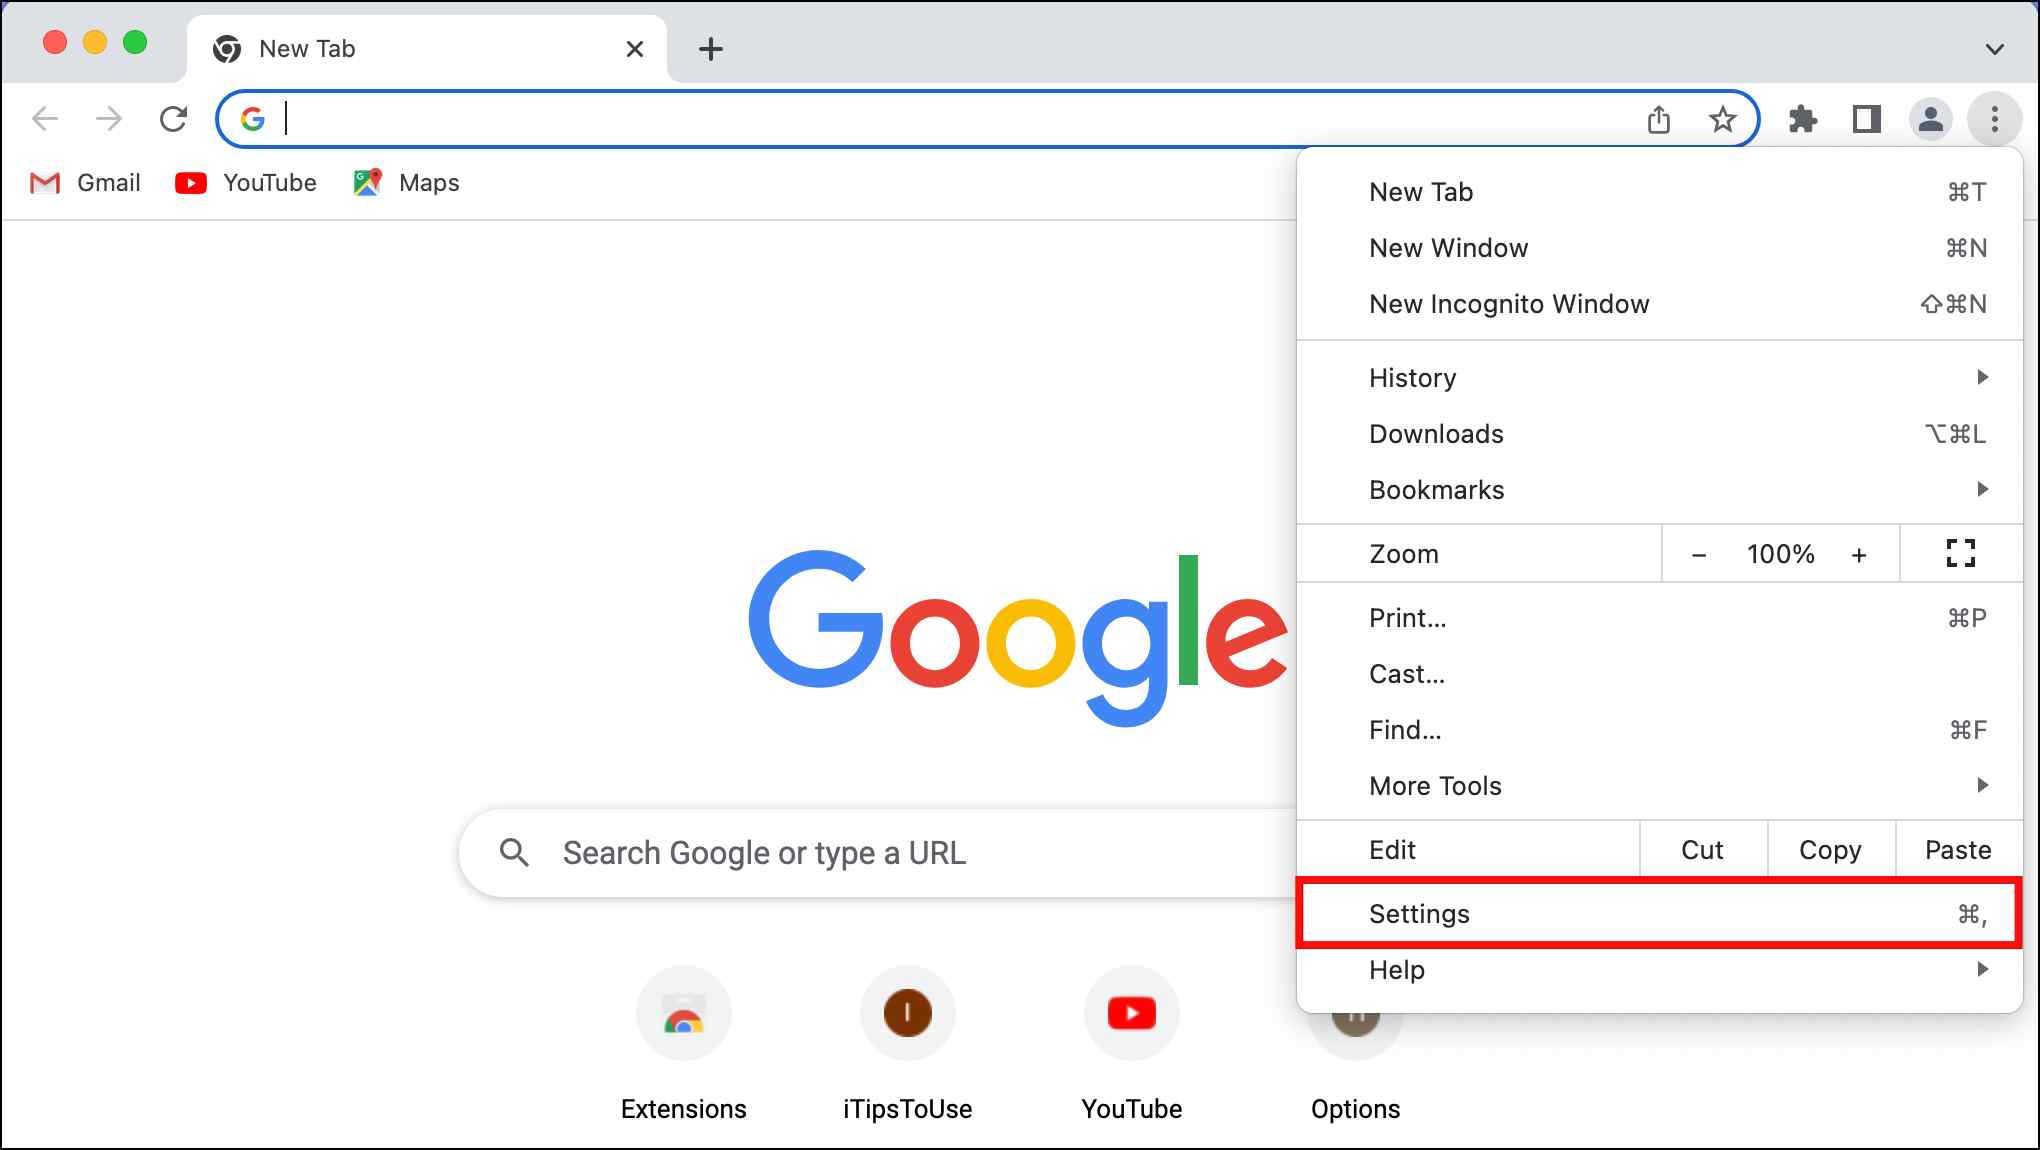
Step 6: Go to Settings.
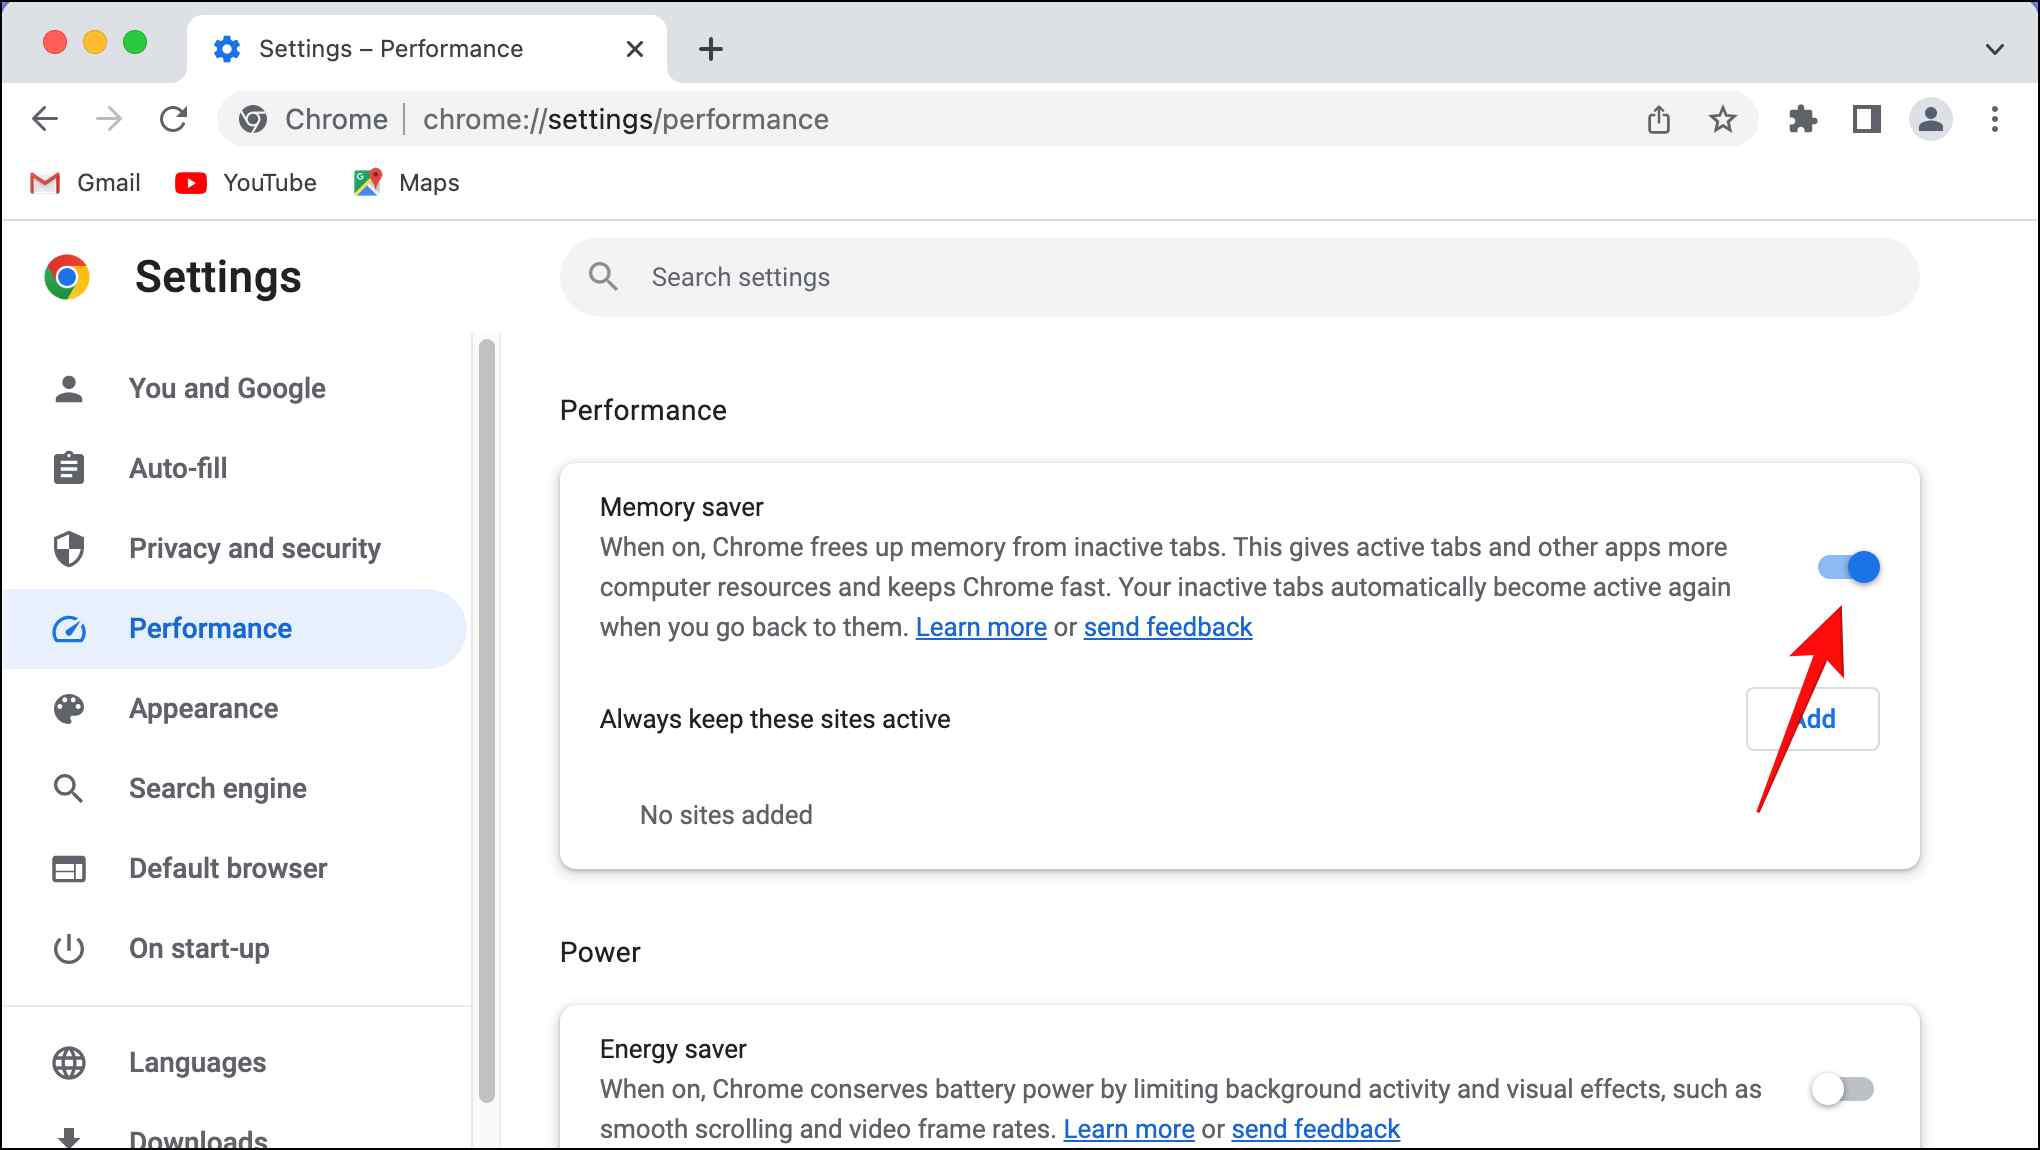
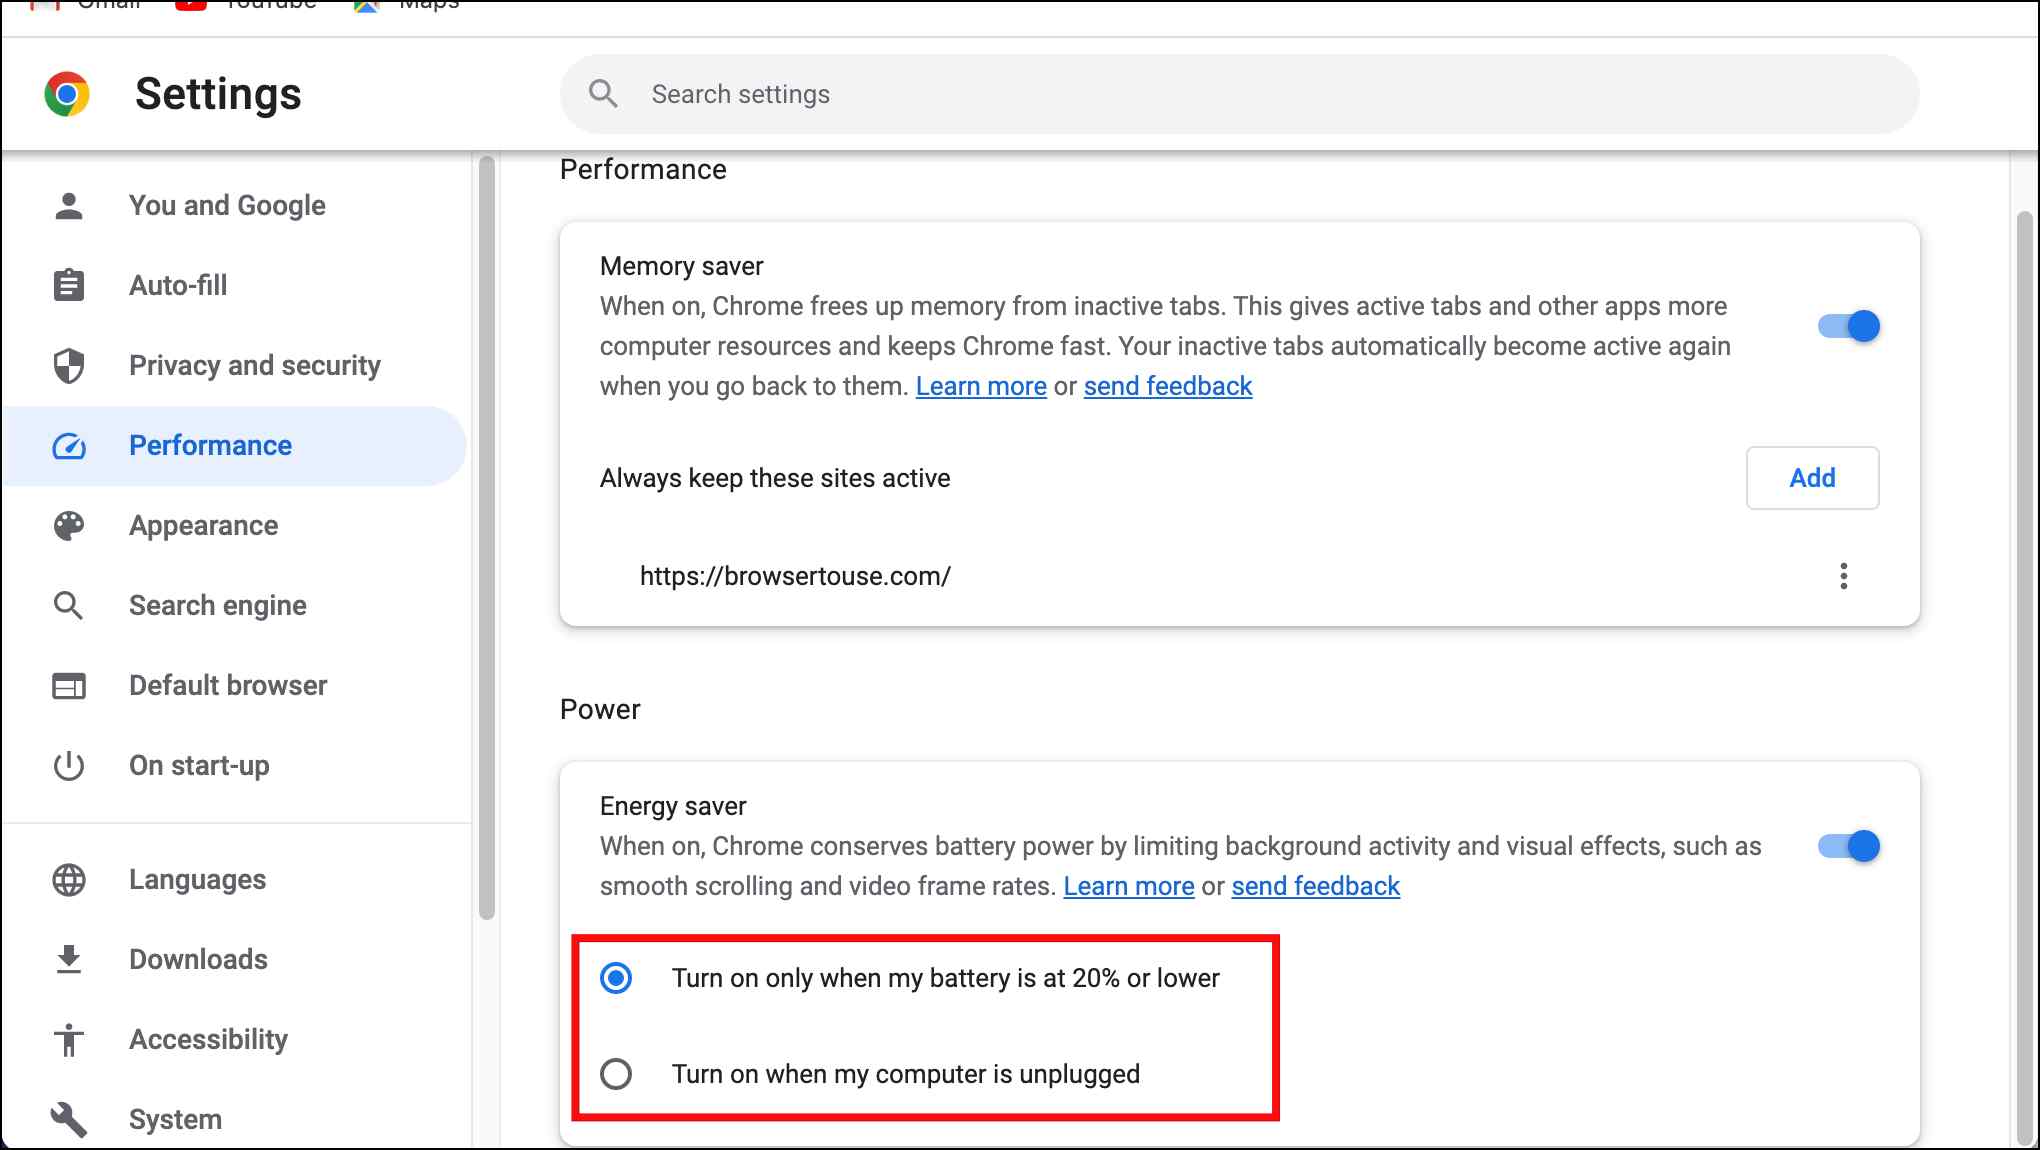
Step 7: From the left sidebar, go to the Performance settings.
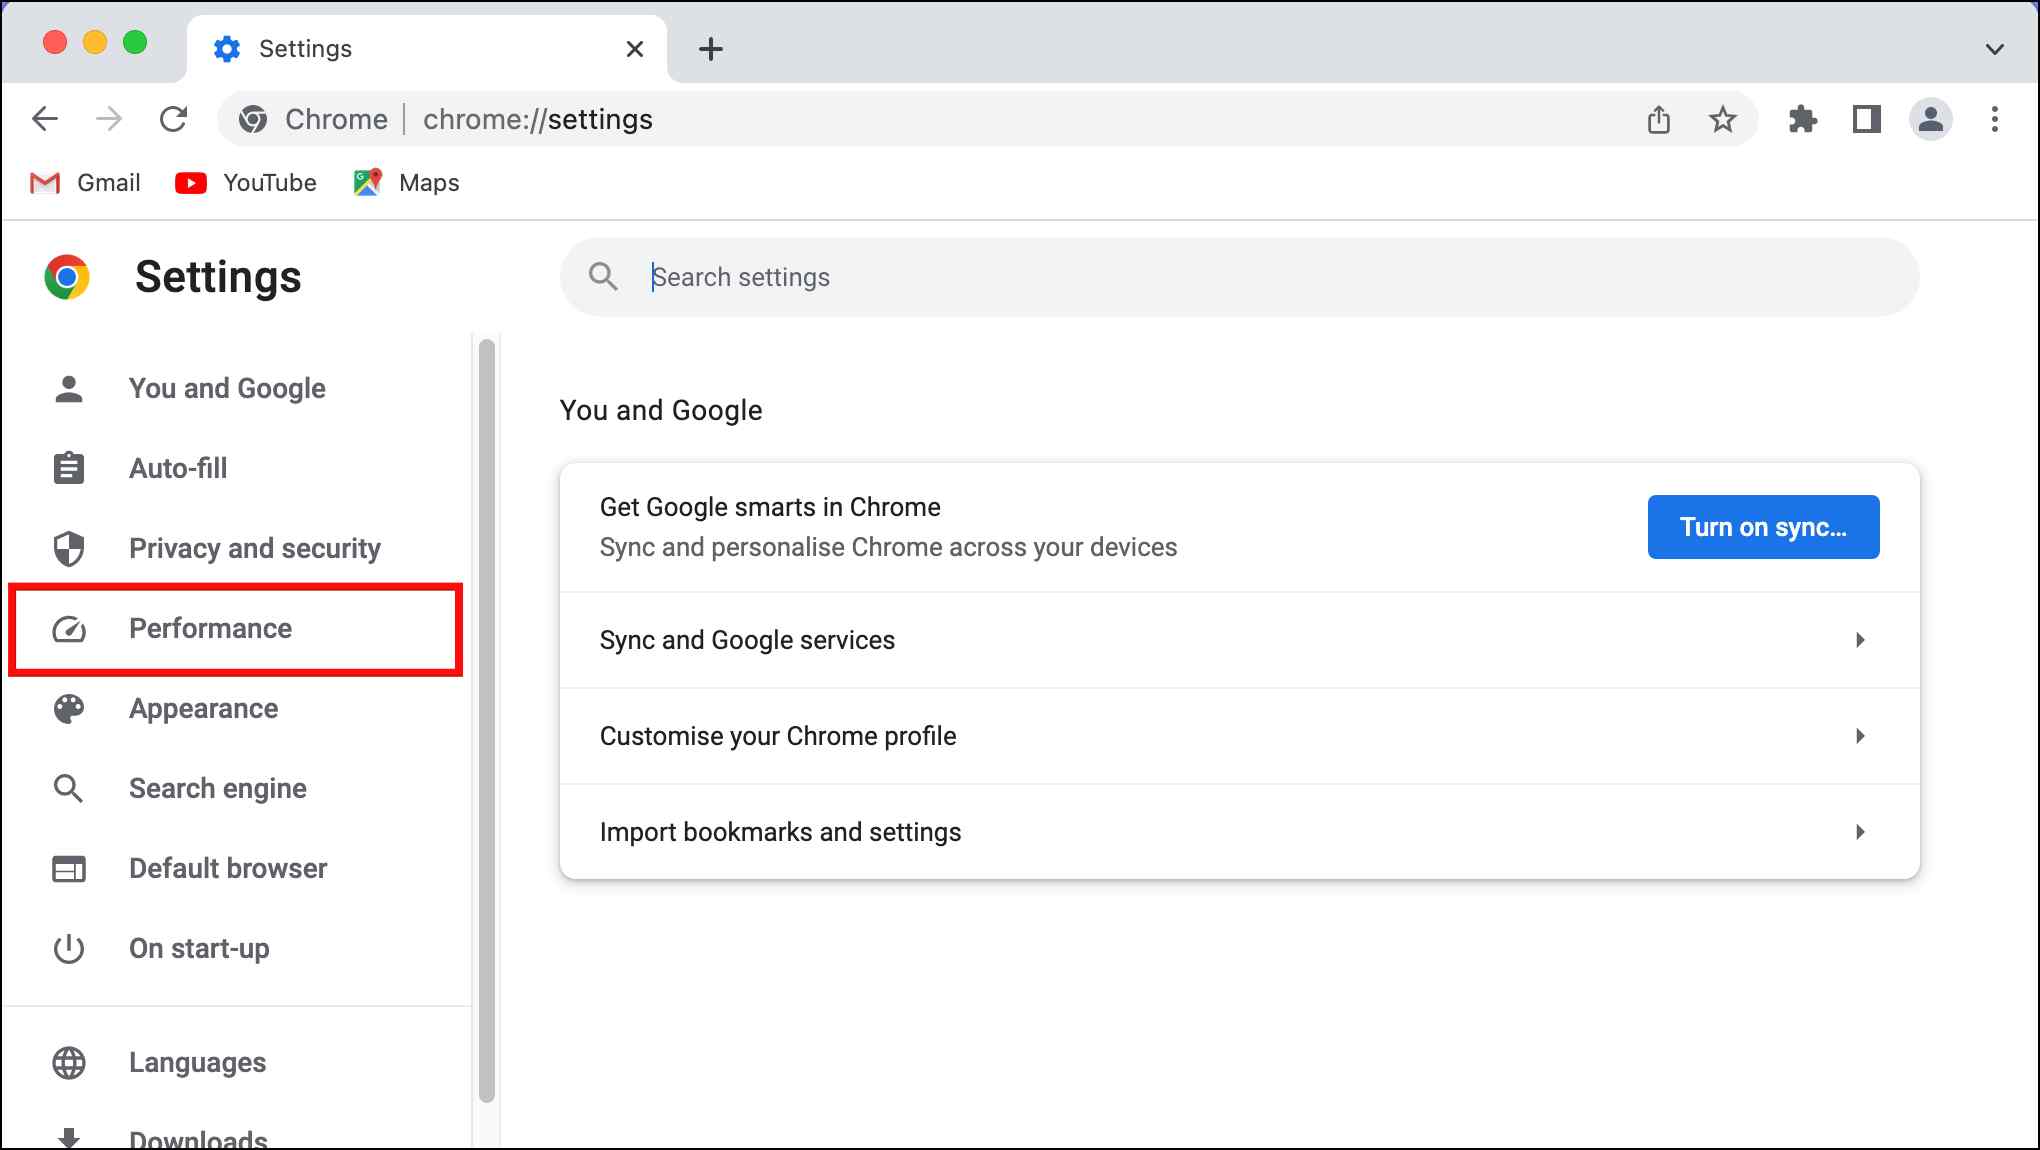
Step 8: Turn on the toggle for Memory Saver.
Following these steps, you can switch on the memory saver on Chrome. To turn on inactive tabs, click on the tab, and it will reload.
How to Add Websites to Memory Saver Whitelist?
In case there are certain sites that you wish to keep open at all times in your browser, you can do so by adding them to the Memory saver whitelist.
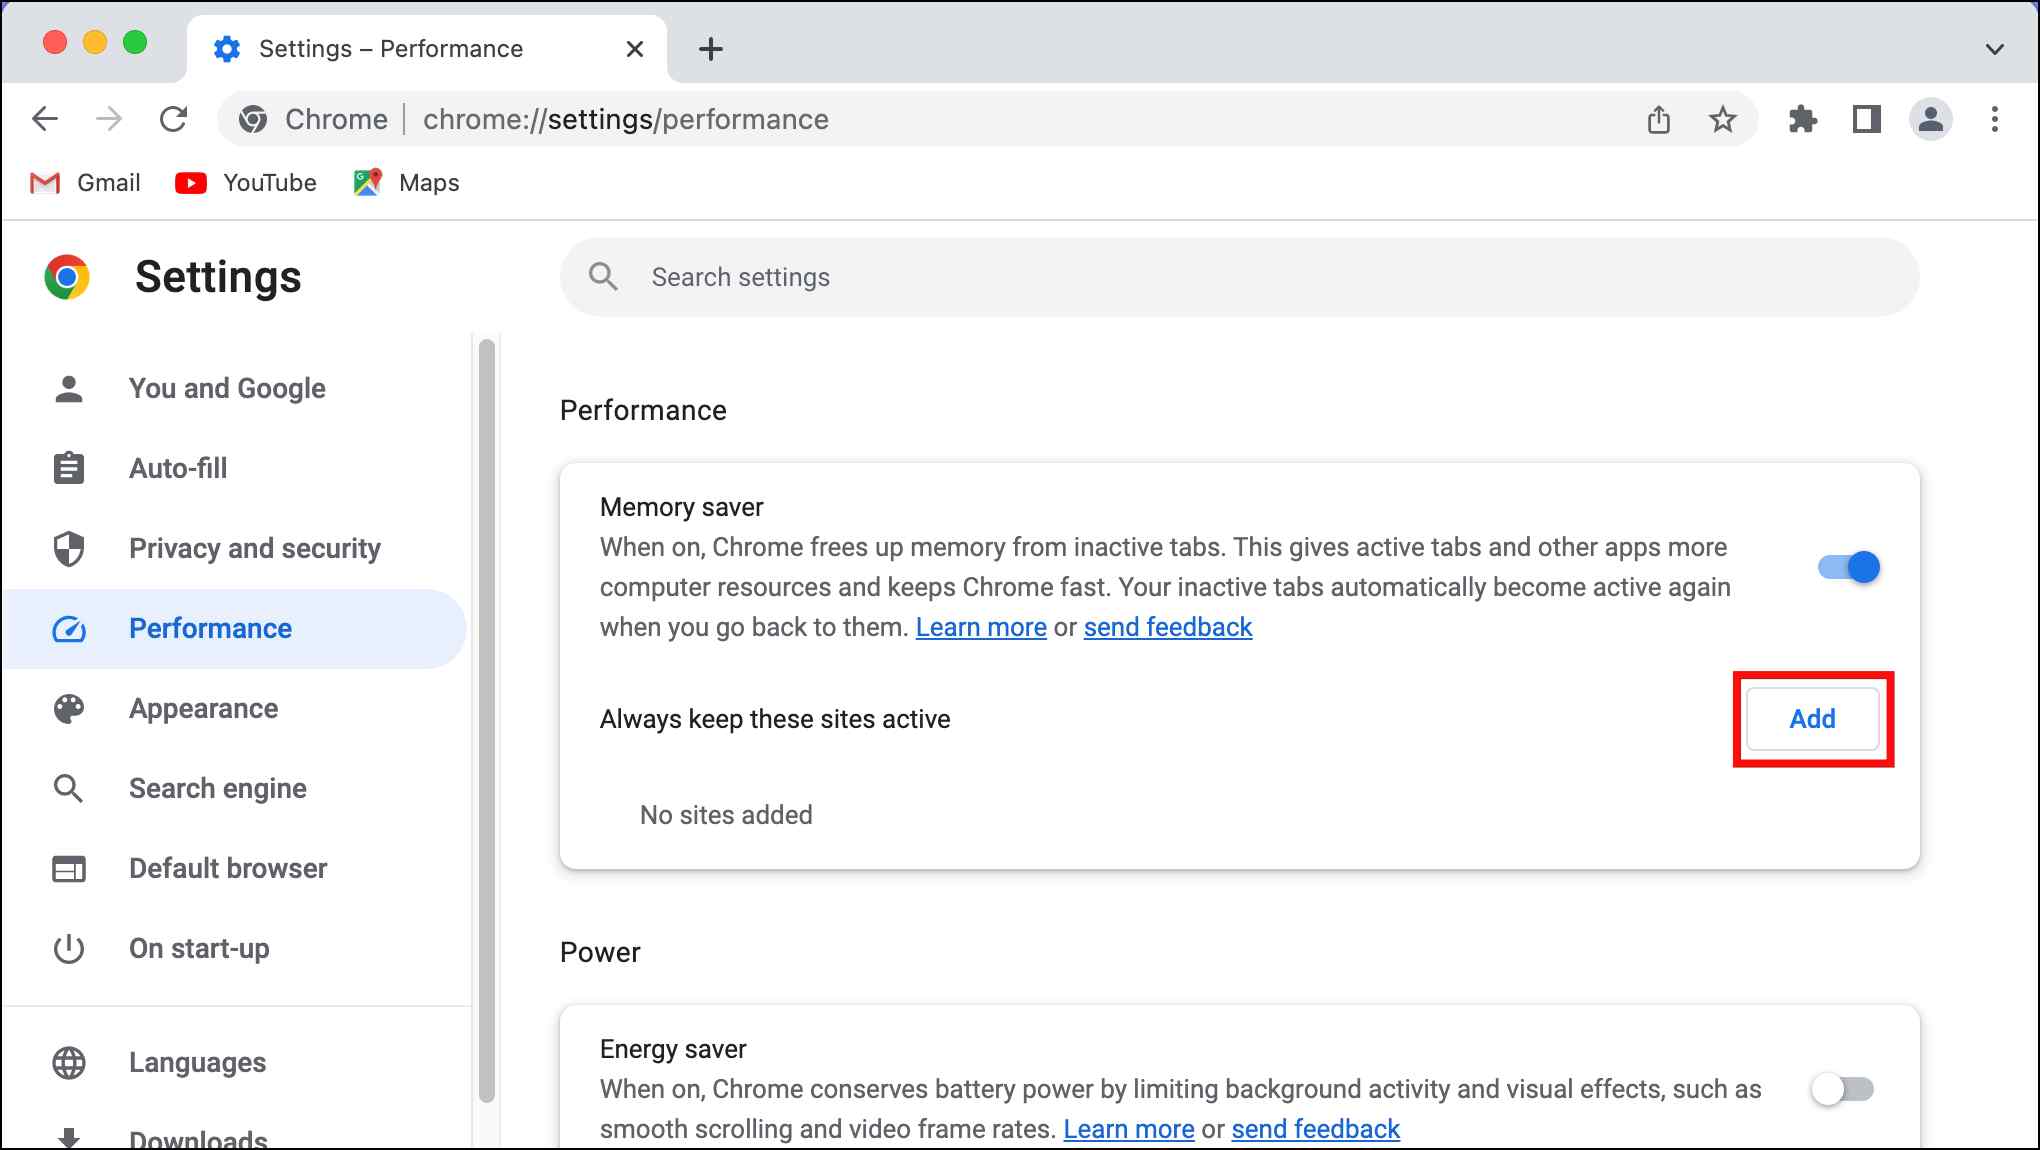
Step 1: Navigate to the Memory saver in Chrome using the steps mentioned above.
Step 2: Click on the Add button next to Always keep these sites active.
Step 3: Enter the URL of the website and click on Add.
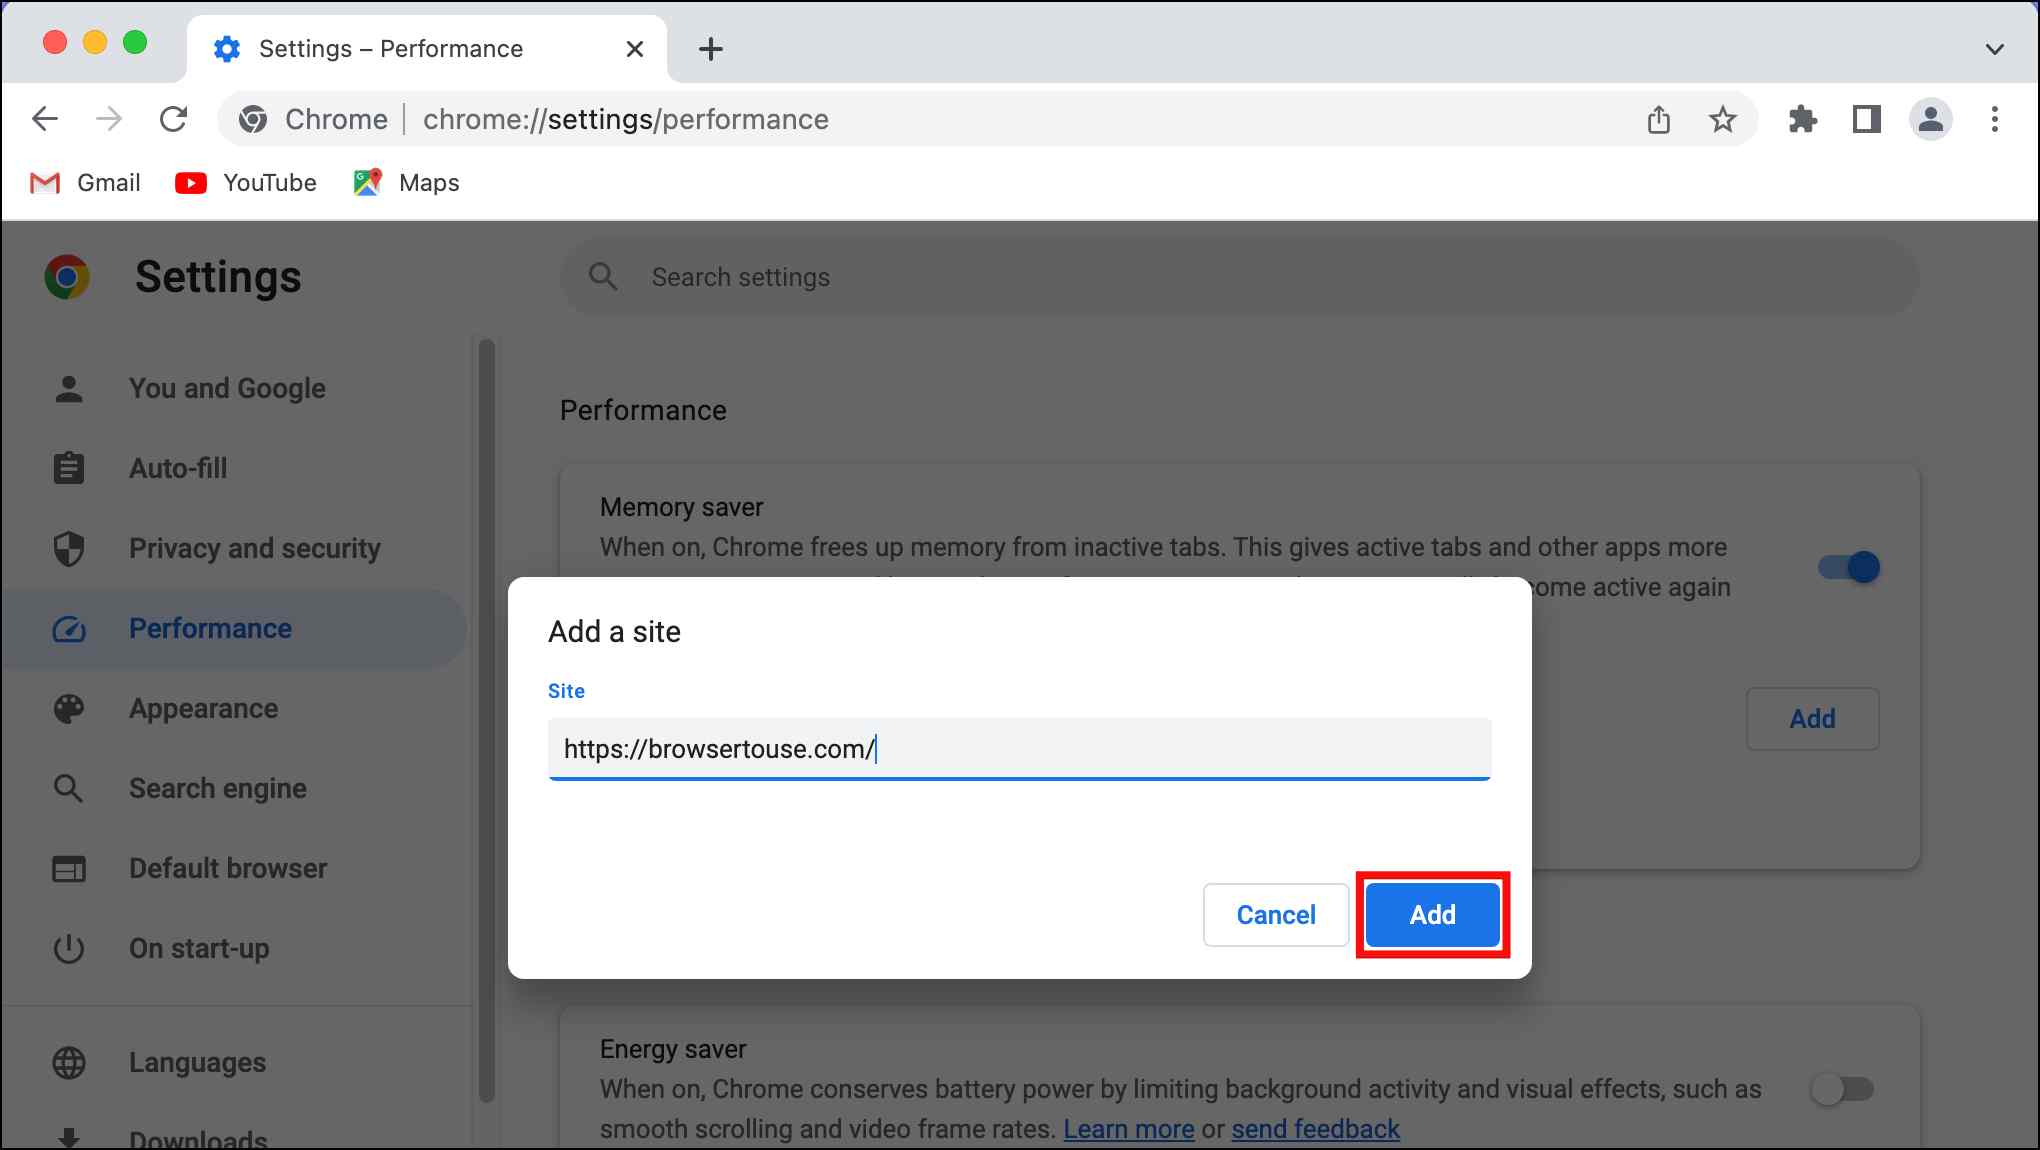
The site will be whitelisted, and it will not be put to sleep.
What is Energy Saver Mode in Google Chrome?
The team at Chrome has also added a much-requested Energy saver mode to the browser. This can help extend your device’s battery life by limiting background activity, image capture rate, and drop-in effects like animations, scrolling, and frame rates. However, turning on the Energy saver mode may result in a performance drop on websites and video playback.
How to Enable Energy Saver Mode in Google Chrome?
Like the Memory saver, you can find the Energy saver option within the new Performance section in Chrome. But if you are yet to receive the Performance tab in your browser, you can enable it with flags.
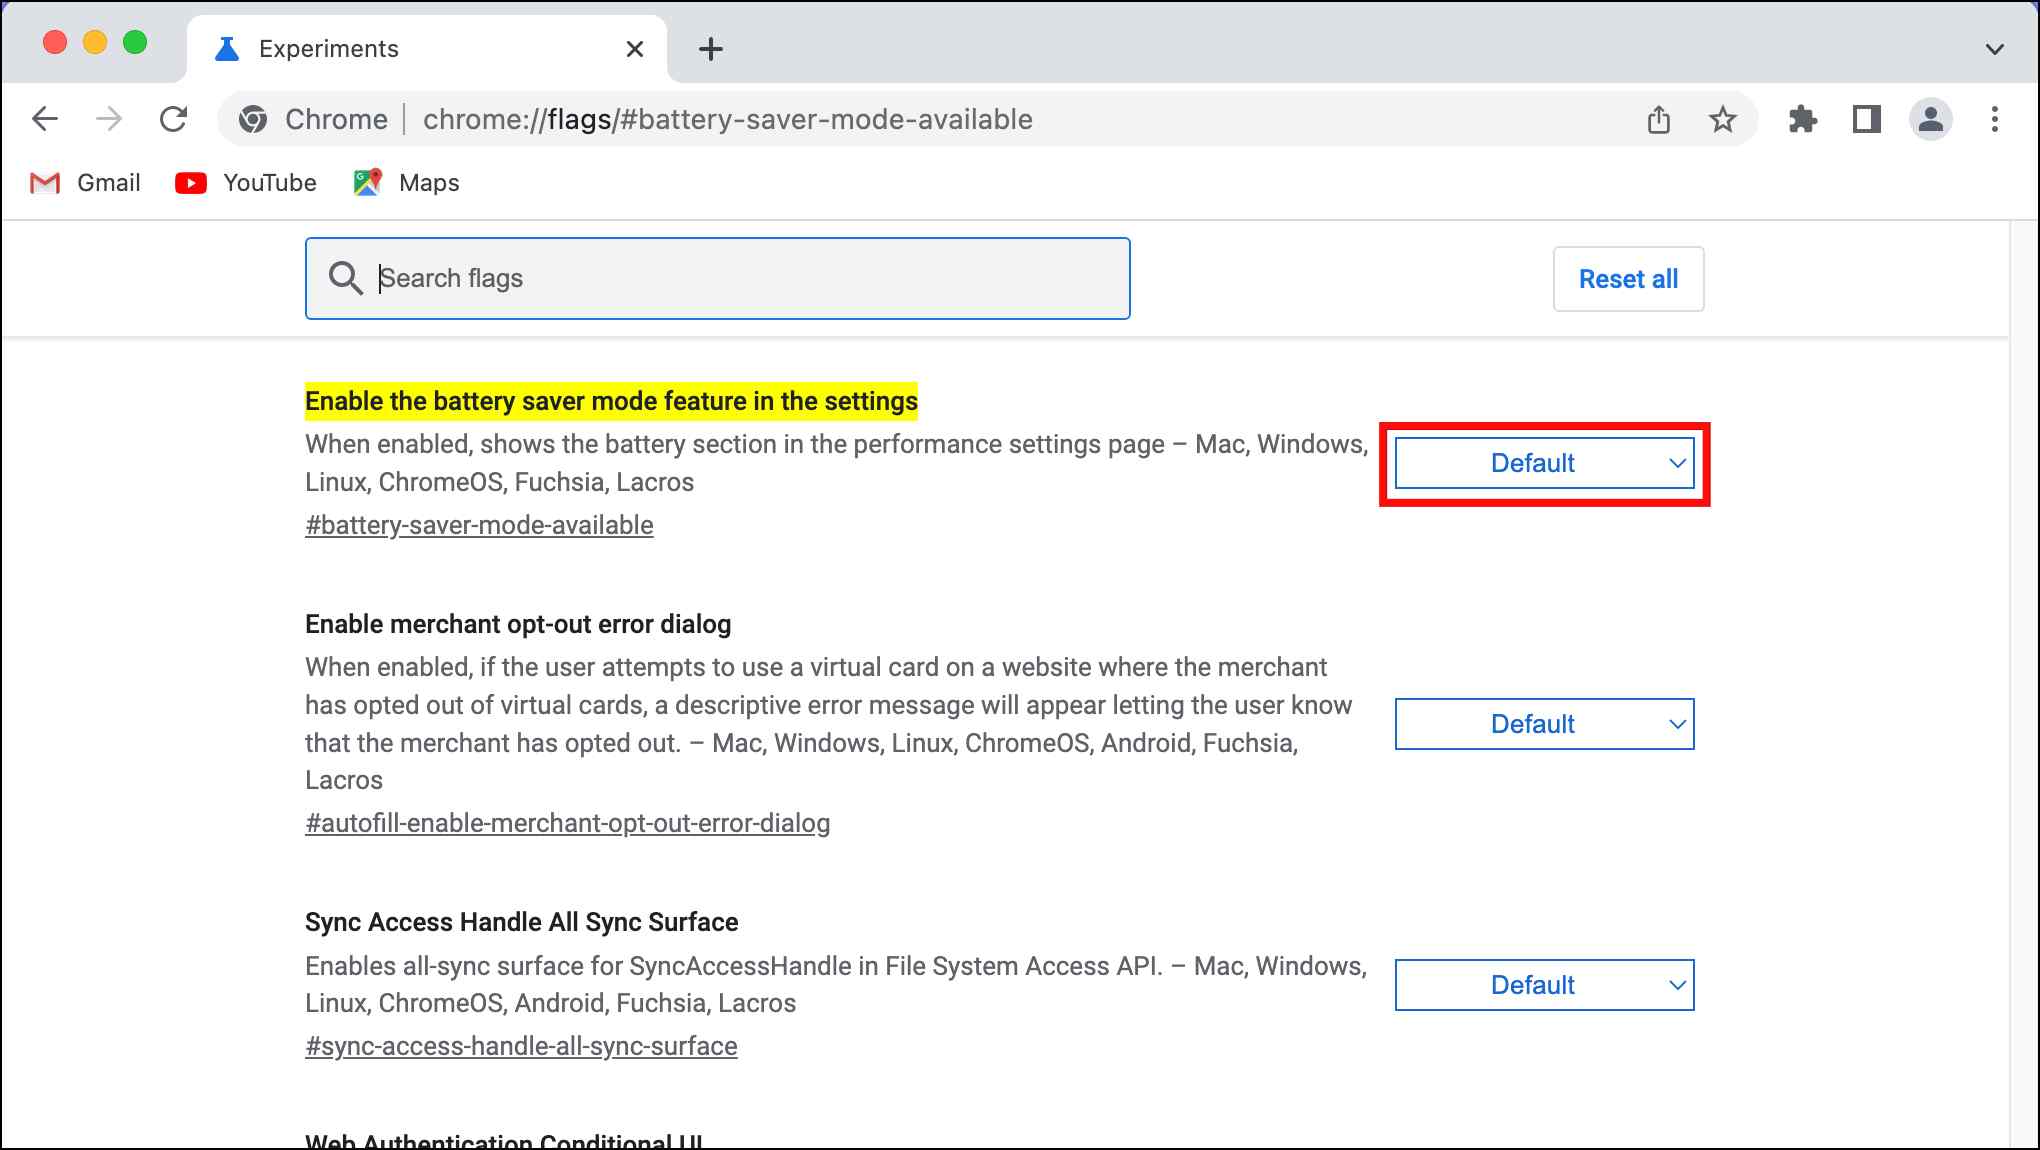
Step 1: Type chrome://flags/#battery-saver-mode-available in the Chrome address bar.
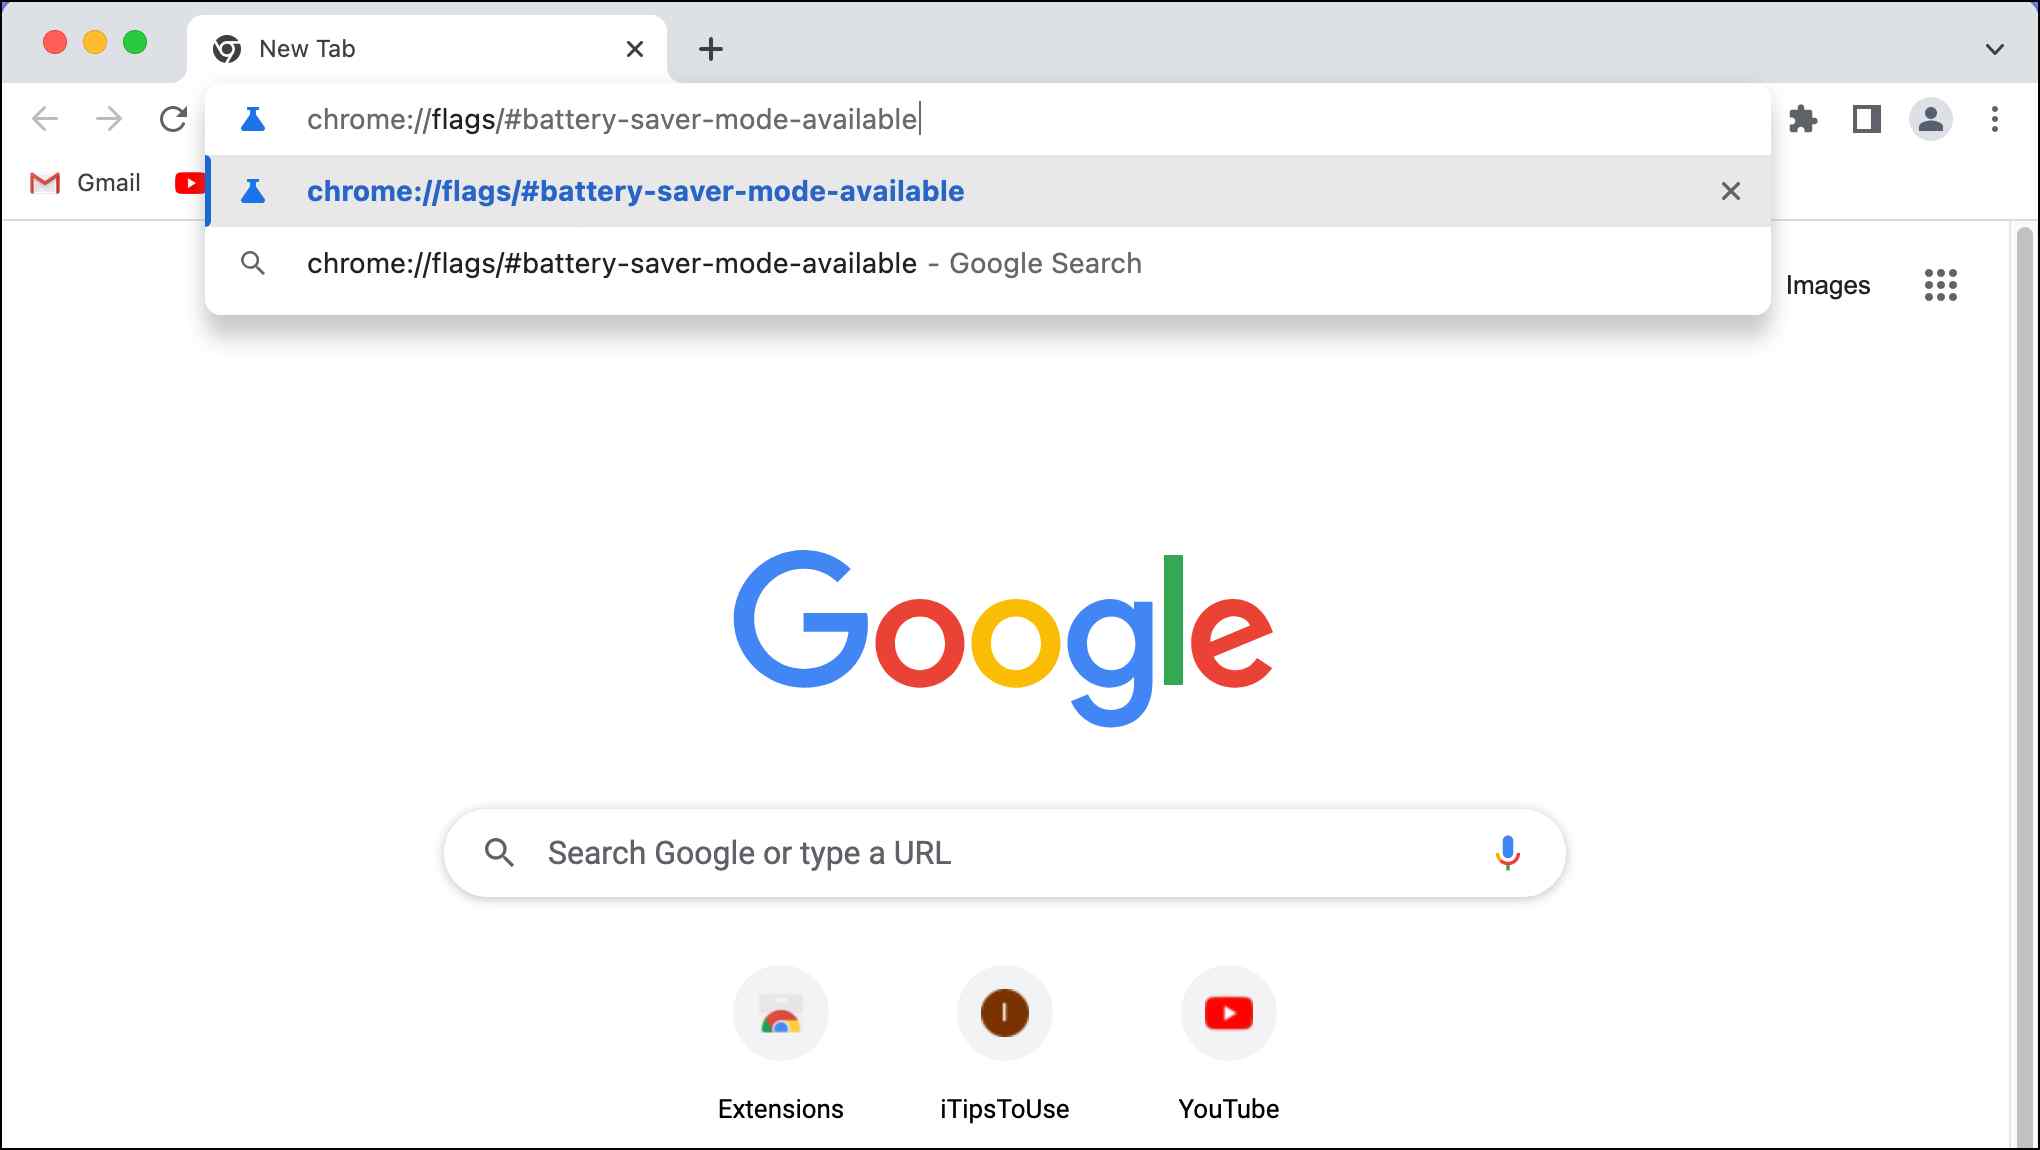
Step 2: Click on the box next to Enable the battery saver mode feature in the settings.
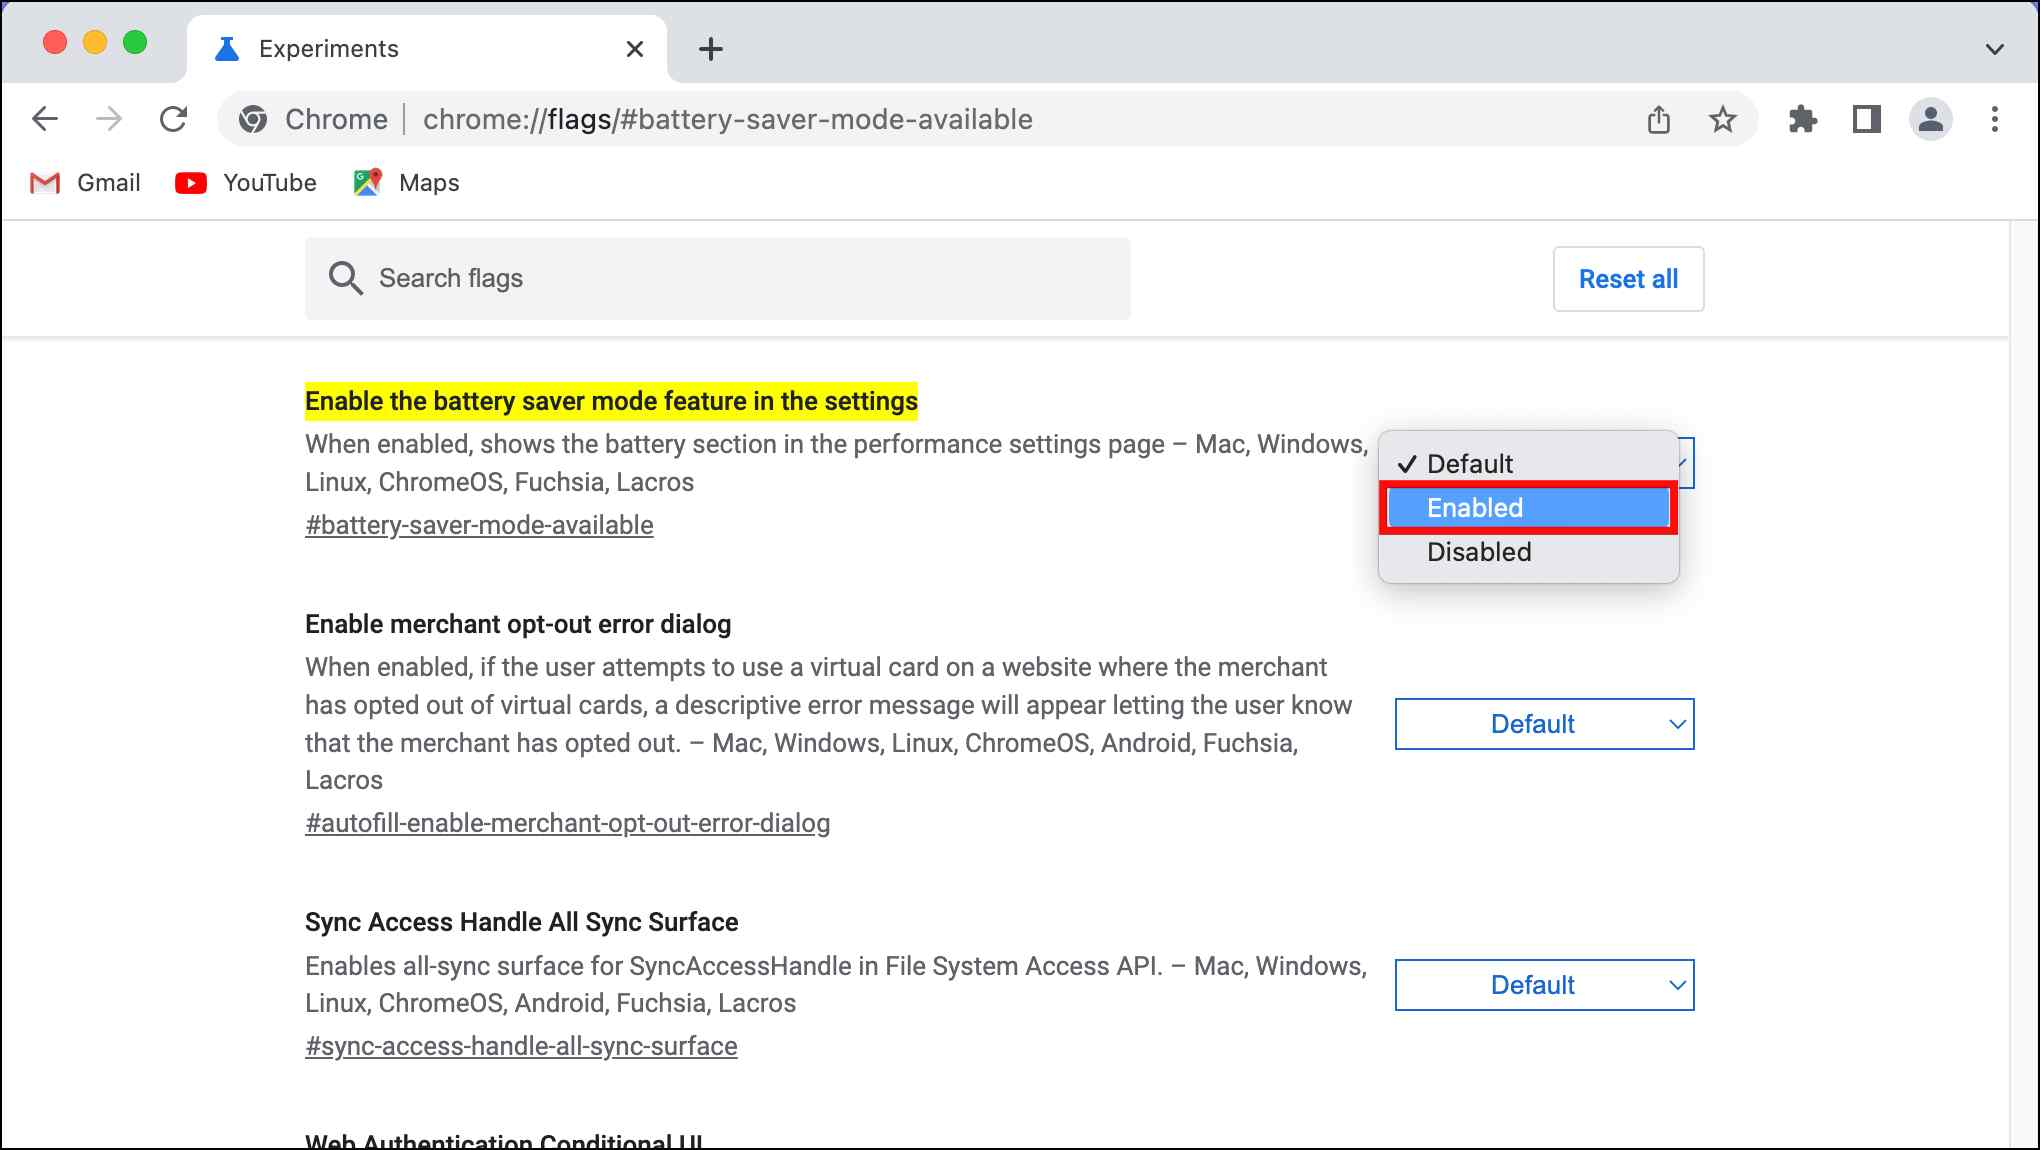
Step 3: Select Enabled.
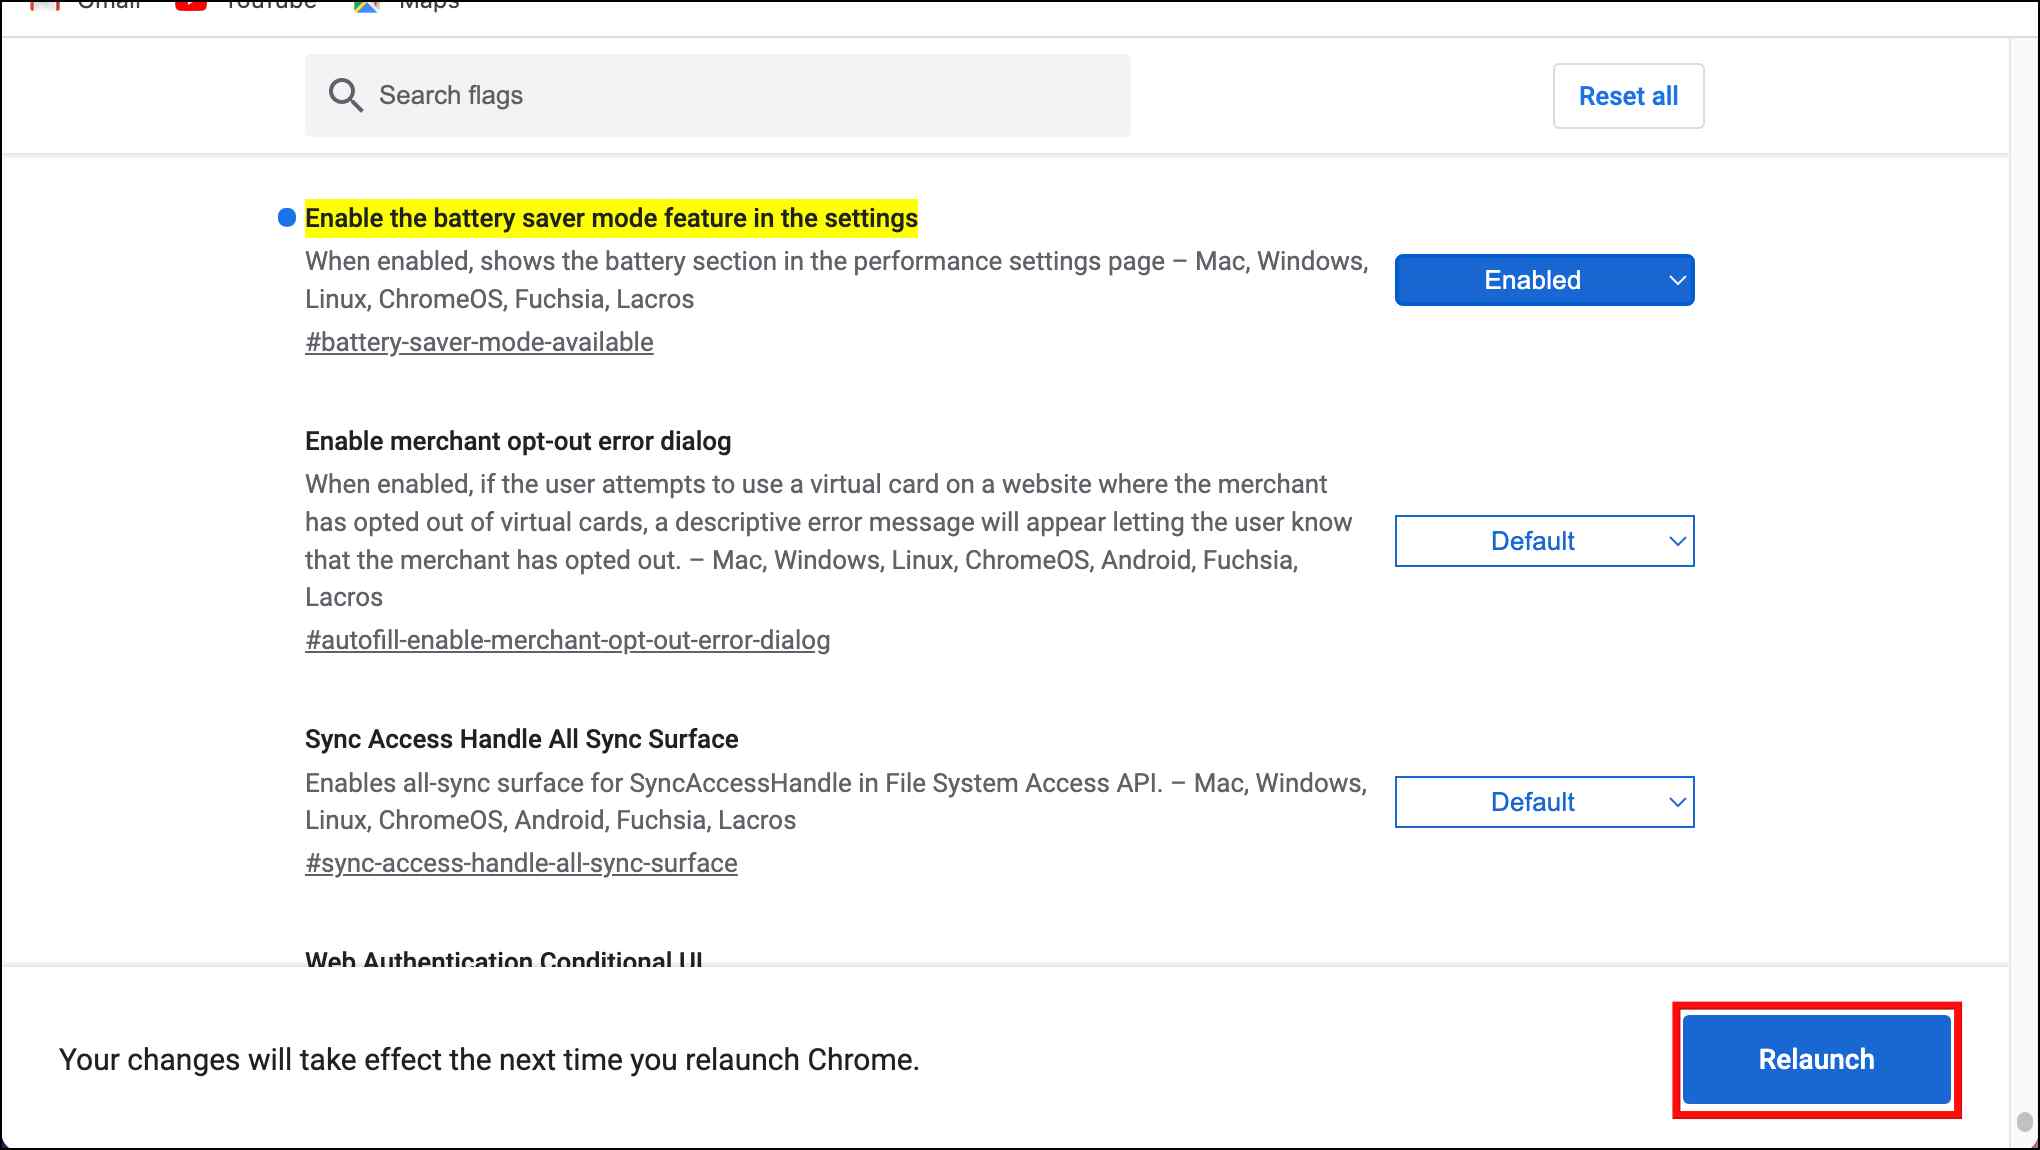
Step 4: Click on Relaunch to restart the browser.
If you have received the Performance settings, then you can skip these steps.
Step 5: On Chrome, click on the three-dot menu.
Step 6: Visit Settings.
Step 7: Go to the Performance option.
Step 8: Turn on the toggle for the Energy saver.
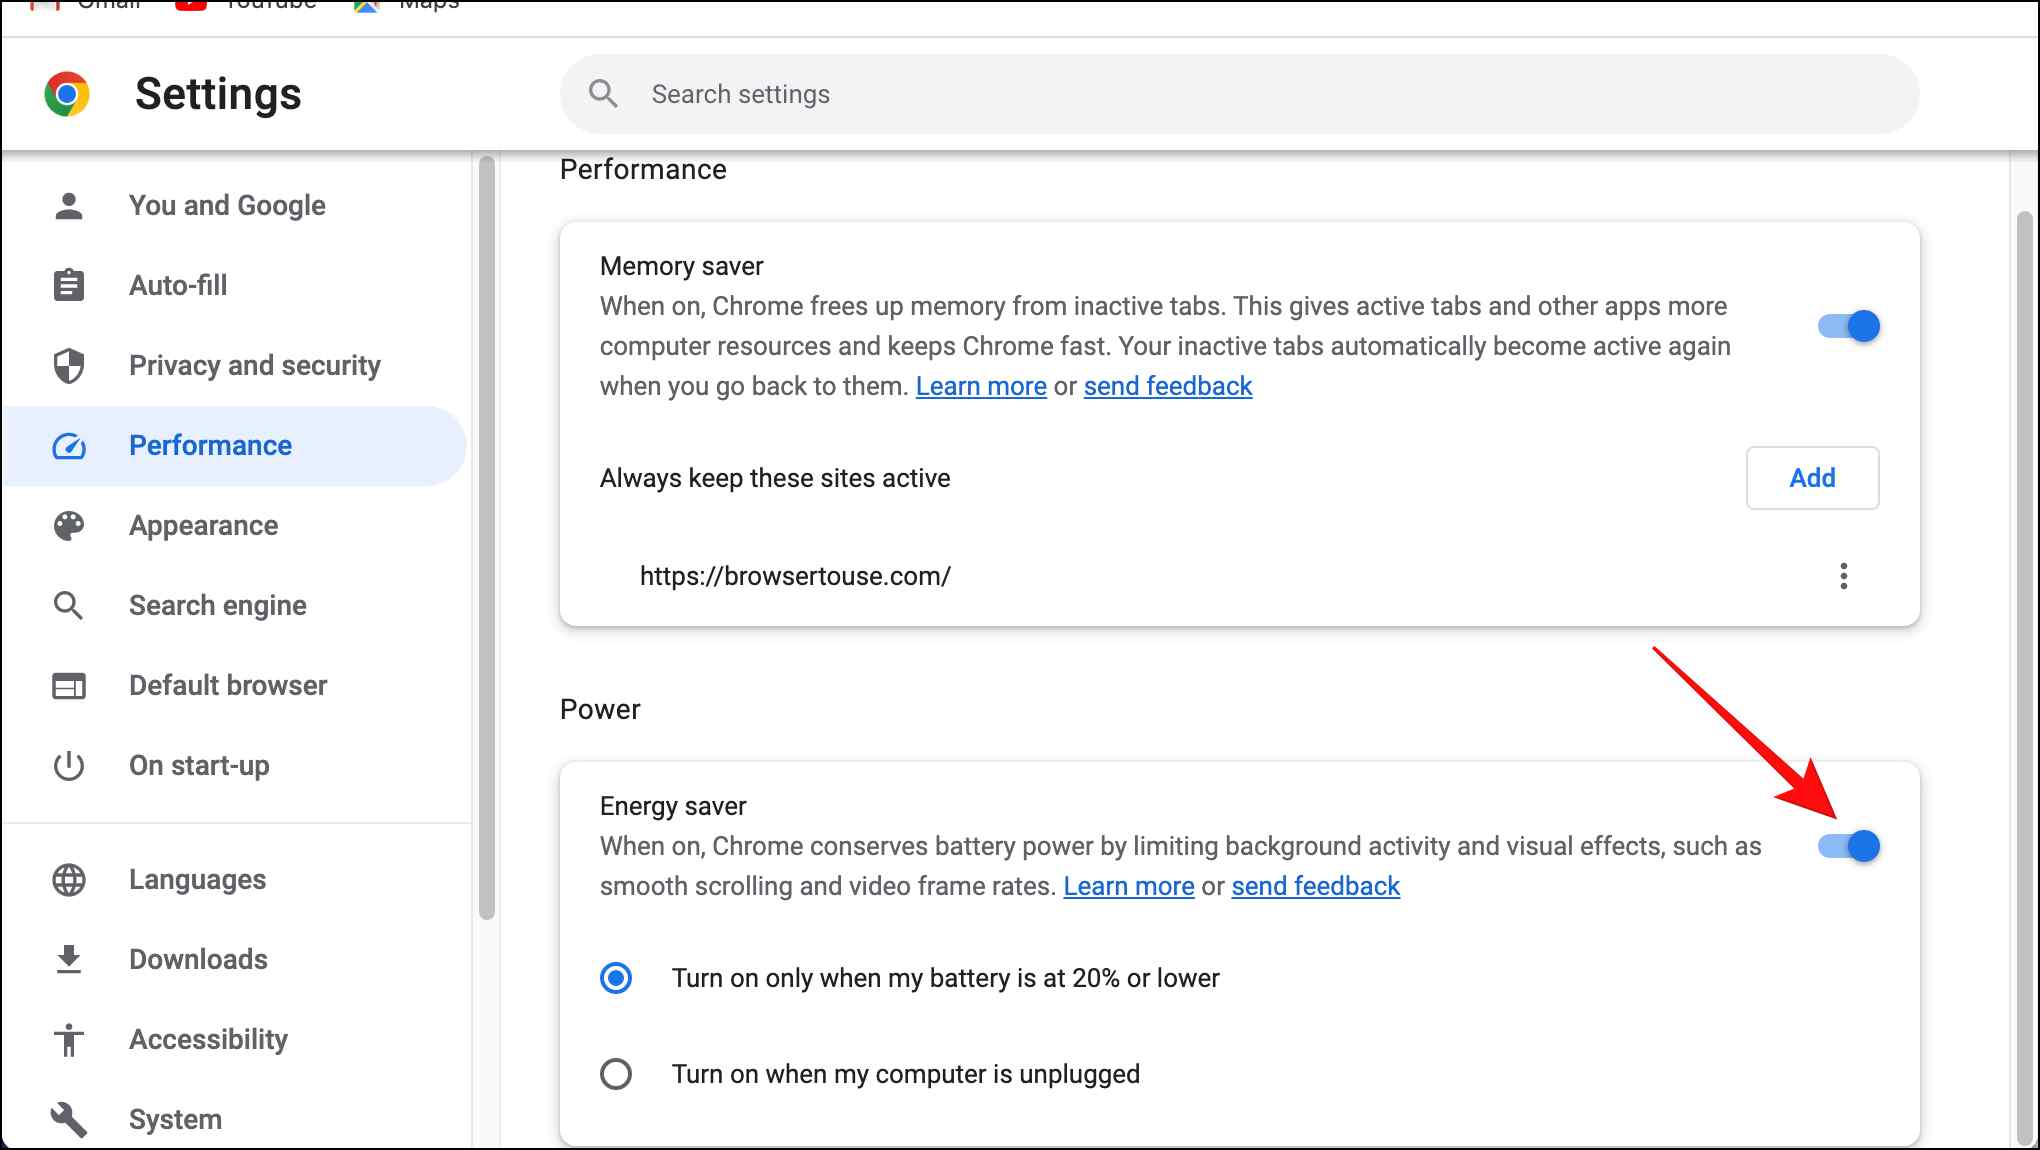
Chrome lets you select between two battery saver plans: Turn on only when my battery is at 20% or lower or Turn on when my computer is unplugged. You can go with whichever option you prefer.
Enable Battery Saver on Windows and macOS
All operating systems these days come equipped with some battery saver mode so the user can get some more juice out of their machine and save their progress before the system dies out. So if Chrome’s Energy saver mode isn’t enough and you wish to extend your battery life further, then here is how you can enable battery saver mode in Windows and Mac.
Enable Battery Saver on Windows
Step 1: Click on the Battery icon on the right side of the toolbar.

Step 2: Tap on the Battery Saver tile to enable it.
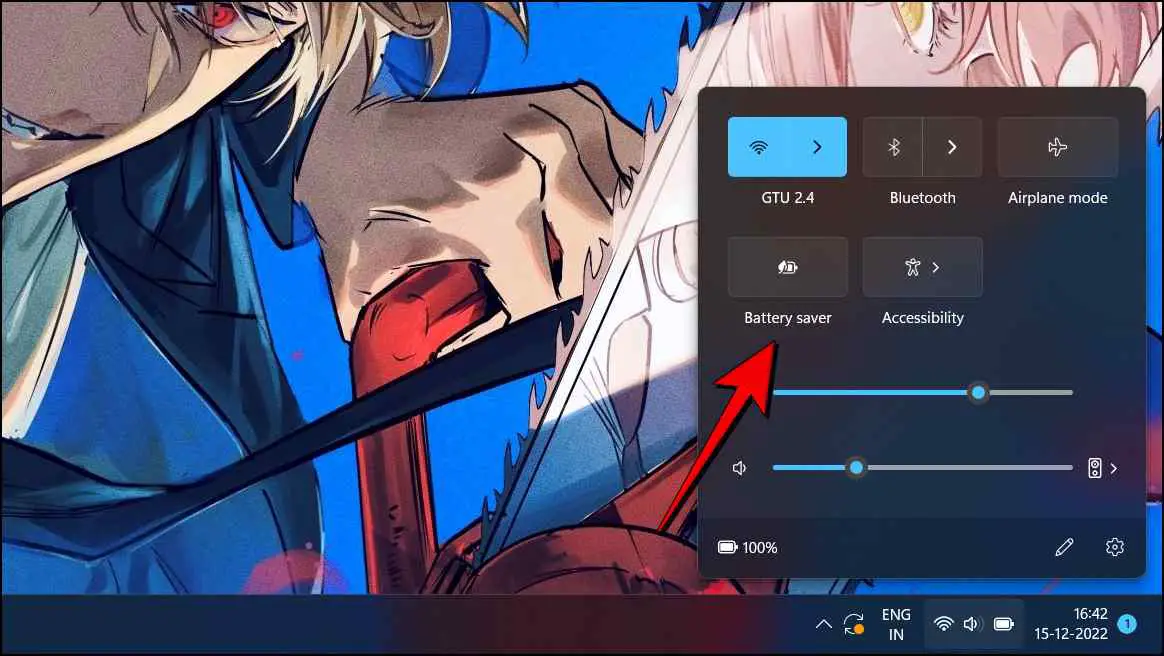
It will be greyed out if your system is plugged in.
Enable Battery Saver on Mac
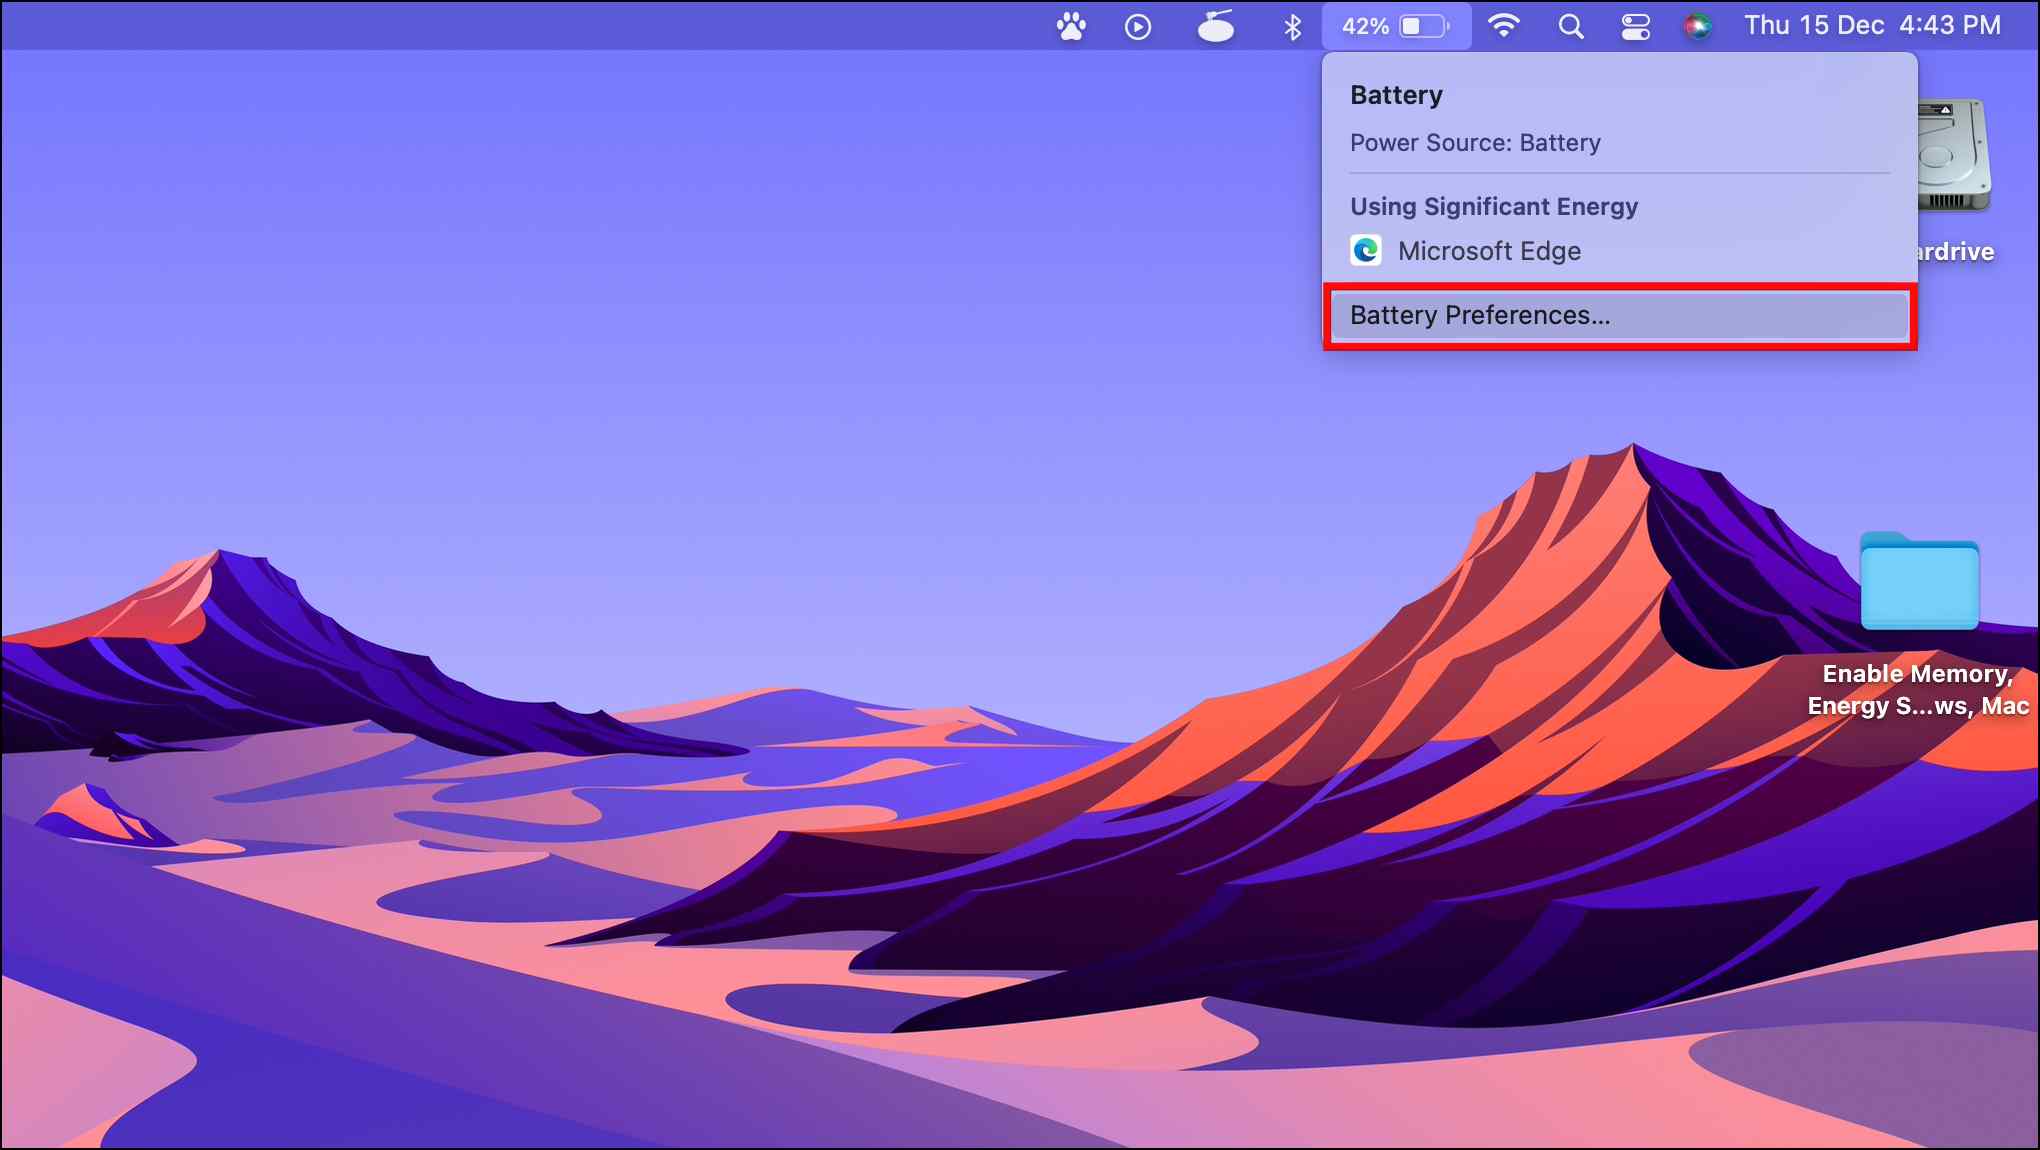
Step 1: Click on the battery icon in the status bar at the top.

Step 2: Select Battery Preferences…
Step 3: Tick the box for Low power mode.
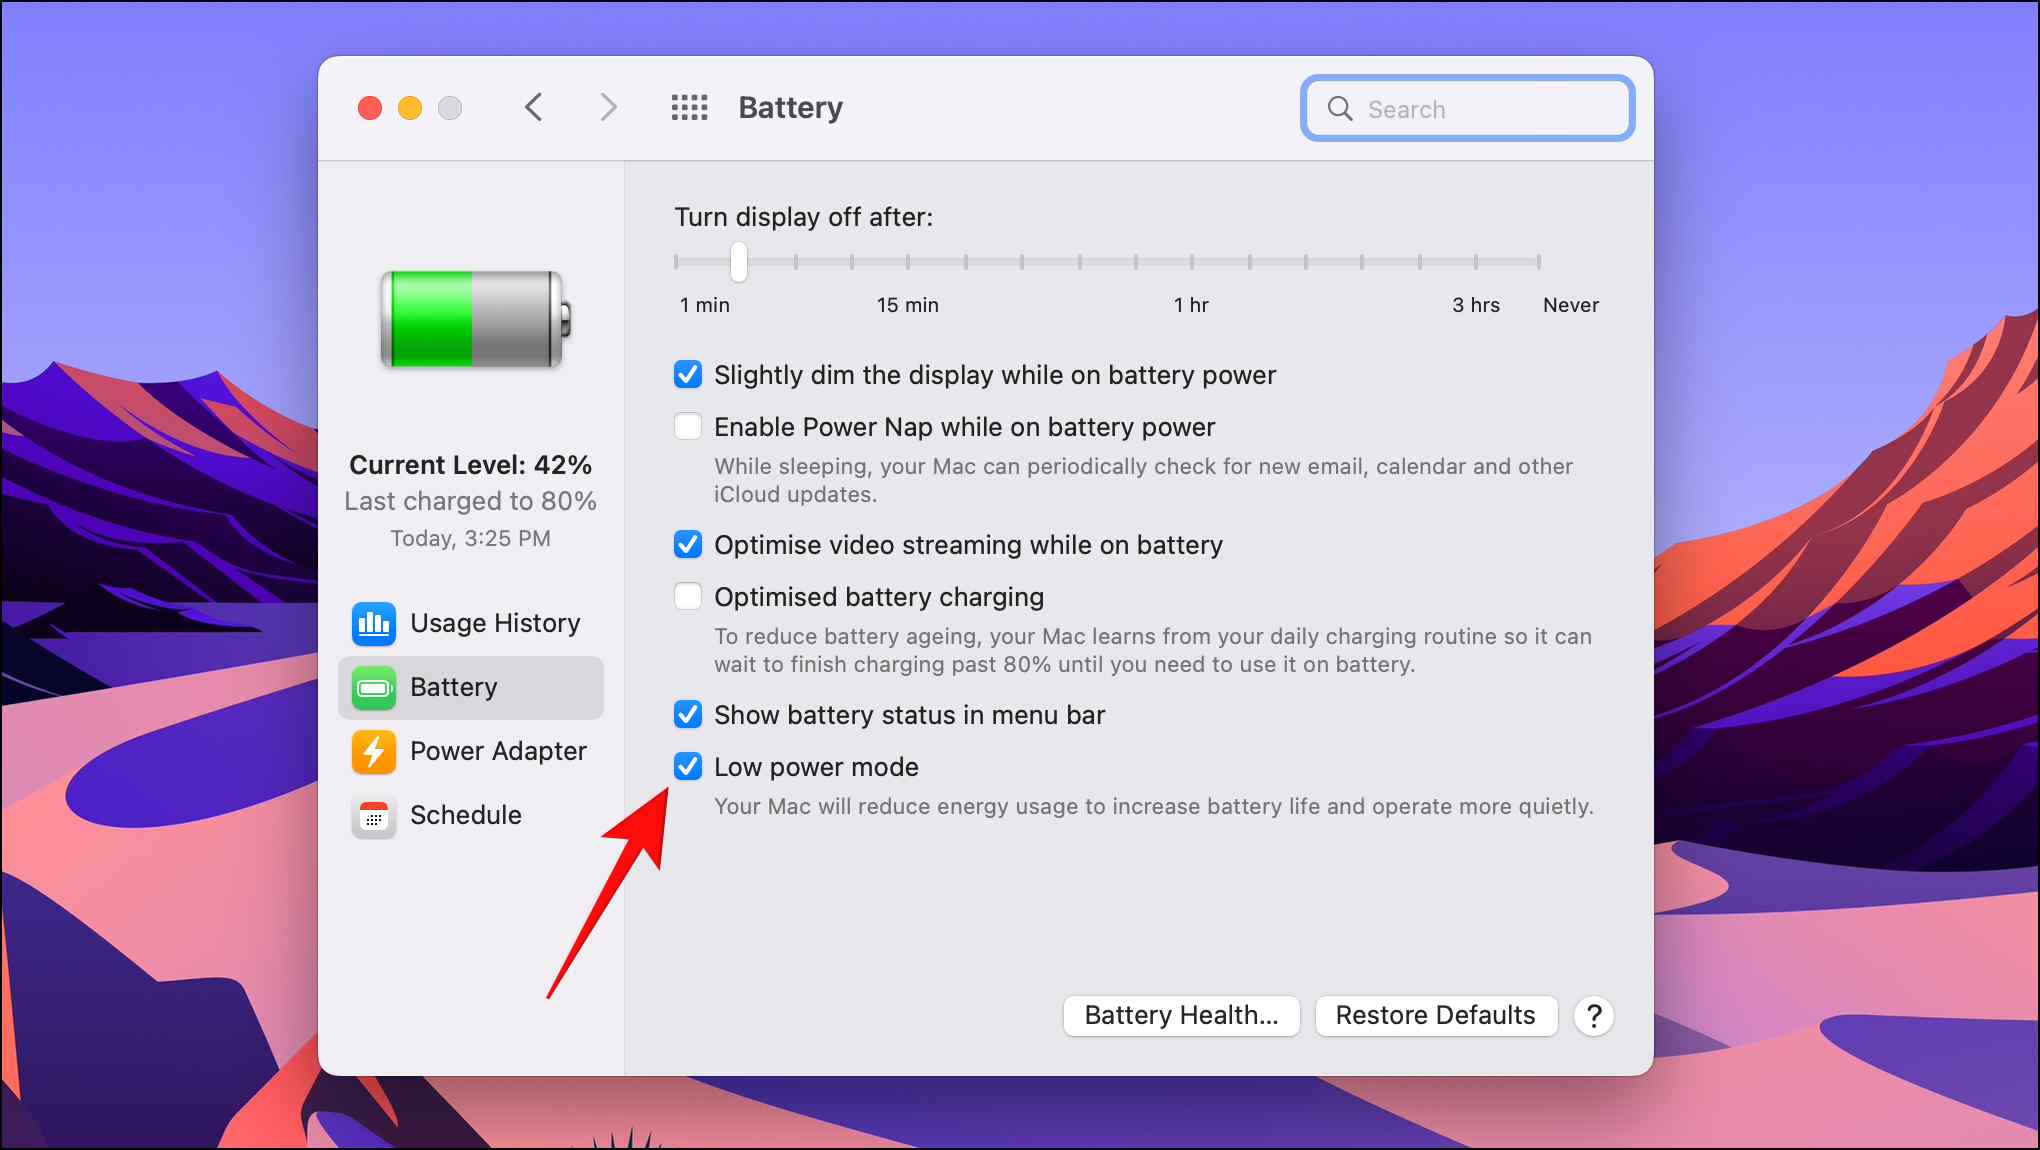
The Low power mode in Mac devices lowers system performance and animations to increase battery life.
Frequently Asked Questions
Q. How Can I Enable Battery Saver Mode in Windows Settings?
To Enable battery saver mode in Windows, Go to Settings > System > Power & Battery > Select Battery Saver and then your preferred battery plan.
Q. Which Chrome Version Introduces the Memory and Energy Saver Mode?
Chrome version 108 and above will bring the memory and energy saver options to the browser. If you are already on this version, you need to wait as the update is slowly being rolled out.
You can also enable these features using the following Chrome flags:
- chrome://flags/#high-efficiency-mode-available
- chrome://flags/#battery-saver-mode-available
Q. Where Can I Find the Memory and Energy Saver Mode in Chrome?
Chrome has added a Performance section with the 108 updates in Chrome settings. This is where you will be able to find the Memory and Energy saver options.
Wrapping Up
Both the Energy and Memory Saver modes are a welcome addition to Chrome and will be appreciated a lot by Chrome users and other Chromium-based browsers. Hopefully, we will see more options being added in the performance section over time to improve the browser’s overall efficiency. Do let us know if you have any queries related to this article, and stay tuned on Browser To Use for more such articles and How-Tos.
Related:


