While browsing the web, you may come across quotes, text, or images that you’d want to share with friends and family. In that situation, you’ll either send the link to the webpage or take a screenshot of the specific part of the page. While it’s easy to take screenshots on smartphones, the same can’t be said about desktops. Interestingly, Mozilla has fixed this problem by adding a built-in screenshot tool in its Firefox browser. Here in this article, I have explained how you can take screenshots using Firefox Screenshot Tool.
Related | How to Enable & Use Built-in Screenshot Tool in Google Chrome for Android
Take Screenshots Using Built-in Screenshot Tool in Firefox
Mozilla is regularly adding interesting features to its Firefox browser. One such feature is the built-in screenshot tool. Follow the below steps to understand how you can use this feature on your Firefox browser.
Step 1: Open the webpage that you want to take a screenshot of in the Firefox browser.
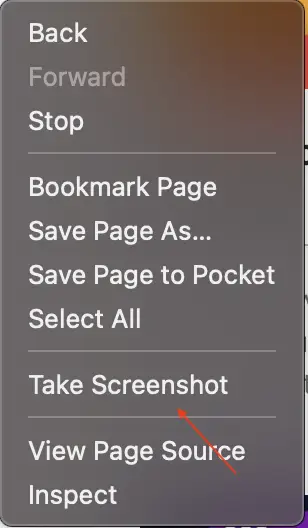
Step 2: Once the page is opened, right-click anywhere on the page if you use Windows OR tap with two fingers on your Mac to open Firefox main action menu.
Step 3: Among the menu options, select the Take Screenshot option.
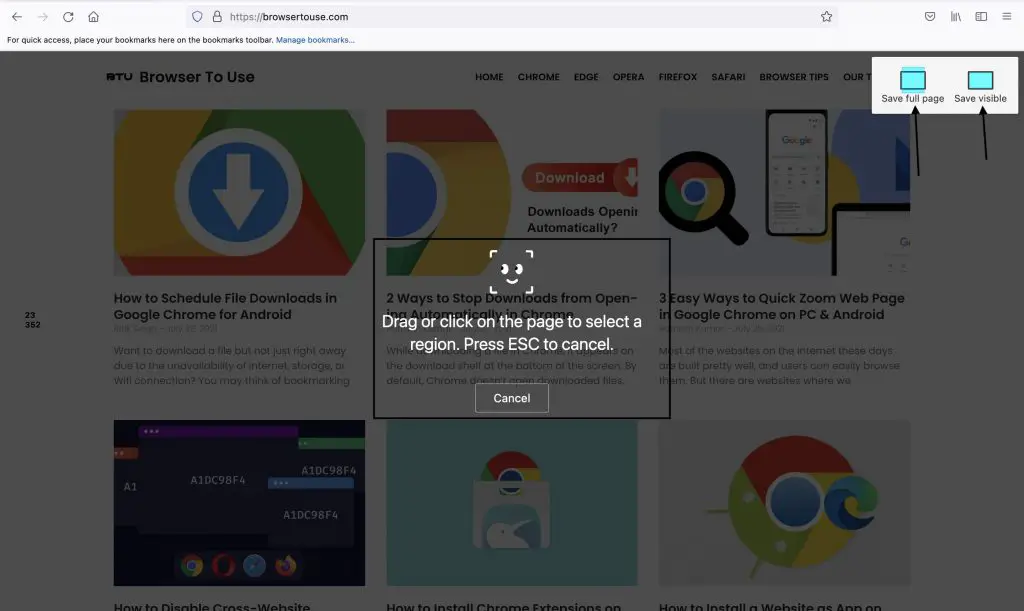
Step 4: In the right corner of your screen, you will get two options- Save Full Page and Save visible. If you want to capture the full webpage, tap on Save Full Page. However, if you want to capture only the visible window, tap on Save Visible.
When you want to capture a particular area of your screen, drag or click on the webpage to select the area you want to capture. If you change your mind and don’t want to take a screenshot anymore, press the Esc key to cancel the process.
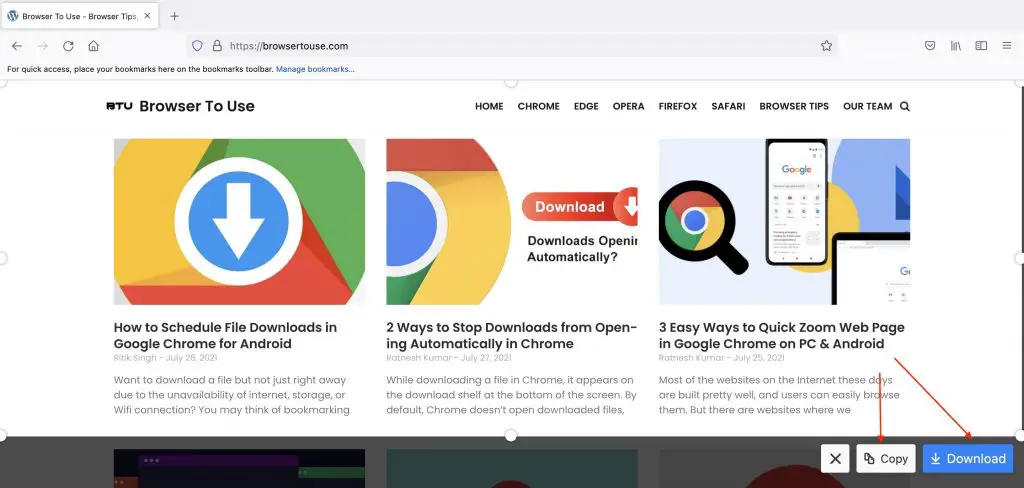
Step 5: Once you have captured the screen, you will get two options to save it. Tapping Copy will add the screenshot in your clipboard, so you can paste it in chat, email notes, or pretty much anywhere you want. At the same time, the Download option saves the screenshot as a file on your computer.
Add Firefox’s Built-In Screenshot Tool to Toolbar
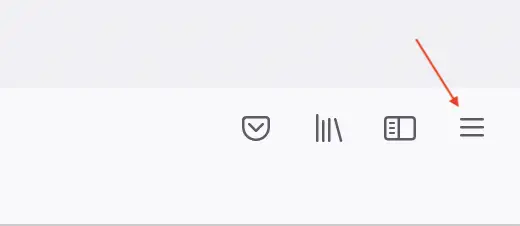
Step 1: Open Firefox on your Windows or Mac computer. Tap on the Open Application Menu from the top right corner.
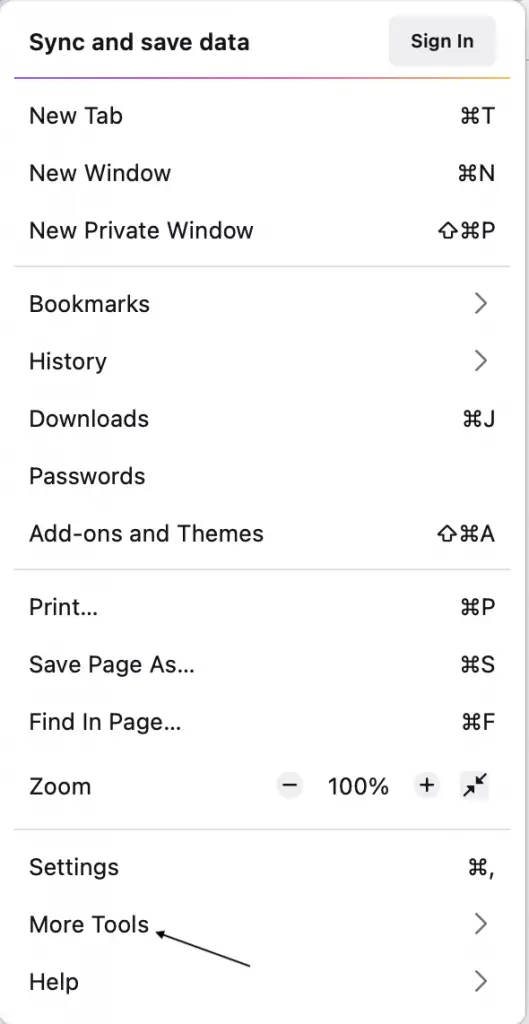
Step 2: Select More Tools.
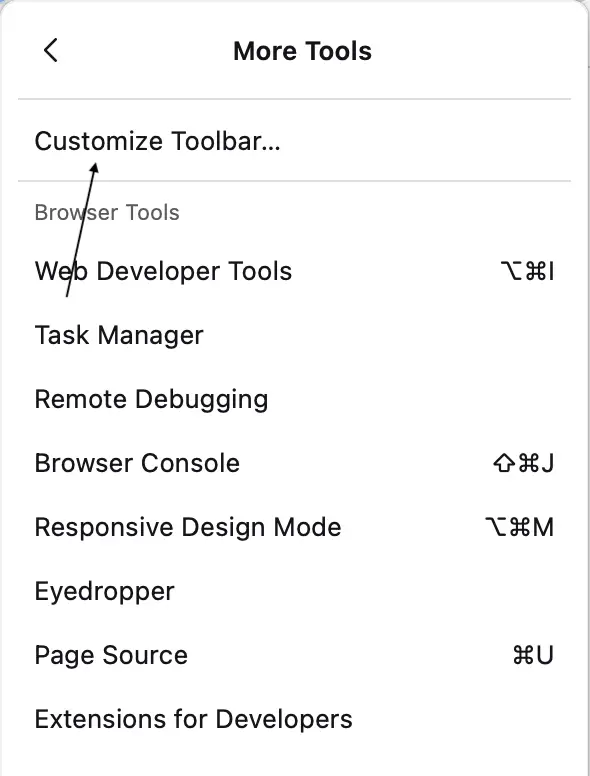
Step 3: Under More Tools, tap on Customize Toolbar…
Step 4: Here, you will see all the items that you can add to the toolbar. Look for the Screenshot option- drag and drop it to the toolbar.
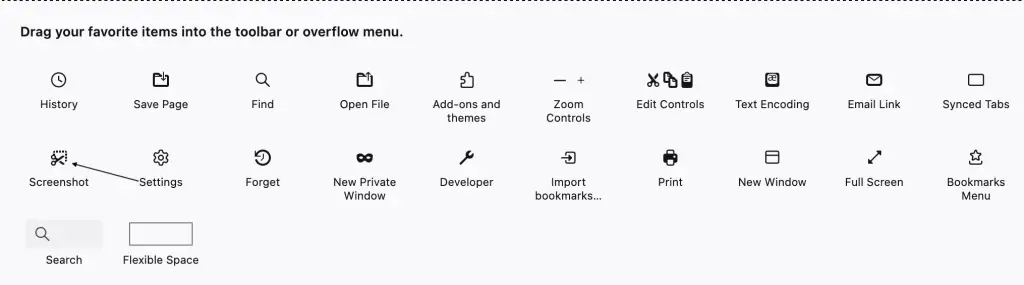
Step 5: Once you drag the screenshot into the toolbar, it will appear every time you visit web pages.
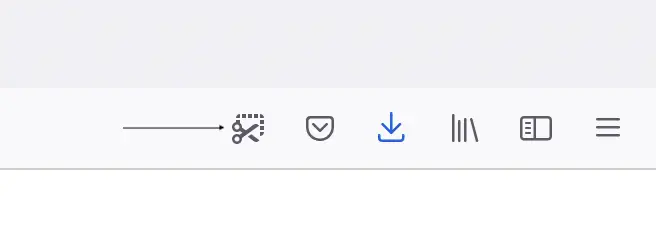
To take a screenshot of a page, tap the Screenshot icon in the toolbar and follow the same steps explained above in the article to capture the screen.
Final Words
Taking screenshots is a lot easier with the Firefox browser. You don’t have to look anywhere- just right-click on the webpage select the ‘Take Screenshot’ option to capture your screen. You can also add the Screenshot tool to your toolbar, so it will be just a tap away whenever you need it. Anyways, what do you think about this built-in screen tool in Firefox? Do let us know in the comment section.