
Sometimes you find an interesting website, but some visuals and images are so small that it is impossible to understand them. Yes, it does get annoying, but fortunately, Google Chrome allows you to zoom into web pages. In this article, we will help you explore methods using which you can set custom zoom levels for websites in Chrome.
Related | Google Chrome Screenshot Tool Guide: All Features and Tips to Use
How to Set Custom Zoom Levels on Websites in Chrome
The main intent of this article is to help you understand different methods to zoom in or out of a website. The default zoom panel on Chrome just lets you zoom in and out. But, many third-party extensions let you do so much more. We have covered two extensions and a built-in option to help you do so. Keep reading.
Method 1- Quickly Zoom into Websites
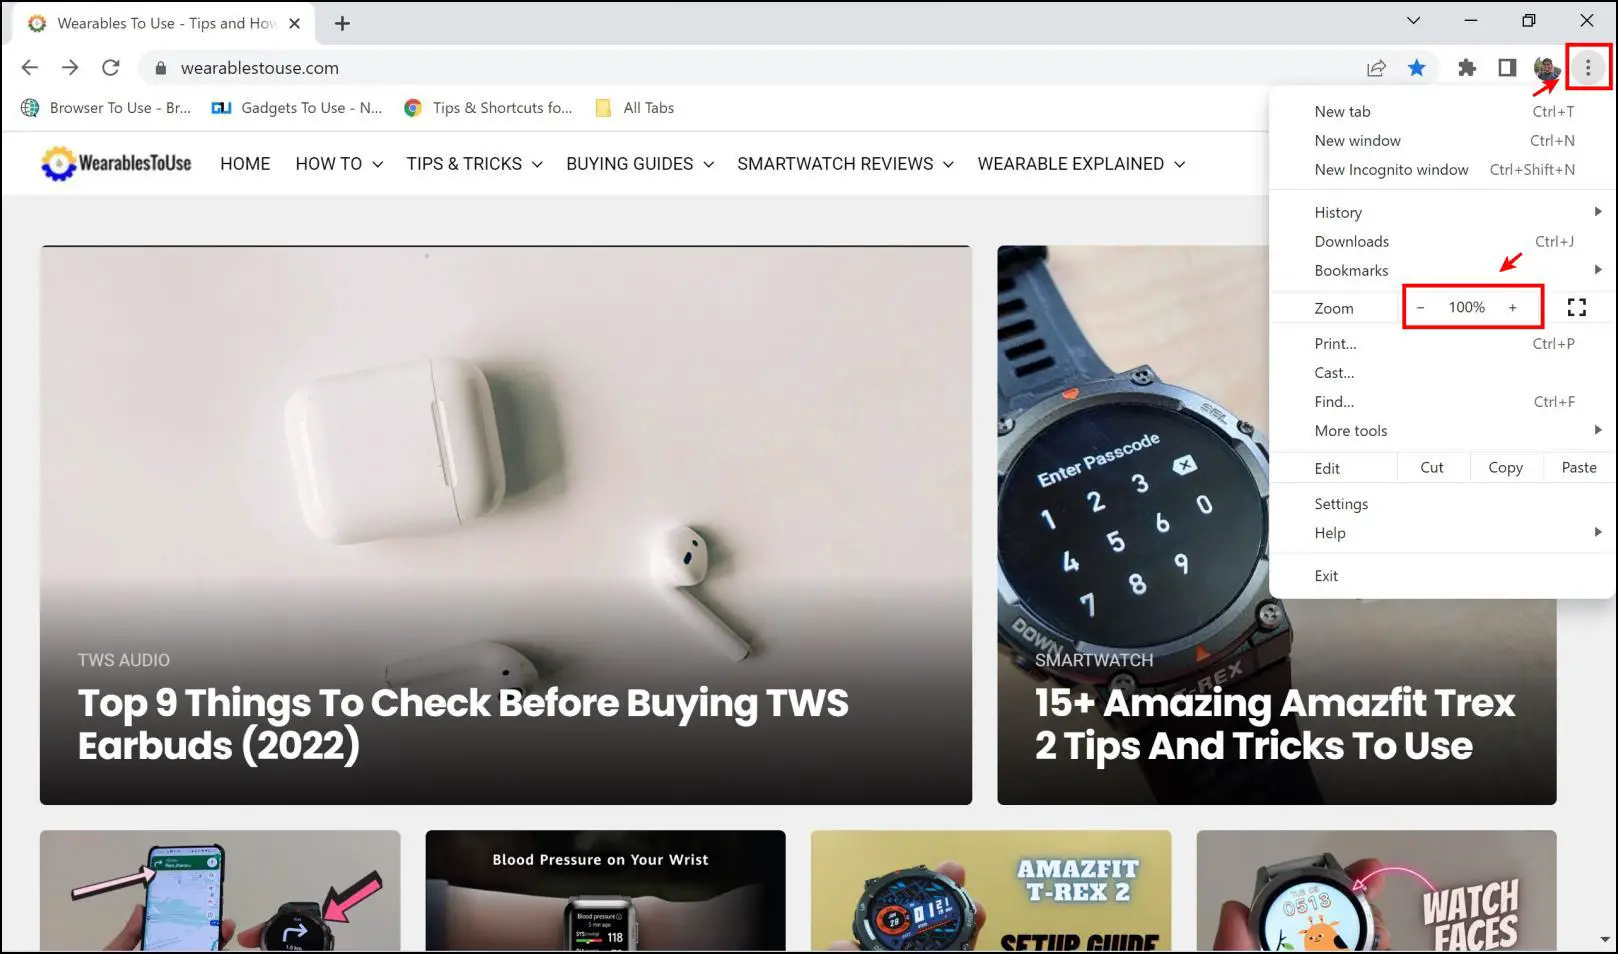
Step 1: Click on the three dots menu icon in the top right corner.
Step 2: You will find the zoom option. Using this, you can quickly zoom in and zoom out from websites.
Let’s say you have zoomed in/out to different levels on different websites. On Chrome, the setting remains the same for the website until you manually reset it. Here’s how you can erase the custom zoom levels for websites in Chrome.
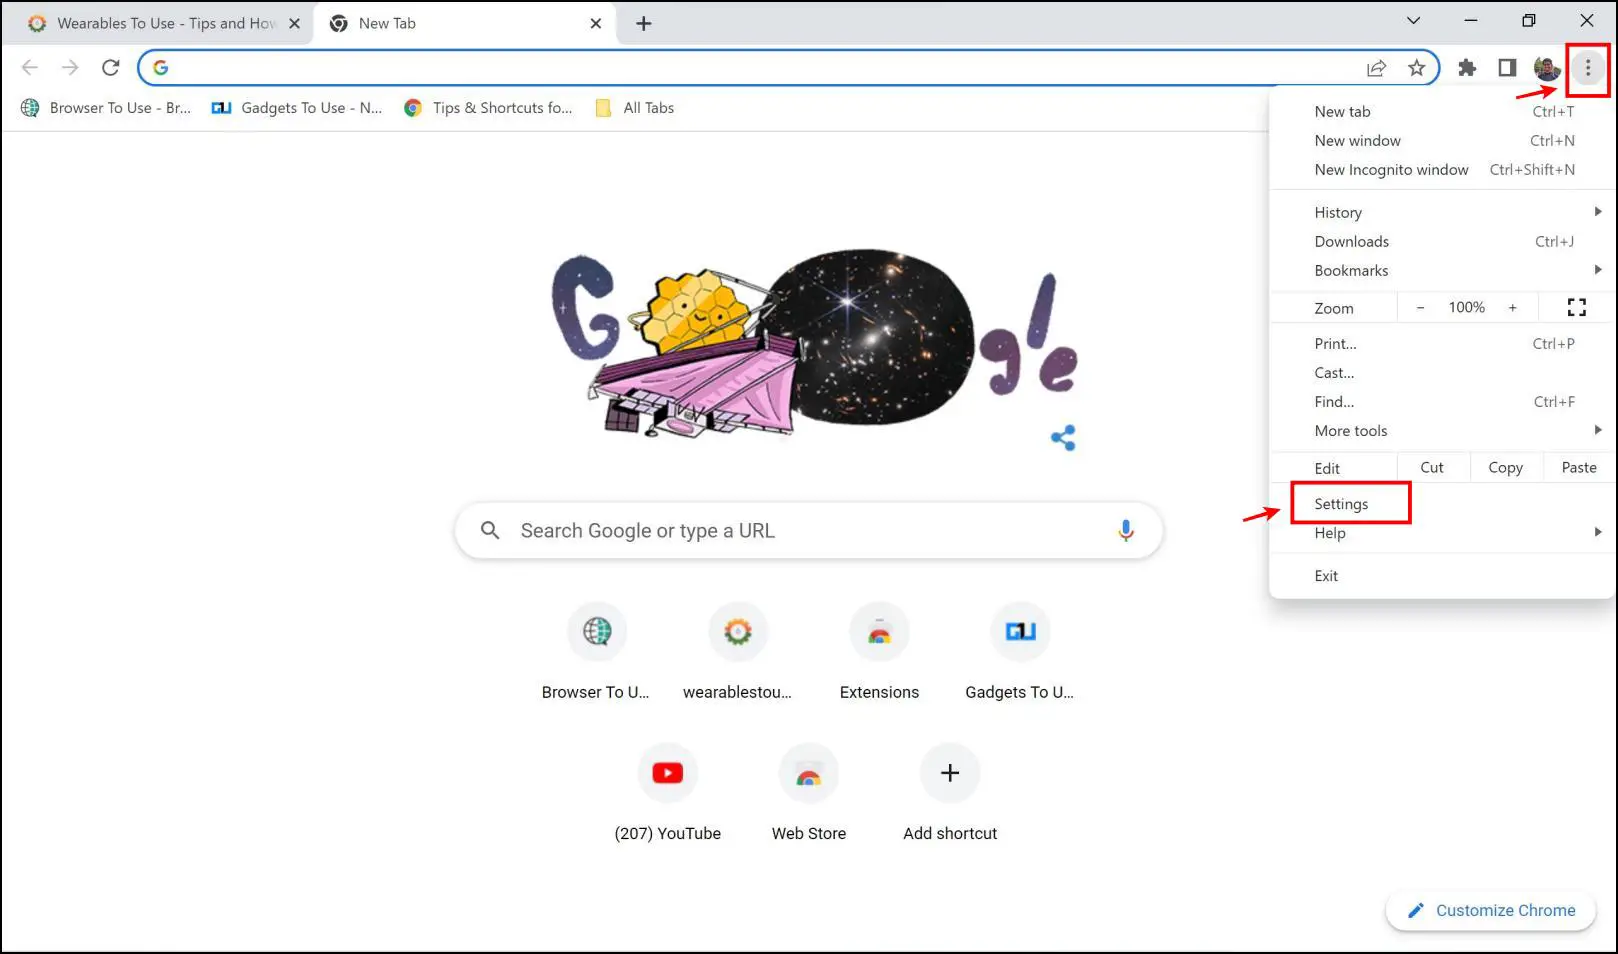
Step 3: Click on the three dots menu icon in the top right corner. Click on Settings.
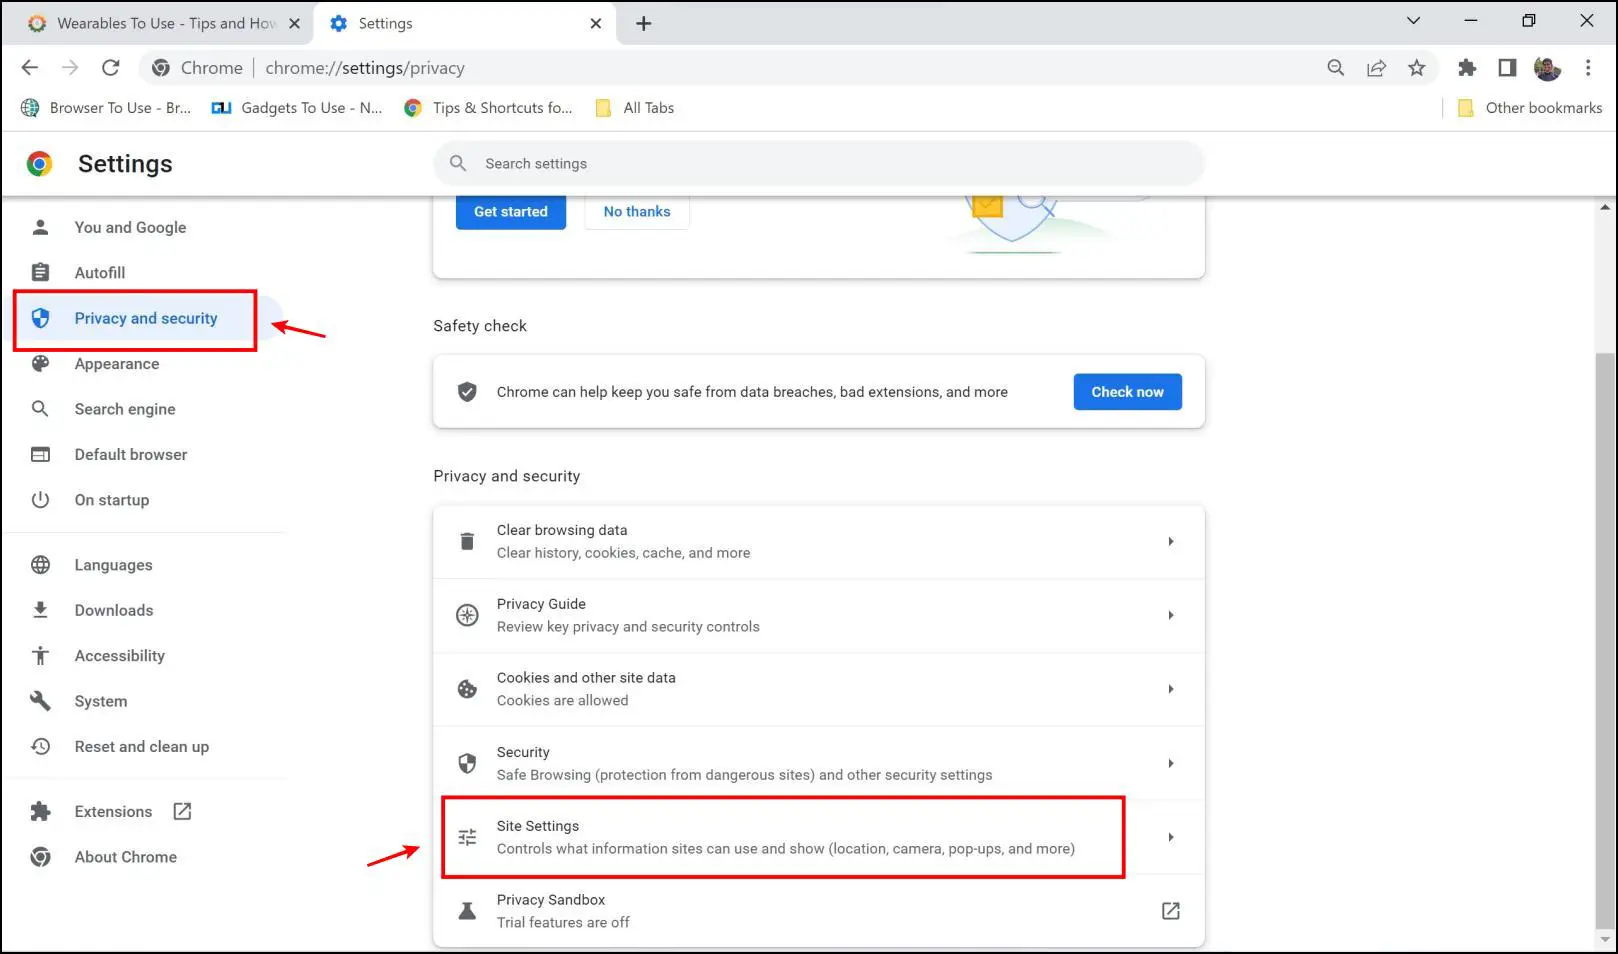
Step 4: Now, go to Privacy and Security.
Step 5: Click on Site Settings.
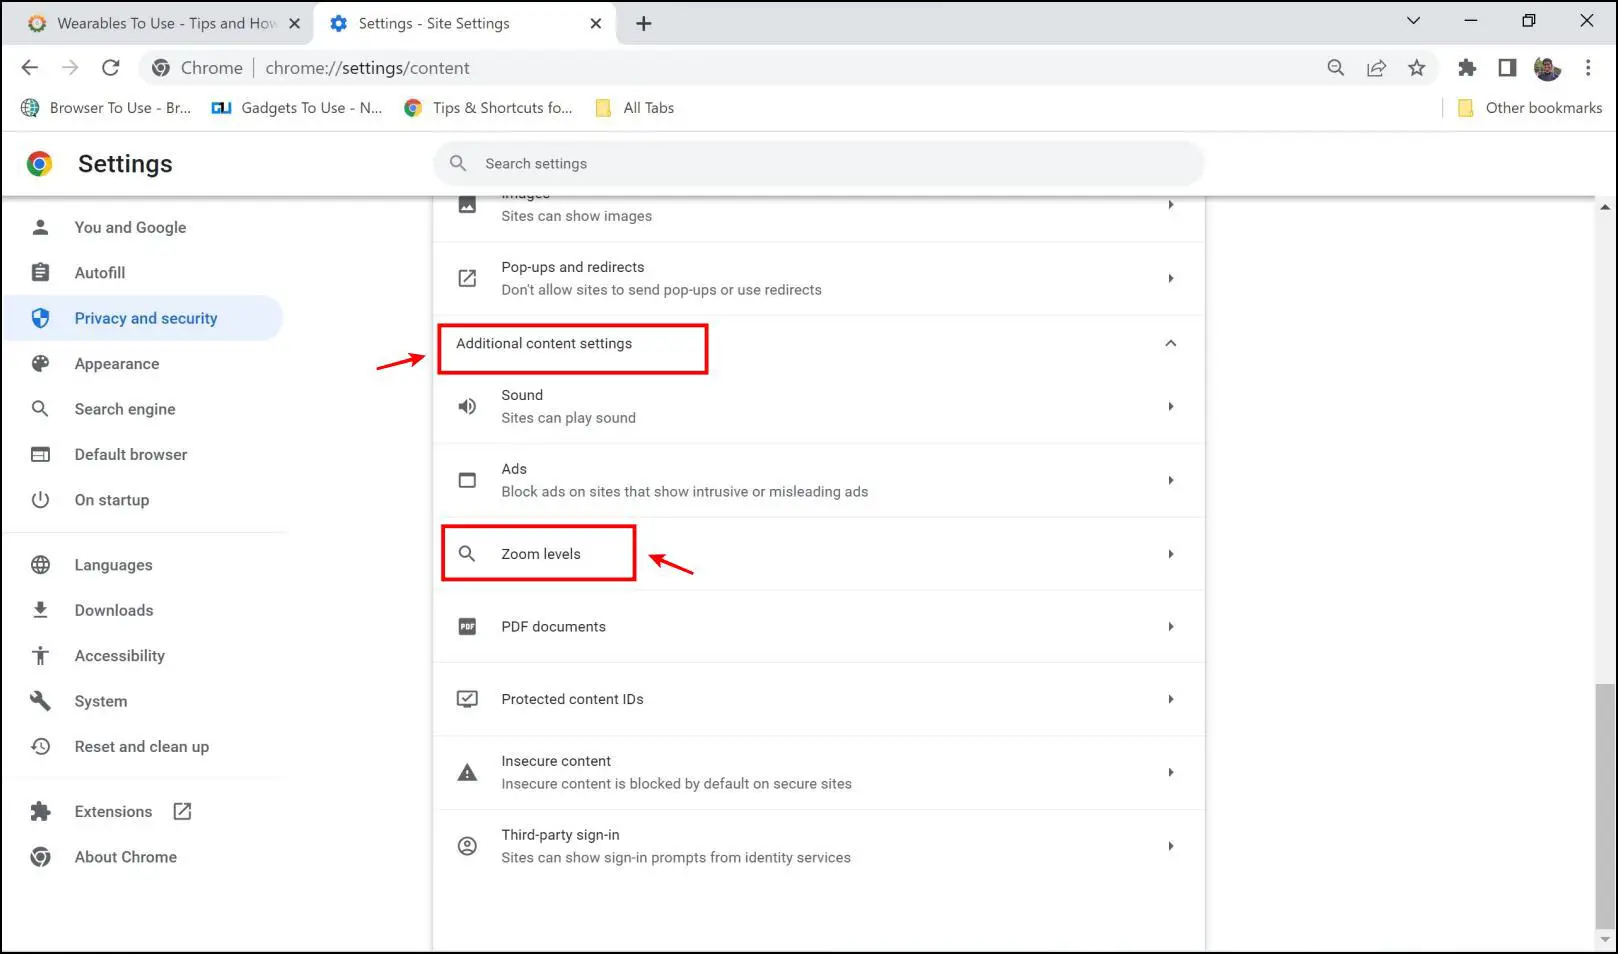
Step 6: Open the drop-down menu for Additional content settings. Click on Zoom levels.
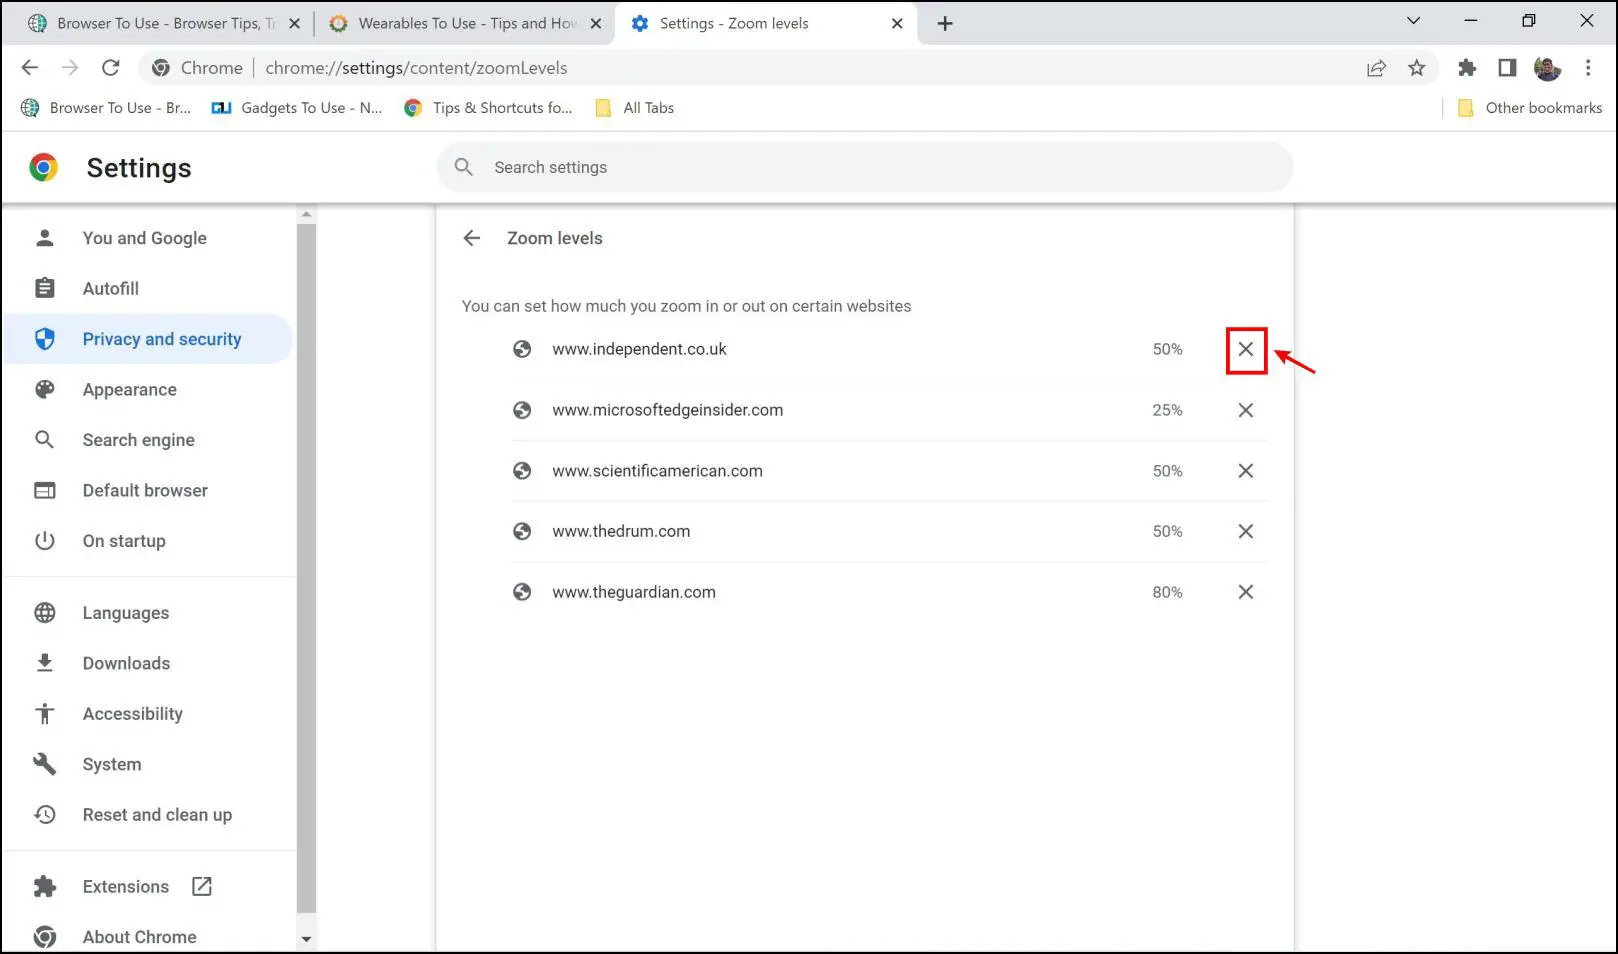
Step 7: You can now see the list of all the websites with different zoom levels. Click on the “X” icon to remove the zoom levels for the website.
Method 2- Custom Page Zoom Extension
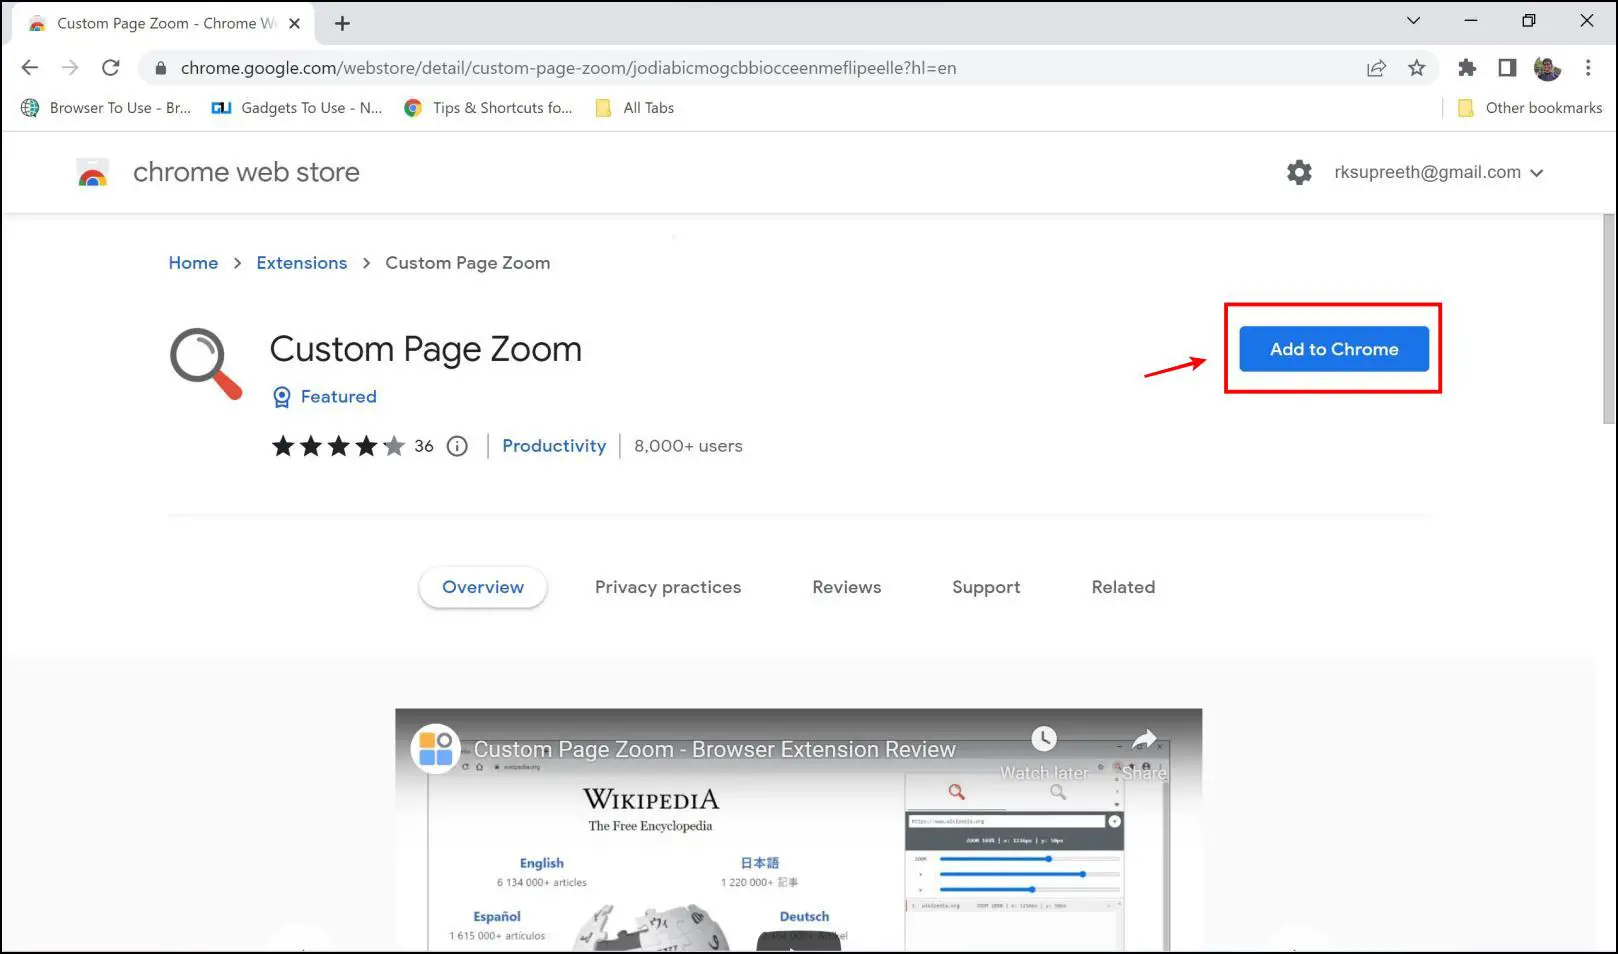
The Custom Page Zoom extension helps you set custom zoom levels for websites in Chrome. Here’s a step-by-step procedure to install and use the extension.
Step 1: Visit the extension page. Click on Add to Chrome > Add Extension.
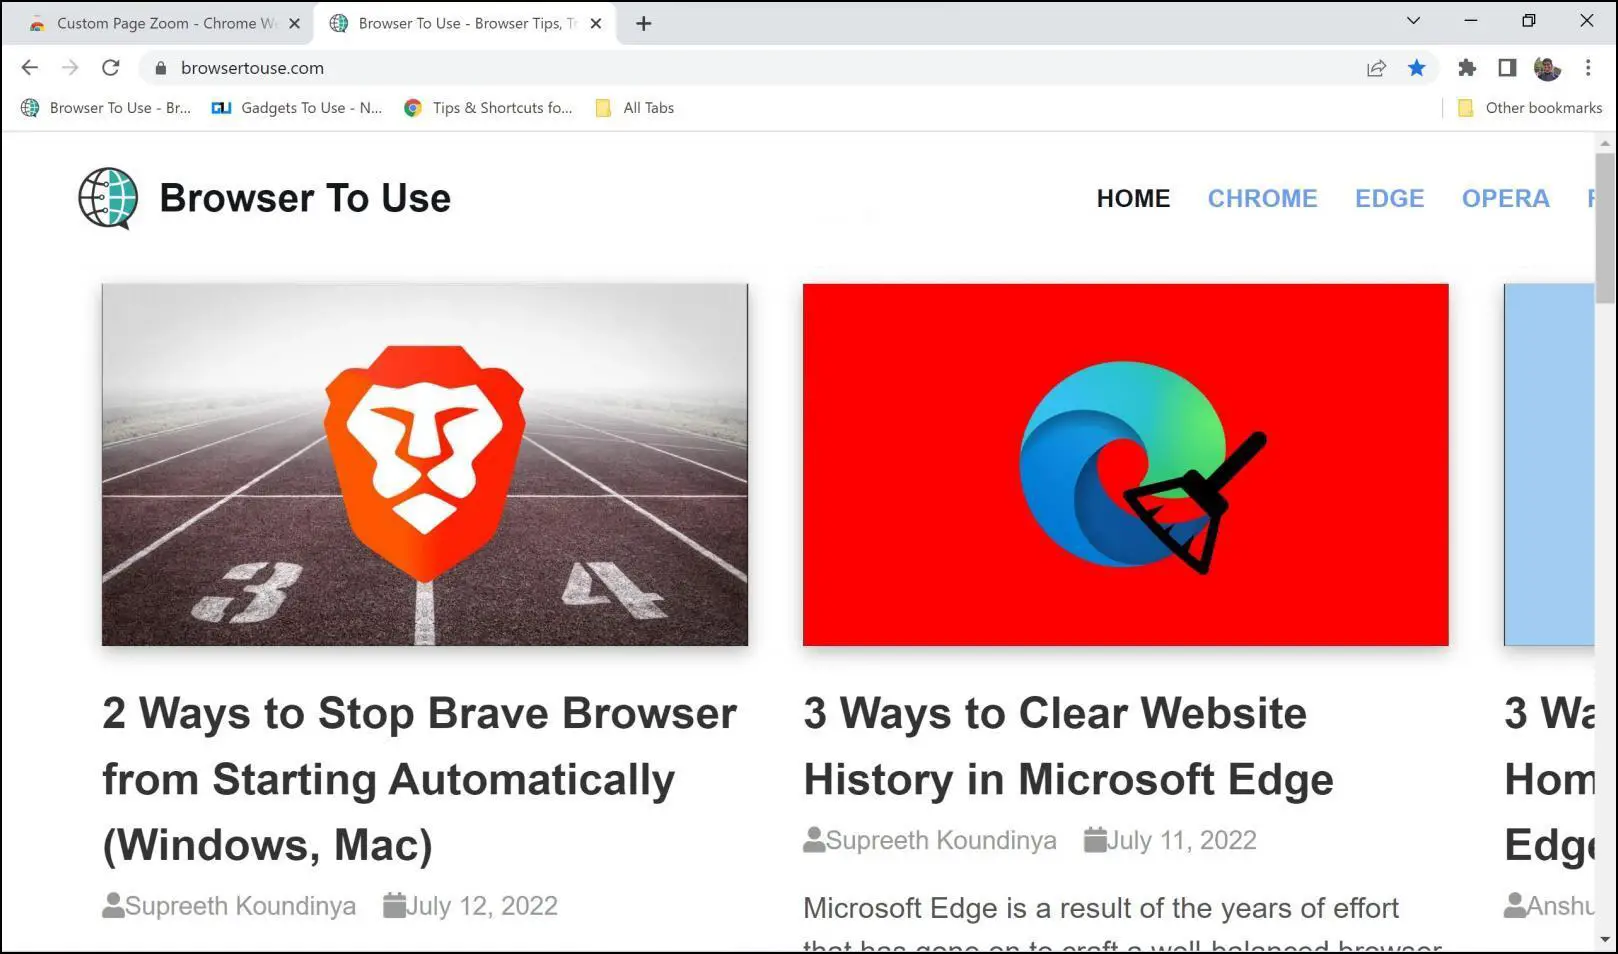
Step 2: Open up the website you want to set custom zoom levels for.
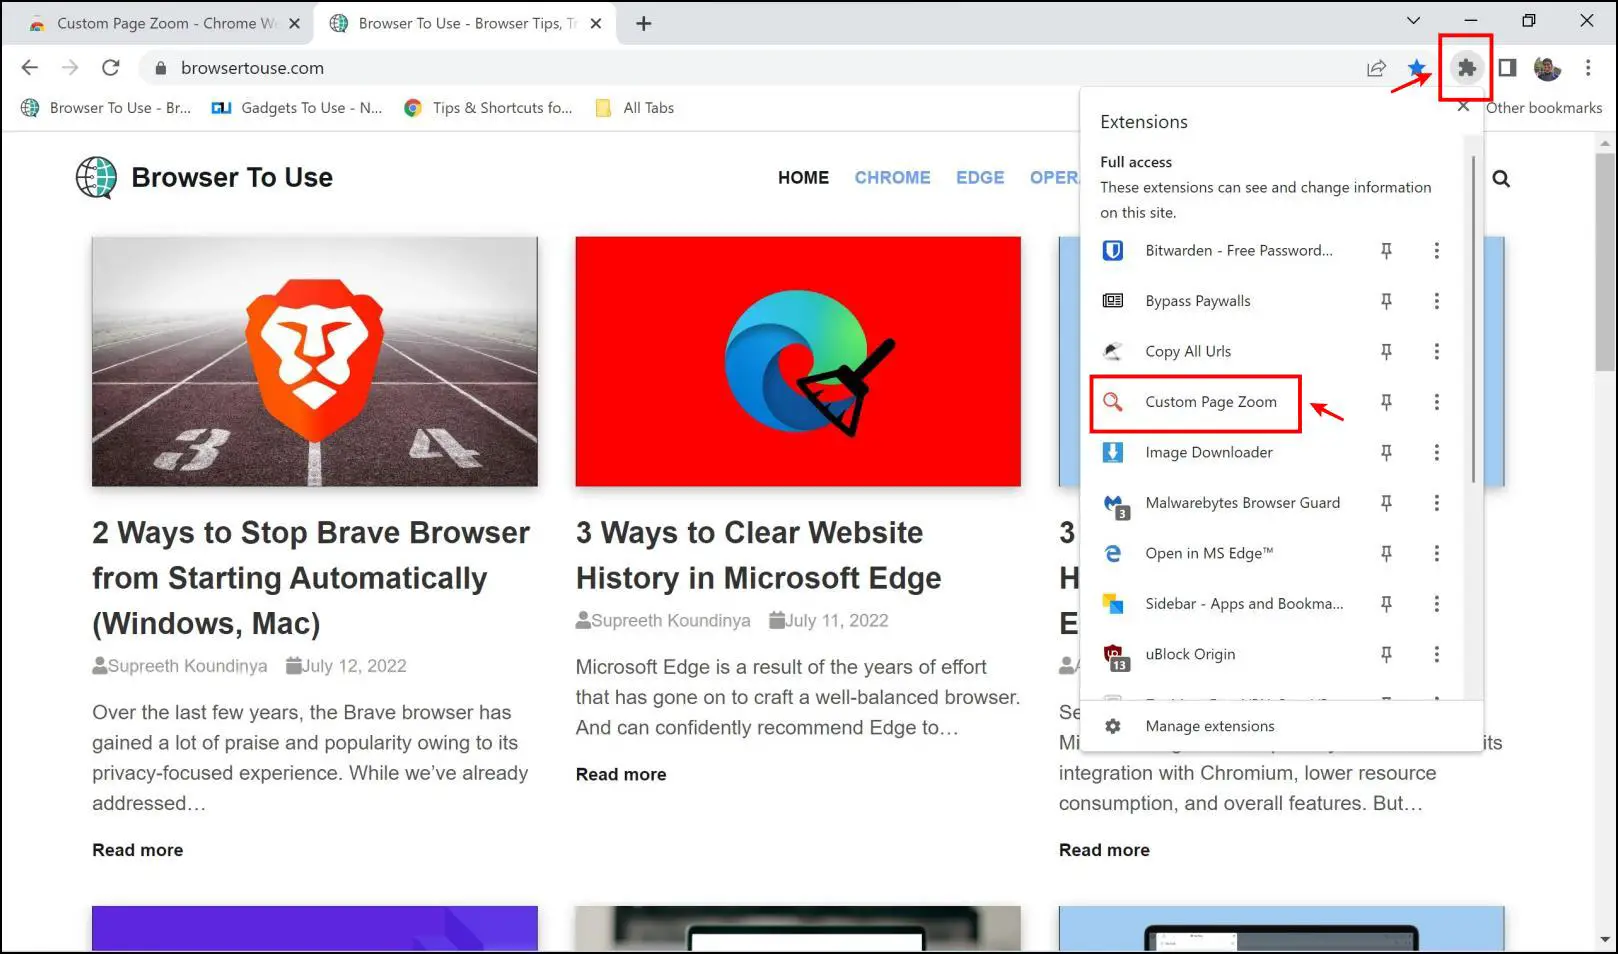
Step 3: Click on the extensions menu. Select Custom Page Zoom.
Step 4: Now, you will get a panel to adjust the zoom settings.
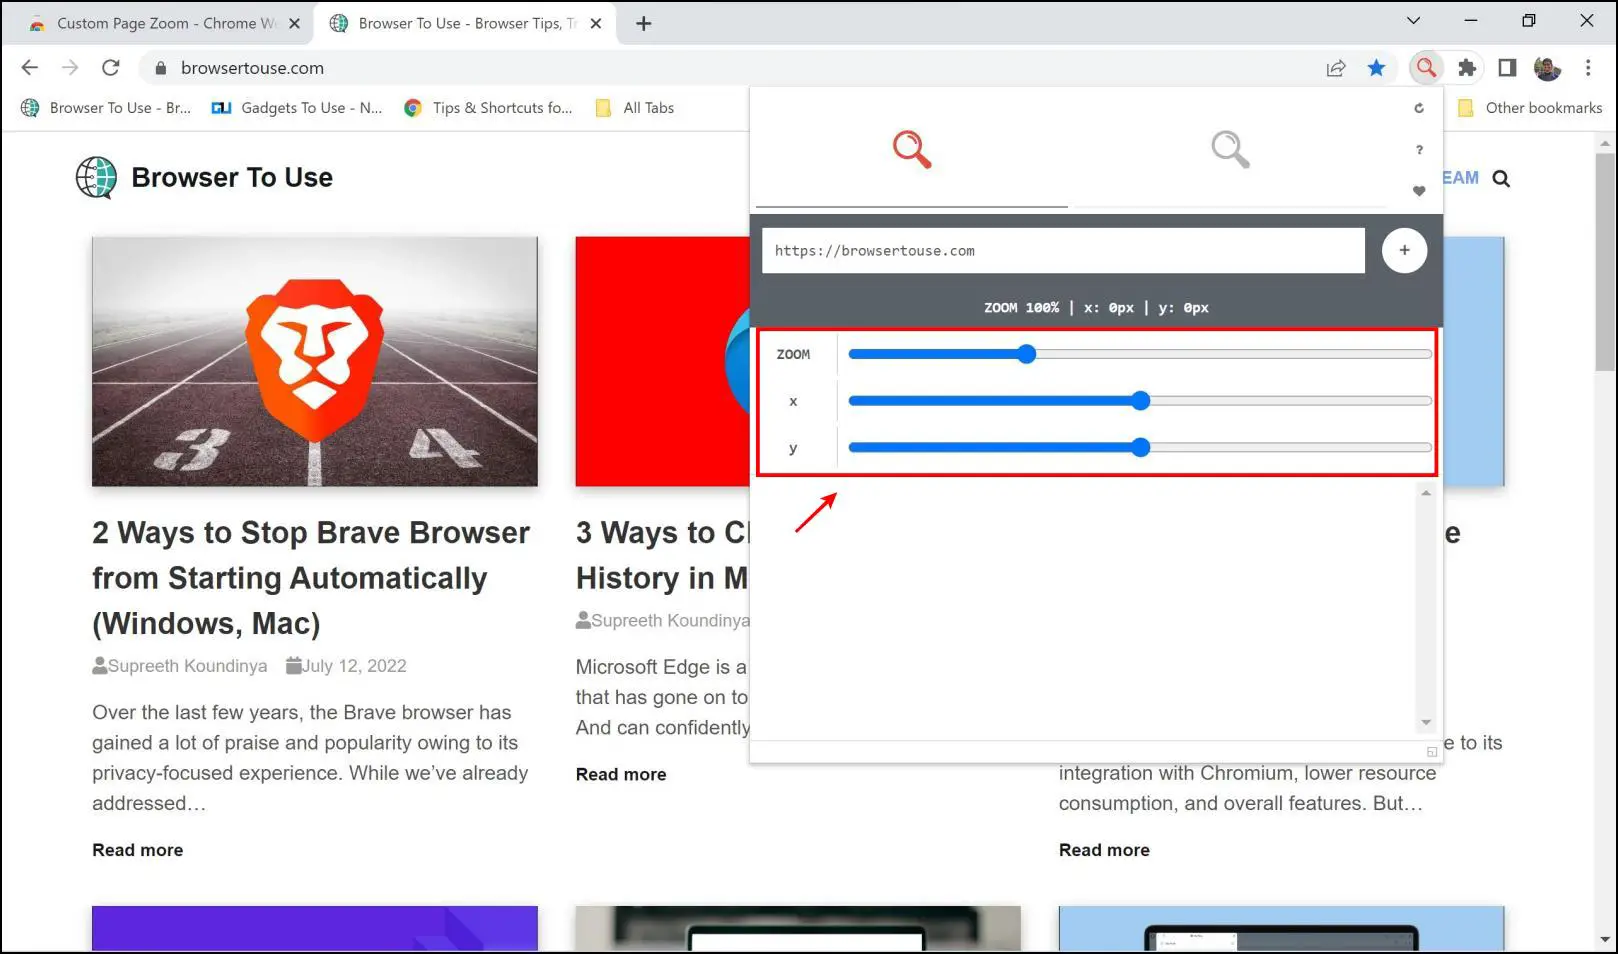
Step 5: You can zoom in to the webpage using the slider. Drag along the slider to set a custom zoom level.
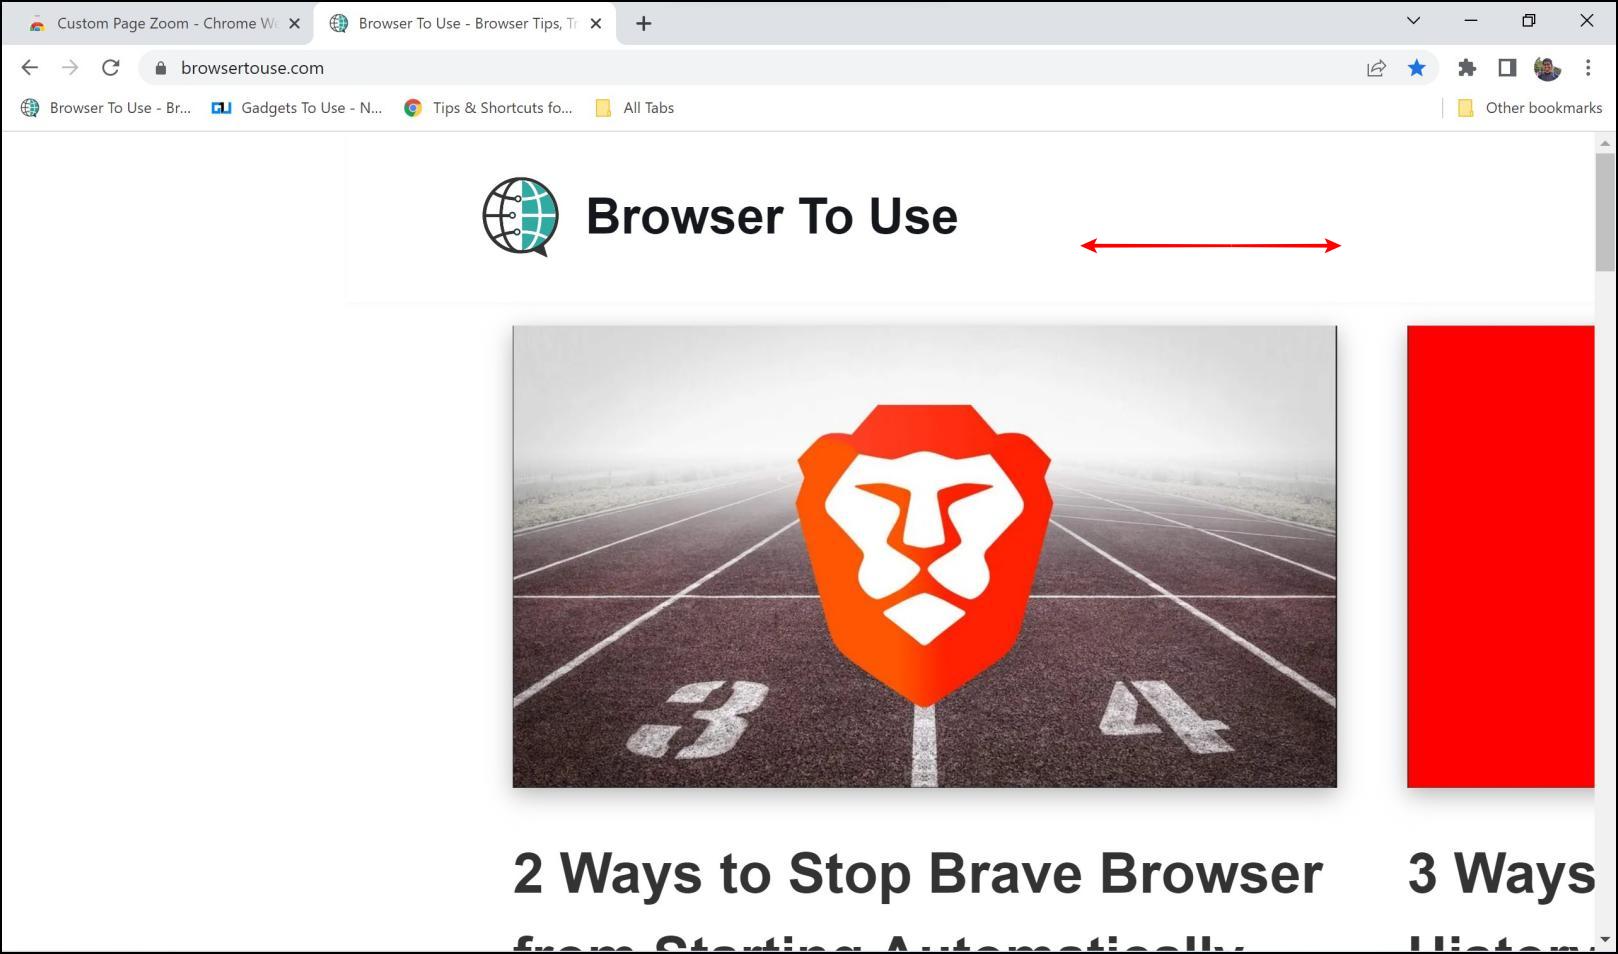
Step 6: The second slider in the panel (x) can be used to navigate horizontally about the zoomed page.
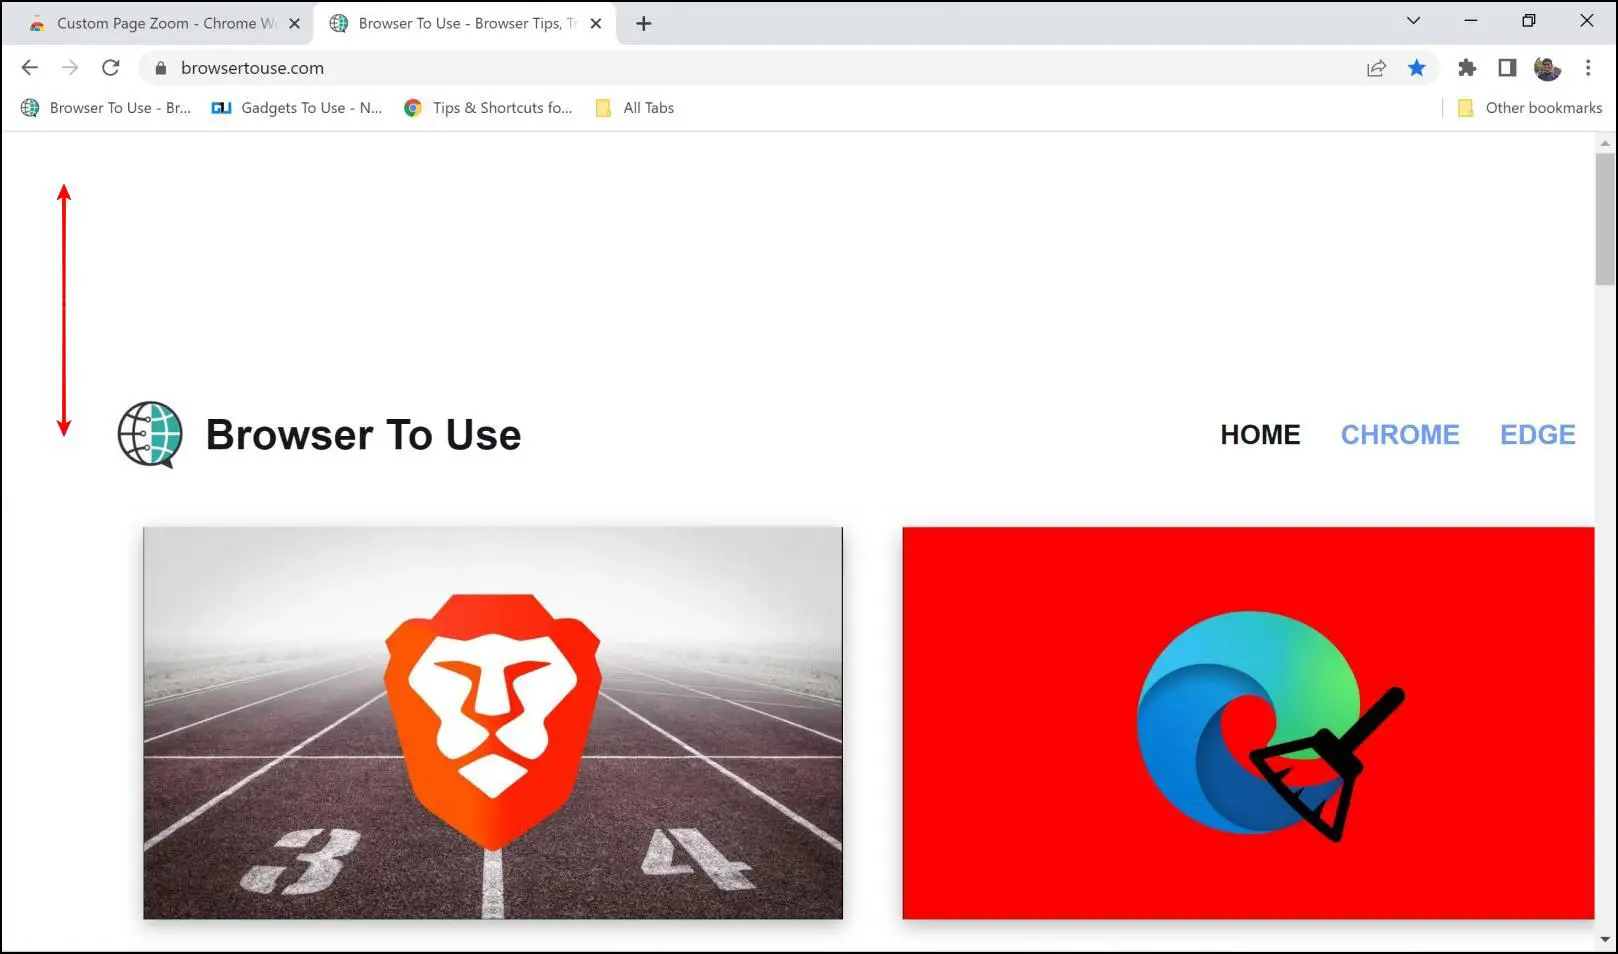
Step 7: The third slider (y) can be used to move vertically along the page.
Method 3- Zoom Page WE Extension
This is an alternate option to the first extension. Not only does it let you set custom zoom levels for websites in Chrome, but it also lets you adjust the pixel size of elements. This additional feature is unique and is one of the reasons why we recommend this extension.
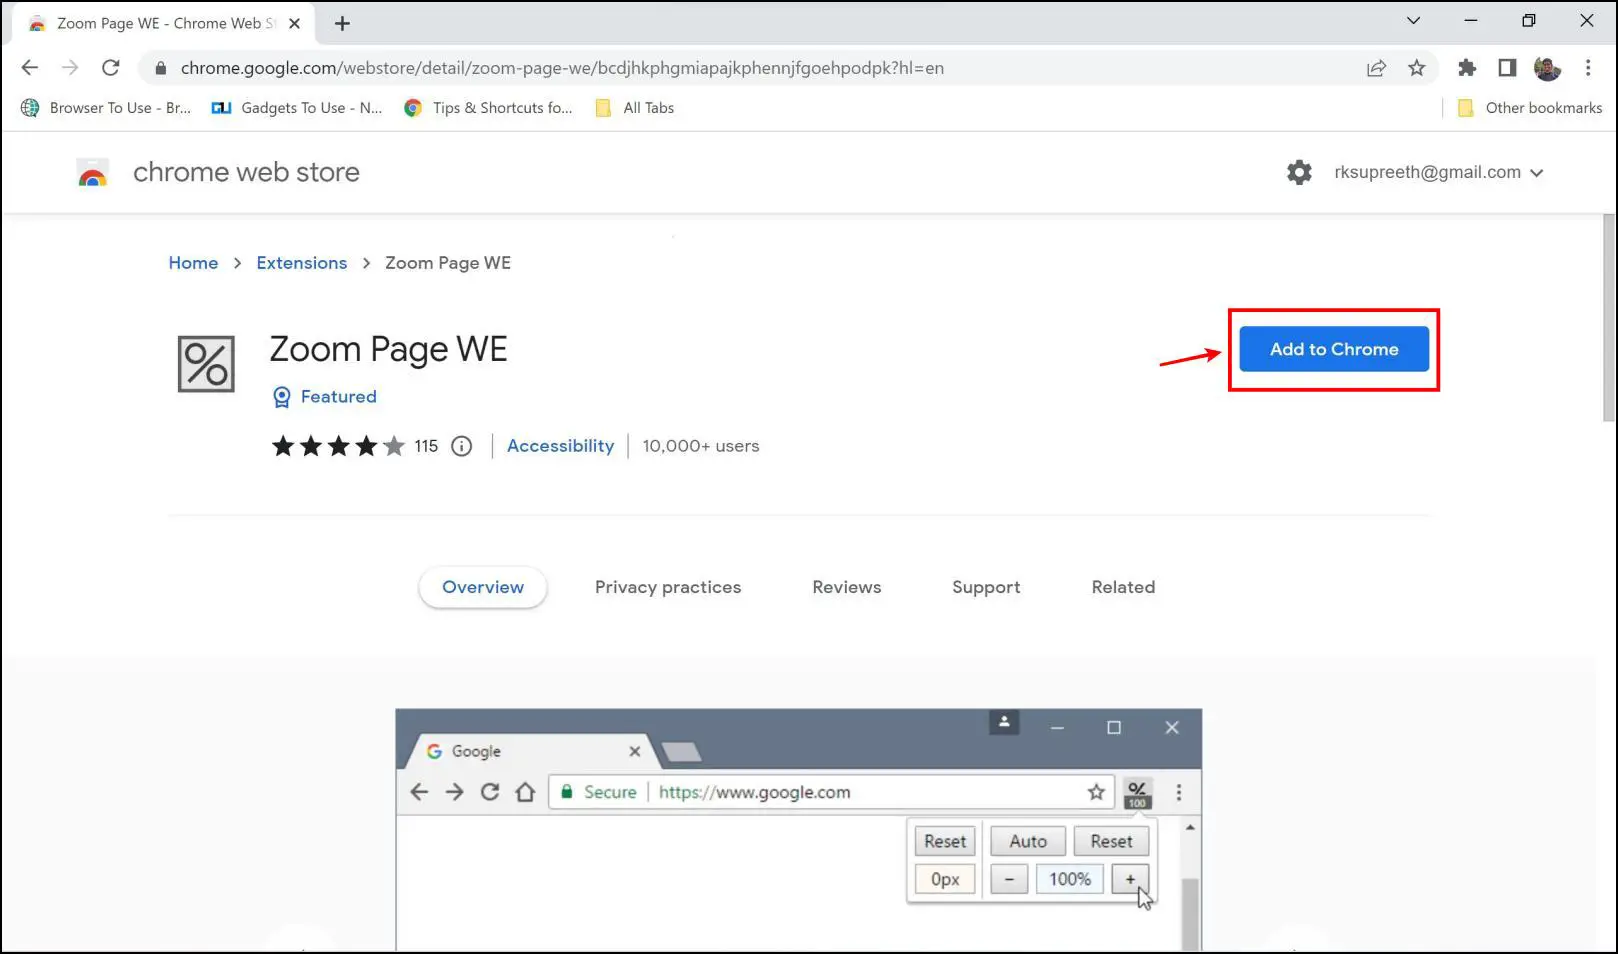
Step 1: Visit the extension page. Click on Add to Chrome > Add Extension.
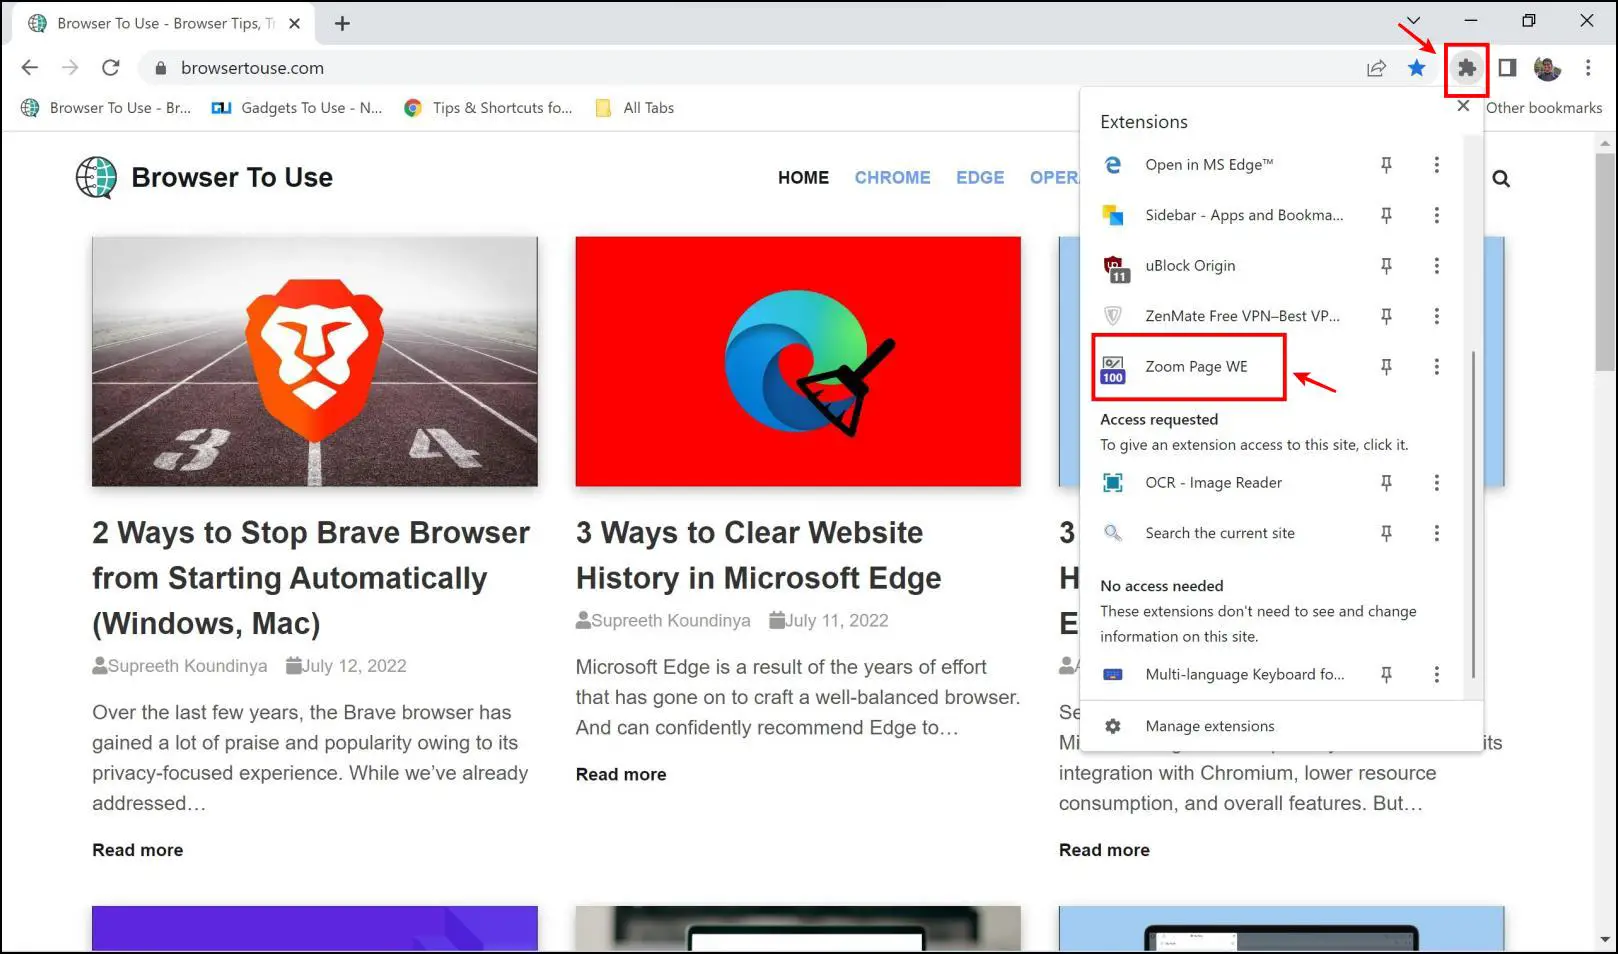
Step 2: Once installed, click on the extensions menu. Select the Zoom Page WE extension.
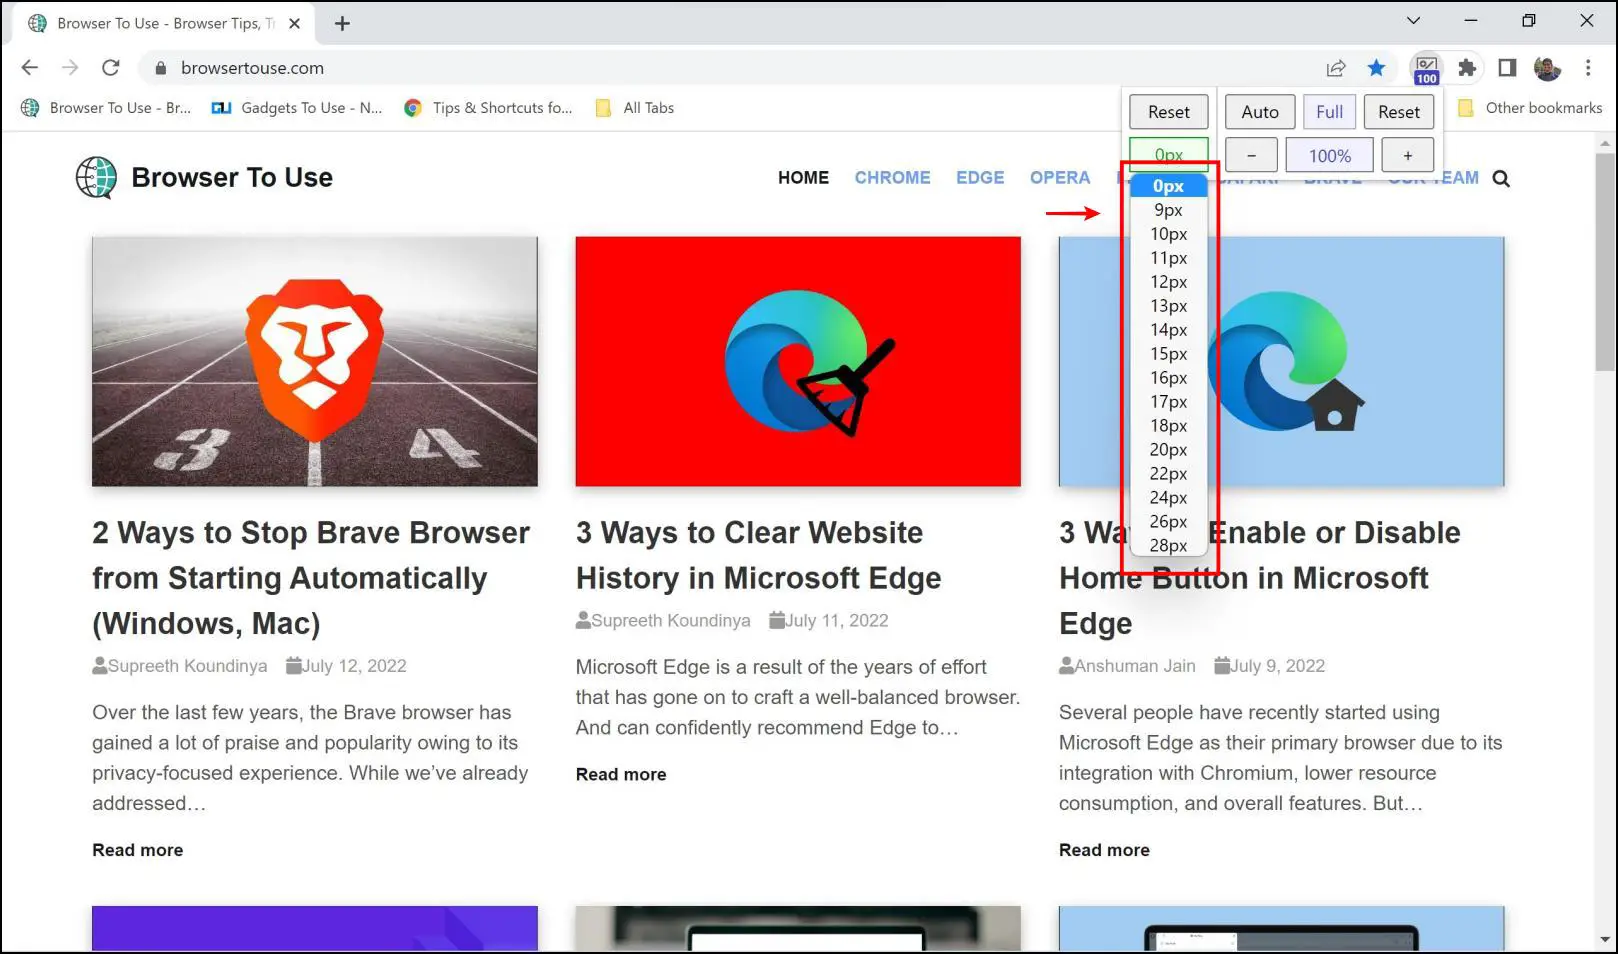
Step 3: The zoom control panel will now open up. Firstly you have the menu to change the pixel size.
Step 4: By increasing the px number, you can increase the pixel size of elements of the website, meaning it will get enlarged for better visibility. You can notice the difference between this screenshot below and the one above.
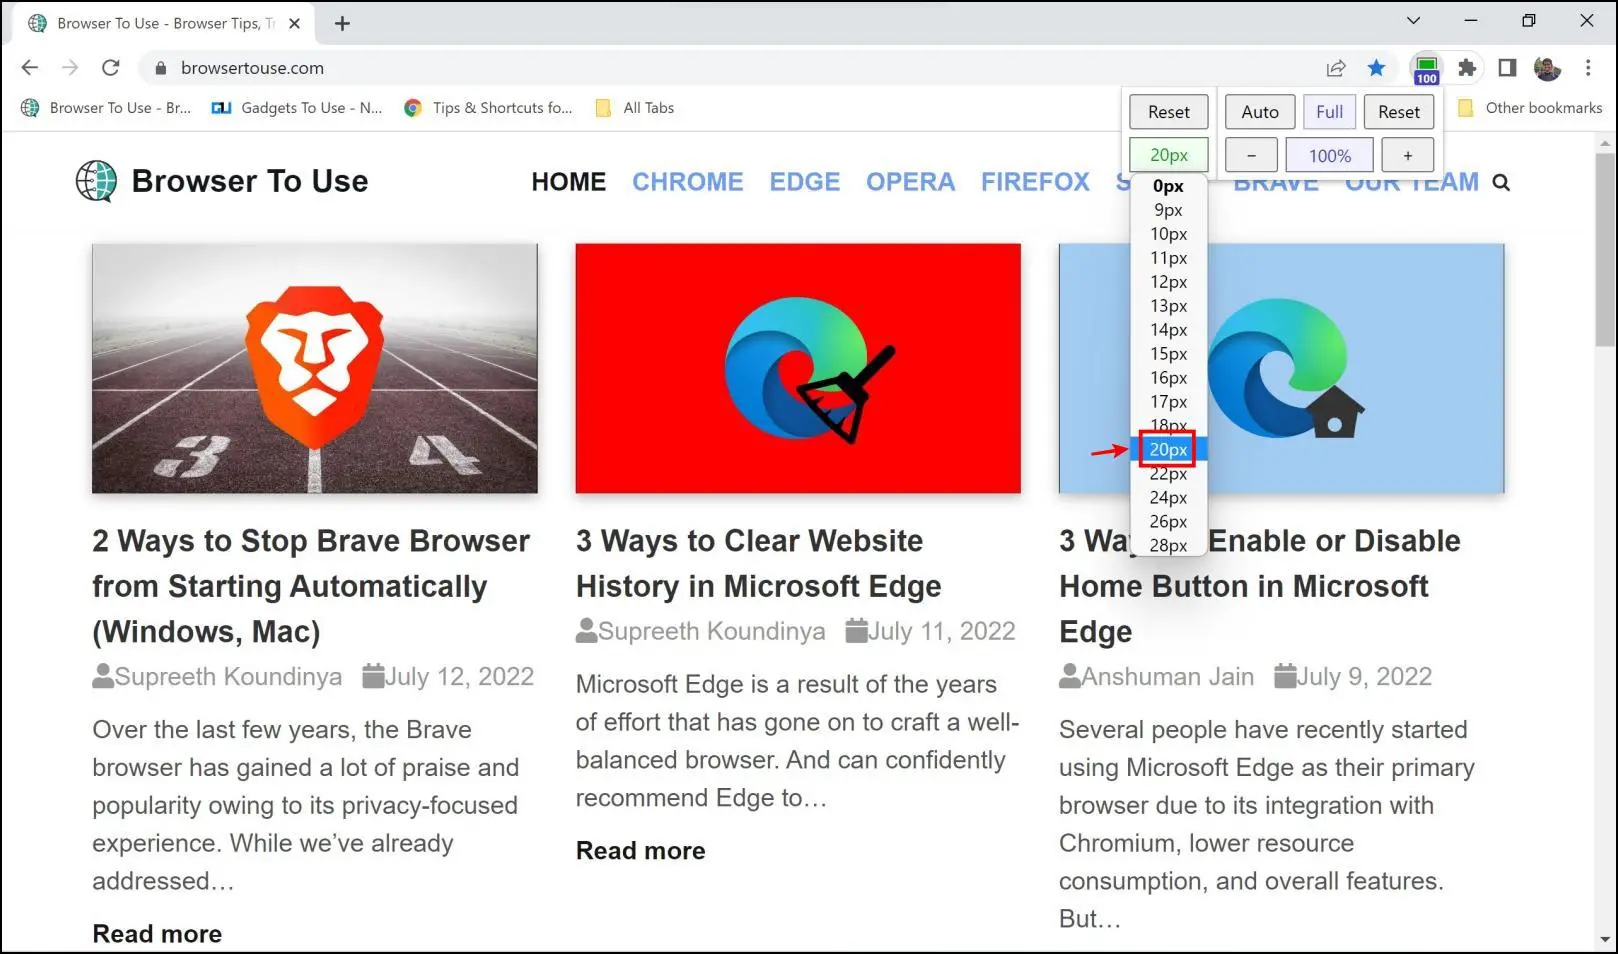
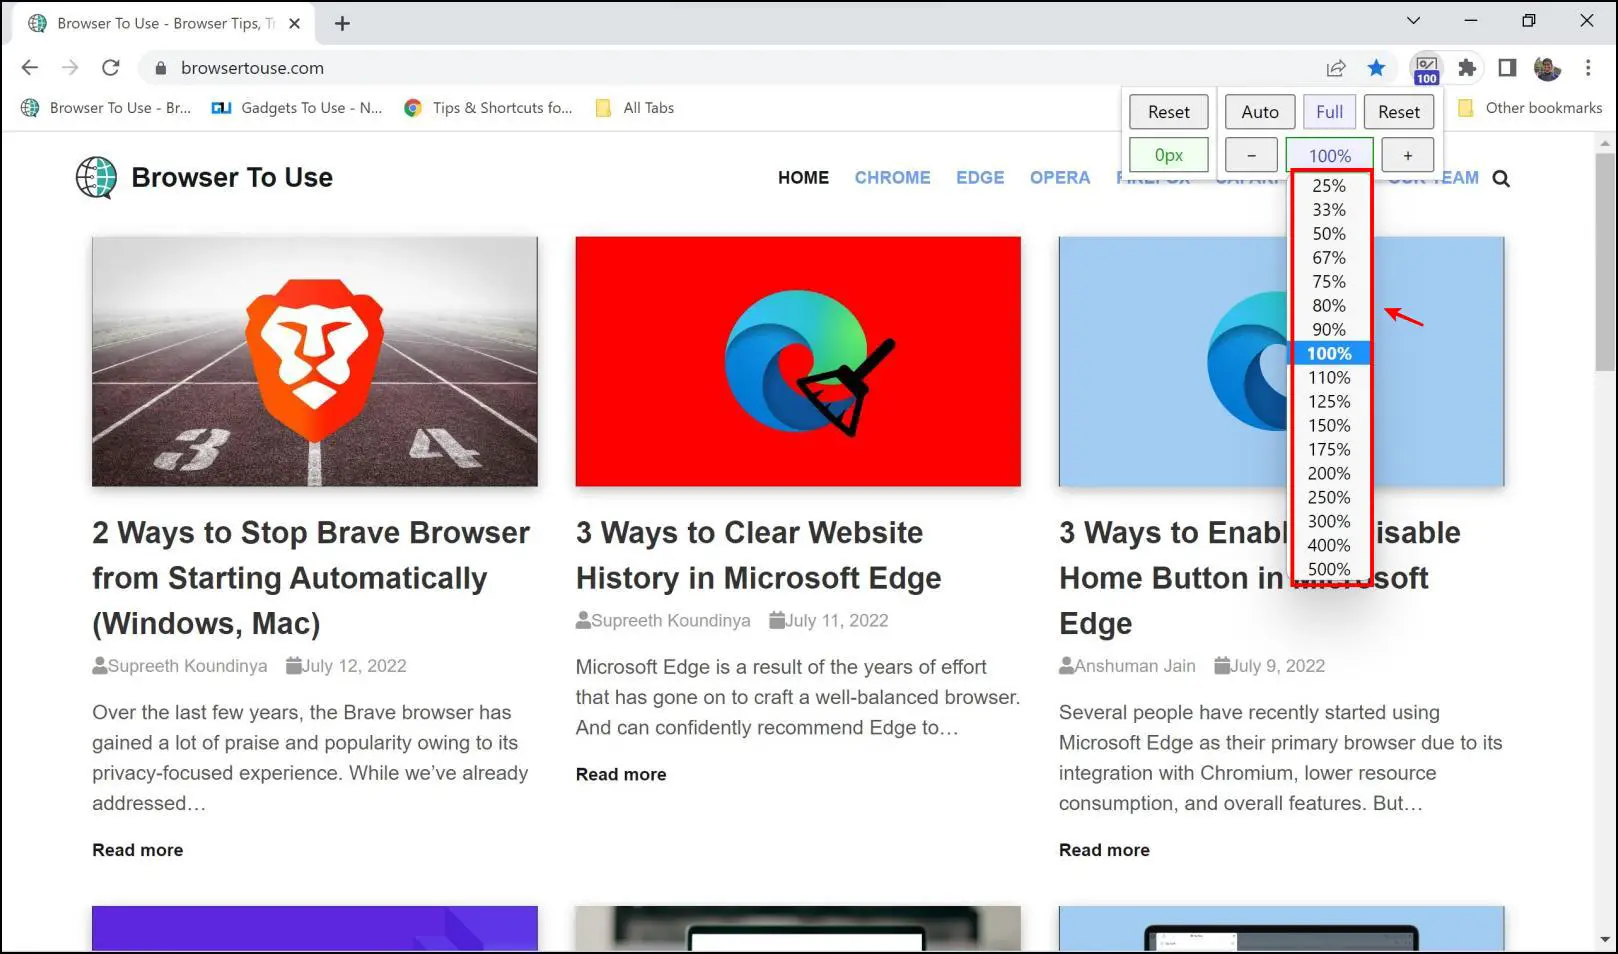
Step 5: And then, you have the drop-down menu to increase or decrease the zoom levels according to your preference.
Wrapping Up
These are some ways to set and adjust custom zoom levels on websites in Chrome. We hope this article helped you solve your query. Stay tuned for more such articles on BrowserToUse, as all of our articles are focused on helping you enhance and improve your web browsing experience.
Related:


