
Google Chrome is the go-to browser for most users, thanks to its speed, clean interface, and features. However, it is quite resource-hungry and consumes a lot of RAM and CPU power, causing a slow and sluggish browsing experience. To fix the issues causing the excess usage of RAM, here are different ways you can make Chrome use less RAM on your Windows PC.
Related | 8 Ways to Fix Slow Google Chrome on Windows 11 or Windows 10
Why Does Chrome Use So Much RAM and CPU- Is it Still the Same?
Google Chrome has been known for consuming a lot of RAM and resources, so much so that you may have come across memes taking a dig at Chrome’s high RAM usage.
Why does Chrome use so much RAM or CPU power? This is because Chrome, like other modern browsers, stores every open tab, plugin, and extension in a different RAM process.
This keeps them isolated from each other without any interference. You get more security and better performance, particularly with multi-core CPUs that can easily cater to multiple processes at once.

Each process consumes a small number of resources. But it ends up putting a high load when you add them together. Thankfully, Chrome is no longer the memory hogger it used to be due to the optimizations by Google. Yet, it’s amongst the highest in the browser industry.
Interestingly, you can follow certain tips and tricks to reduce the RAM and CPU usage for Chrome on Windows. Read on.
How to Reduce Chrome RAM & CPU Usage on Windows
You can do several things to make Chrome use fewer resources, like reducing the number of tabs, disabling extensions, restarting the browser, and more. Check all methods in detail below.
1. Reduce the Number of Tabs
Opening and accessing a lot of tabs on Google Chrome affect the performance as this can massively up the RAM usage. Ensure you close redundant tabs and the ones you are not currently accessing. This helps free some memory and slightly improves the performance.
2. OneTab Extension – More tabs with less RAM usage!
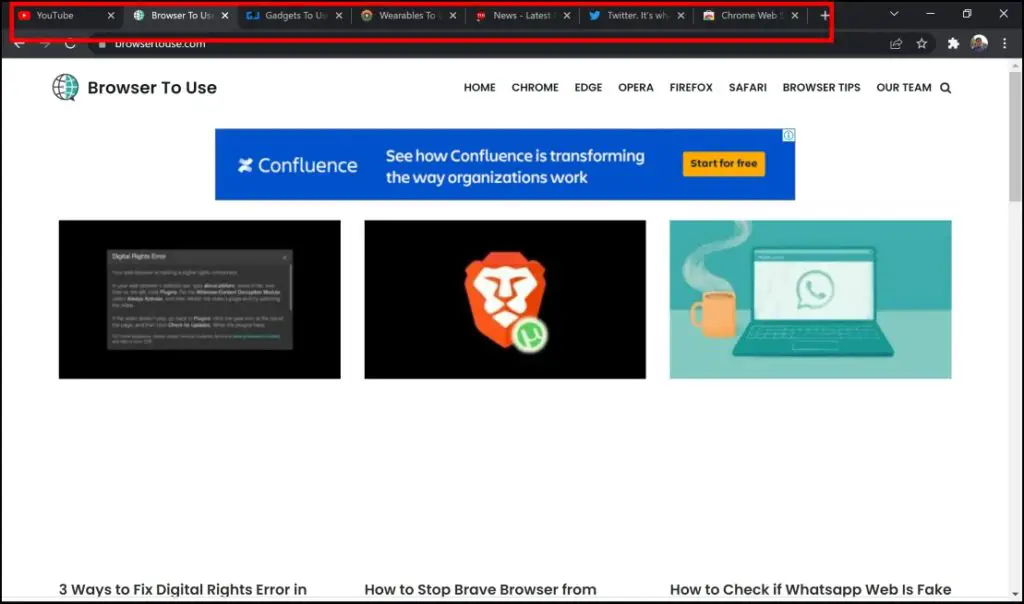
If you want a lot of tabs open, and you don’t want to close a few while struggling to increase the performance – fret not! You can use this interesting extension called the OneTab, which claims to reduce the RAM usage by a whopping 95% as it converts all the open tabs into a list of tabs.
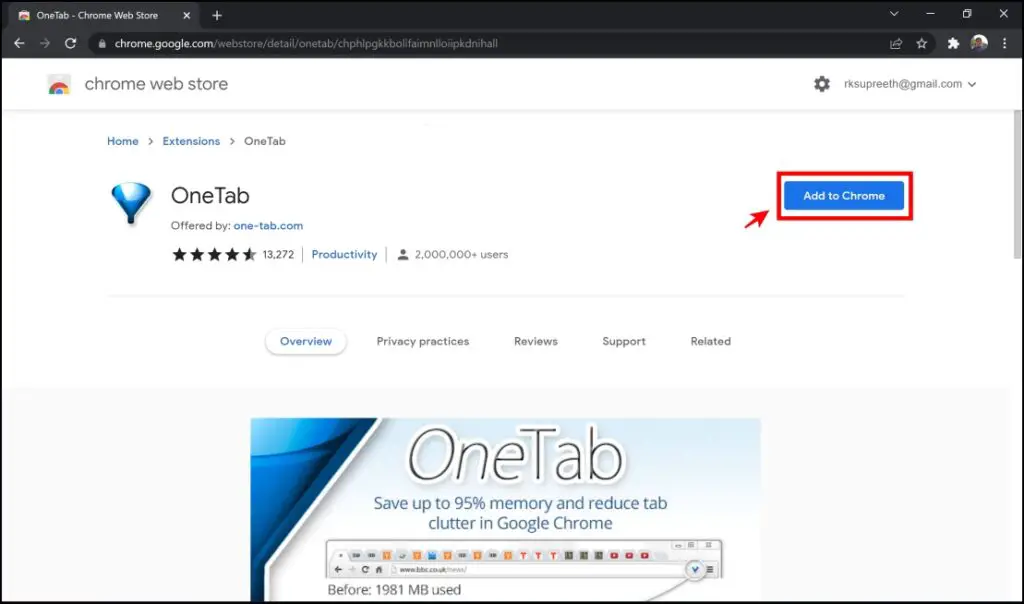
Step 1: Visit the OneTab extension page. Click on Add to Chrome -> Install Extension.
Step 2: Click on the extension’s menu in the top right corner. Select OneTab.

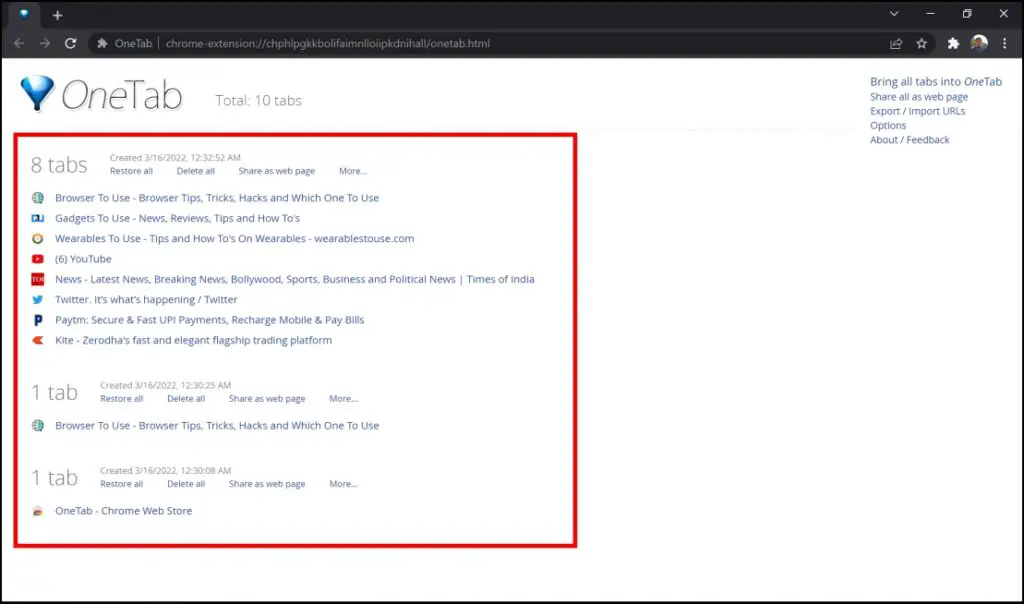
Step 3: All the open tabs will appear as links under the pinned OneTab page. You can now access all of these tabs with a single click.
Step 4: If you want to restore these tabs from the list as separate tabs, click on Restore all.
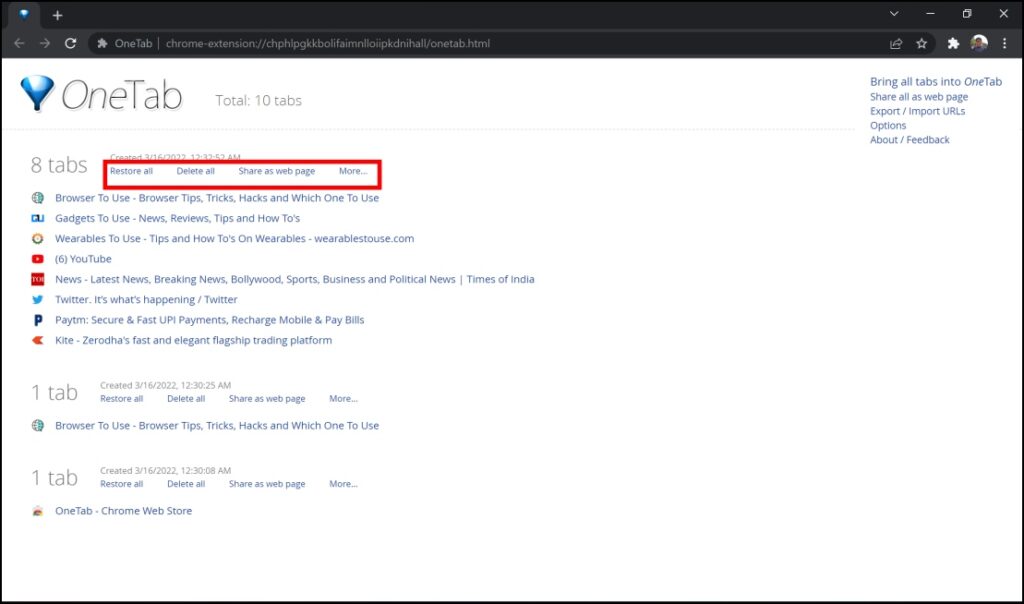
If you have more tabs open next to the pinned OneTab, you can click on Bring all tabs into OneTab.
3. Disable Extensions that Use Excess Memory
While extensions are super helpful to enhance the user experience on Google Chrome, they are at times major culprits when it comes to hogging up RAM. Disabling unwanted extensions is an excellent way to Reduce the RAM Usage on Google Chrome.
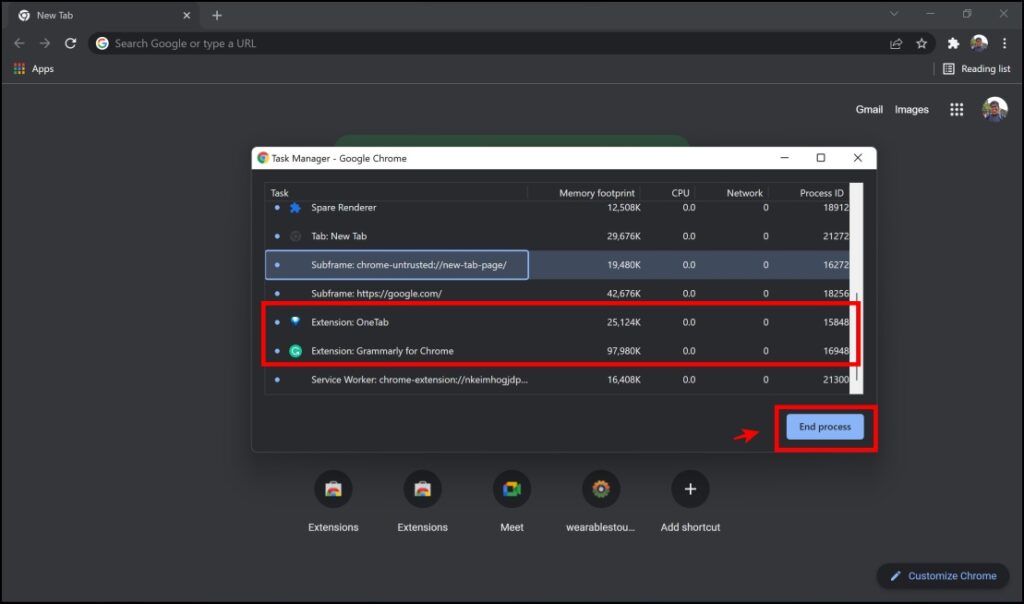
Step 1: Press Shift + Esc when inside Chrome to open task manager to understand how elements of the browser are eating up RAM.
Step 2: Click on whichever extension you feel is unnecessary as you want to increase available memory, and tap End Process.
Step 3: In case you decide to remove the extension altogether from Chrome –
- Click on the extensions icon on the top right corner.
- Click on the three dots option next to the extension which you want to remove.
- Click on Remove From Chrome.

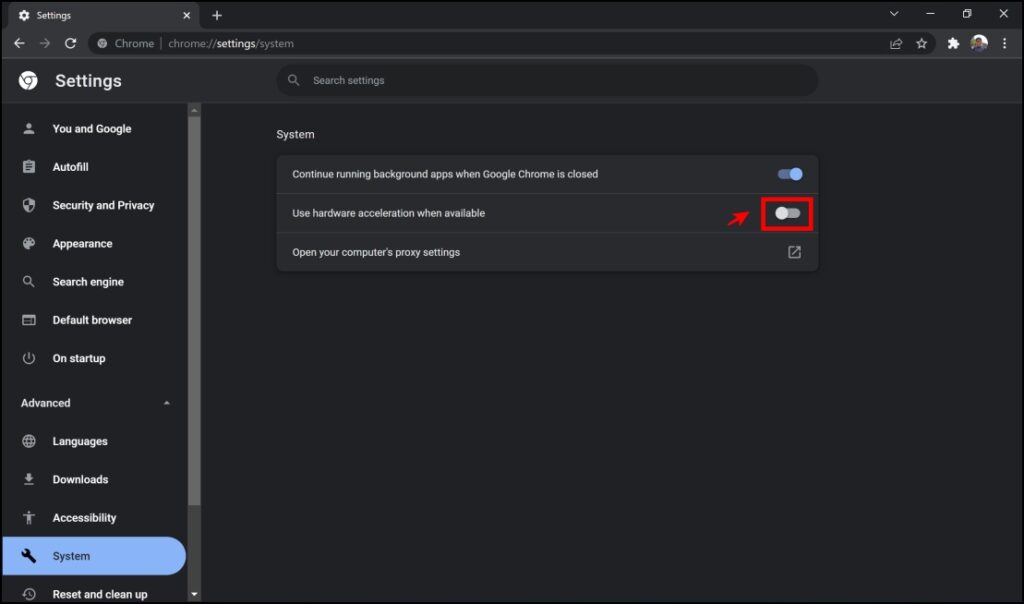
4. Enable Hardware Acceleration
Hardware Acceleration is a feature on Google Chrome that can use your GPU to speed up processes. While it may not directly affect your RAM usage, it can speed up your browsing experience on Google Chrome.
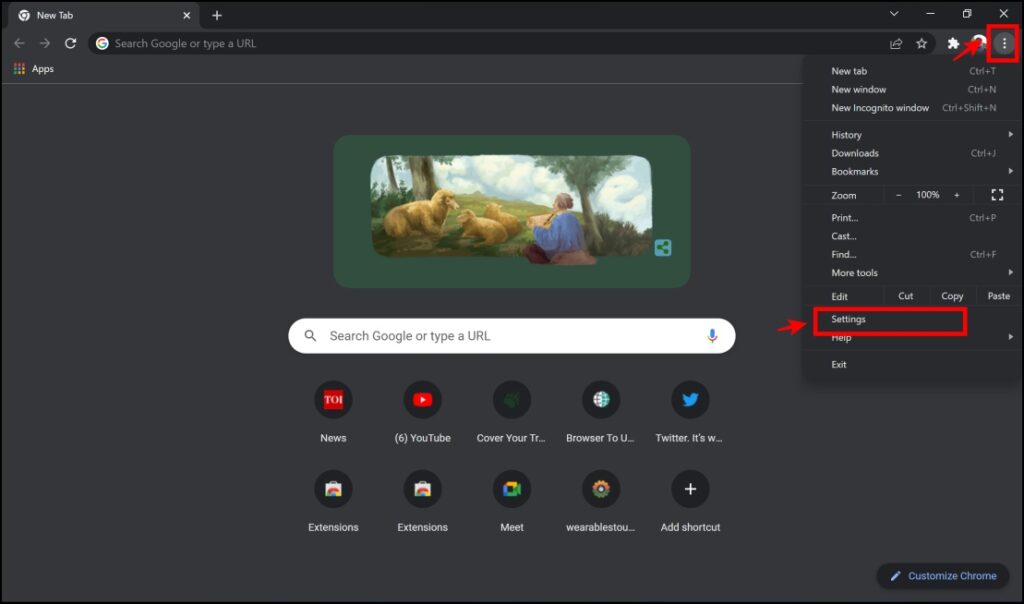
Step 1: Click on the three dots menu on the top right corner of the screen—select Settings.
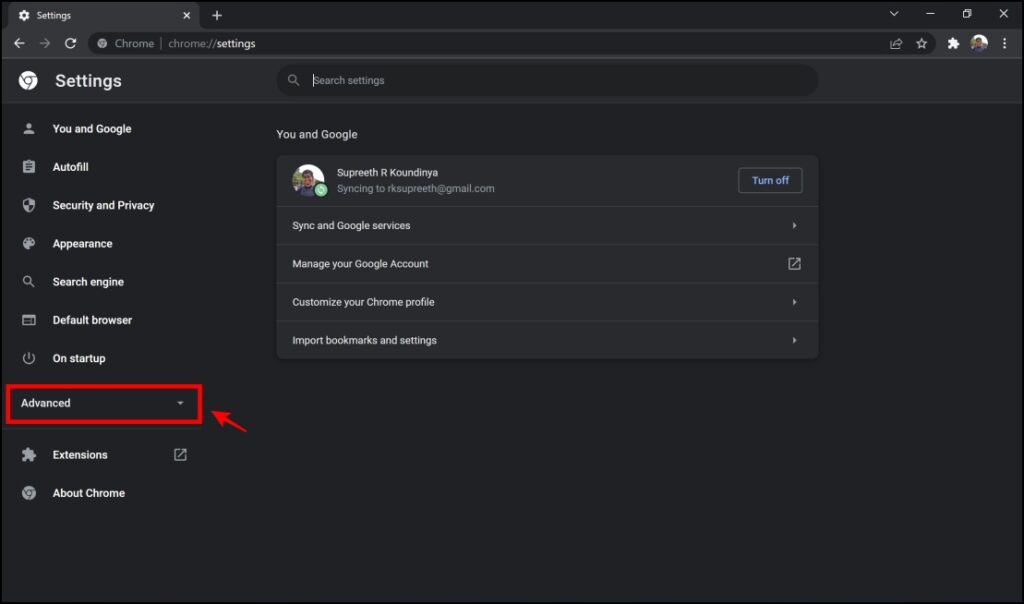
Step 2: Click on Advanced.
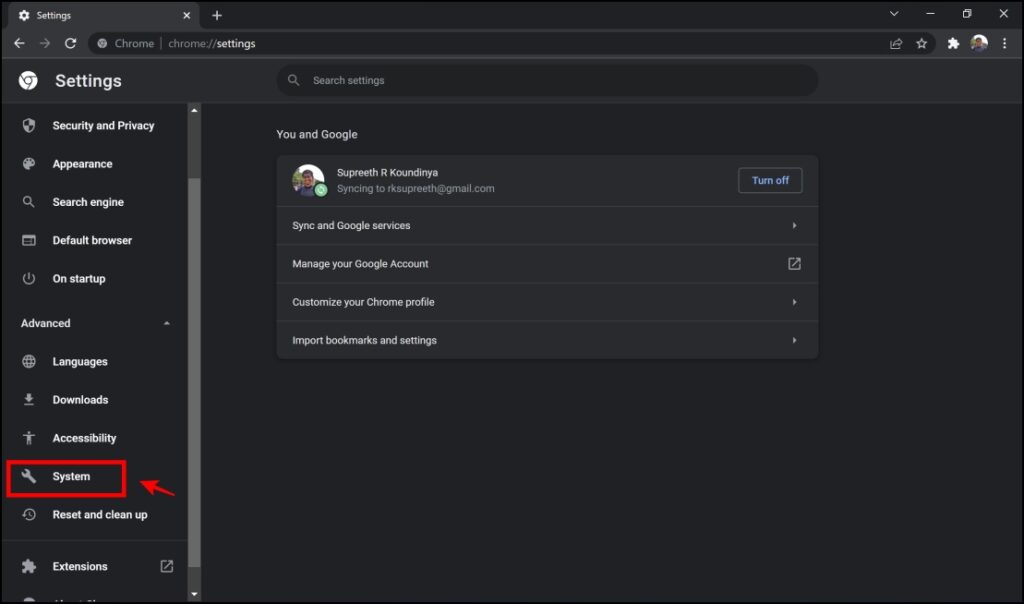
Step 3: Next, click on System.
Step 4: Turn on the toggle for Use hardware acceleration when available.
Step 5: Click on Relaunch.
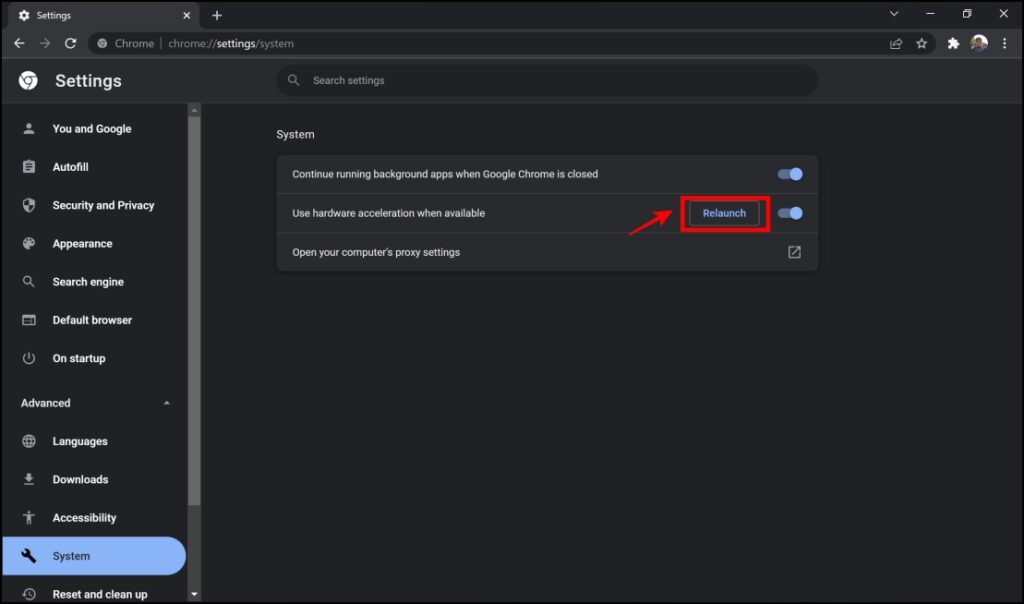
Google Chrome will now relaunch with Hardware Acceleration in effect.
5. Restart Chrome
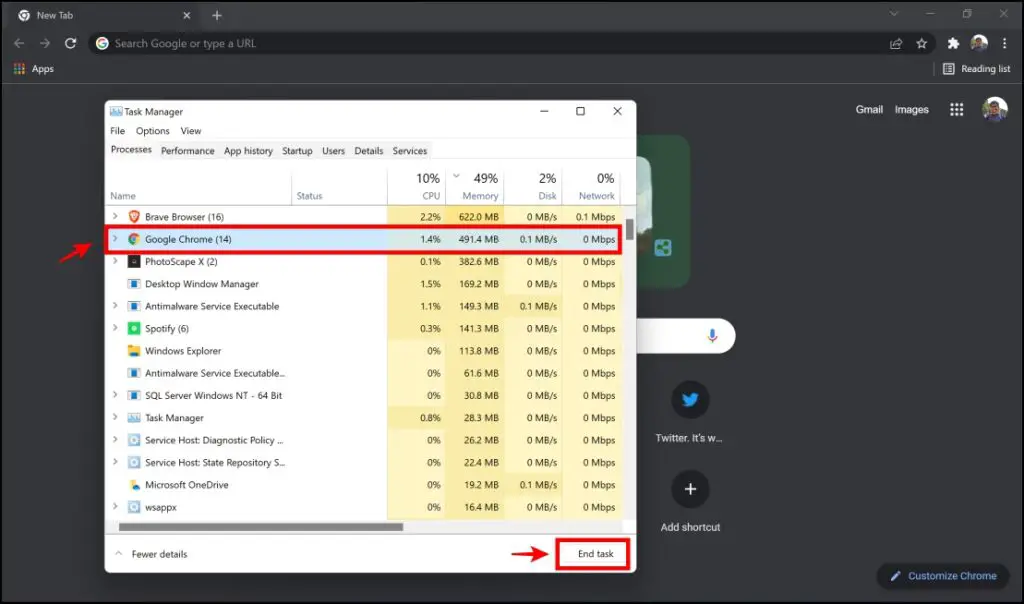
An effective way to free up the RAM usage on Google Chrome is by simply restarting it. While you can close and re-open Chrome, we prefer using task manager for the same.
Step 1: Press the keys Ctrl + Alt + Delete -> Task Manager.
Step 2: Find Google Chrome on the list and click End Task.
You can now relaunch Google Chrome.
6. Re-install/ Reset Chrome
At times, we might lose track or forget all the changes in the configuration that have been made on Google Chrome. A fresh re-install or a reset is a great way to try and reduce the RAM usage on Google Chrome.
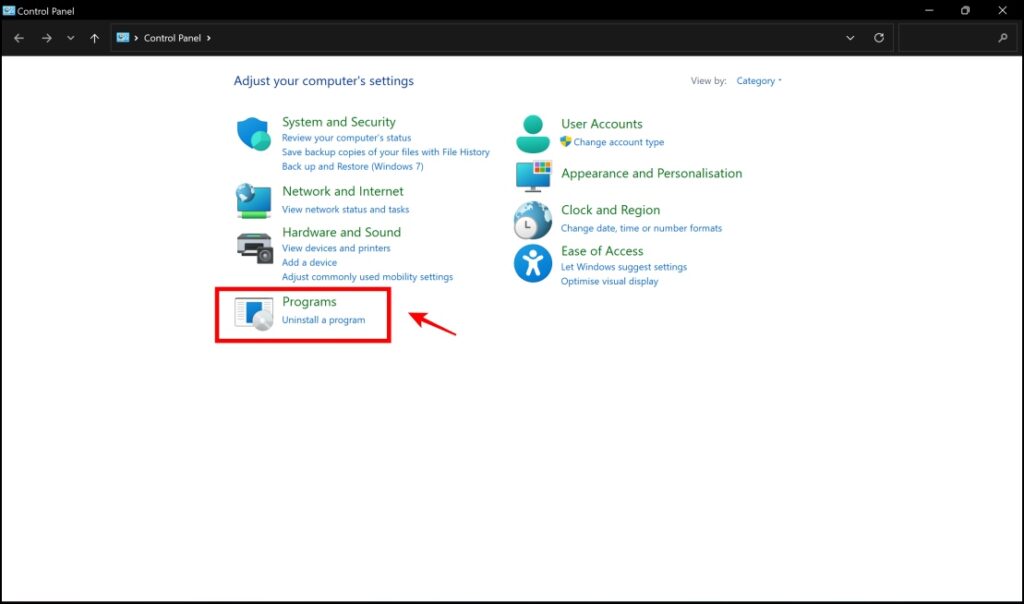
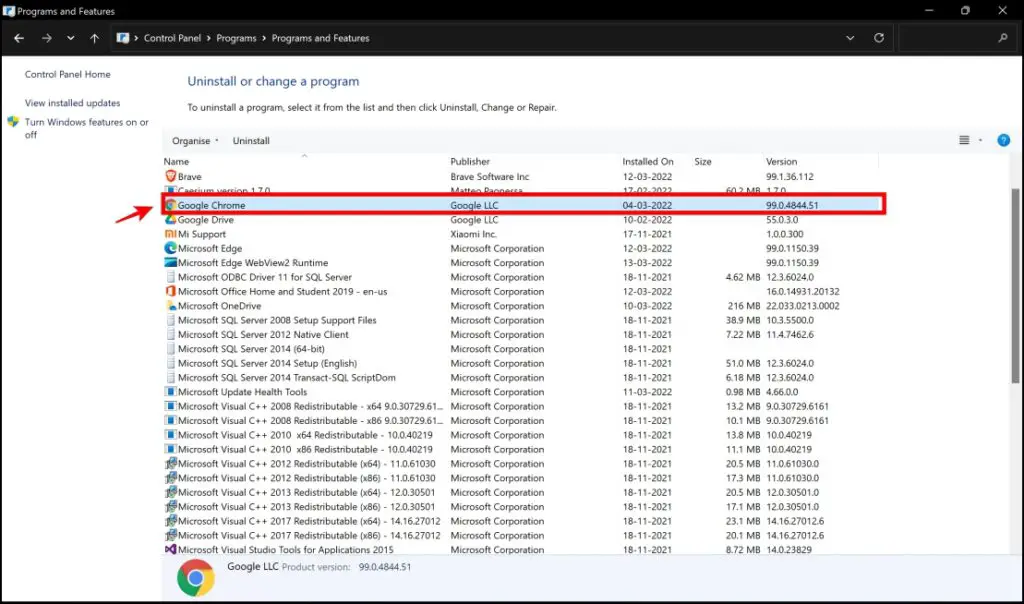
Step 1: Launch Control Panel on your PC.
Step 2: Click on Uninstall a program under Programs.
Step 3: Click on Google Chrome.
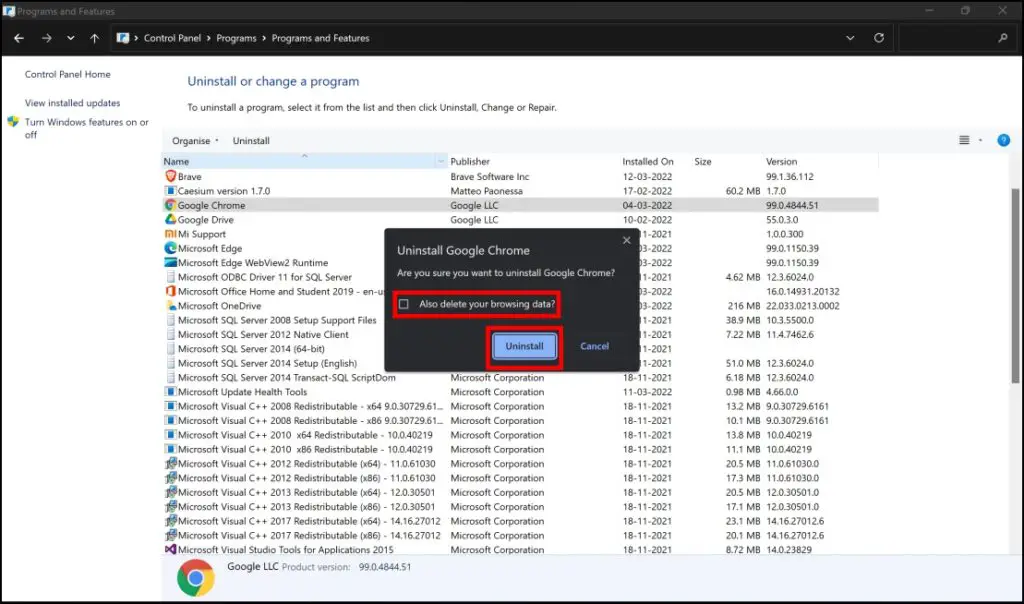
Step 4: Check the box to delete your browsing data. Click on Uninstall.
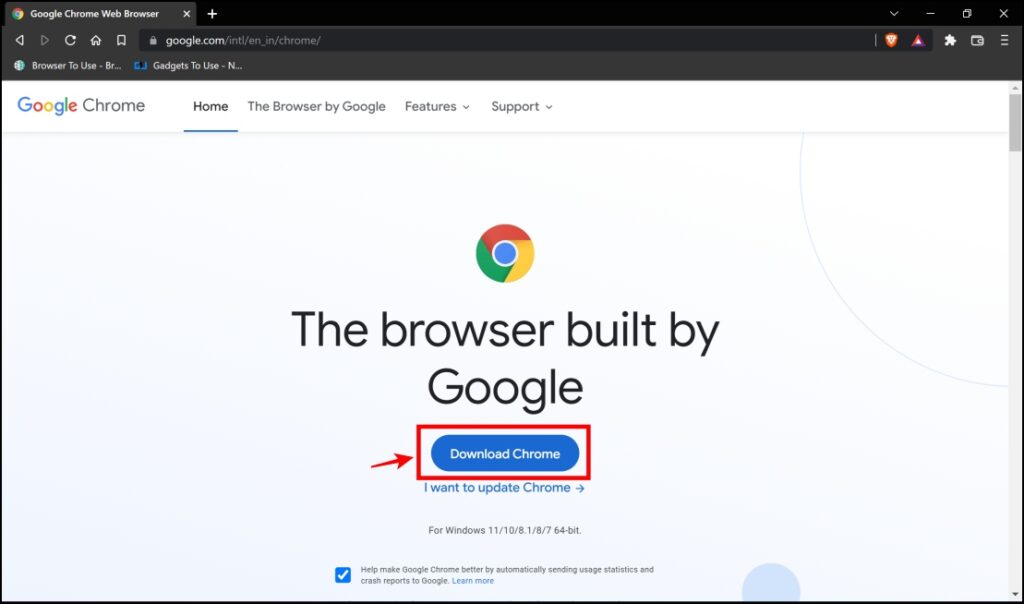
Step 5: Open your secondary browser and visit the Chrome Installation Page. Click on Download Chrome, and install Chrome on your PC.
If you do not wish to re-install Chrome, you can reset all settings on Chrome using this step-by-step procedure.
Step 1: Click on the three dots menu on the top right corner of the screen > select Settings.

Step 2: Click on Advanced.
Step 3: Click on Reset and Cleanup.
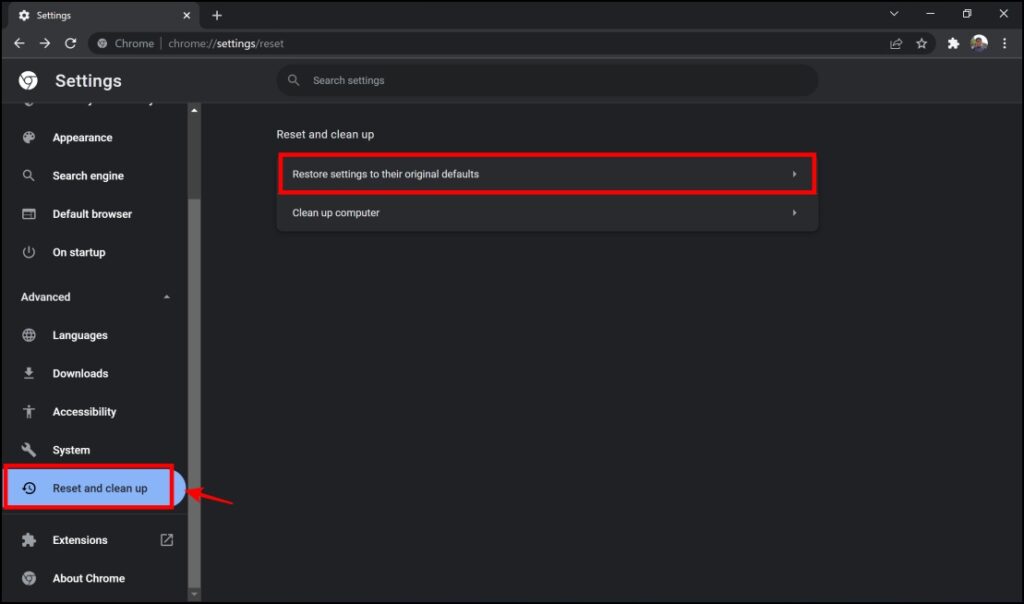
Step 4: Here, tap Reset Settings.
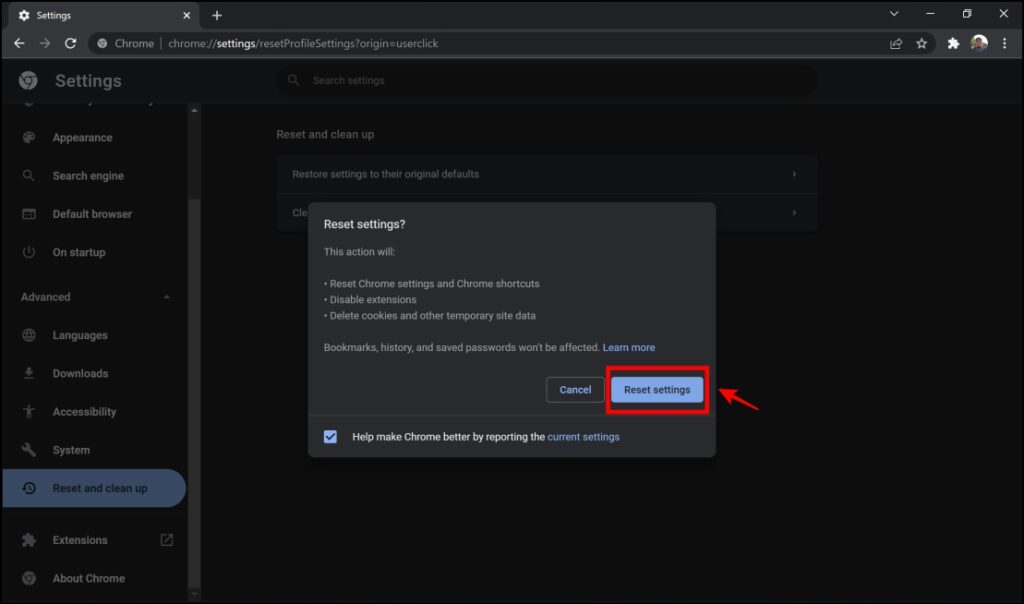
All the settings will now be reset on Chrome. You essentially get to use Chrome with the default configuration. Hence it might eliminate culprits that were increasing the RAM usage.
7. Clear Chrome Data
Like any other web browser, Chrome also collects and locally stores a lot of data related to your browsing activity. This accumulation can increase memory usage. Clearing data is an effective method to reduce the RAM usage on Google Chrome.
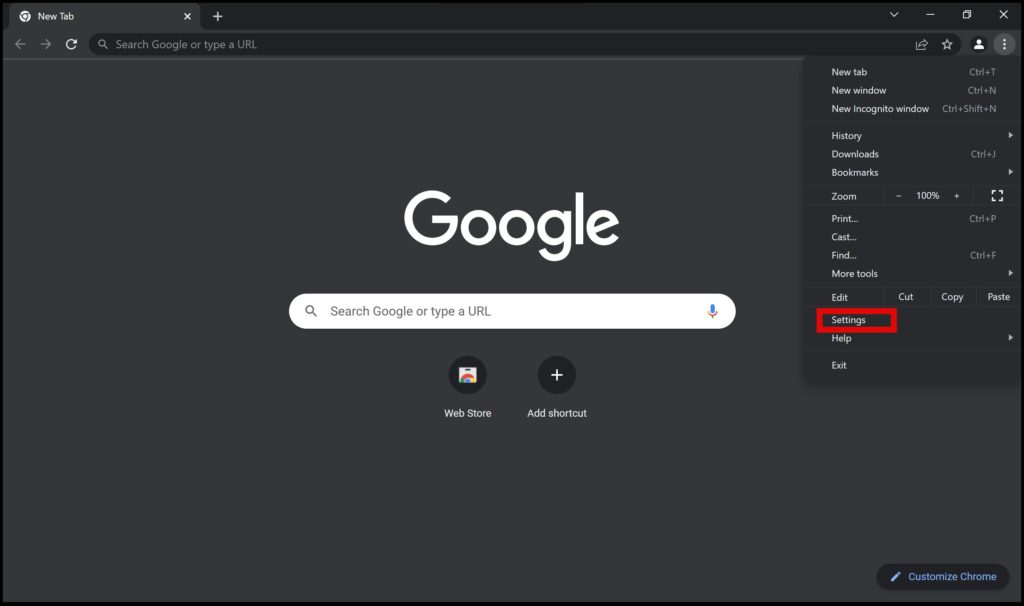
Step 1: Click the three-dot menu icon at the top right.

Step 2: Next, click on Settings.
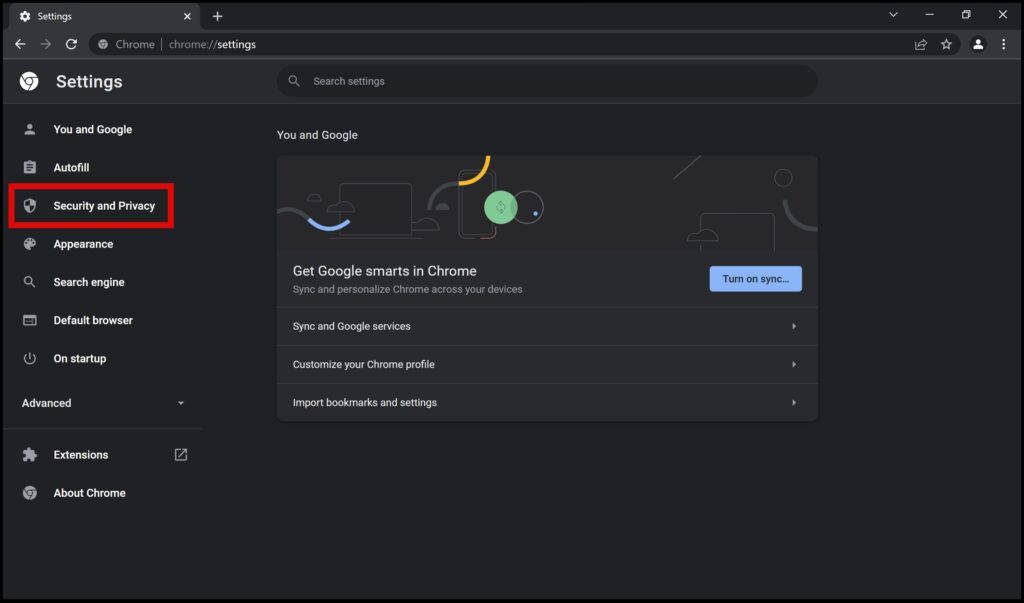
Step 3: Click on Security and Privacy.
Step 4: Here, tap Clear browsing data.

Step 5: Click on Clear data. While the default option remains “Last hour,” you can click on the drop-down menu to select your “all time.”
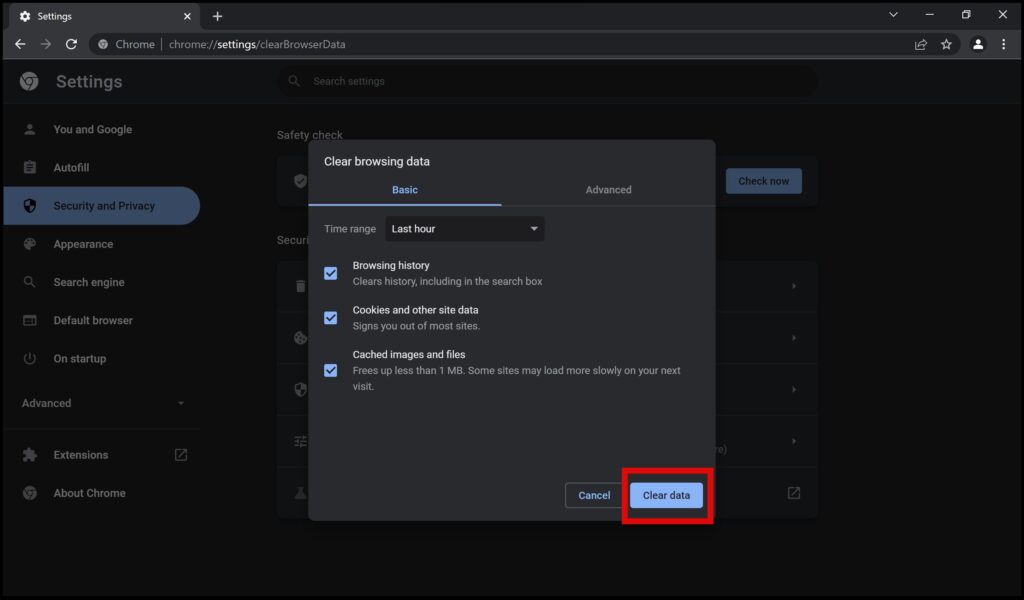
The above steps will ensure all of your browsing data is cleared on Google Chrome and can increase the performance. If using Advanced cleanup, make sure to backup or sync any important data, including saved bookmarks and passwords.
8. Kill Processes Using Task Manager
When Google Chrome is running on your PC, it is a collection of different processes running simultaneously. Upon keen observation, we can see that these processes might consume a lot of memory, and you can kill a few to reduce the RAM and CPI usage on Google Chrome.
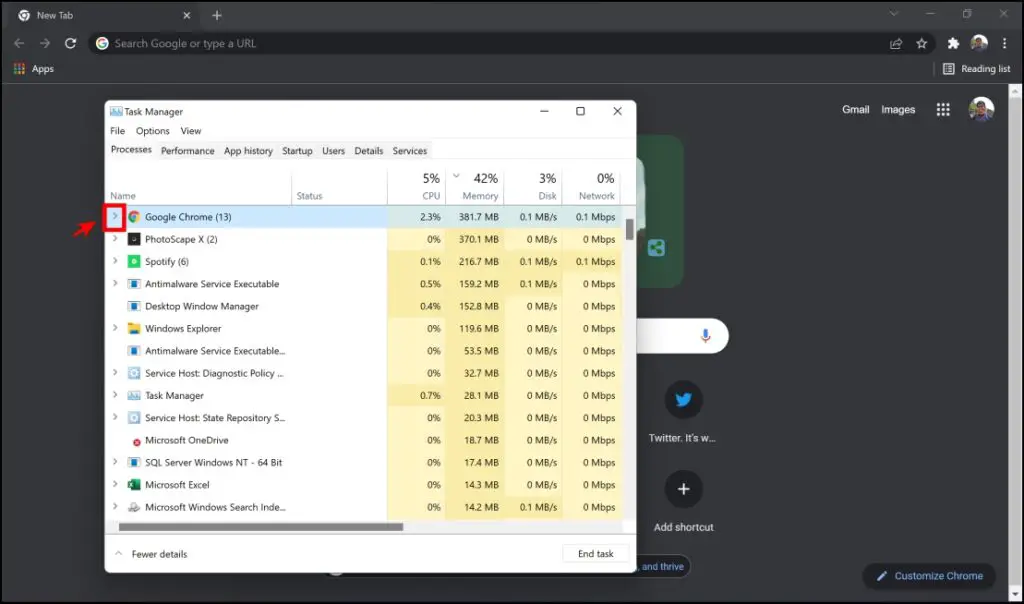
Step 1: Press the keys Ctrl + Alt + Delete > Task Manager.
Step 2: For the drop-down of the processes, click on “>” on the Google Chrome option.
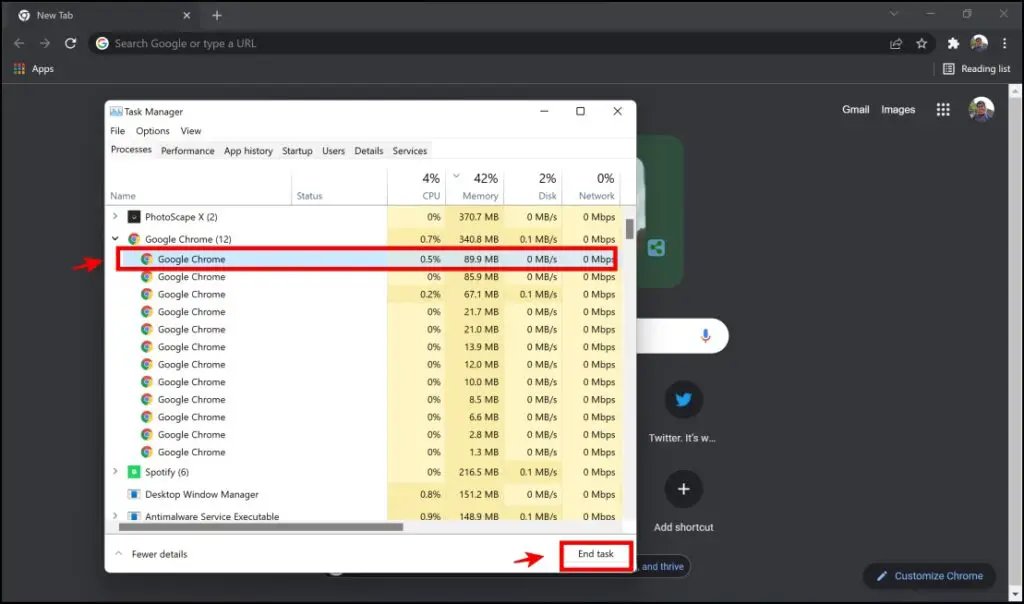
Step 3: Take a look at the process consuming a lot of memory- tap it and click on End Task.
9. Check for Chrome Updates
Google regularly pushes updates to increase the optimization and fix the bugs present in the browser. To ensure the best performance and experience while using Google Chrome, it is essential to stay updated on the latest version.
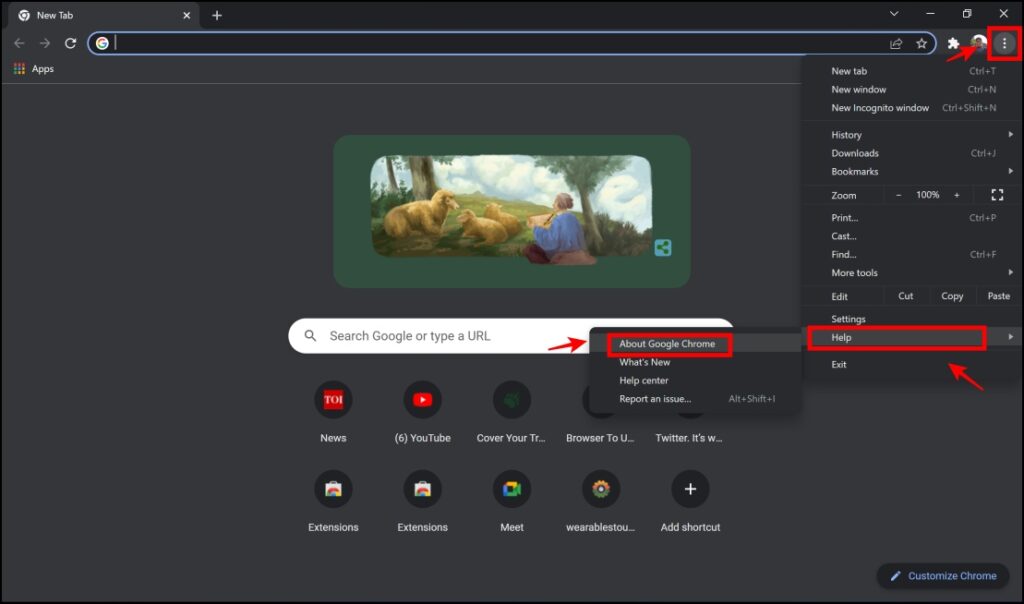
Step 1: Click on the three-dot menu on the top right corner of the screen.
Step 2: Click on Help > About Google Chrome.
Step 3: Ensure that the message says “Chrome is up to date.”
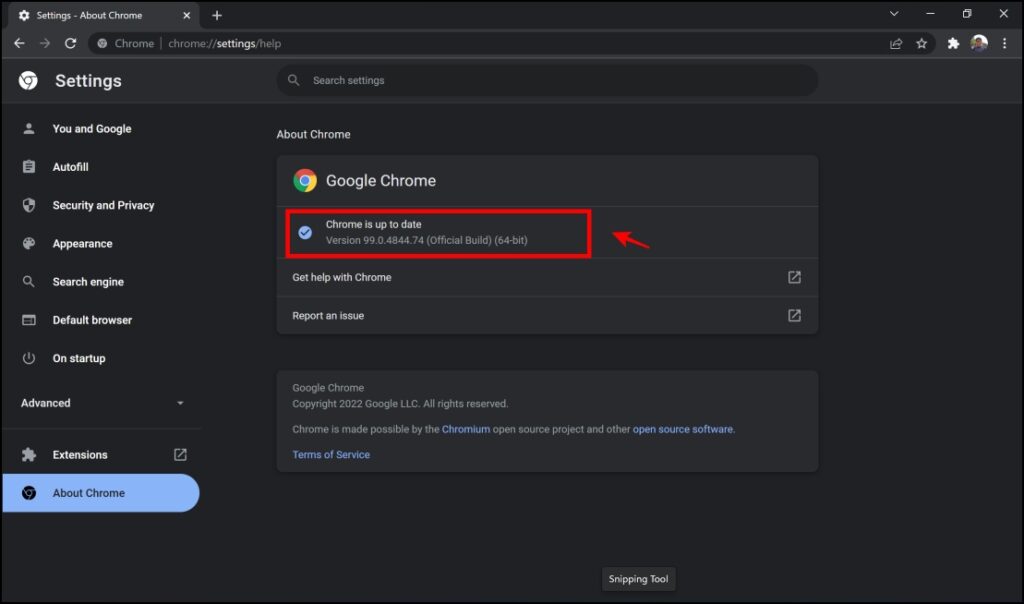
If not, update Google Chrome to the latest version available.
How to Find Which Chrome Tabs Using More RAM and CPU Resources?
Be it Windows or Mac, every computer comes with some activity monitor to track the processes running on the system. Using it, users can see how much RAM and CPU every process takes up.
Interestingly, Chrome has its own Task Manager, where you can see which open tabs are using more memory and CPU. Here’s a detailed guide around using and understanding the task manager in Chrome.
Is There a Less RAM and CPU-intensive Chrome Version for Windows?
We do not have a lite or less-RAM intensive version of Chrome yet. However, if you’re on a low-end machine and RAM usage is a problem, you can consider using Brave and Microsoft Edge browsers. Even Opera consumes far lesser resources compared to Google Chrome.
Enjoy Chrome That Uses Less RAM
These were some handy methods to make Chrome use less RAM and CPU resources on your Windows PC. The aforementioned practices can help you clean up the memory and have a smooth browsing experience. Stay tuned for more such informative content.


