
Google Chrome is the most popular web browser on the Internet. It has around 64% combined market share across all the platforms. The default settings of Chrome works very well for normal users. But do you know there are several pro settings and features you can use in Chrome to take your browsing experience to the next level? Well, here are ten Pro settings that you can enable right now in Google Chrome to make the most out of it.
Pro Chrome Settings to Get the Most Out of it
1. Block Third Party Cookies
Chrome doesn’t third-party cookies by default. I think it is a feature that should be enabled default in every browser. So, the very first setting you should enable in Chrome is blocking third-party cookies.
Step 1: Click on the three-dot menu and go to Settings, and then Privacy and Security settings.
Step 2: Under privacy & security settings, go to Cookies and other site data. Alternatively, Type chrome://settings/cookies in the address bar, and you will land on the cookies settings page.
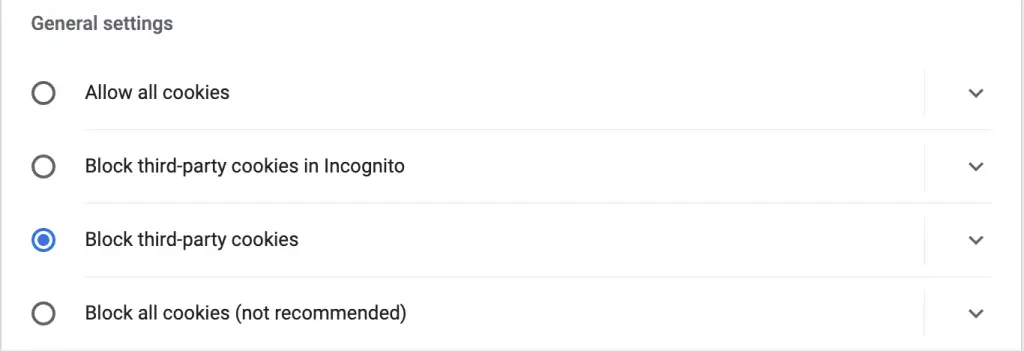
Step 3: It might be set as Allow all cookies by default or only block third-party cookies in Incognito. Please change it to Block third-party cookies.
That’s it. While browsing the web, you will no longer be tracked by third-party cookies giving you a much better experience.
2. Use Secure DNS
Usually, we all use DNS provided by the ISP to connect to the internet. However, you must know that your ISP can track your browsing websites and pretty much everything you are doing on the Internet. You can stop your ISP provider by doing it by using a custom DNS in Chrome. Wondering how?
Step 1: Type chrome://settings/security in the address bar and scroll to Advanced Security Settings.
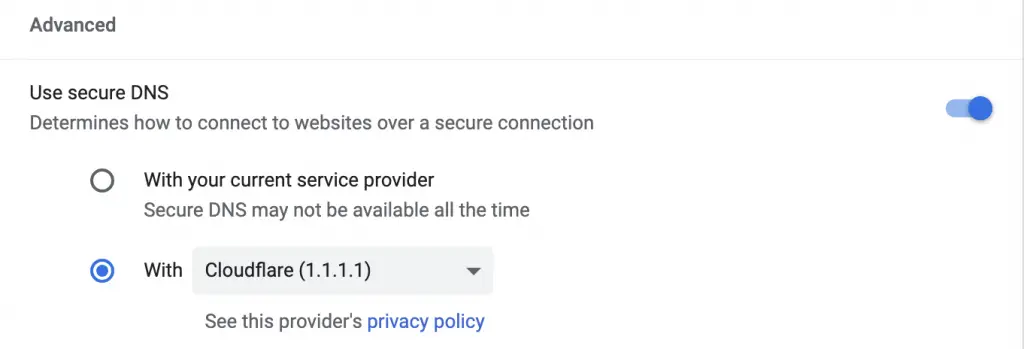
Step 2: The very first settings there will be using Secure DNS. If it is enabled, it will be set to “with your current service provider.”
Step 3: Below that, you can find high-quality DNS providers like Open DNS, Google DNS, and even Cloudflare DNS. Select a DNS provider of your choice. It will save you by getting tracked by your ISP.
3. Prevent Sites To Ask For Send Notifications
One of the most annoying things I face while browsing the web is that the websites start asking for permission to send the notifications as soon as I open the page. If you, too, are annoyed with this behavior, follow the steps below to prevent websites from asking for notifications.

Step 1: Just type chrome://settings/content/notifications in the address bar.
Step 2: you will see “Sites can ask to send notifications.” Turn off the toggle.
That’s it. You will no longer get any annoying popups on websites asking you to send notiifcations.
4. Set DuckDuckGo as Your Default Search Engine
Most of you might have heard about DuckDuckGo- it is a privacy-focused search engine. The best part of DuCkDuckGo is that it does not save your search history or sell your search data to advertisers.
Chrome is developed by Google and it is obvious to see Google Search as the default search engine. But Chrome gives users the option to change their default search engine. Recently Chrome added DuckDuckGo as an option, and if you care about privacy, you can set DuckDuckGo as your default search engine.
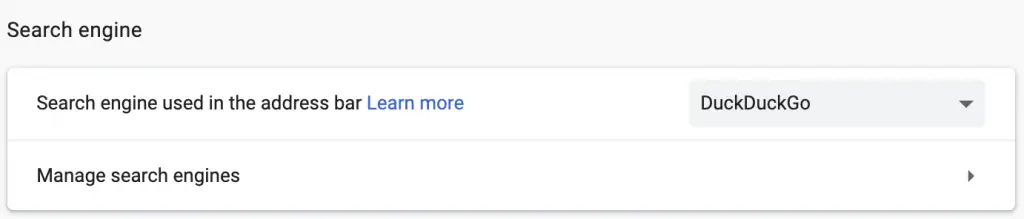
Step 1: Type chrome://settings/search in the address bar and it will take you directly to the search engine settings.
Step 2: Select DuckDuckGo from the list of the search engines available. Starting now, your web searches will be more private.
5. Enhanced Spell Check
No matter what’s your profession is, there are times when you have to type in Chrome. Humans are bound to make mistakes by nature, and we make them even more while writing. To fix spelling mistakes, we have to install all sorts of extensions. But only a few of you might know that Chrome comes with an inbuilt spell checker that works quite well.
Step 1: Type chrome://settings/languages in the address bar and you will land directly to languages settings.
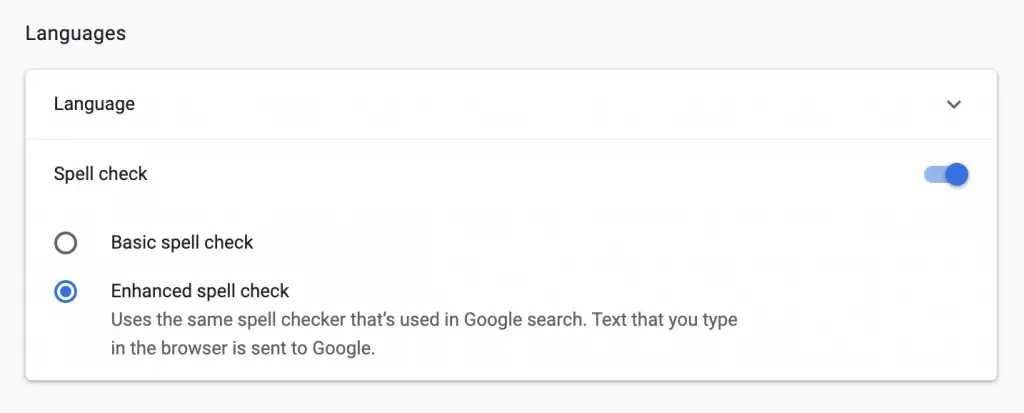
Step 2: You will get an option for a Spell check. It will be set to Basic spell check by default, change it to Enhanced spell check.
Now, whenever you type something wrong, Chrome will automatically alert you of the wrong spelling. Interestingly, the Enhanced spell check feature is powered by the same spell checker used in Google search.
6. Live Caption
The caption is a boon for people suffering from hearing loss. Google added a captioning feature called live caption on Pixel smartphones back in 2019. And now, the live caption feature has been added to the Chrome desktop.
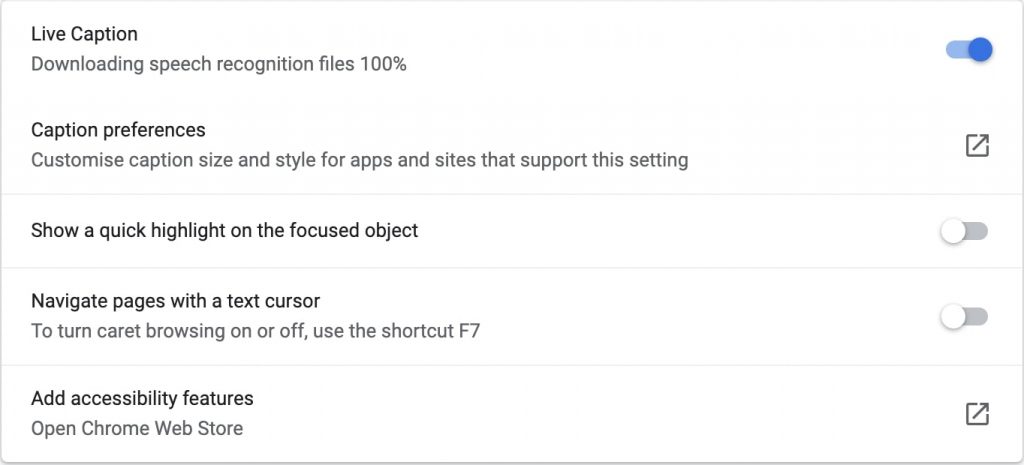
Step 1: You can easily enable Live caption by typing chrome://settings/accessibility in the address bar.
Step 2: In the Accessibility settings, the very first settings you will find is Live caption– enable it.
Your system will start downloading a speech recognition file. Now, whenever you play a video or audio, live captions will start appearing in a box.
7. Enable Hardware Acceleration
Google Chrome has a bad reputation for using all the RAM and CPU power of a computer. A user with less strong internals faces issues in using Chrome. But there is a setting that can transfer some of the load from your CPU to the GPU. It is called hardware acceleration.
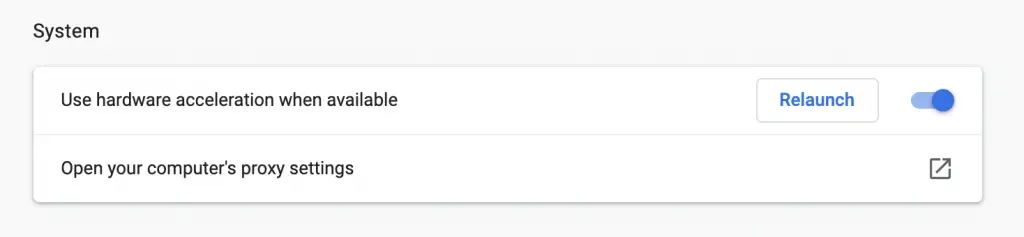
Step 1: To enable it to type chrome://settings/system in the address bar and in the system settings you will see an option Use hardware acceleration when available.
Step 2: Turn on the toggle and relaunch the browser. Now whenever the system will feel a higher load on the CPU, it will distribute some of the load to GPU.
8. Parallel Downloading
File downloading is part of our web browsing experience. We download various types of files, images, videos, etc. When downloading a big file, we all want better speed. To get faster download speed on Chrome, there is a flag named Parallel Downloading that helps improve the downloading speed.
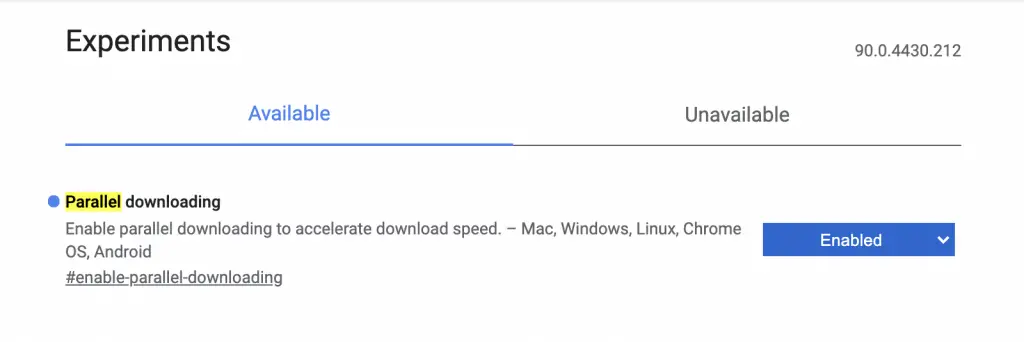
Step 1: To enable it type chrome://flags/#enable-parallel-downloading in the address bar and you will land on the flag page straight away.
Step 2: Enable it and relaunch Chrome. Now you will notice the speeds of your download have got improved.
9. Reader Mode
Google Chrome does not have a reader mode by default. But thanks to Chrome flags, you can get reader mode by enabling the reader mode flag, as follows:
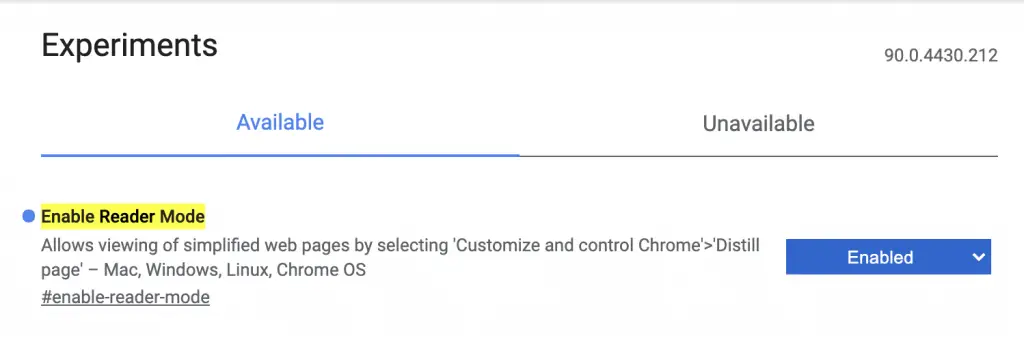
Step 1: Type chrome://flags/#enable-reader-mode in the address bar, and you will be taken to a flag named enable reader mode.
Step 2: Just enable the flag and relaunch Chrome. The next time will be reading an article you will get an option to read that article in reader mode.
10. Force Dark Mode For Web Contents
One can easily enable dark mode in Google Chrome either by system-level dark mode or by installing an extension. But in most cases, only the background, tab bar, and settings page gets changed to dark mode. The web pages you visit still show up in light mode.
If you want the web pages to show in dark mode, you can toggle the Force Dark Mode flag using the steps below:
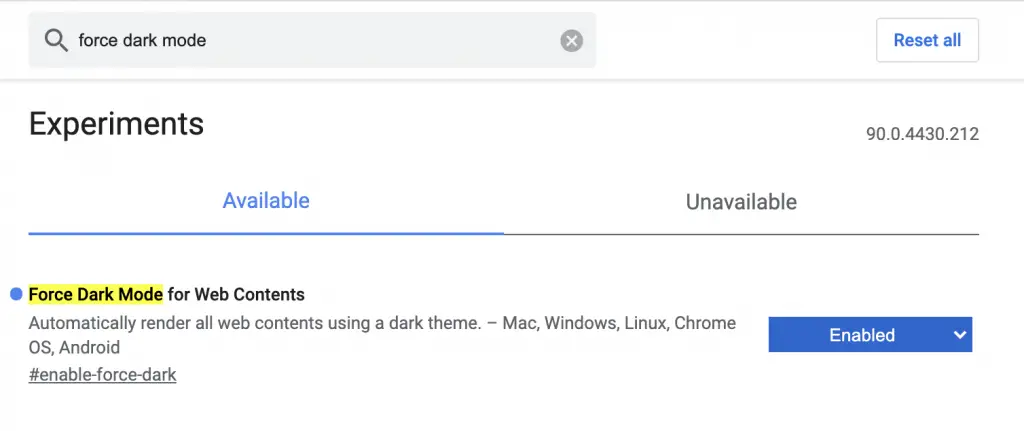
Step 1: Type chrome://flags/#enable-force-dark in the address bar and you will land directly to a Chrome flag. It is called force dark mode for web content.
Step 2: Enable this flag and relaunch the browser and now every webpage that you visit will be in dark mode.
Final Words
No doubt, Google Chrome is a very feature-rich browser, and the default settings it comes with are sufficient for most users. But I can definitely say after enabling these ten pro settings, you will start loving Chrome more than ever. It’ll enhance your browsing experience, whether it’s faster downloads, a better reading experience, or tighter privacy. Anyways, which of the settings will you enable in your Chrome? Let me know in the comments.


