
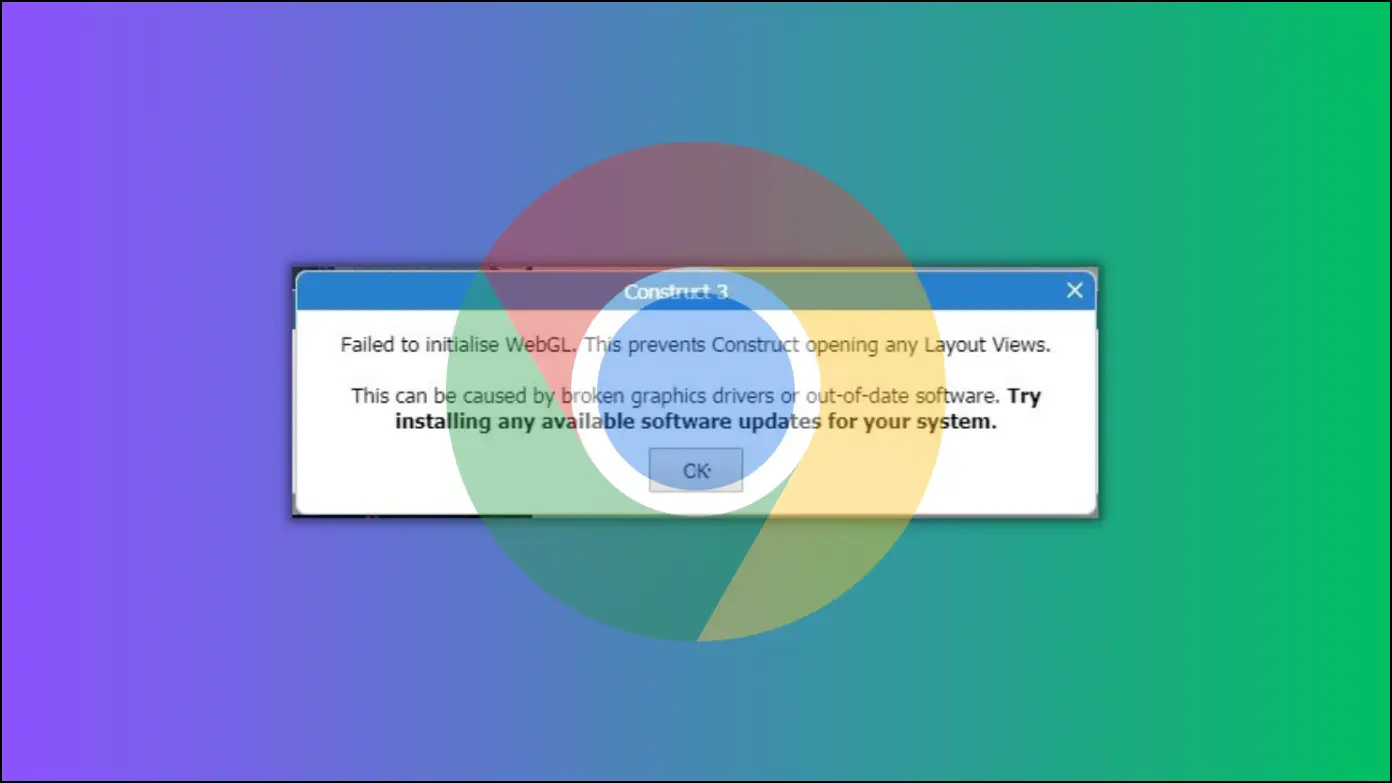
The “Failed to Initialize WebGL” error occurs when a web browser attempts to use WebGL (Web Graphics Library) to render graphics on a web page but encounters an error while initializing it. If you are also getting the error on the browser, do not worry. In today’s read, you will see how you can fix “Failed to Initialize WebGL” in Google Chrome browser.
Why You See Failed to Initialize WebGL Error?
There can be several reasons why you get the error in the browser. Below are some common reasons you might receive the WebGL initialization failed error.
- Outdated or incompatible graphics drivers.
- One of the installed extensions is interfering with WebGL’s functionality.
- Your browser does not support WebGL.
- Web browser’s settings prevent or block WebGL from running.
How to Fix “Failed to Initialize WebGL” in Chrome?
There are several ways to bypass and fix Chrome’s “failed to initialize WebGL” issue. This includes updating or reinstalling your graphics drivers, enabling flags required for WebGL, disabling recently installed extensions that might be interfering, and tweaking hardware acceleration settings. All the methods are detailed below:
Method 1- Update Your Graphics Driver
As mentioned earlier, outdated graphics drivers might be why you see the WebGL initialization error in the Chrome browser. Below are the steps to check and update the GPU drivers on your system.
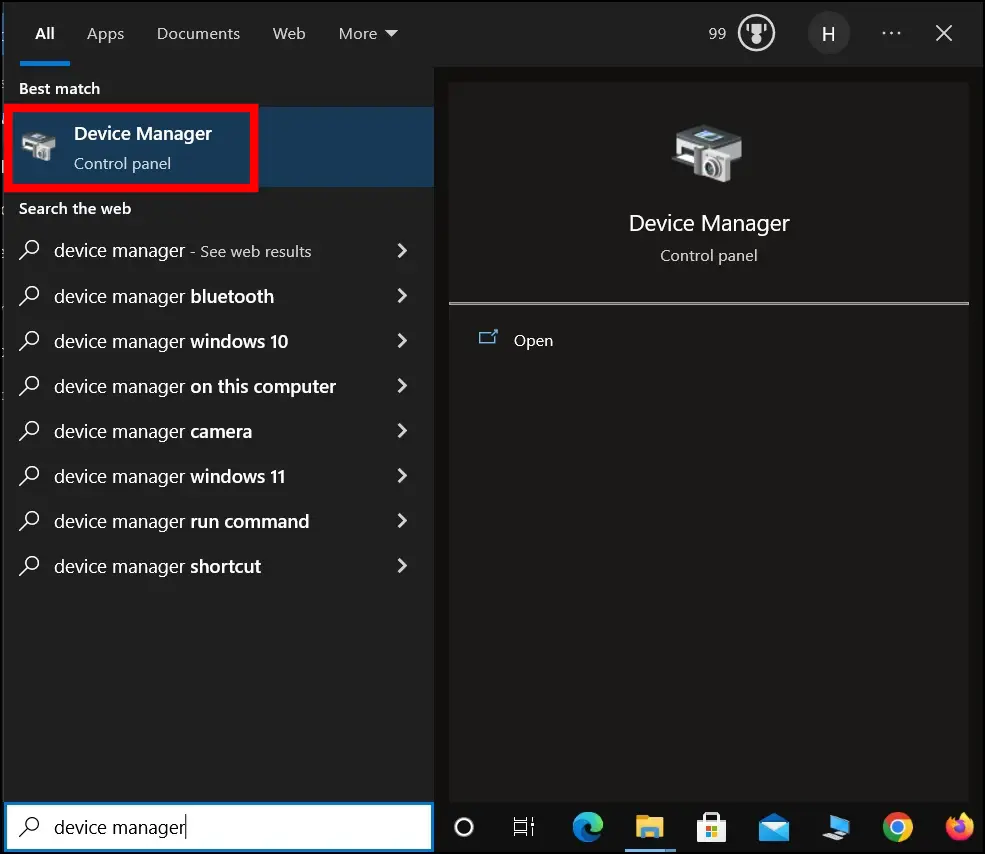
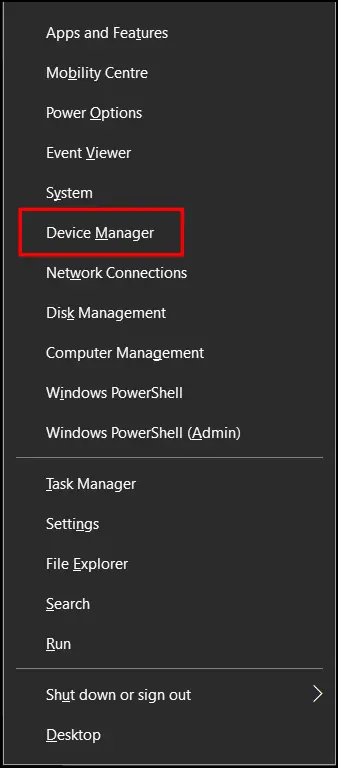
Step 1: Press the Windows key, type Device Manager, and tap to open it. Alternatively, press the Windows+X key at once and select Device Manager.
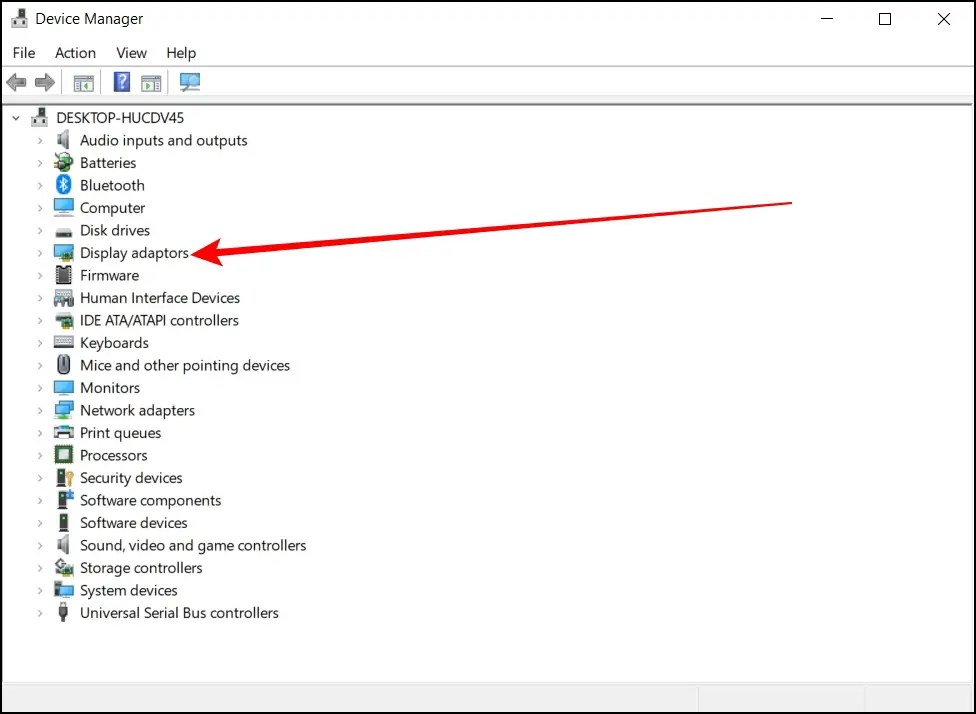
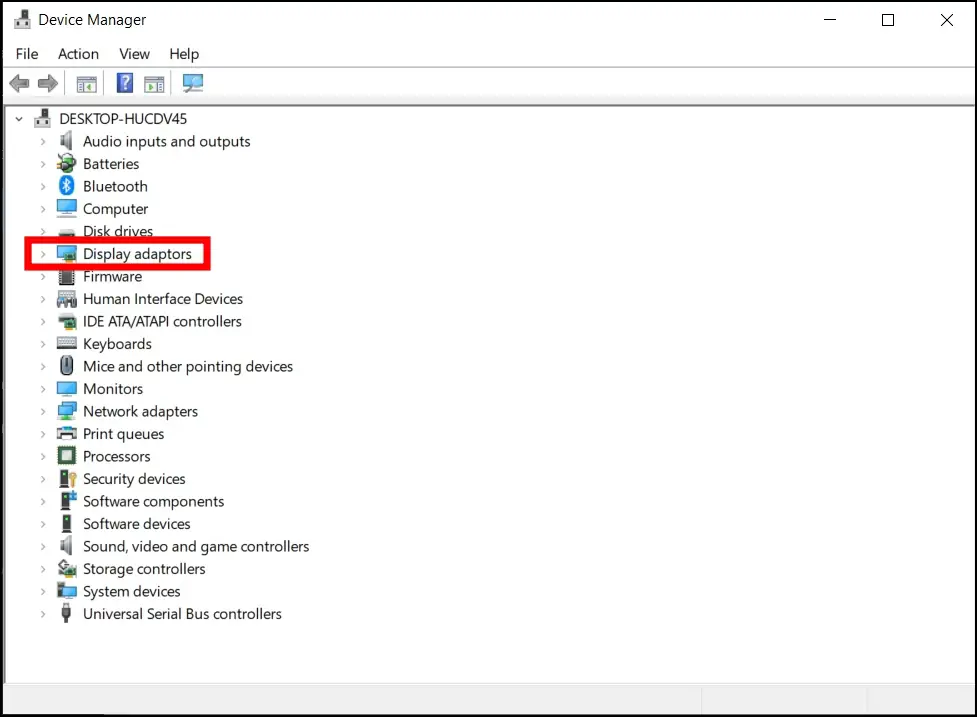
Step 2: On the window that appears, double-click on Display Adapters.
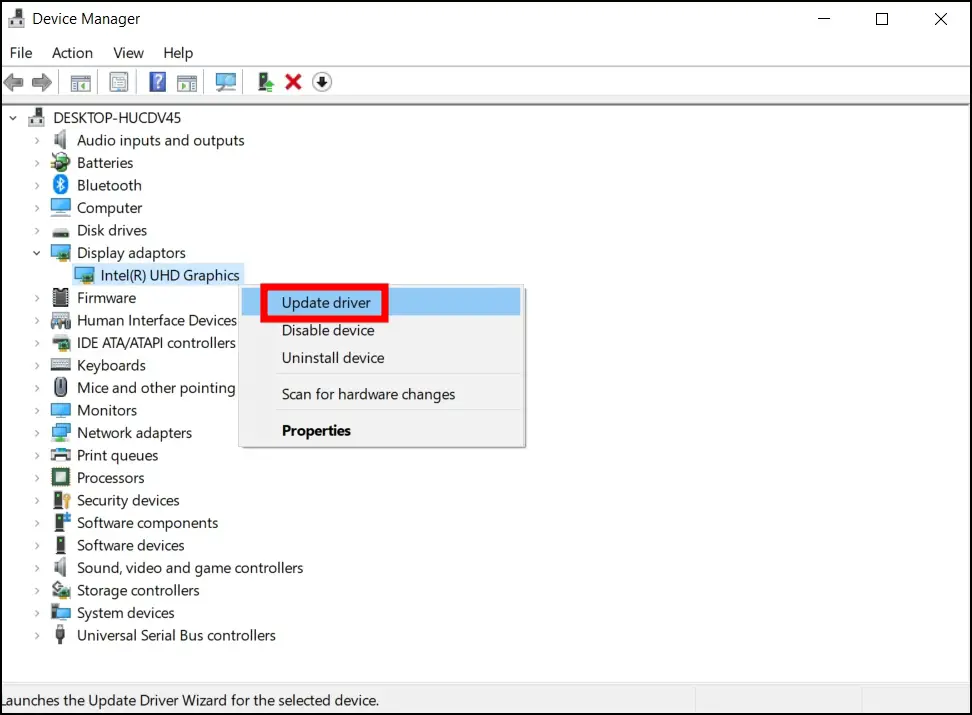
Step 3: Now, right-click on the graphics card and click on Update Driver from the menu options that appear.
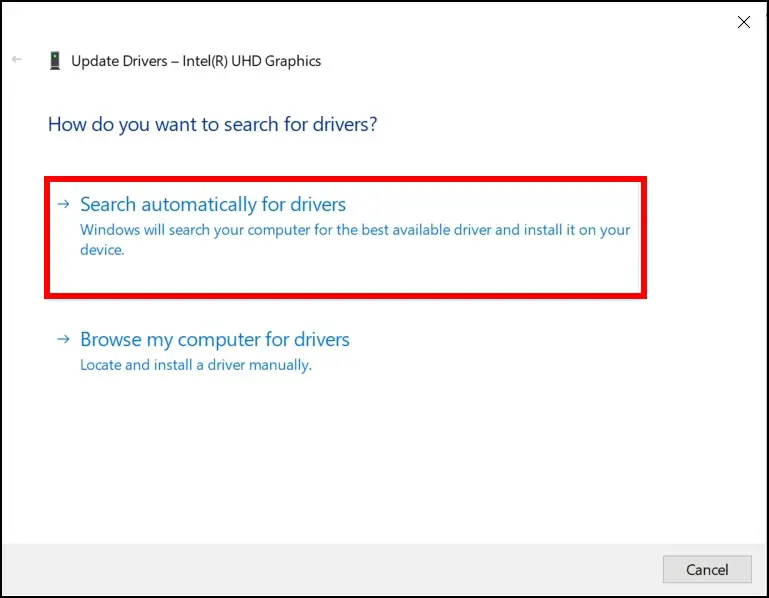
Step 4: Tap on Search automatically for drivers.
Method 2- Reinstall Graphics Driver
If updating the graphics driver does not fix the problem, then you should also try reinstalling it. Follow the below steps to re-install the graphics driver.
Step 1: Press the Windows+X key at once and tap on Device Manager.
Step 2: Click on the expand icon for Display Adapters.
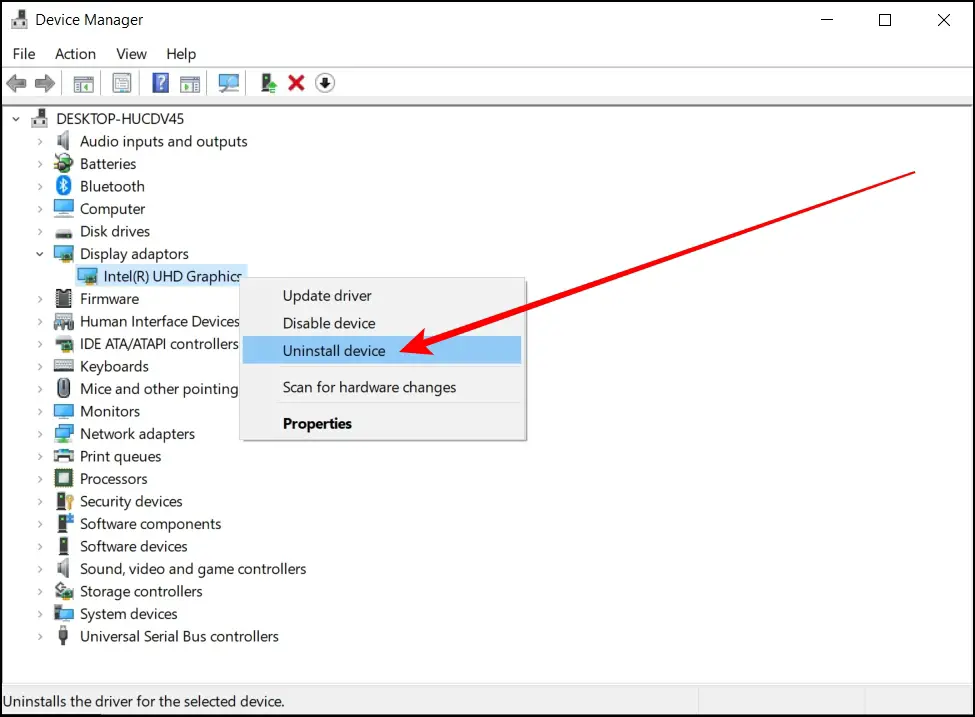
Step 3: Right-click on the graphics card and select Uninstall.
Step 4: Finally, restart your system, and the graphics driver will be installed automatically on your computer.
Method 3- Enable WebGL Flags
You can try enabling the WebGL-related flags on the browser; for most users, it works. Below are the steps to enable the experimental features on Chrome.
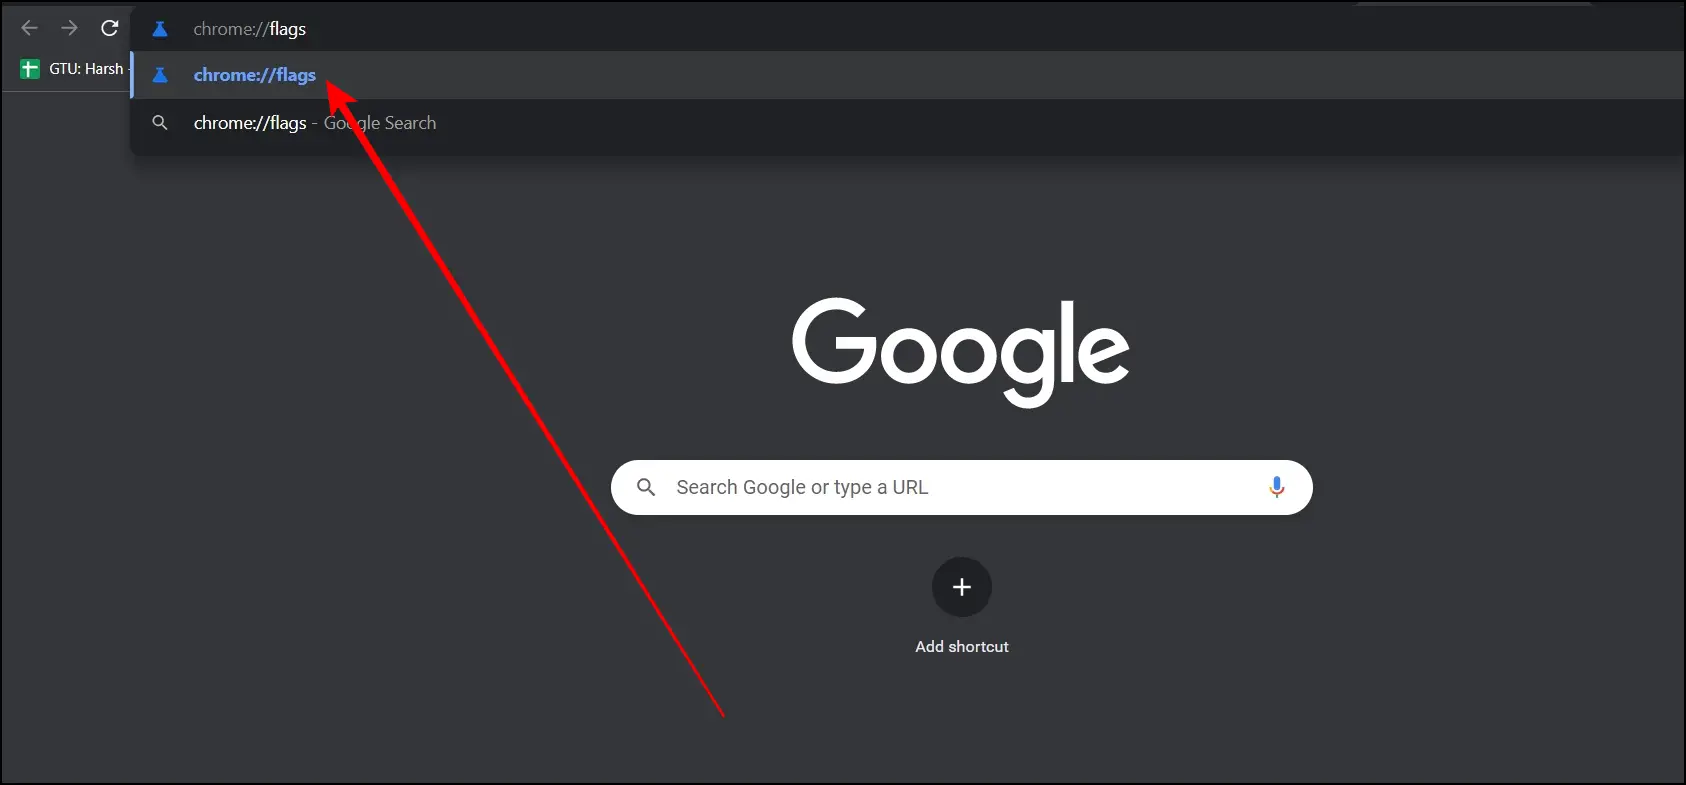
Step 1: Open Chrome and type chrome://flags in the address bar, then hit enter.
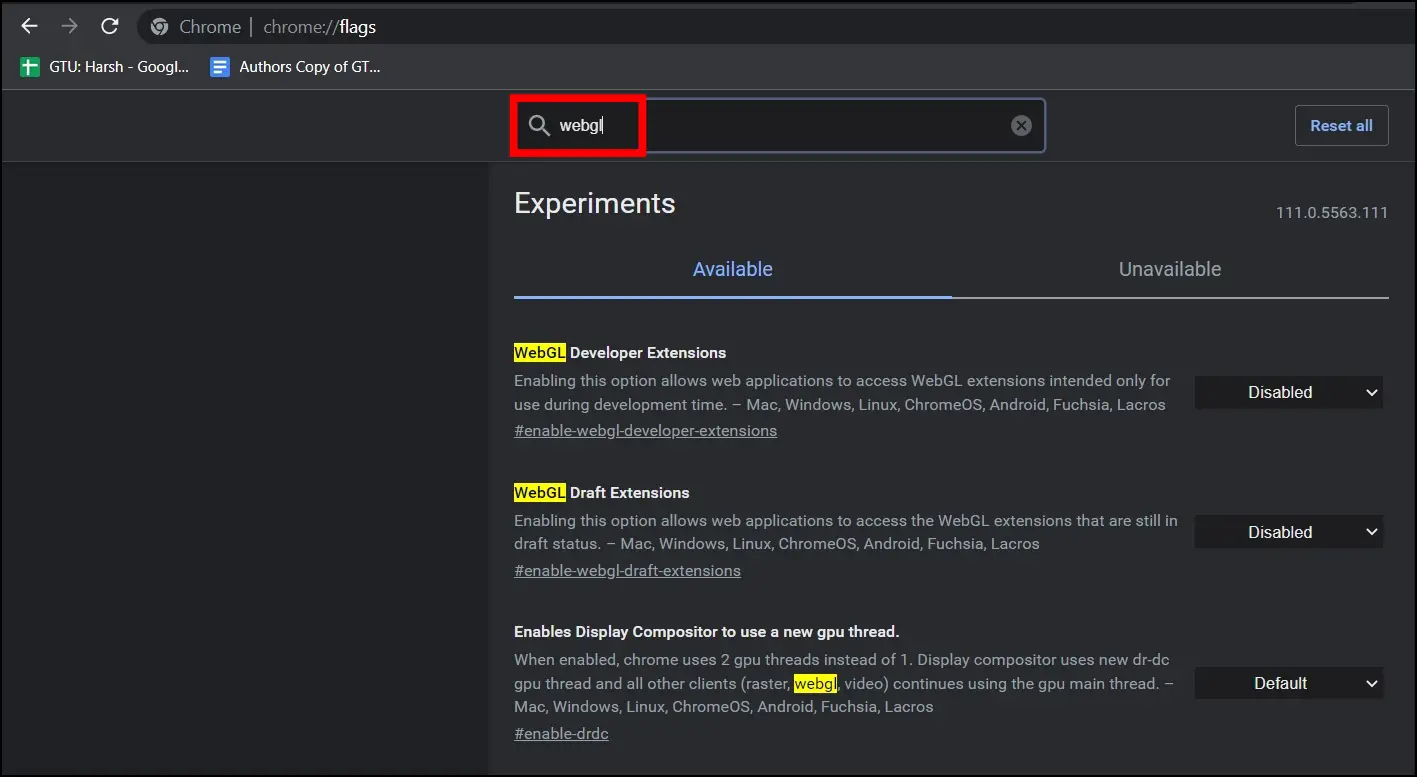
Step 2: Search for WebGL and click on the drop-down menu next to each WebGL-related option.
Step 3: Select Enabled from the menu.
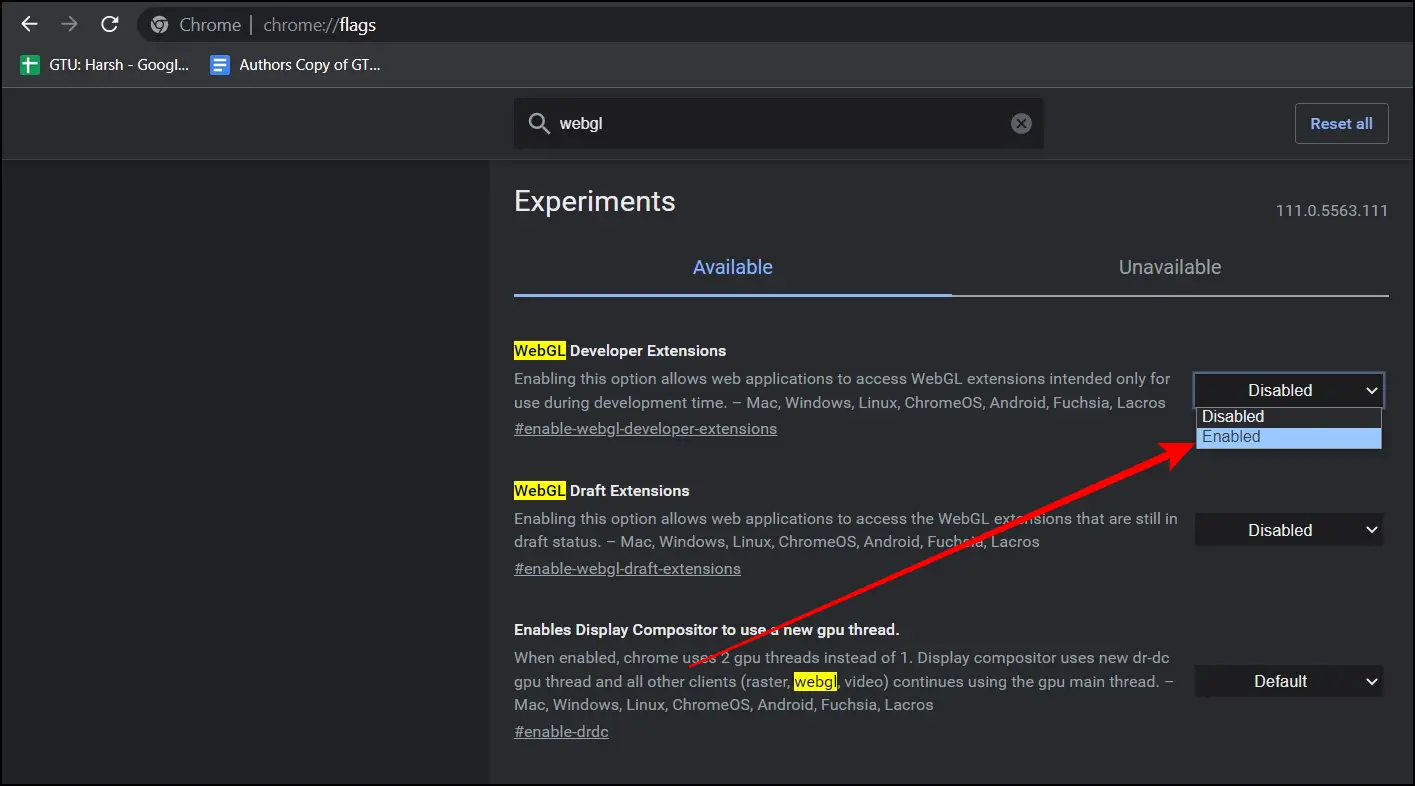
Finally, relaunch the browser by tapping on the Relaunch button at the top and check if the issue is fixed or not.
Method 4- Disable Recently Installed Extensions
There are chances that one of the installed extensions is interfering with WebGL’s functionality and causing the error. So, we suggest you disable them and see if it solves the problem or not.
Step 1: Open the Chrome browser, then tap on the three-dot icon and select Settings.
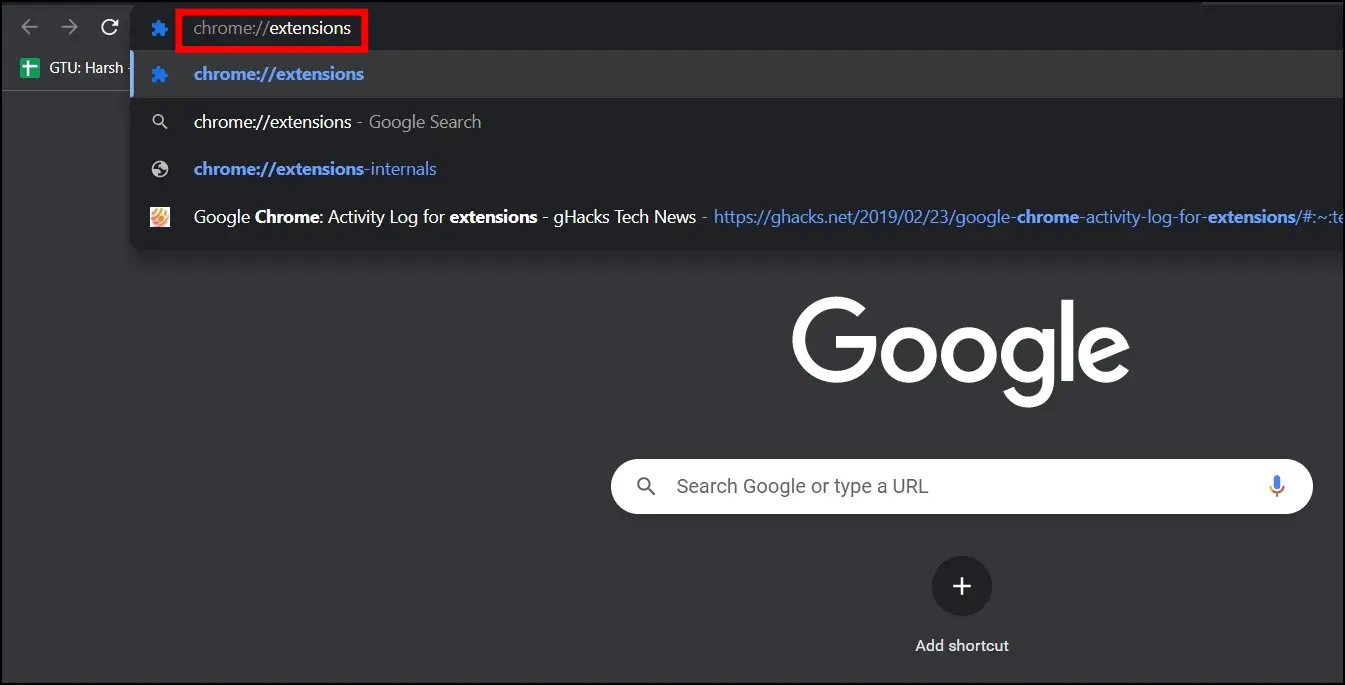
Step 2: Click on Extensions from the left sidebar. Alternatively, type Chrome://extensions in the address box and hit enter.
Step 3: Turn off the toggle under each extension to disable them.

If disabling extensions resolves your error, then you need to enable the extensions one by one to find out which one is causing the issue and later remove the suspected one permanently.
Method 5- Tweak Hardware Acceleration
This option is a bit different and confusing, as some users reported that disabling the feature worked while others reported that enabling the feature solved the problem. Hence, if it’s enabled, you need to disable the feature to fix the issue, or vice versa.
Step 1: Open the Google Chrome browser on your system.
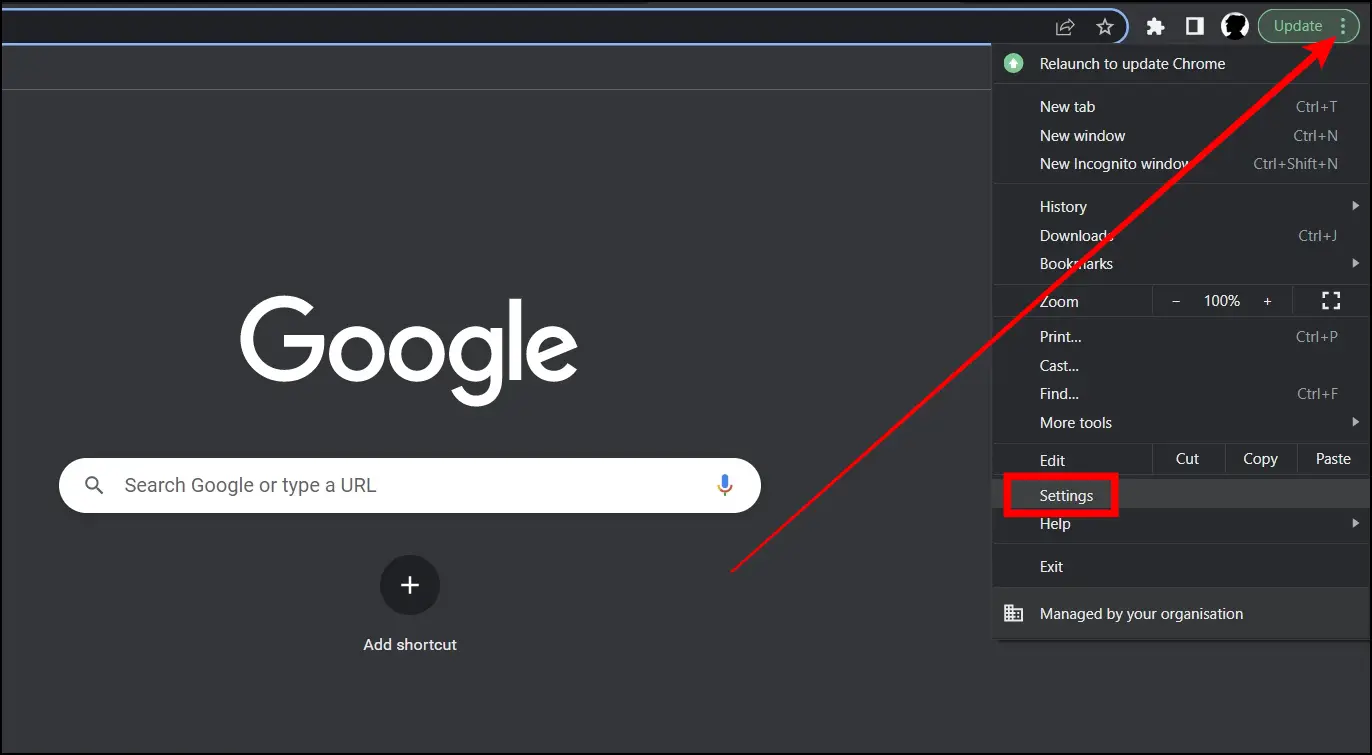
Step 2: Tap on the three-dot icon at the top-right corner and select Settings.
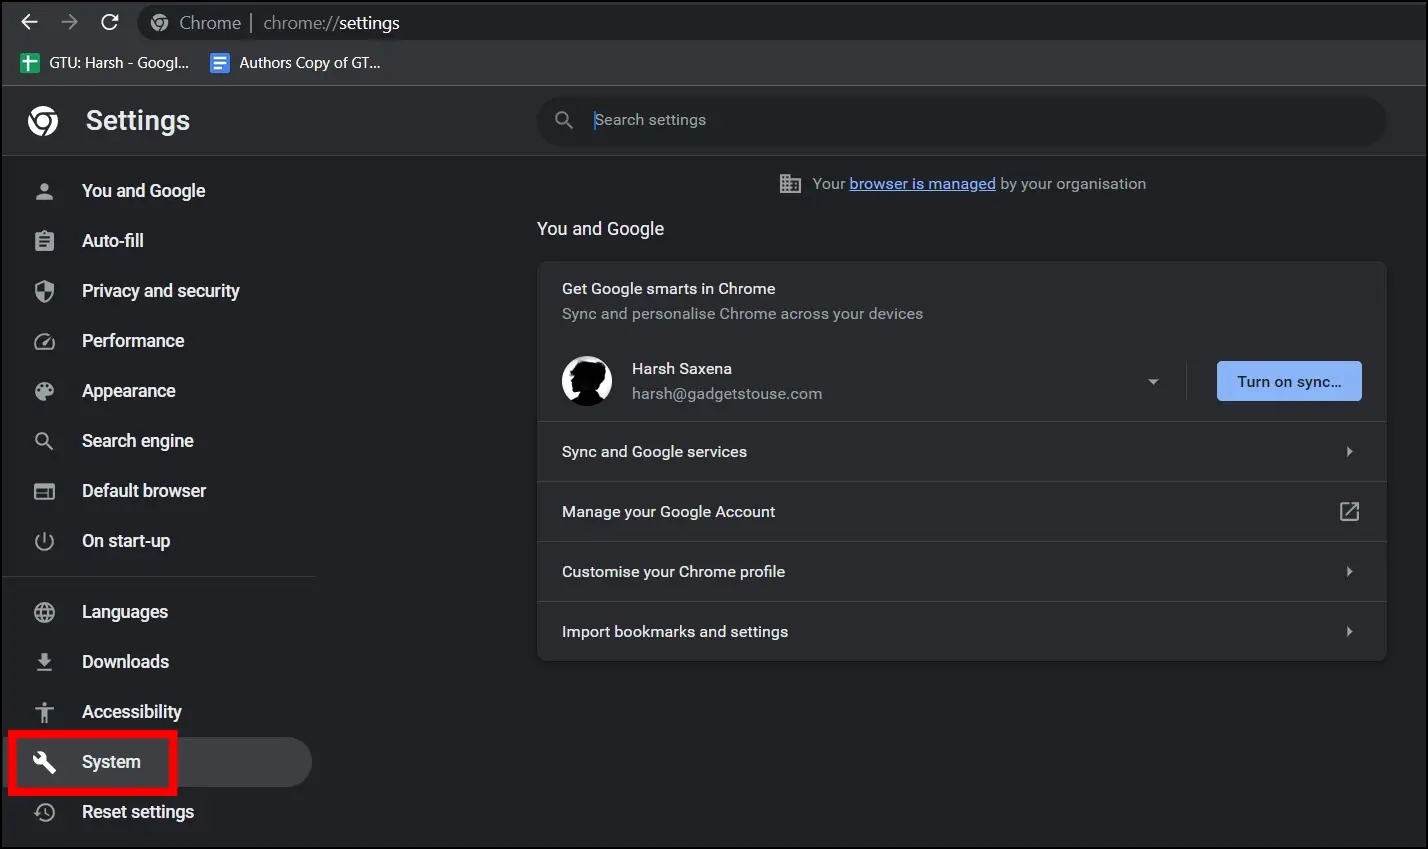
Step 3: Click on System from the sidebar.
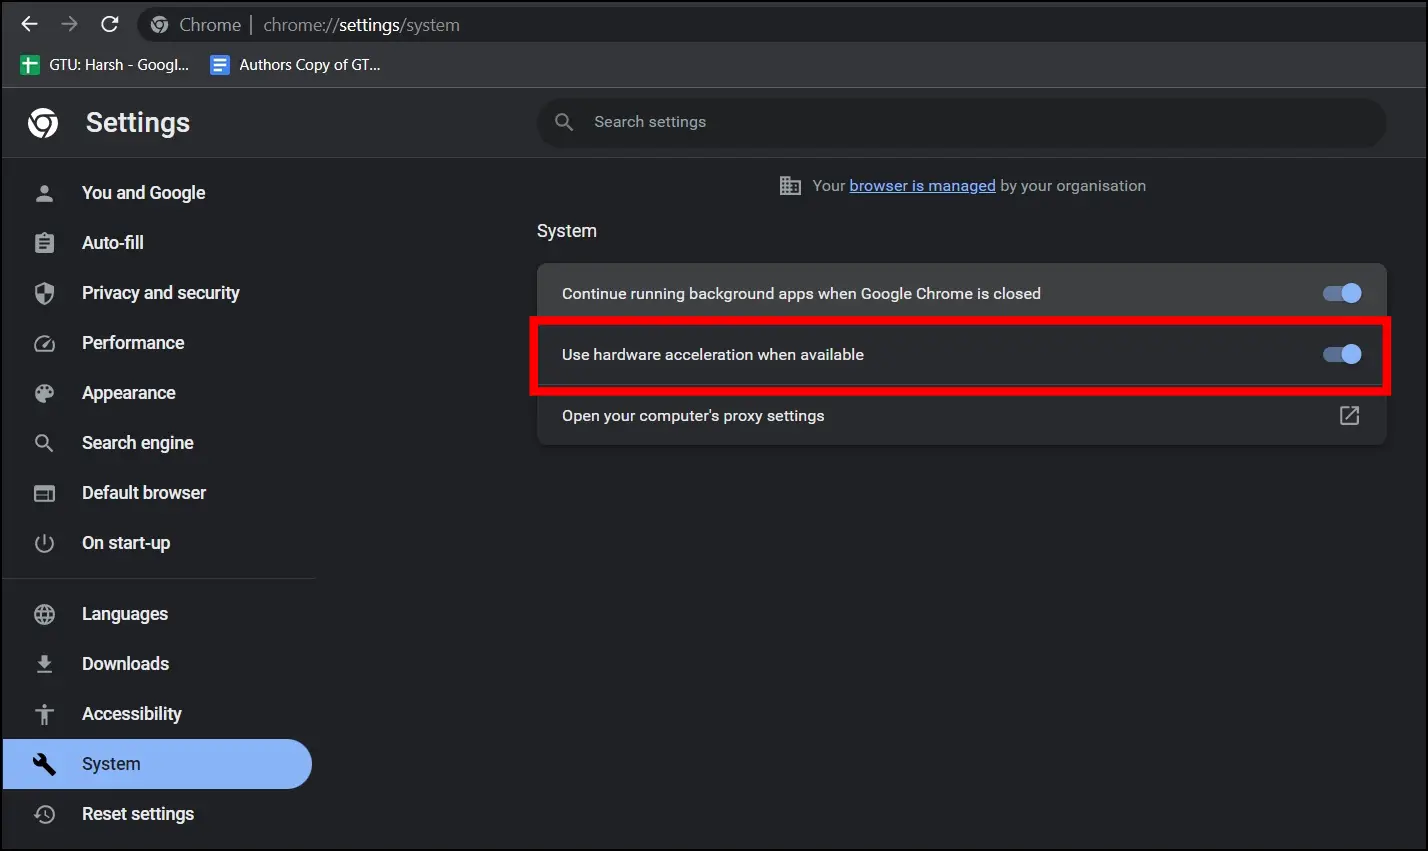
Step 4: Turn on or off the toggle next to Use hardware acceleration when available.
(Resolved) “Failed to Initialize WebGL” in Chrome
This is how you can fix Failed to Initialize WebGL in the Chrome browser. I hope the above article helps you fix the error in the Google Chrome browser while it initializes WebGL to render graphics. If you have any queries related to the article, let us know, and stay tuned to BrowserToUse for more such articles and how-tos.
Related:


