Are you looking to download WebP images in Chrome as JPG or PNG? If yes, then you are landed on the right article. Here, I will be explaining what is WebP, followed by five easy methods you can use to save WebP images in popular image formats like JPG or PNG on your Google Chrome browser.
Save WebP Images as JPG or PNG in Chrome
Below, we’ll be discussing some easy and quick ways to download and save WebP images in JPG or PNG format in the Google Chrome browser. But before we start, let me explain what is WebP.
What is WebP?
WebP is a modern image format by search engine giant Google. It was launched in 2010. It provides lossless and lossy compression. WebP lossless images are usually 26% smaller in size than PNG. Similarly, WebP lossy images are 25-34% smaller than JPEG. Both lossless and lossy WebP images support transparency.

It is supported on Google Chrome, Firefox, Edge, Opera, and many other tools and software. But still, at times, we need to download WebP images in more popular formats like JPG or PNG. Whatever be the reason, if you want to save images as JPG or PNG instead of WebP, try the methods given below in your Google Chrome browser.
1. Take Screenshot
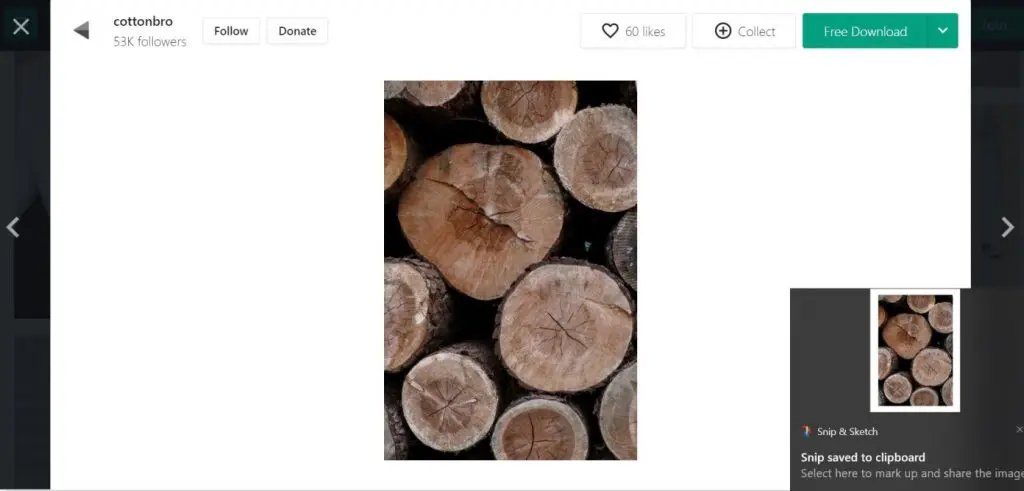
There are different ways to download WebP images in Chrome as JPG or PNG file format. But the method I use most of the time is taking screenshots. You can simply open the WebP image in a new tab and take a screenshot of that image. Once you do so, the WebP image will get saved in PNG file format on your computer.
You may already know how to take screenshots but let me explain once again. On Mac, You can take screenshots of the full Window by pressing command+Shift+3. To take a screenshot of a specific part, press command+Shift+4 and then select the part you want to capture.
If you are a Windows user, you can use the Windows Snipping tool, Snip & Sketch, or Print Screen method to take screenshots. It’s super easy, and you don’t have to use any third-party app or service.
2. Edit Image URL
As mentioned above, I personally use the screenshot method to download WebP images as JPG or PNG in Chrome. But after taking the screenshot, the size of a normal WebP image gets increased. It’s a hassle to compress these images to reduce the file size.
That’s where the second method I use comes into play. If you look at the below image, It is an URL of the image in WebP format. You can see the .webp extension at the end.

All you need to do to save such images in the JPG or PNG format is to remove the .webp from the URL of the image. To do so either open that image in a new tab or copy the image address and paste it into a new tab.
It will open the image in a new tab. Now you can remove the .webp at the end of the image URL. Once you remove .webp, the URL will look something like the below image, and now you can easily save it in JPG or PNG.

In a few cases, you will find “-rw” at the end of the URL of the WebP images you want to save in JPG or PNG. You will have to remove “-rw,” and then you will be able to save them easily.
3. Use Chrome Extension
What makes Chrome so popular is the availability of a huge catalog of extensions. You can find an extension in the Chrome Web Store for almost any possible task you want to perform. In this case, when you want to save WebP images as JPG or PNG, there are many different extensions available.
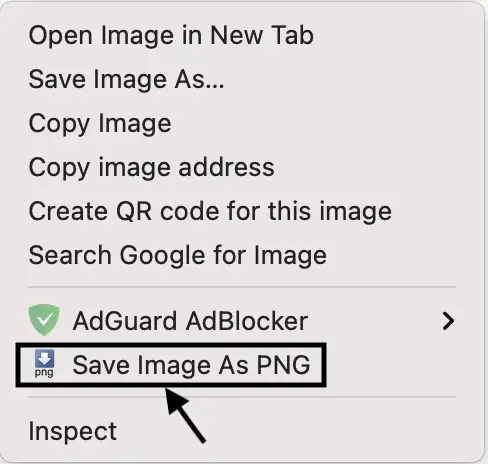
The one I will recommend is named “Save Image As PNG.” Adding this Chrome Extension will give an extra option to save WebP images as png after clicking the right menu.
4. Use A Different Browser
WebP image compression is one of the best Image compression formats available right now. It is around 10 years old now, but still, it is not as widely supported as JPG or PNG. Because of this, websites store both JPG/PNG and WebP images on their server.
If a user requests an image from a browser that does not support WebP, normal JPG or PNG images are served. So it’s a good option to download the WebP image using a different browser that does not support WebP format. You can open the image in an unsupported browser and then easily save it in JPG or PNG.
If you don’t want to use a different browser, I have a bonus tip for you. There is an extension for Chrome named “User-Agent Switcher.” What it does is, spoofs the system in a manner that the server will think you are opening the page from a different browser.
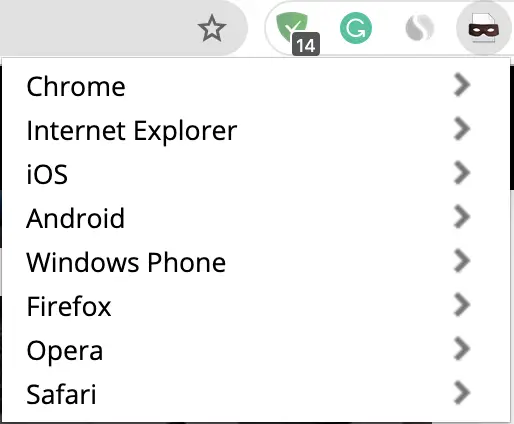
All you need is to add this extension in Chrome. Once the extension is added, tap it after opening a web page and then select the browser you want to use from the list. The page will be reopened, and this time, it will be spoofed so that the website will think you are using a browser that does not support WebP image format. Hence, you can right-click and save the image in JPG or PNG.
5. Online Conversion Tools
The above-explained methods can do the job for most people. But in case none of them suits you, do not worry. There are plenty of online conversion tools one can use to convert WebP images into JPG or PNG. Download all the WebP images you want to convert in JPG/PNG and then search on Google for “WebP to JPG” or “WebP to PNG.”
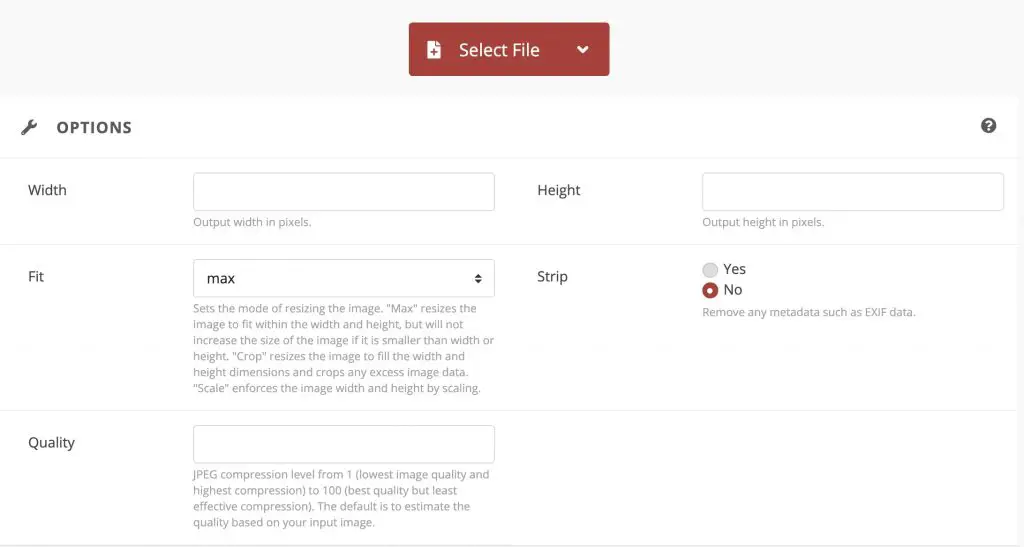
You will see the results of the online conversion tools. I am not getting specific here; you can use any of the top five results. Once you visit the page, you will need to upload the WebP images, and the tool will convert them to JPG or PNG. Download the images, and you are good to go.
Conclusion- Save WebP as JPG/ PNG in Chrome
These were the top ways to download WebP images in JPG or PNG format on Google Chrome. I personally use screenshots and changing the URL method. Those two methods work for me most of the time. You can also try the extension I mentioned in the article.
Using an online conversion tool is also not a bad choice. Overall, I would say it is fairly easy to download WebP images in JPG or PNG. Anyways, what do you think? Which of the above-mentioned methods worked for you? Let me know in the comments.
Also, read- Why Google Chrome Shows “Your Browser is Managed By Your Organization?”
