
Updates are important as they enhance the app’s speed and resolve bugs. The same applies to Chrome which can normally be updated via Google Play Store on Android. However, the update sometimes won’t install or get stuck at “pending download” or “installing.” In this read, you will learn how to fix Google Chrome not updating on Android.
Google Chrome Not Updating on Android? Here’s the Fix
There are many instances when Google Chrome is stuck on downloading or updating. The issue is not limited to a particular Android phone and can happen on any device. Here, we have added tried and tested methods to fix the Google Chrome browser not updating on Android devices.
1. Cancel Any Pending Updates or Downloads
If the Chrome app is not updating, there might be chances that other apps are being installed. Hence you need to cancel them. Follow the below steps to cancel the existing downloads.
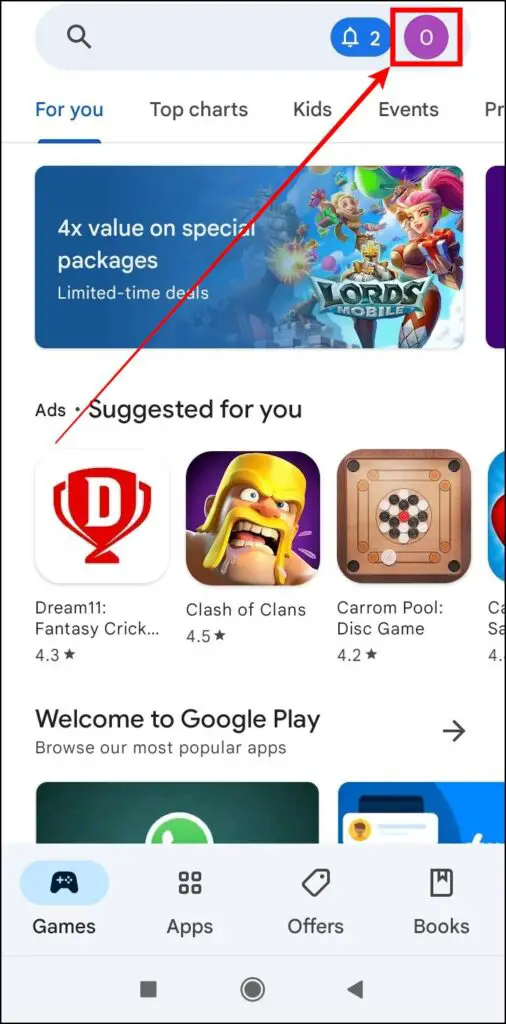
Step 1: Open the Google Play Store on your phone.
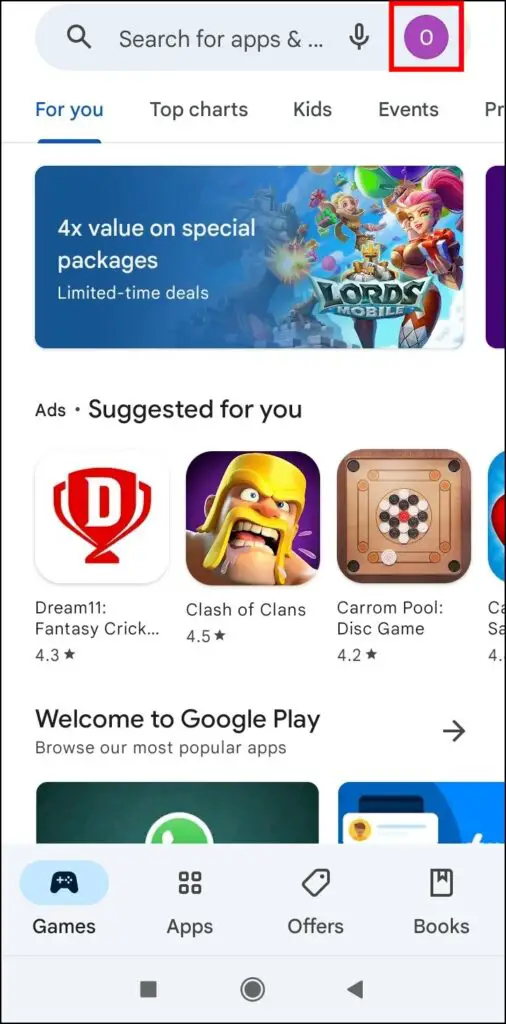
Step 2: Click on your profile picture icon at the top-right side.
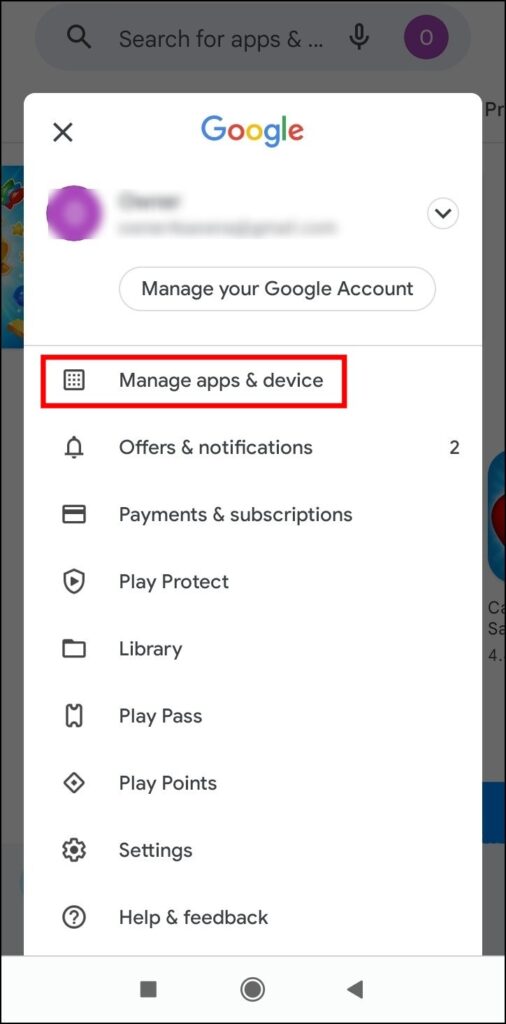
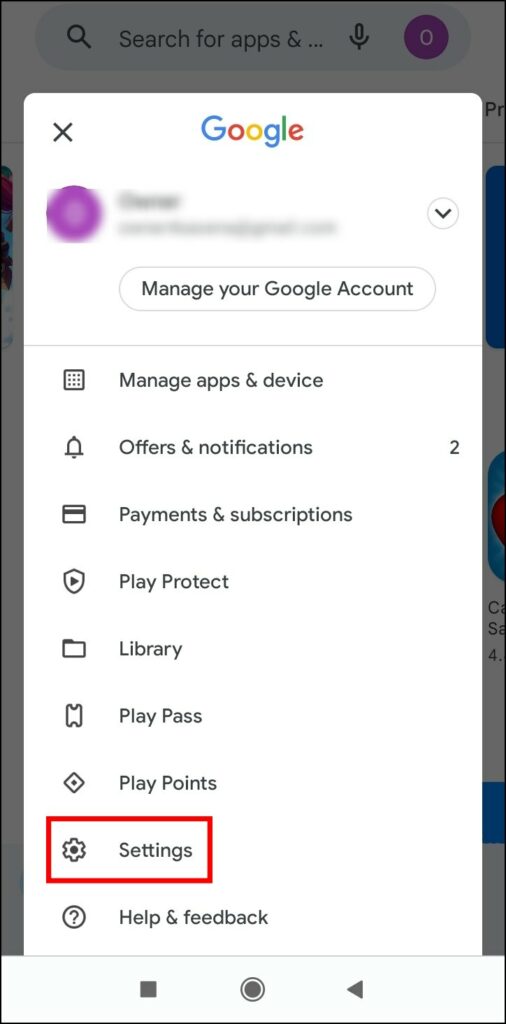
Step 3: Select Manage apps & devices.
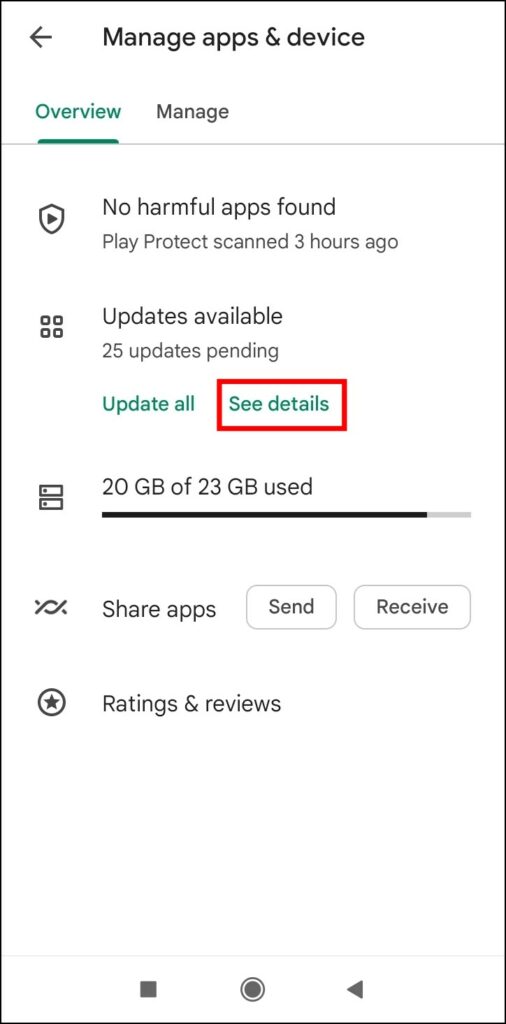
Step 4: Tap on See Details under the updates in progress or install in progress message.
Step 5: Now, click on the cross (x) icon next to the current progress apps to cancel the download.
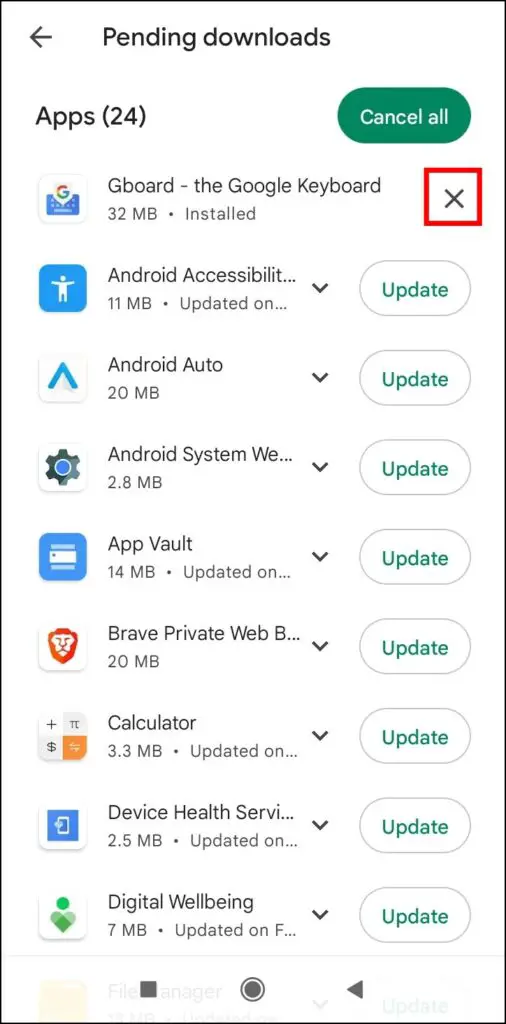
Step 6: Once you do, you can update Chrome without any issues.
2. Error While Updating Chrome? Check Storage
If you can still not update the Google Chrome app on your device even after canceling pending updates or downloads, you need to check whether your phone has enough space to update an app. Generally, Play Store will automatically throw an error message saying, “Error while downloading Chrome. There is insufficient space on the device.”
If you don’t have enough storage or your phone is running out of storage, you will not be able to update the browser. Hence, you need to remove some unnecessary apps or files from the device and then try downloading the apps.
3. Check the Date & Time
Due to an incorrect date and time, Play Store might stop updating apps on an Android phone. Hence, you can try correcting the date and time of your device. Follow the below steps to do so.
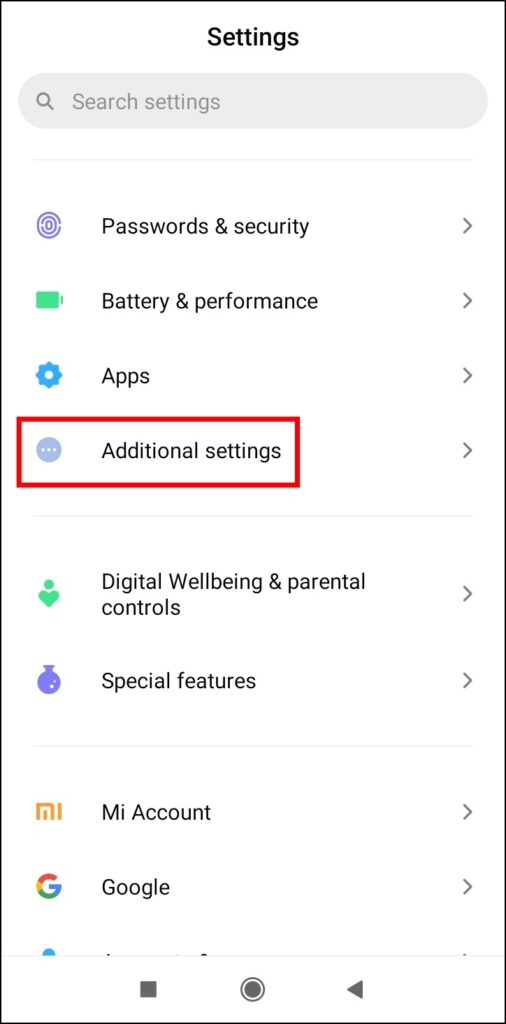
Step 1: Open the Settings app on your phone.
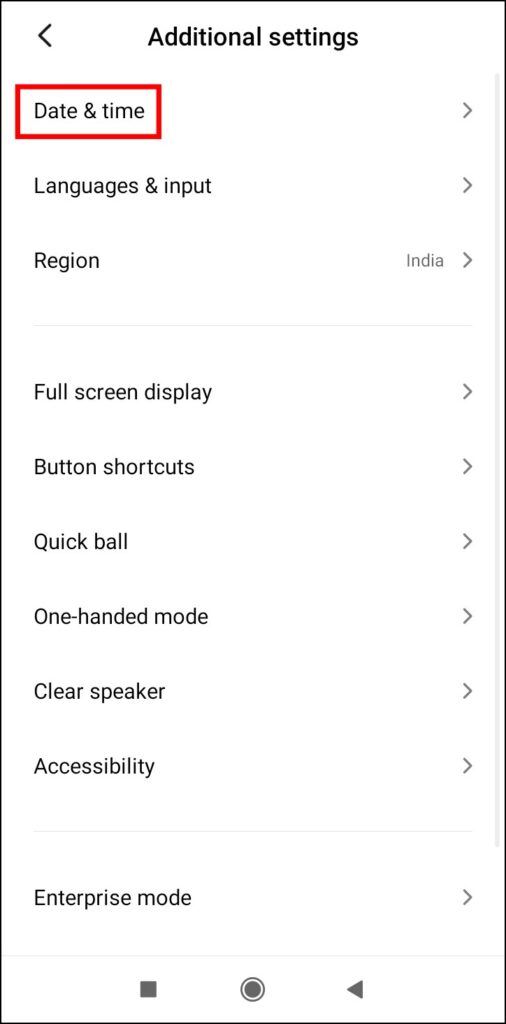
Step 2: Navigate to Additional Settings > Date & Time.
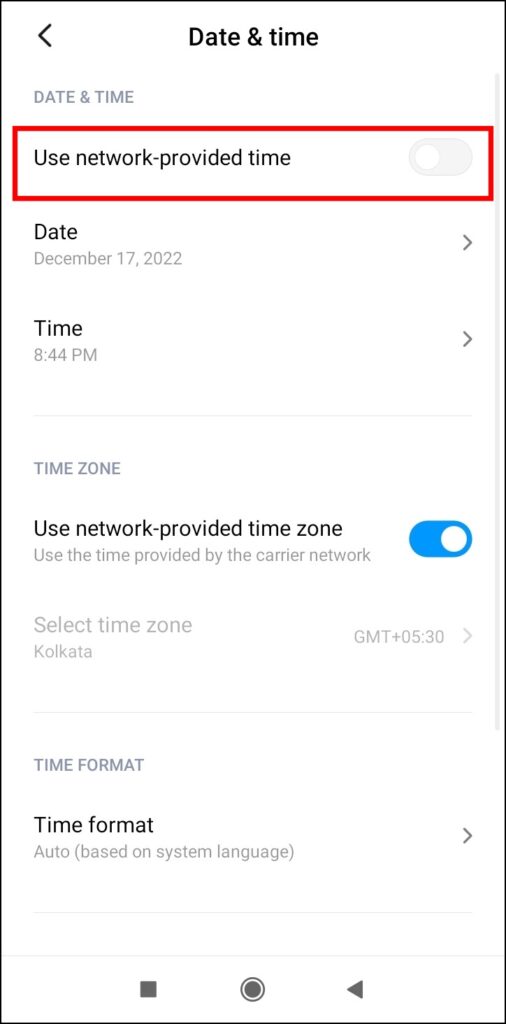
Step 3: Turn on the toggle next to Use network-provided time or manually enter the correct date and time.
4. Reset Network Settings to Fix Internet Issues
You can also try resetting your phone’s network settings. This will resolve any internet connectivity issues causing Play Store to show a “pending download” message while downloading Chrome update. Follow the below steps to do so.
Step 1: Open the Settings app on your device.
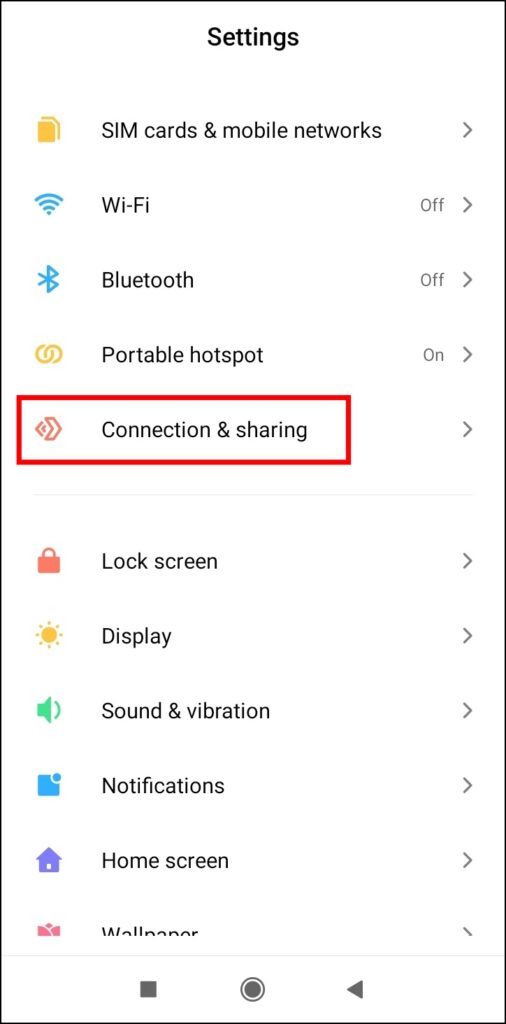
Step 2: Go to Connection & Sharing or System Settings.
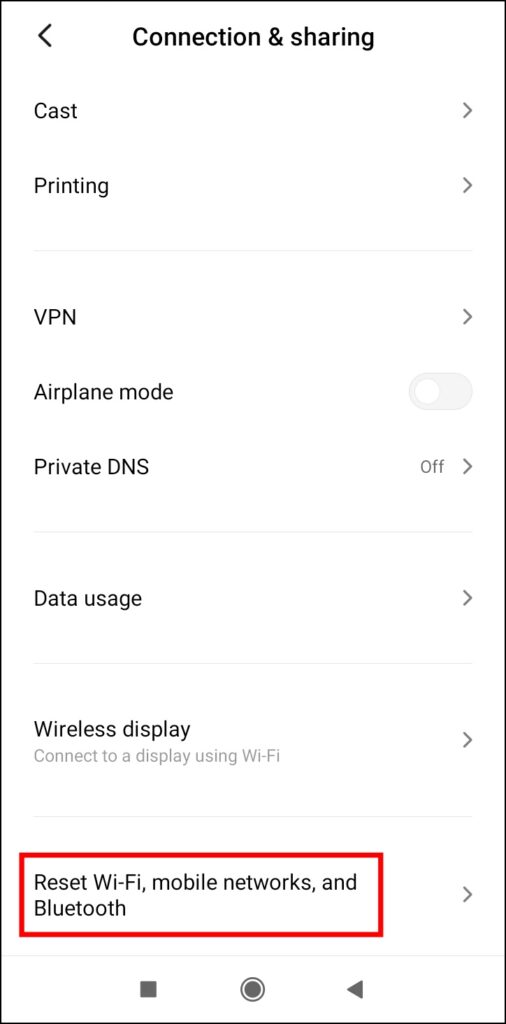
Step 3: Tap on Reset Wi-Fi, mobile networks, and Bluetooth.
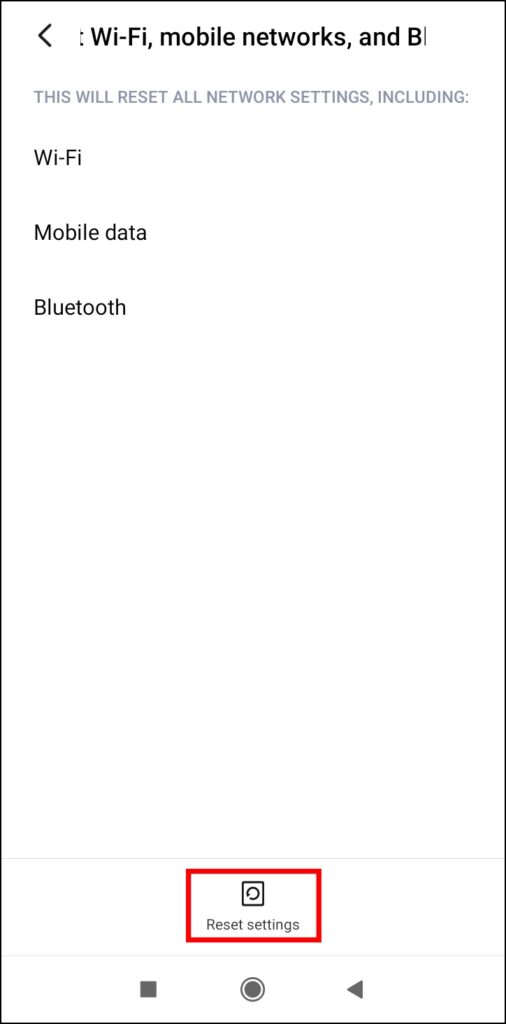
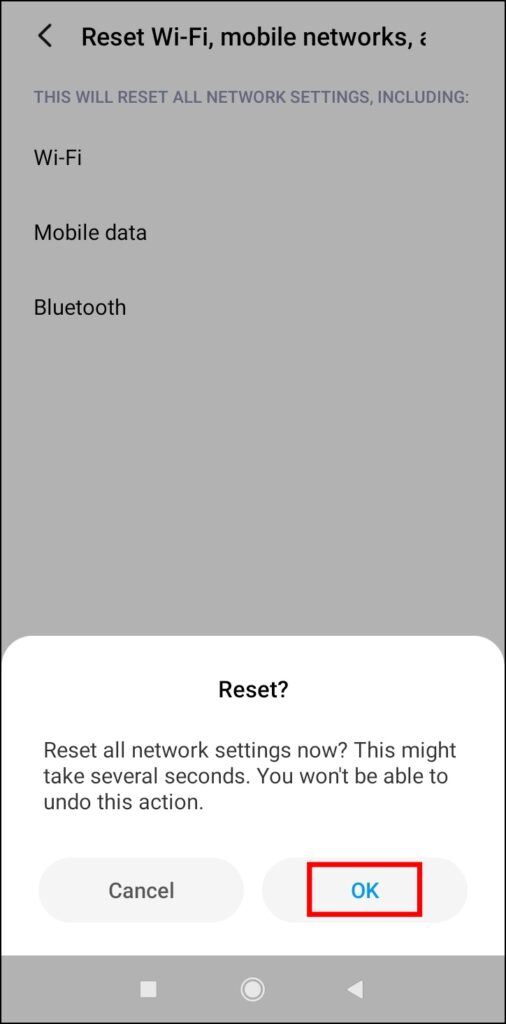
Step 4: On the next screen, tap on Reset settings and confirm it by tapping on the Reset button.
5. Set Download Preference to Any Network
Google Play Store allows users to select the network type to download or update the apps. If you have selected Wi-Fi only and use mobile data, you will not be able to update Chrome. Follow the below steps to set it to any network.
Step 1: Open the Google Play Store on your phone.
Step 2: Click on your profile icon and tap on Settings.
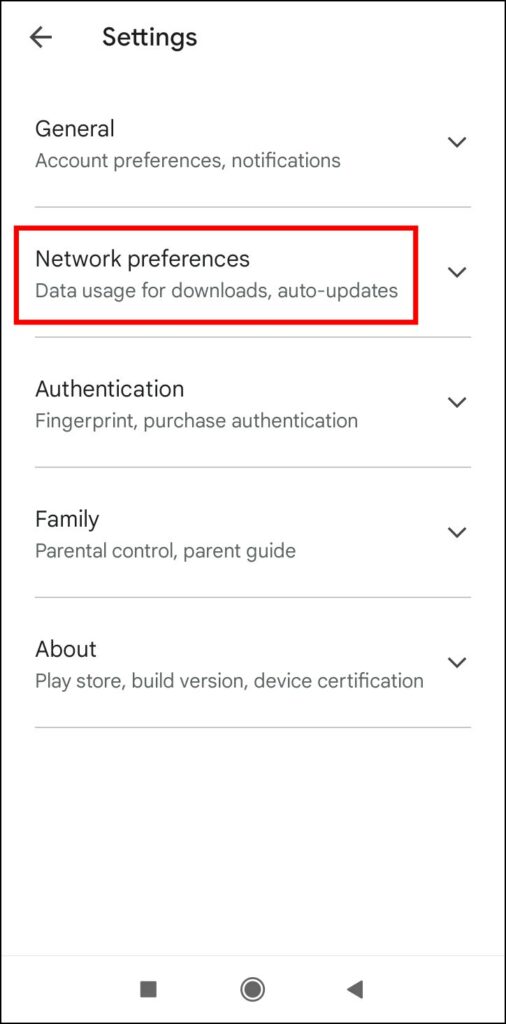
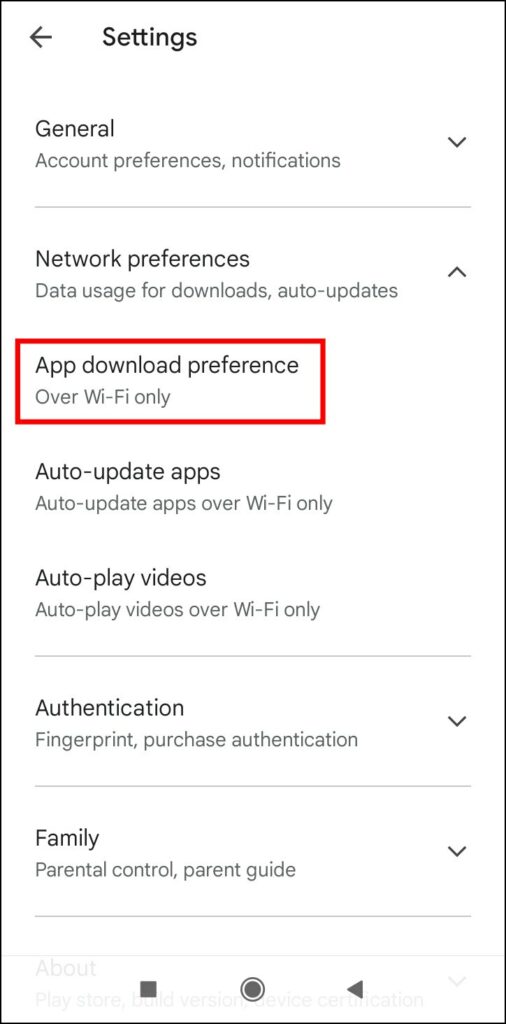
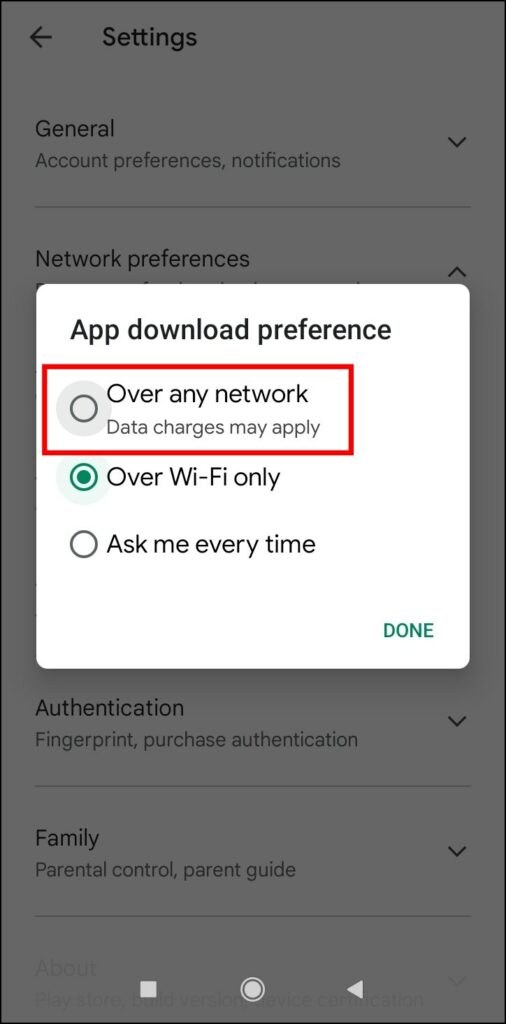
Step 3: On the next window, tap on Network Preferences, then tap App download preference.
Step 4: Select the checkbox for Over any network.
6. Uninstall Previous Updates
As Google Chrome comes pre-installed on Android devices, hence users can’t uninstall it from their devices. However, if you are facing any issues while updating it, you need to uninstall the previous one to resolve it. Removing previous updates of the Google Chrome app will revert it to the factory version and fix issues preventing the app from updating. Follow the below steps to do so.


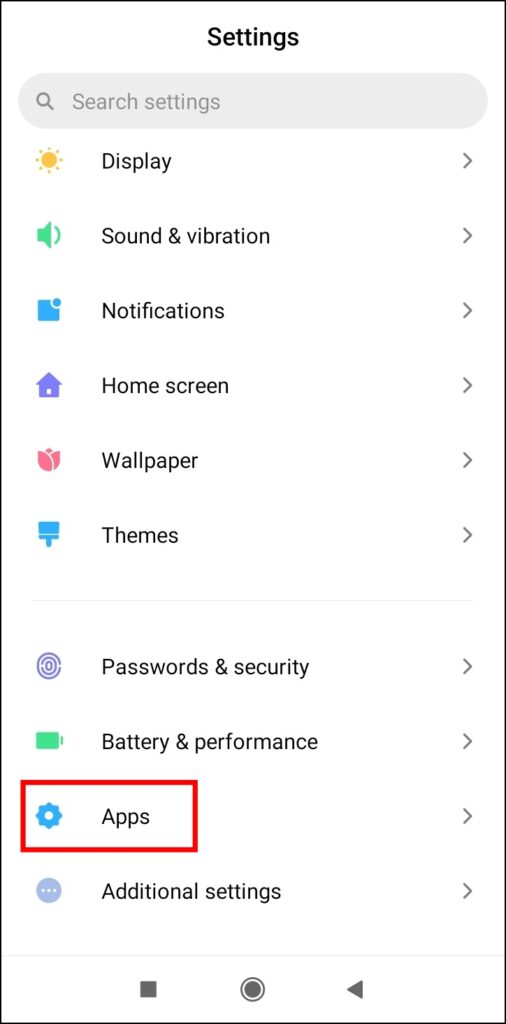
Step 1: Open the Settings app on your device.
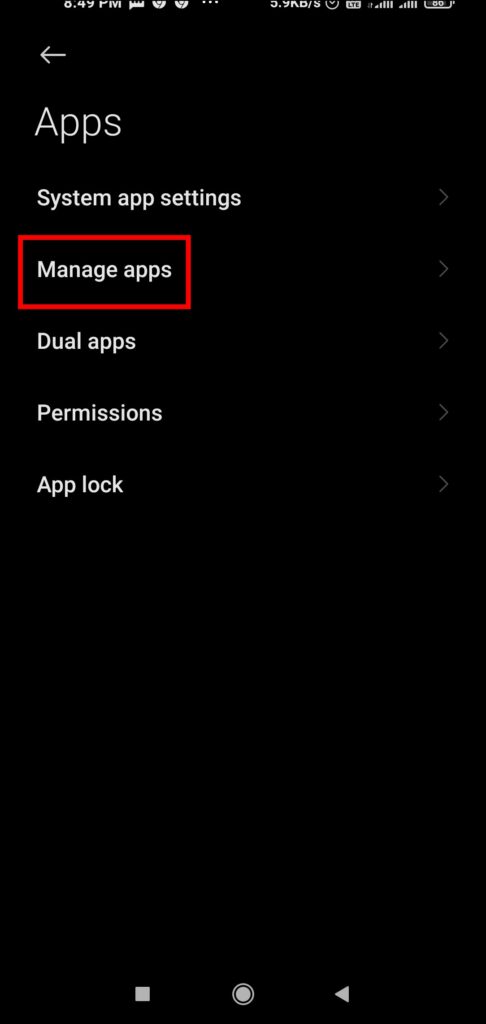
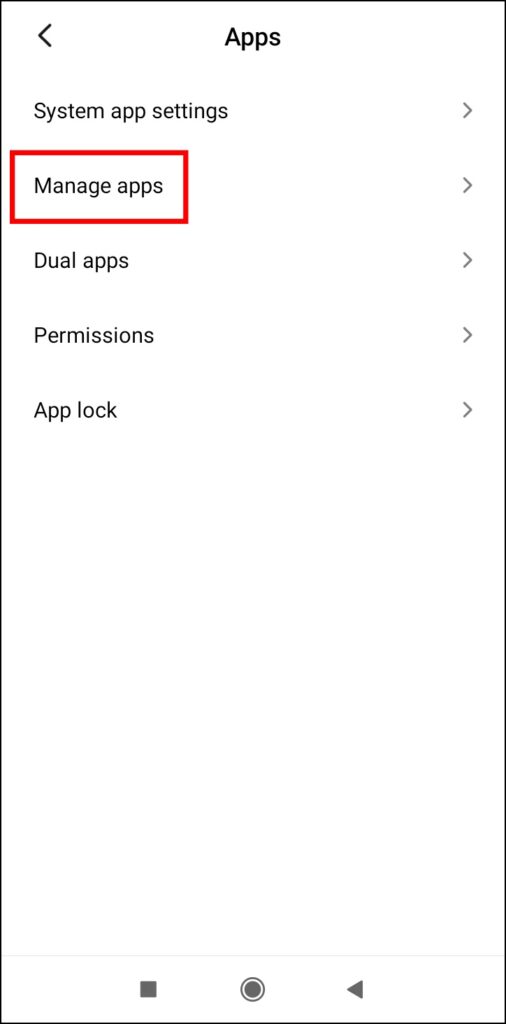
Step 2: Go to Apps > Manage Apps > Select Chrome.
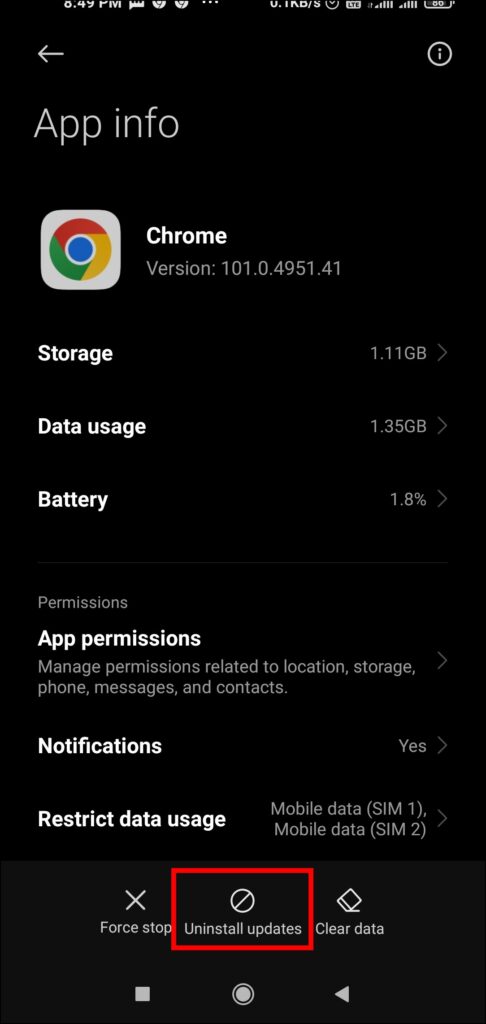
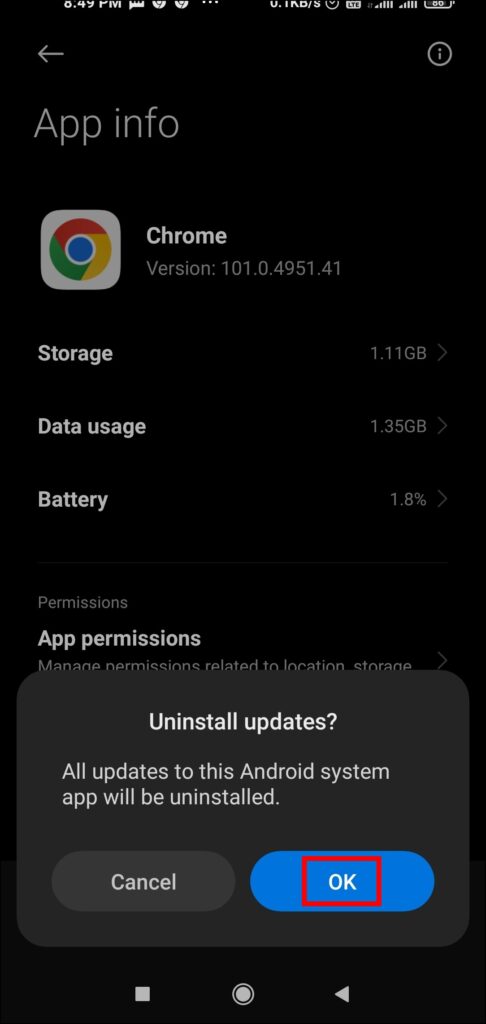
Step 3: Click on Uninstall Chrome and tap OK to confirm it.
Once done, go back to Play Store, and you should be able to update the app without any issues.
7. Reset Preferences to Fix Chrome Won’t Update
You can also try resetting the app preferences of your device, as it helps many users fix the problem. Follow the below steps to reset app preferences.
Step 1: Open the Settings app on your phone.
Step 2: Go to Apps > Manage Apps.
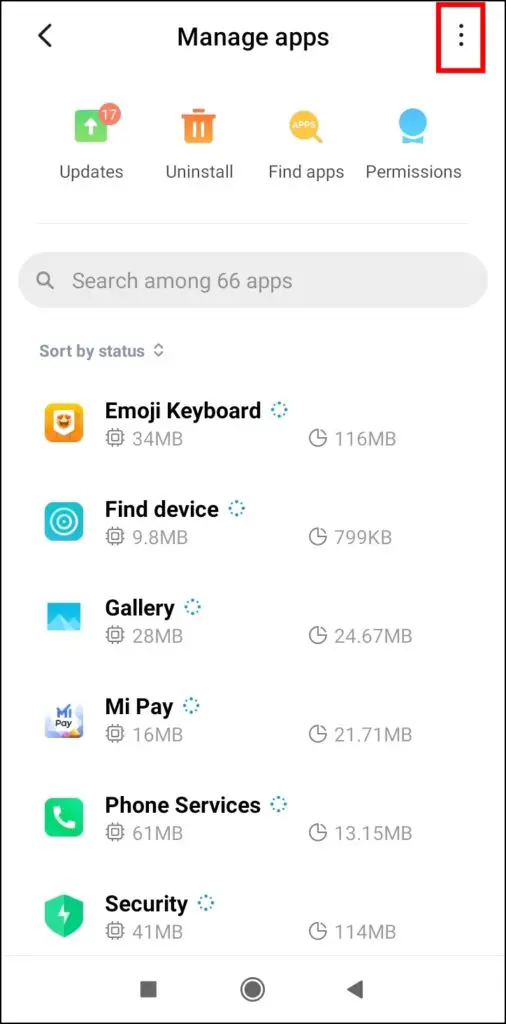
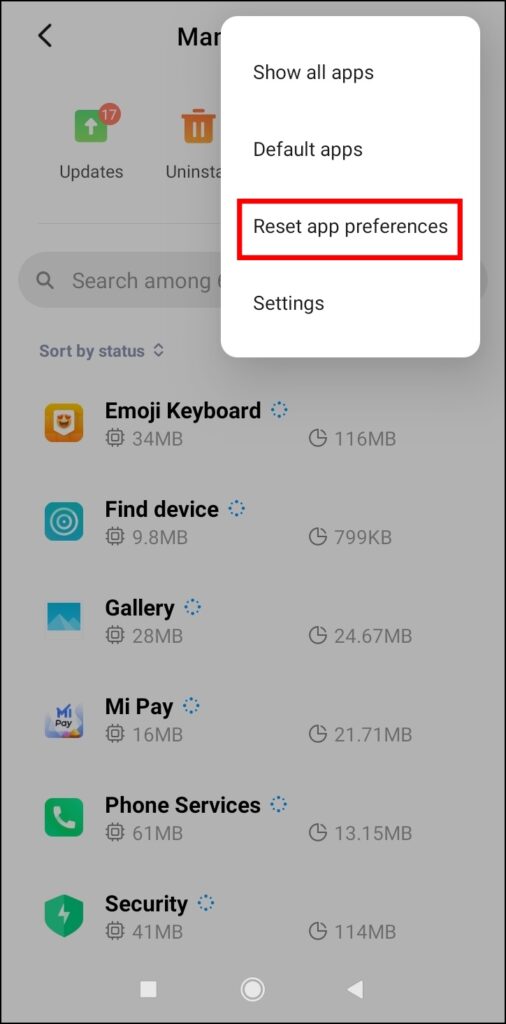
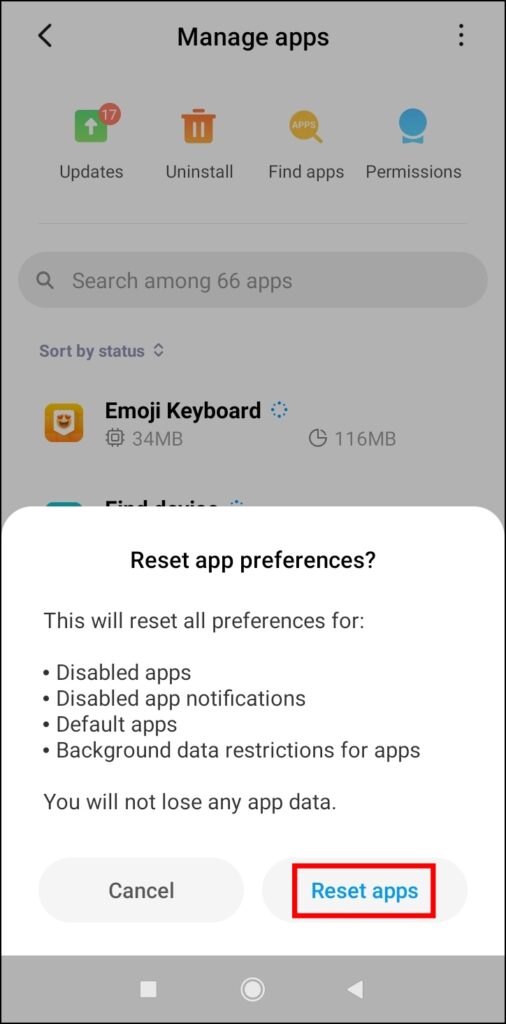
Step 3: Click on the three-dots icon at the top and select Reset App Preferences.
Step 4: Confirm it by tapping on Reset apps.
8. Check Your Internet
You also need to check your internet connectivity because there might be chances that your internet is down or there is a bandwidth outage. Your update will eventually fail if you don’t have stable connectivity.
If you are unsure about your internet speed, you can check it by performing a speed test from websites such as fast.com, Speedtest.net, etc. If you are receiving lower speeds from your service provider, the issue is related to your internet, and you need to switch to a stable network.
9. Disable VPN
If you are updating the Chrome browser after connecting to a VPN (Virtual Private Network), there is a high chance that it’s the error.
Hence, we suggest you to disable the VPN on your device and then use the Google Play Store to update Chrome, and you will be able to update it without any issues.
10. Restart Your Device
You can also try restarting your device as it helps fix most of the problems a user faces on their phone. Also, sometimes a simple reboot fixes the problem. Hence try restarting your phone, and your issue should be fixed.
11. Clear Chrome Cache
There are many instances when the app will not update if some processes are running. You can try clearing the Chrome app’s cache to see if it helps. Follow the below steps to do so.
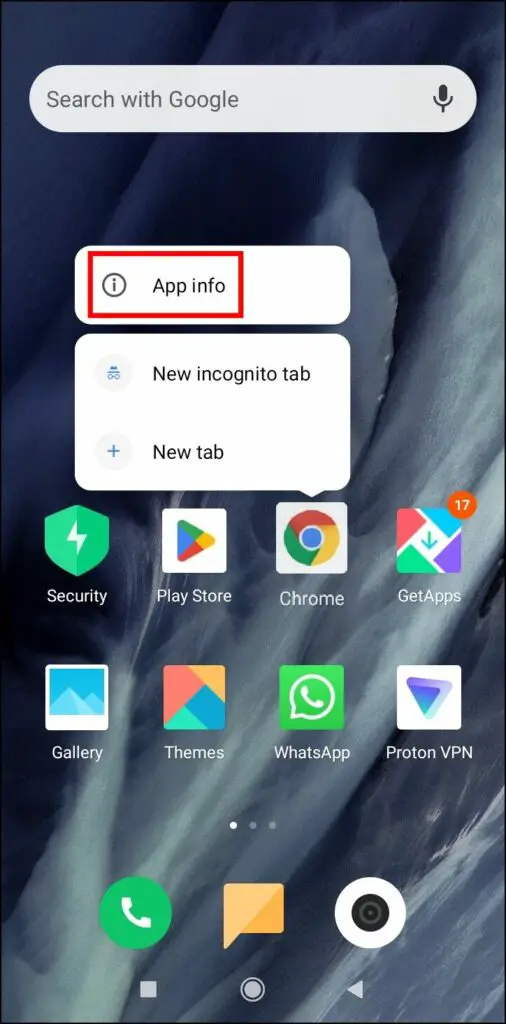
Step 1: Press and hold the Chrome app icon, then tap on the ‘i’ icon.
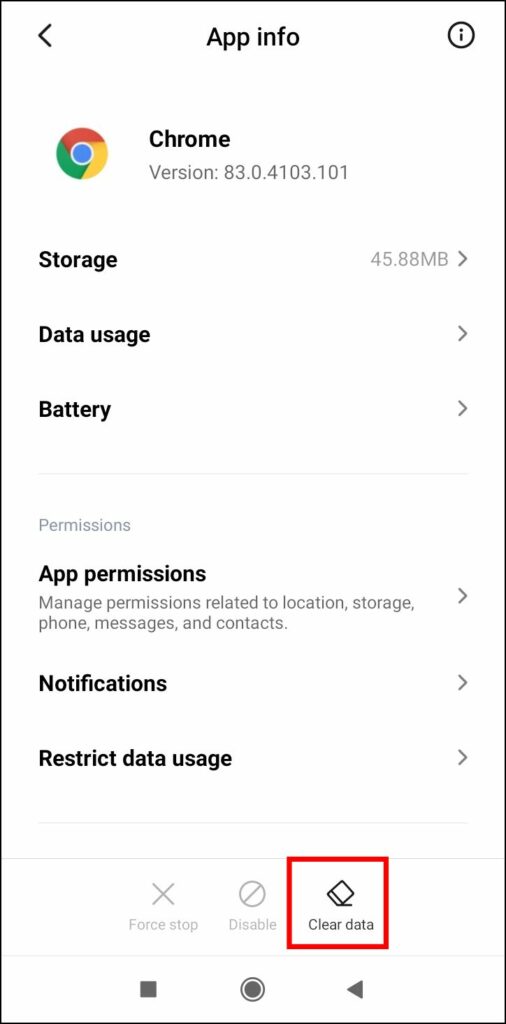
Step 2: Click on Clear Data on the App Info page.
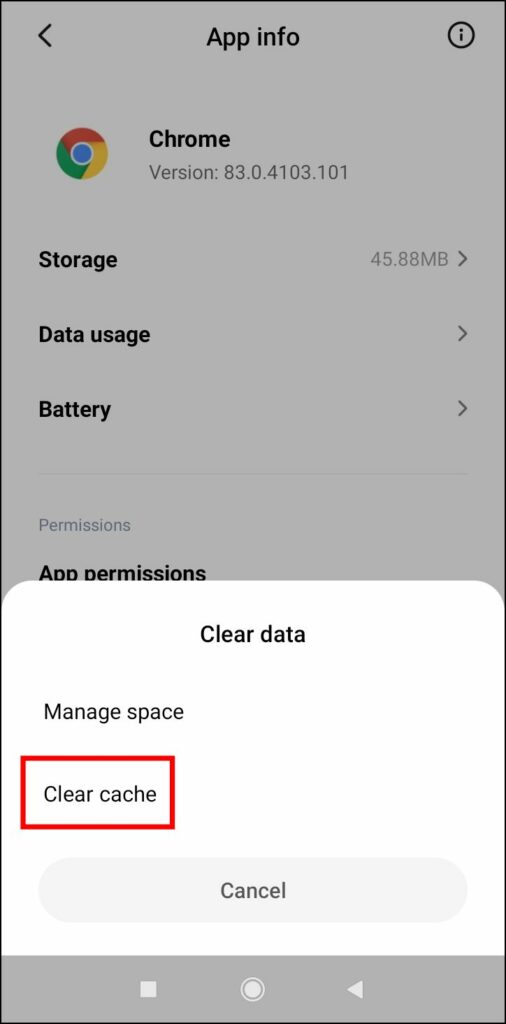
Step 3: From the appeared options, tap on Clear Cache.
You can also clear the Google Play Store app’s cache if it cannot download any app on your phone.
12. Turn off Bluetooth
It might sound weird to you, but some users have reported that turning off the Bluetooth feature on their phones has fixed the Chrome won’t update problem. Hence, you can also try it by turning off Bluetooth on your phone. It should fix the issue.
13. Force Stop Google Chrome
You can also try force-stopping the Google Chrome app, as it helps some users resolve the issue. Follow the below steps to force-stop the Chrome app.
Step 1: Long-press the Chrome app icon.
Step 2: Tap on the ‘i’ icon from the appeared menu.
Step 3: On the App info page, click on Force Stop.

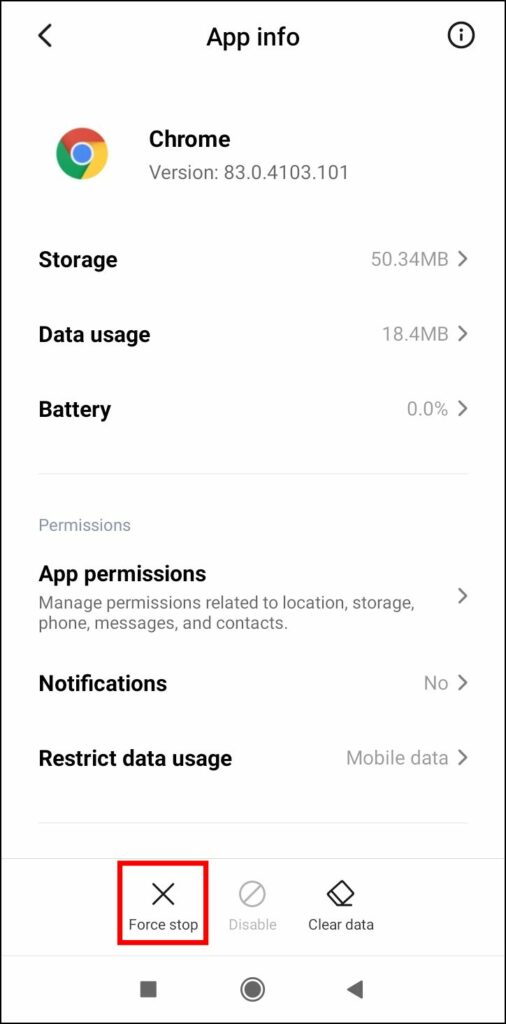
Step 4: Once you wait for a few seconds, your issue should be fixed.
14. Sideload Google Chrome
You can also try downloading the latest version of Google Chrome from a third-party website on your device. Follow the below steps to do so.
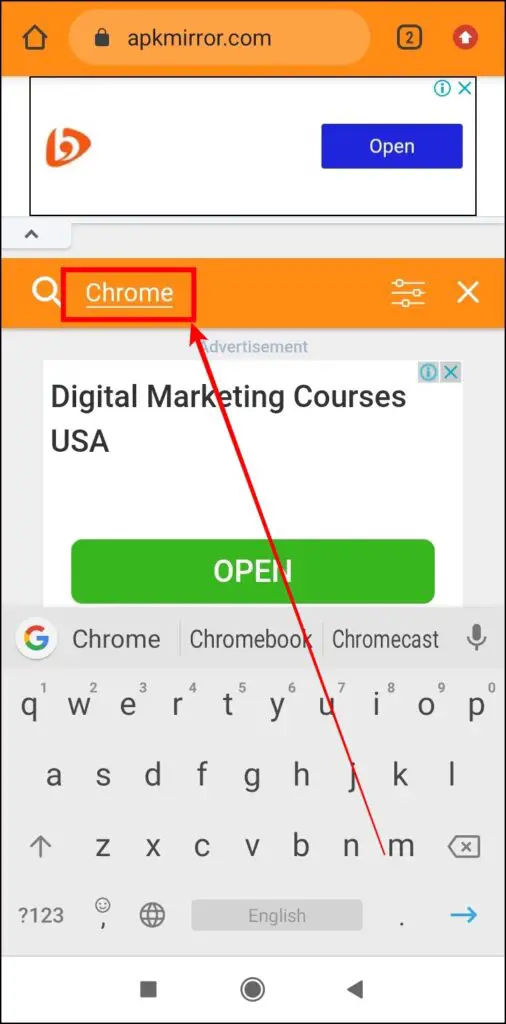
Step 1. Open Chrome’s APKMirror page in your browser.
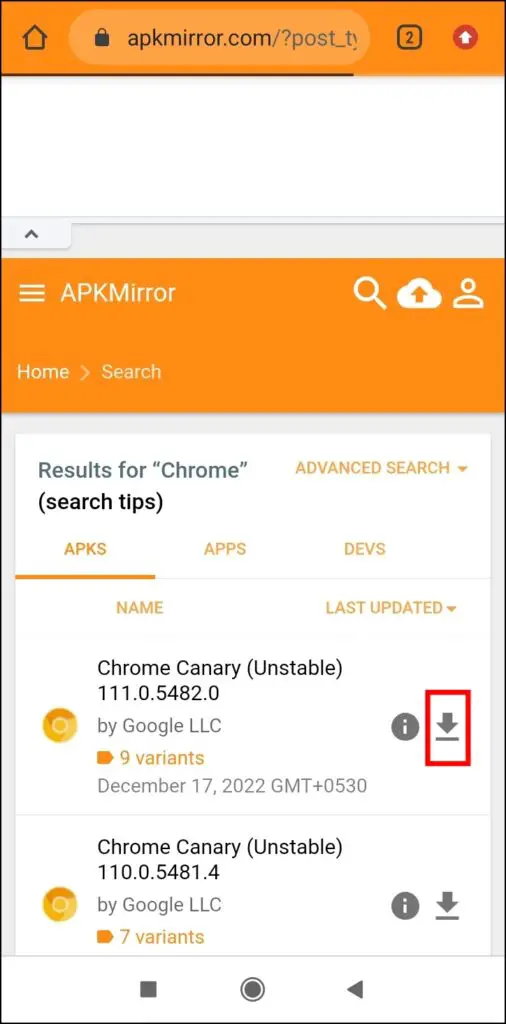
Step 2: Click on the download icon next to the latest update on the top.
Step 3: If you see a warning message, tap OK to continue.
Step 4: Once downloaded, install the apk and launch Chrome.
(Resolved) Google Chrome Not Updating on Android
This is how you can fix the Google Chrome browser not updating on Android. I hope the above article helped you fix the problem and update Google Chrome to the latest version on your Android phone. Stay tuned to BrowserToUse for more such tips, tricks, and how-tos.
Related:


