Are you tired of those misleading advertisements that appear while you visit websites on your mobile phone using the Samsung Internet browser? Well, the Samsung browser features a built-in ad blocker for your rescue. In this article, let’s see how you can block ads in the Samsung Internet browser. Meanwhile, you can learn to stop Samsung Internet notifications.
How to Block Ads in Samsung Internet Browser?
When you’re trying to browse the internet, advertisements can be a genuine annoyance. They not only interfere with your surfing experience but can also expose you to potentially dangerous scripts. However, if you use the Samsung Internet browser to browse the internet, there is good news for you, as it has a built-in ad blocker that efficiently prevents advertisements.
Furthermore, you can also choose to block pop-up ads in the browser’s settings on your device. After reading this guide, you will know how to block ads in your browser.
Method 1- Block Pop-Up Ads in Samsung Internet Settings
You can easily block annoying popups while browsing the web on Samsung Internet by tweaking its settings, as shown below:
Step 1: Open the Samsung Internet browser on your device.
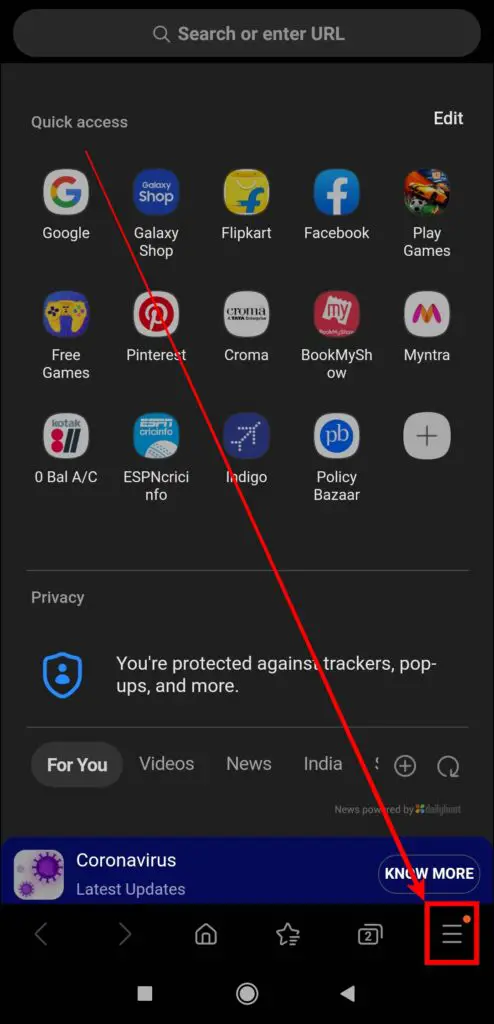
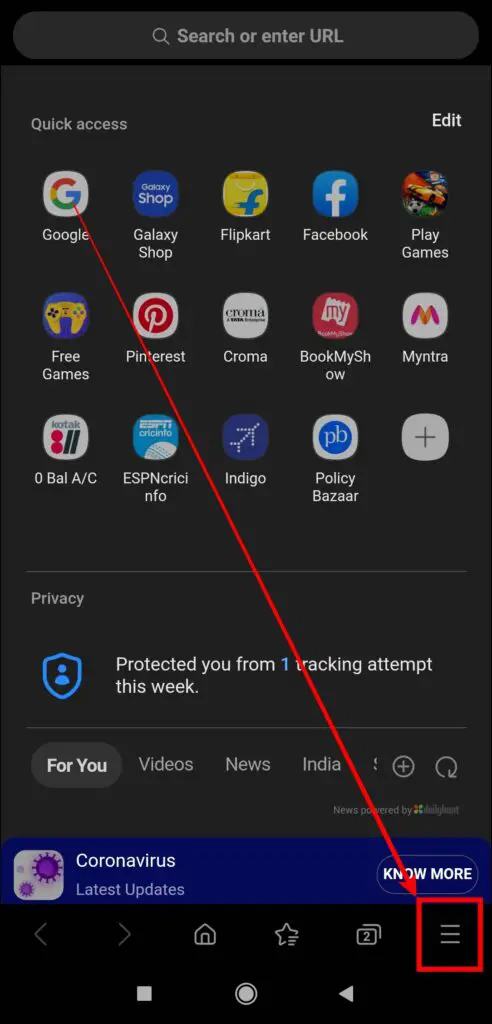
Step 2: Click on the three-line icon at the bottom-right side.
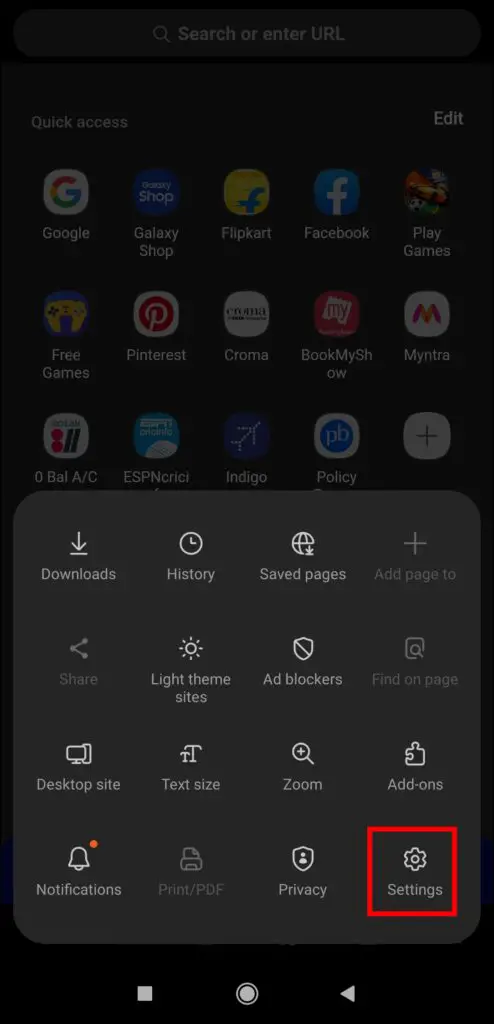
Step 3: Select Settings from the options that appear.
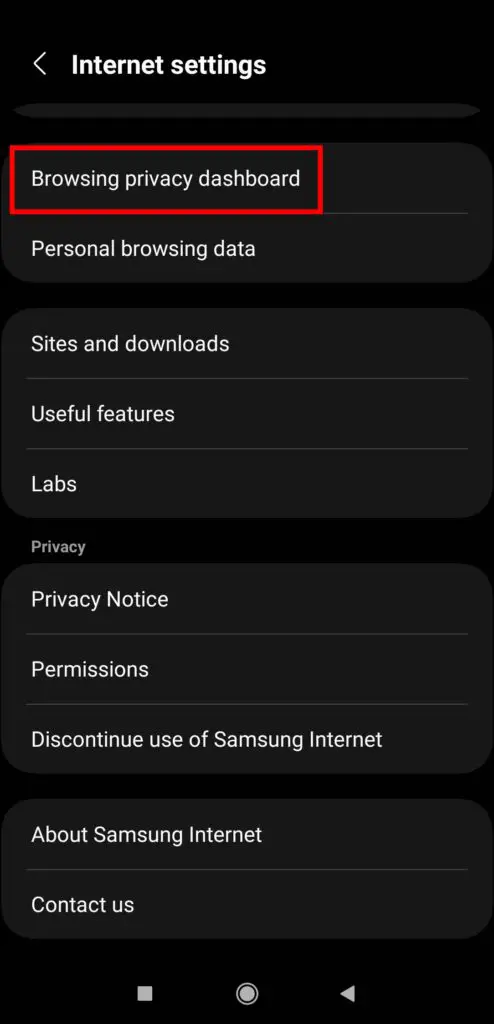
Step 4: Scroll down and tap on the Browsing Privacy Dashboard.
Step 5: Turn on the toggle next to Block pop-ups.
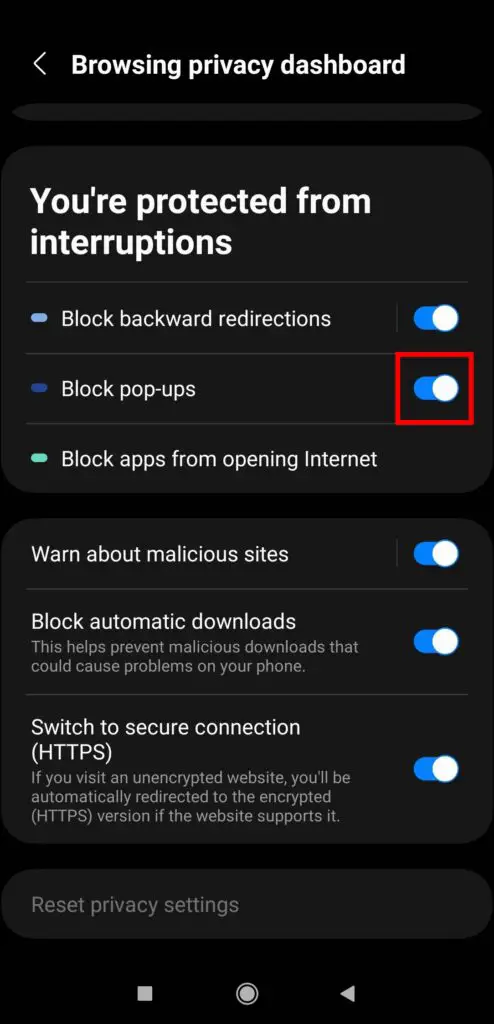
Once you do, you will not see the pop-up ads on the websites you visit using the browser.
-
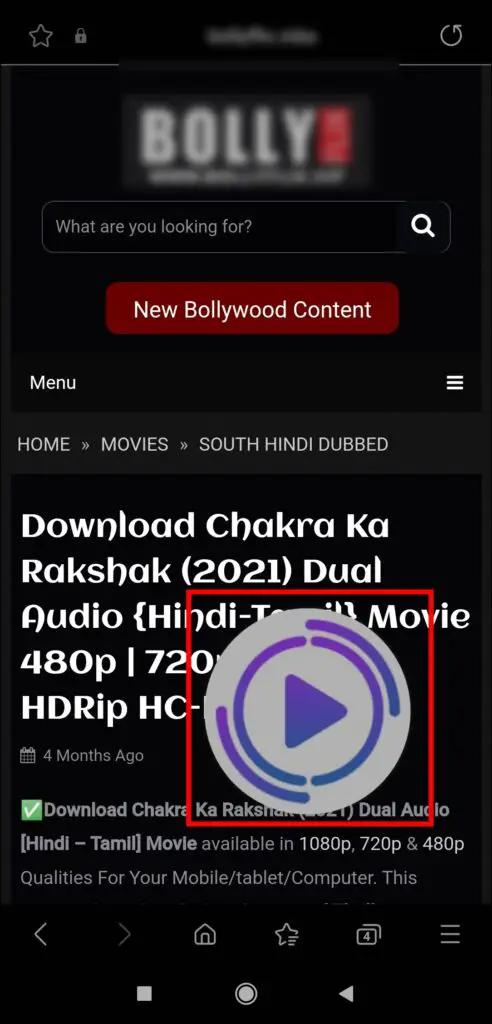
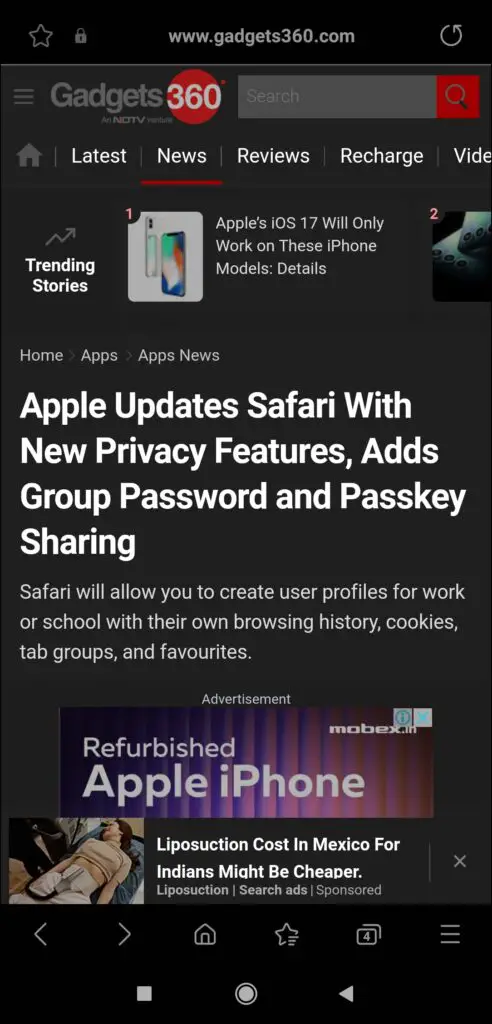
- Before Blocking Pop-Up Ads
-
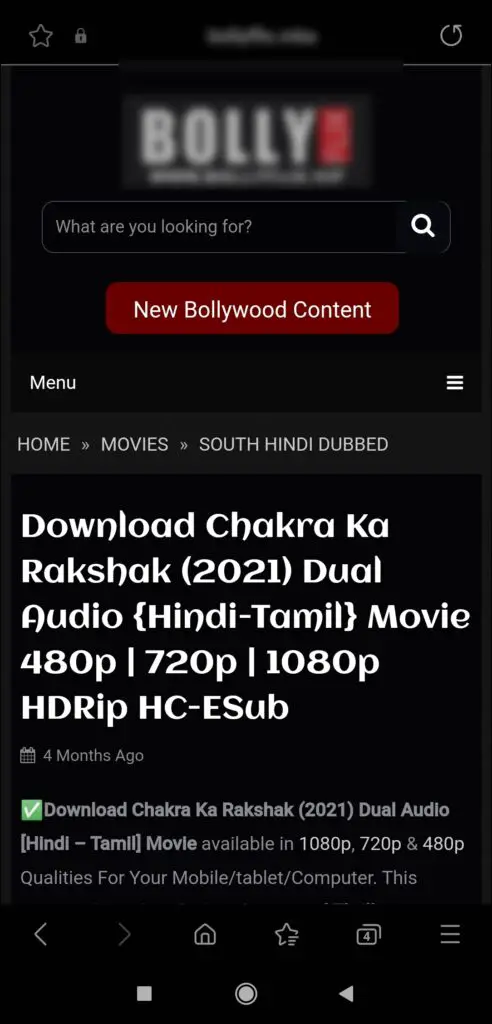
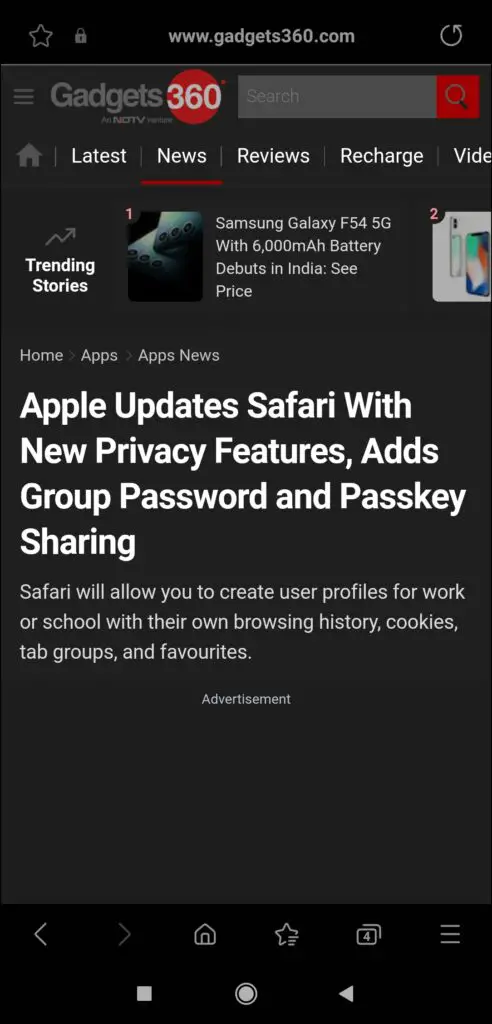
- After Blocking Pop-Up Ads
However, this feature will not completely remove all the ads from a website. If you wish to remove all the ads, you need to use an adblocker, which we have mentioned in the following method.
Method 2- Download AdBlocker for Samsung Internet
If you want to remove all the ads, you must use an ad blocker on your browser. Follow the below steps to use AdBlock on the Samsung Internet browser.
Step 1: Open the Samsung Internet app on your device.
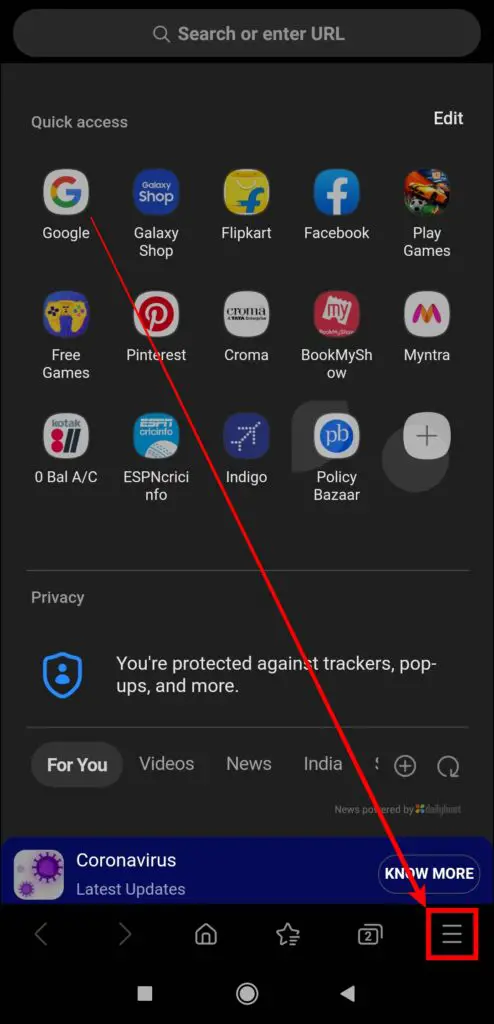
Step 2: Click on the three-line icon at the bottom.
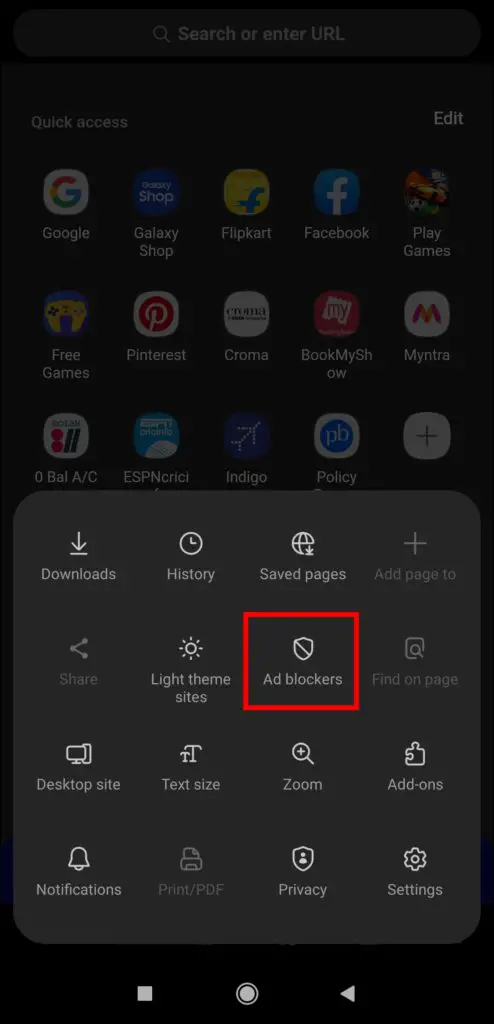
Step 3: Select Ad Blockers from the options that appear.
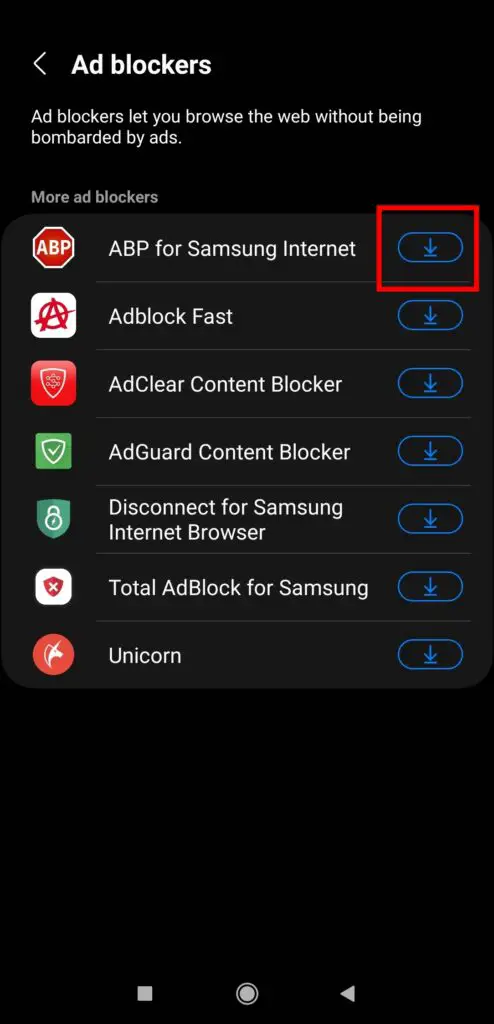
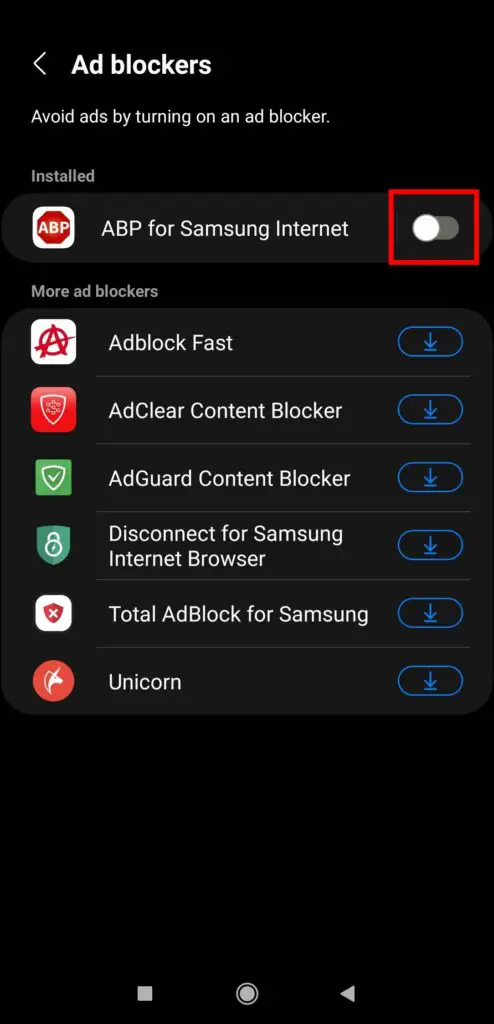
Step 4: Now, you will see some suggested adblocker extensions on the browser. Tap the Download button next to one to install it.
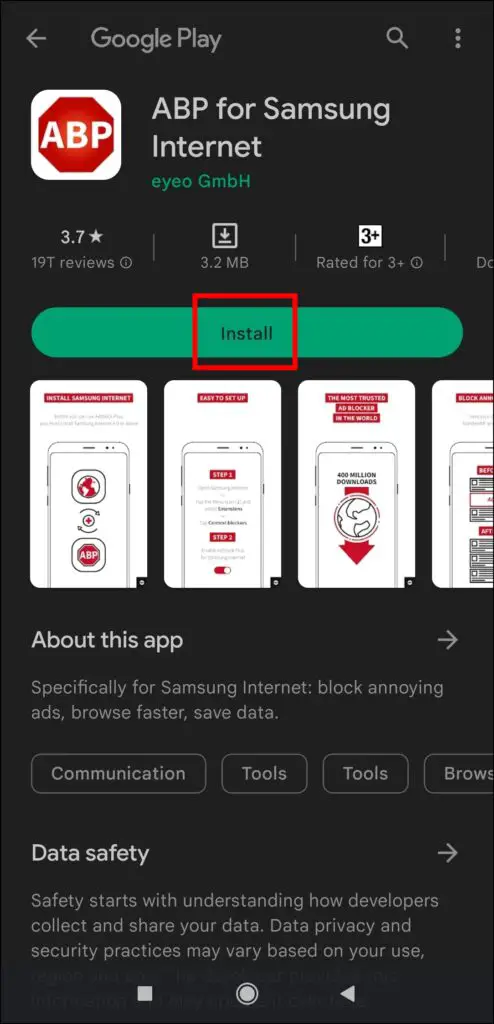
Step 5: It will redirect you to the Google Play Store, where you can tap on Install to download the adblocker for Samsung Internet.
Step 6: After it’s installed, head over to Samsung Internet and turn on the toggle next to the ad blocker.
Once done, you will not see any type of advertisements while browsing the web.
-
- Before Enabling AdBlocker
-
- After Enabling AdBlocker
Method 3- Use Reader Mode to Load a Webpage Without Ads
Samsung Internet comes with a built-in Reader Mode that allows you to load a webpage without ads. Follow the below steps to enable reader mode in the Samsung Internet browser.
Step 1: Open the Samsung Internet app on your handset.
Step 2: Tap the menu icon at the bottom and select Settings.

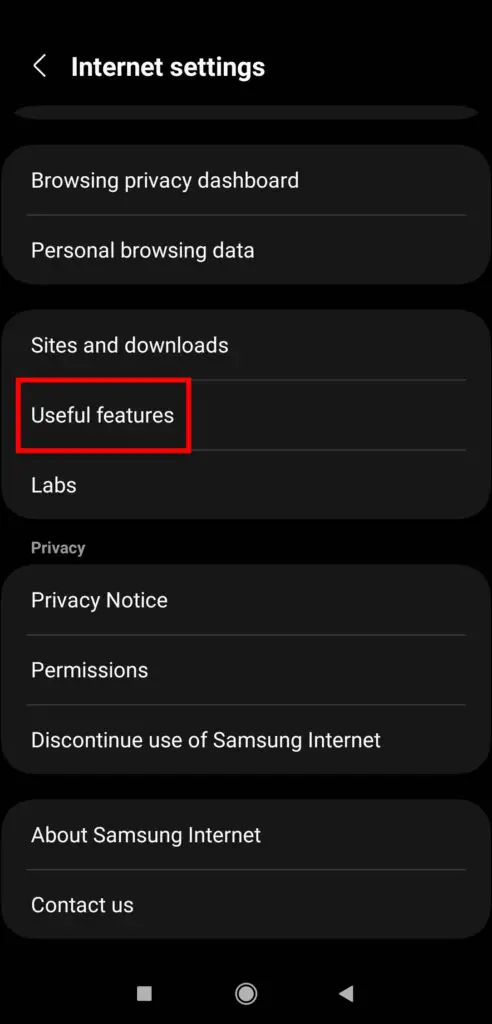
Step 3: Scroll down and tap on Useful Features.
Step 4: Finally, enable the toggle for the Show Reader Mode button under the Address Bar section.
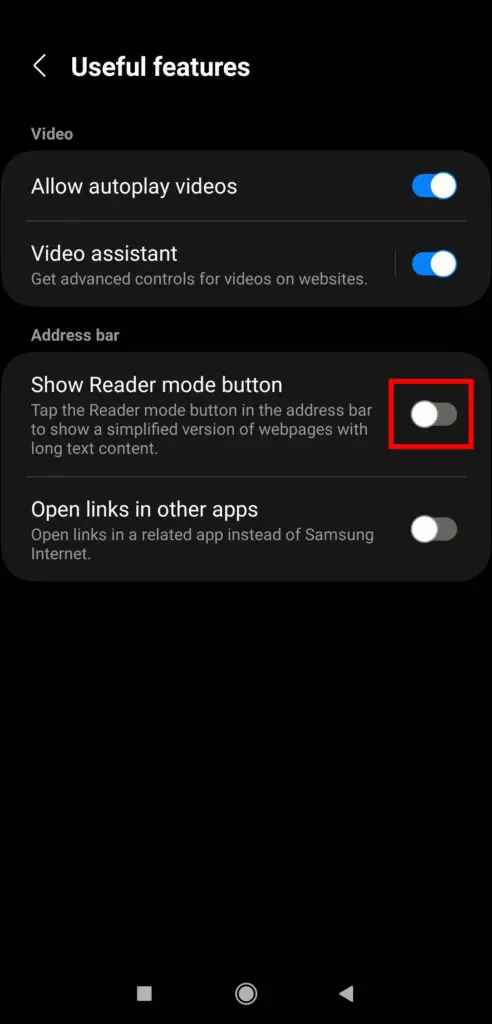
After enabling the feature, you will be able to use the reader mode for the websites to load the webpage without ads.
-
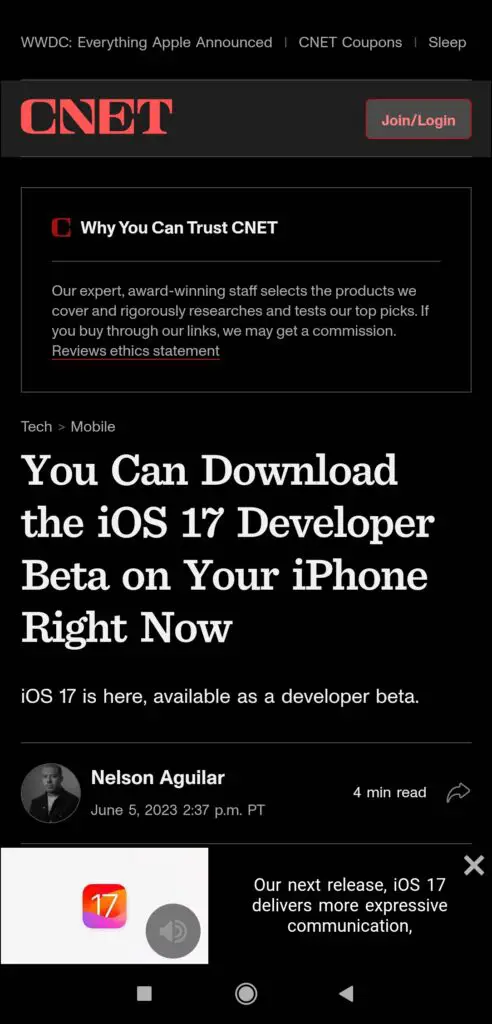
- Without Reader Mode
-

- With Reader Mode
Frequently Asked Questions
Q. Can I Block Ads without Using Extensions?
Yes, the Samsung Internet has a built-in pop-up ad blocker feature that, once enabled, removes all the pop-ups on the websites you visit using the browser.
Q. How Do I Install an Ad Blocker on Samsung Internet?
To install and use an ad blocker extension on the browser, open the Samsung Internet app, tap the hamburger menu, and then click Ad Blocker. Download an ad blocker of your choice by tapping on the Install button from the given list and enabling the toggle for it to use it.
Enjoy Ad-Free Experience in Samsung Browser
This is how you can block ads in the Samsung Internet browser. I hope the above article helps you enjoy an ad-free, decluttered experience when browsing the web. Let us know in the comments below if you have any questions about the article. Stay tuned to BrowserToUse for more such articles and how-tos.
Related: