
You may have encountered a non-published add-on or extension zip file published by developers on websites like Github. Thankfully, Google Chrome lets you install these extensions manually using Developer Mode. Here’s a step-by-step guide to install the Chrome extension from a zip file on Mac or Windows computer.
How to Install Chrome Extension from a Zip File?
How to Install Chrome Extension from a Zip File?
Google Chrome is a popular web browser, and it comes with a lot of inbuilt features. Moreover, users can add extra functionalities to the browser by adding extensions from the Chrome Web Store, and almost everyone knows how to add one on the browser, but what if come across a non-published add-on? How do you add it to the browser? Don’t worry; after this guide, you will get an idea of how to install extensions in Chrome manually.
Downloading the Extension ZIP File
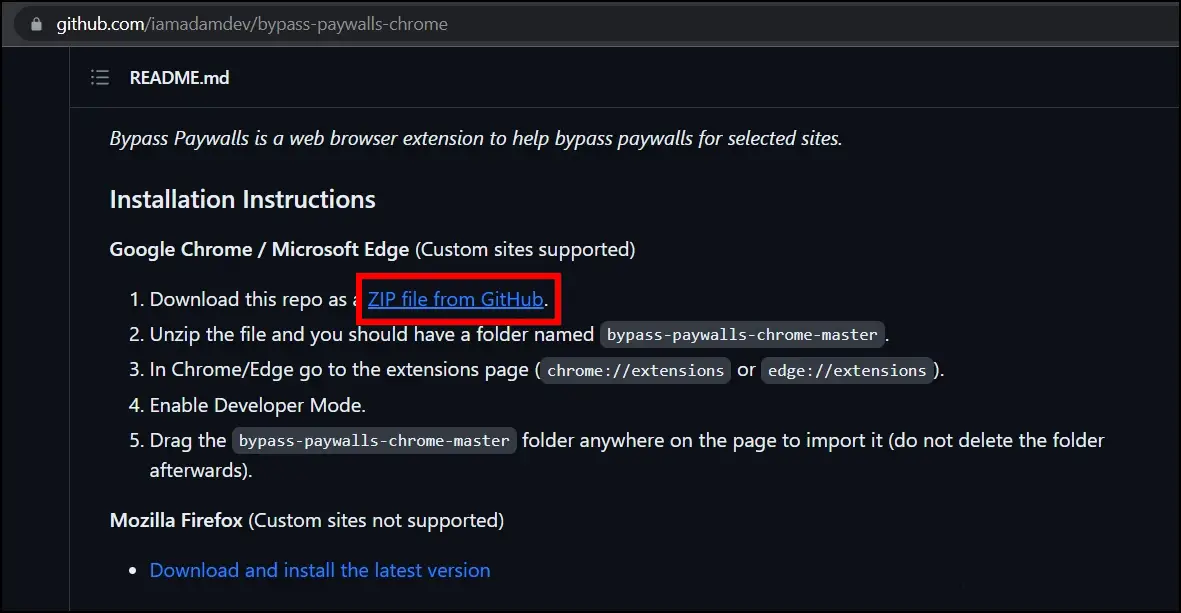
If you have a link to the website where the unpublished extension’s download is stored, such as GitHub, follow the steps below to download it.
Step 1: Head over to the website and follow the link to download the ZIP file.
Step 2: Select the file location and click the Save button to download it to your system.
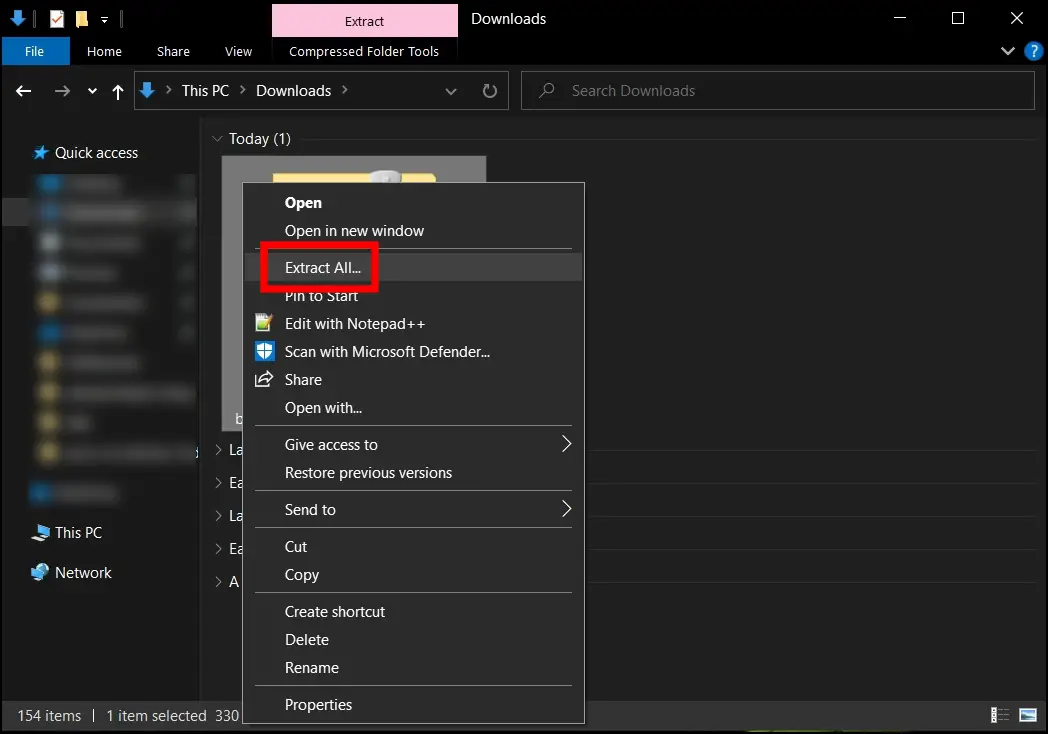
Step 3: Once downloaded, right-click on the file and tap Extract Here.
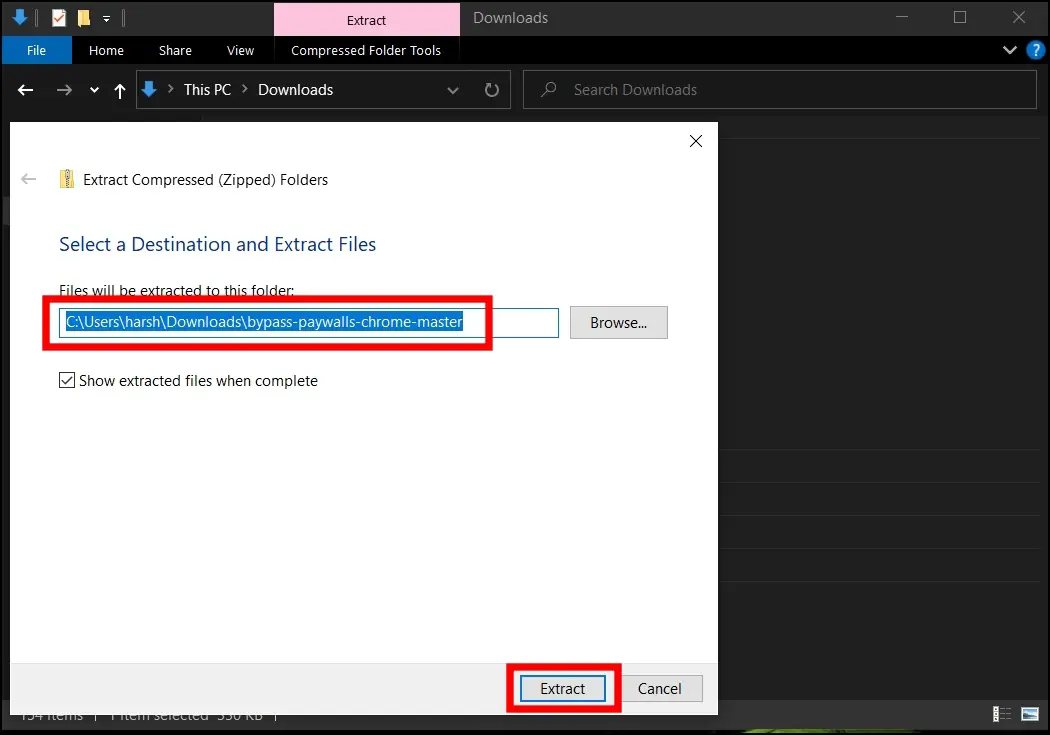
Step 4: Select a destination on your system to extract files.
Manually Install the Chrome Extension Using Developer Mode
After downloading the file, or if you already have it on your system, you must enable the developer tools to use it. Follow the below steps to enable developer tools and unpack the extension on the Chrome browser.
Step 1: Open the Google Chrome browser on your system.
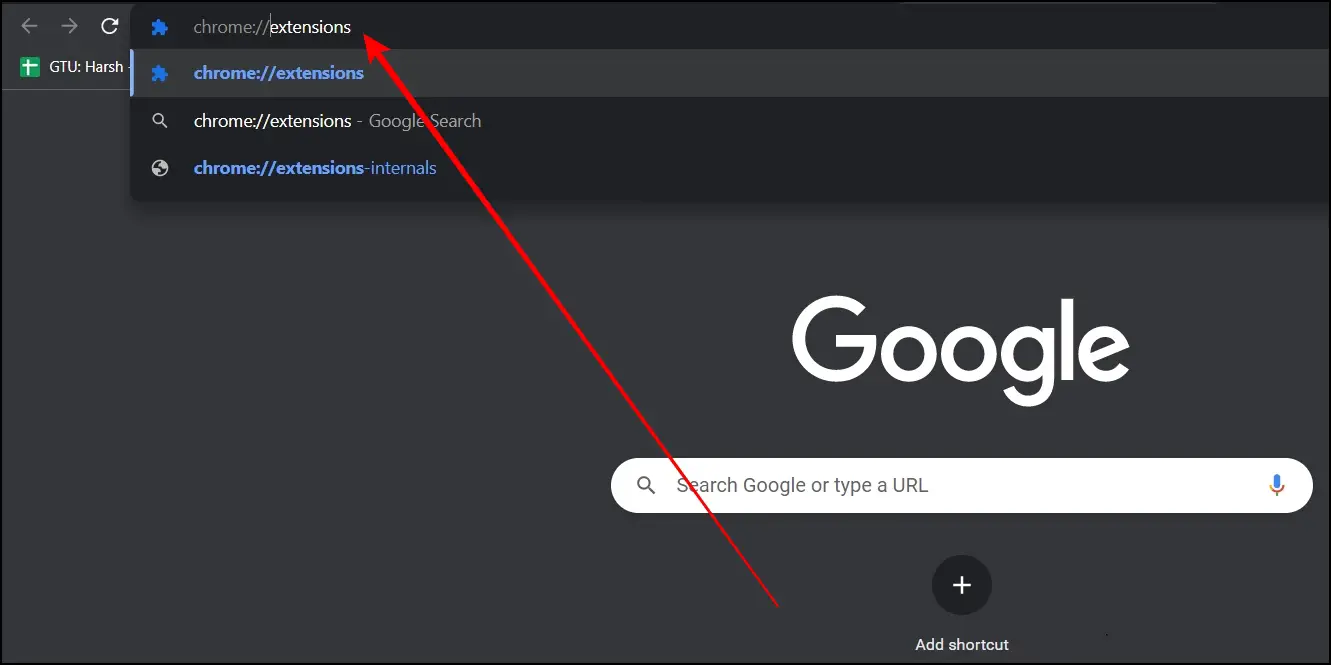
Step 2: Type chrome://extensions in the address bar and hit enter to open the extension page.
Alternatively, tap on the three-dots icon at the top-right corner and, select More Tools, then tap Extensions to open the same page.
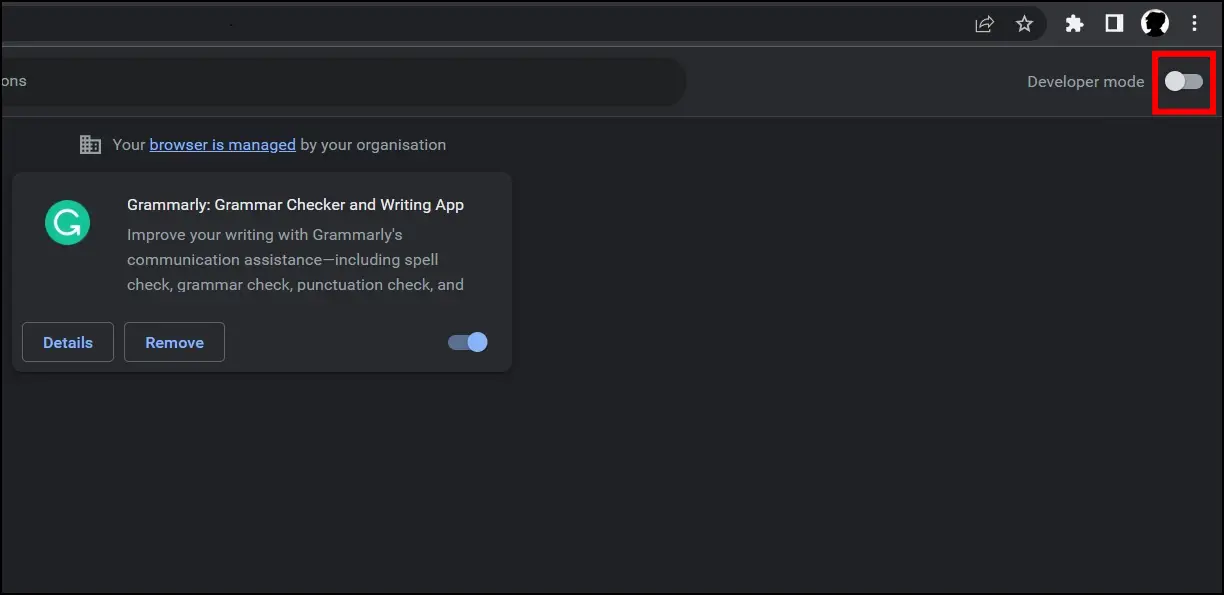
Step 3: Turn on the toggle for Developer Mode at the top right to enable it.
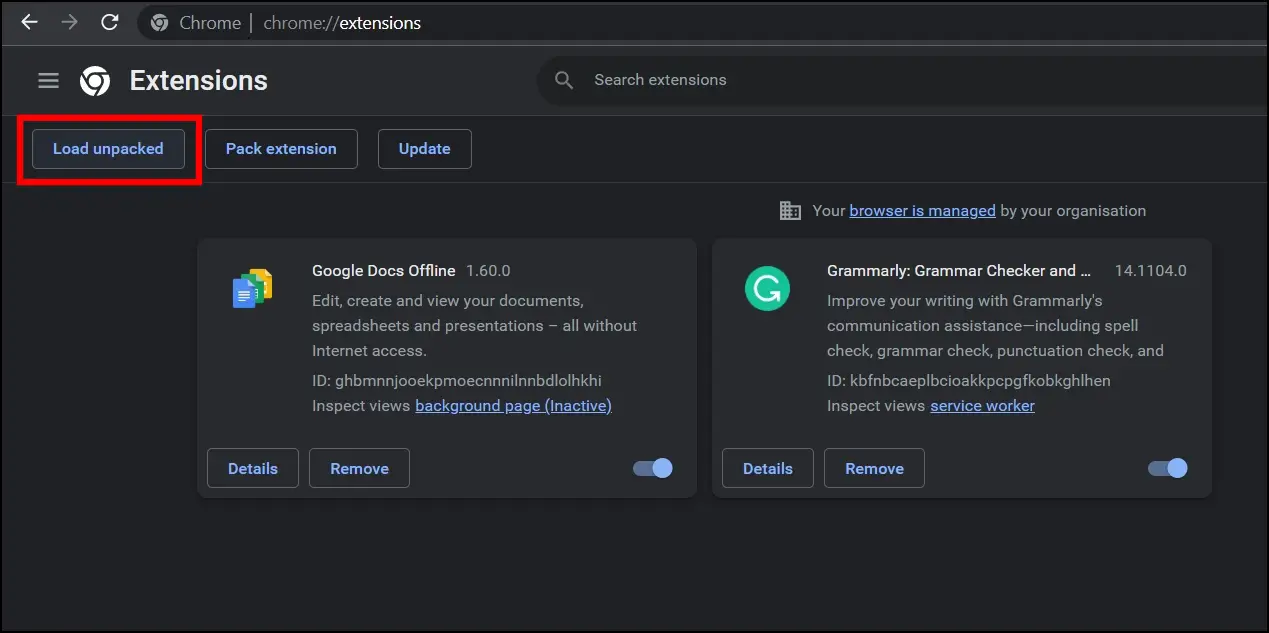
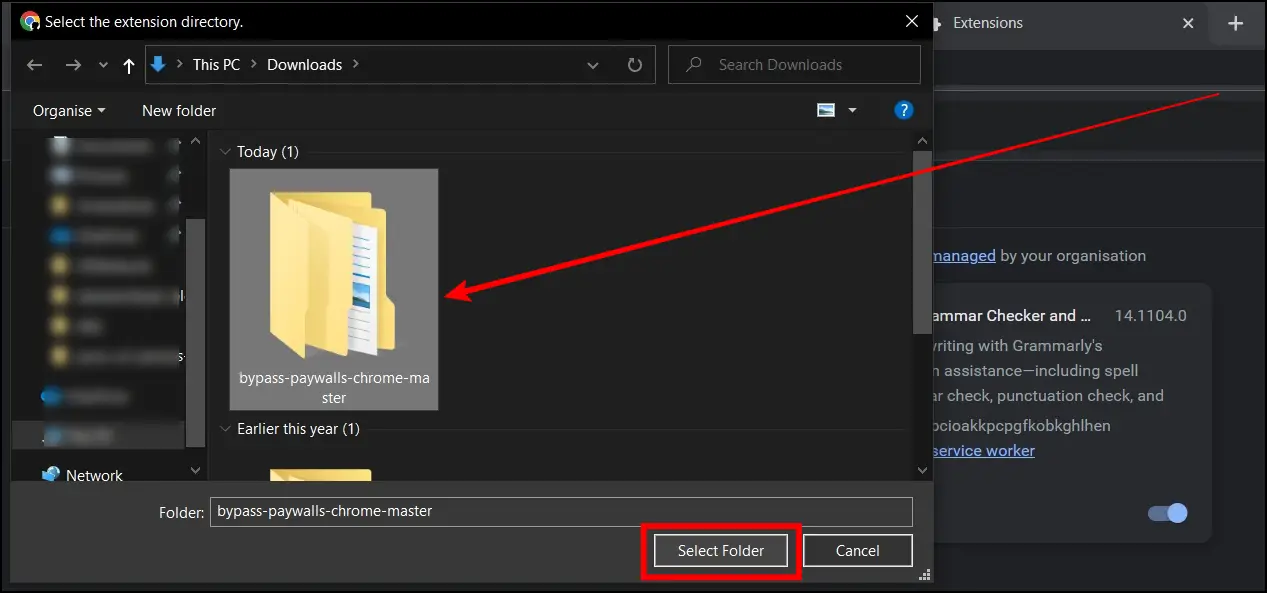
Step 4: Click Load Unpacked on the left side and select the folder you extracted. Note that you must select only the folder, not the files in it.
Once done, the extension will load and install to your browser, which you can further use.
Frequently Asked Questions
Q. How Do I install a Zip File Extension?
To install a zip file extension to the Chrome browser, you must first enable Developer mode for extensions. To activate and install a zip file add-on, Type chrome://extensions on the address bar and hit enter > Enable the toggle for Developer tool > Tap on Load unpacked and select the zip file.
Q. Why I’m not able to unload the extension’s zip file?
To unload the unpacked extension, you’ll need to extract the zip file and then unload it. To unzip a file, right-click on it and select Extract All.
Q. How Do I Extract the Zip File?
You can use the default Extract option on both Mac and Windows to extract the contents of the extension zip file. If it does not work for some reason, you can use third-party software like 7Zip, WinRAR, or WinZip.
Wrapping Up: Install Chrome Extension from a Zip File
This is how you can install Chrome extension from a zip file. I hope the above article helps you download and use the non-published extension from a zip file. If you have any queries related to the article, let us know, and stay tuned on Browser To Use for more such articles and How-Tos.
Related:


