
Are you having difficulty reading text on a website due to the font style or font size? Well, if you are a Google Chrome user, then you’re in luck, as it lets you change the font style and size according to your preference. And if that’s not enough, then there are plenty of extensions that let you do the same. So buckle up as we discuss four ways to change website font and size in Chrome on PC and Android.

How to Change Website Font and Size on Chrome PC?
Chrome on a desktop is quite flexible and offers several options for changing the font style and size. We are going to discuss a few methods to change the website font size and style with the help of step-by-step instructions.
1. Use Keyboard Shortcuts to Change Font Size
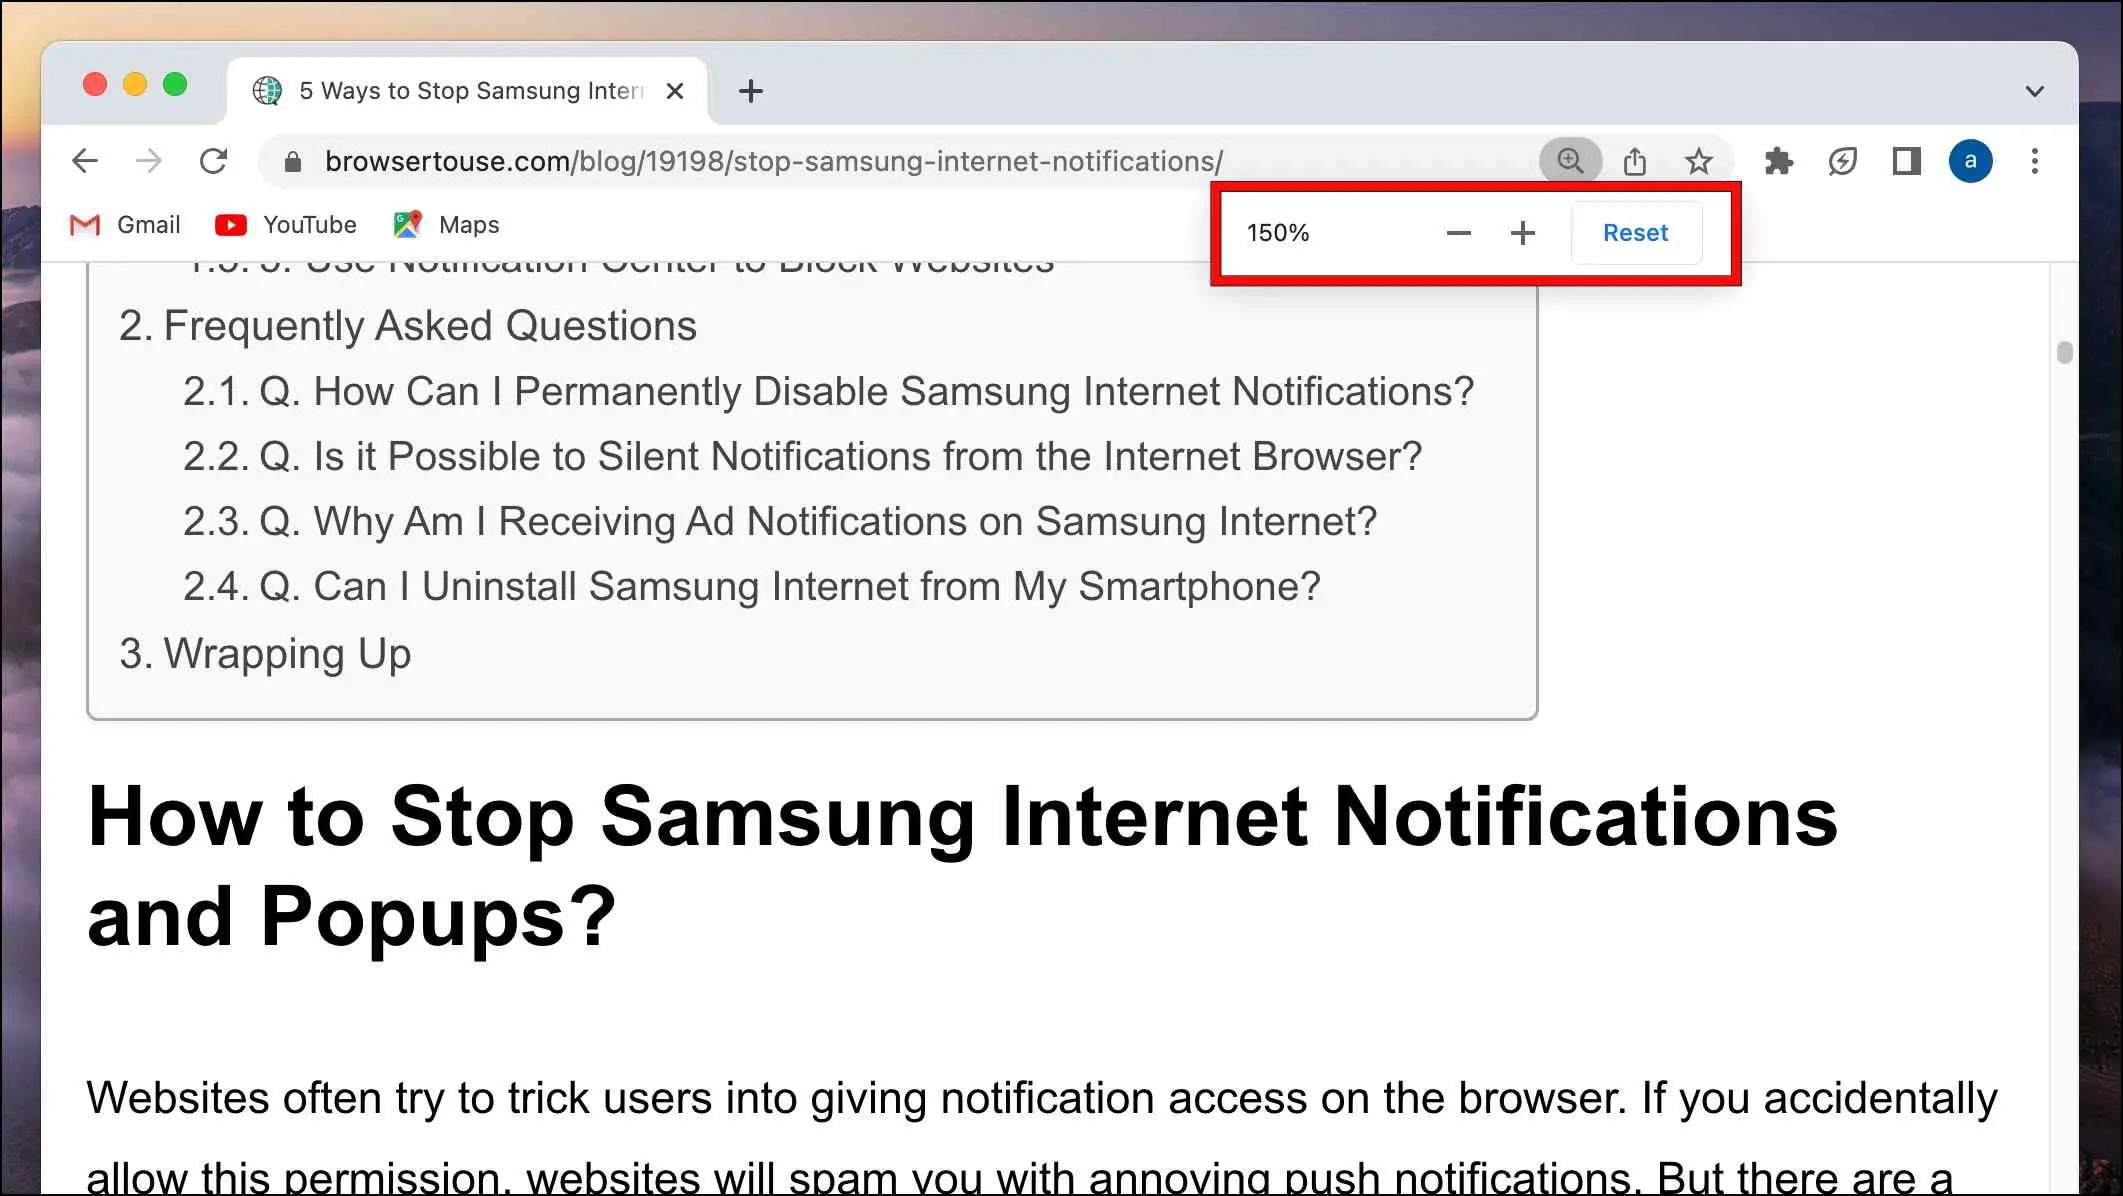
If you didn’t know, you can use a simple shortcut on your keyboard to change the size of the font of the website so you can make it easy to read the text written on it.
Mac: Command ⌘ + Plus + (Increase font size) or Command ⌘ + Minus – (Decrease font size)
Windows: Ctrl + Plus + (Increase font size) or Ctrl + Minus – (Decrease font size)
Using these keyboard shortcuts triggers the page magnifier tools, which helps to change the text size.
2. Customise Font Style and Size in Chrome Settings
This one is new for me, too, but Chrome gives you the option to change the appearance of the font and its default and minimum size within the Chrome settings. The method also works for Microsoft Edge, Brave, and chromium-based web browsers.
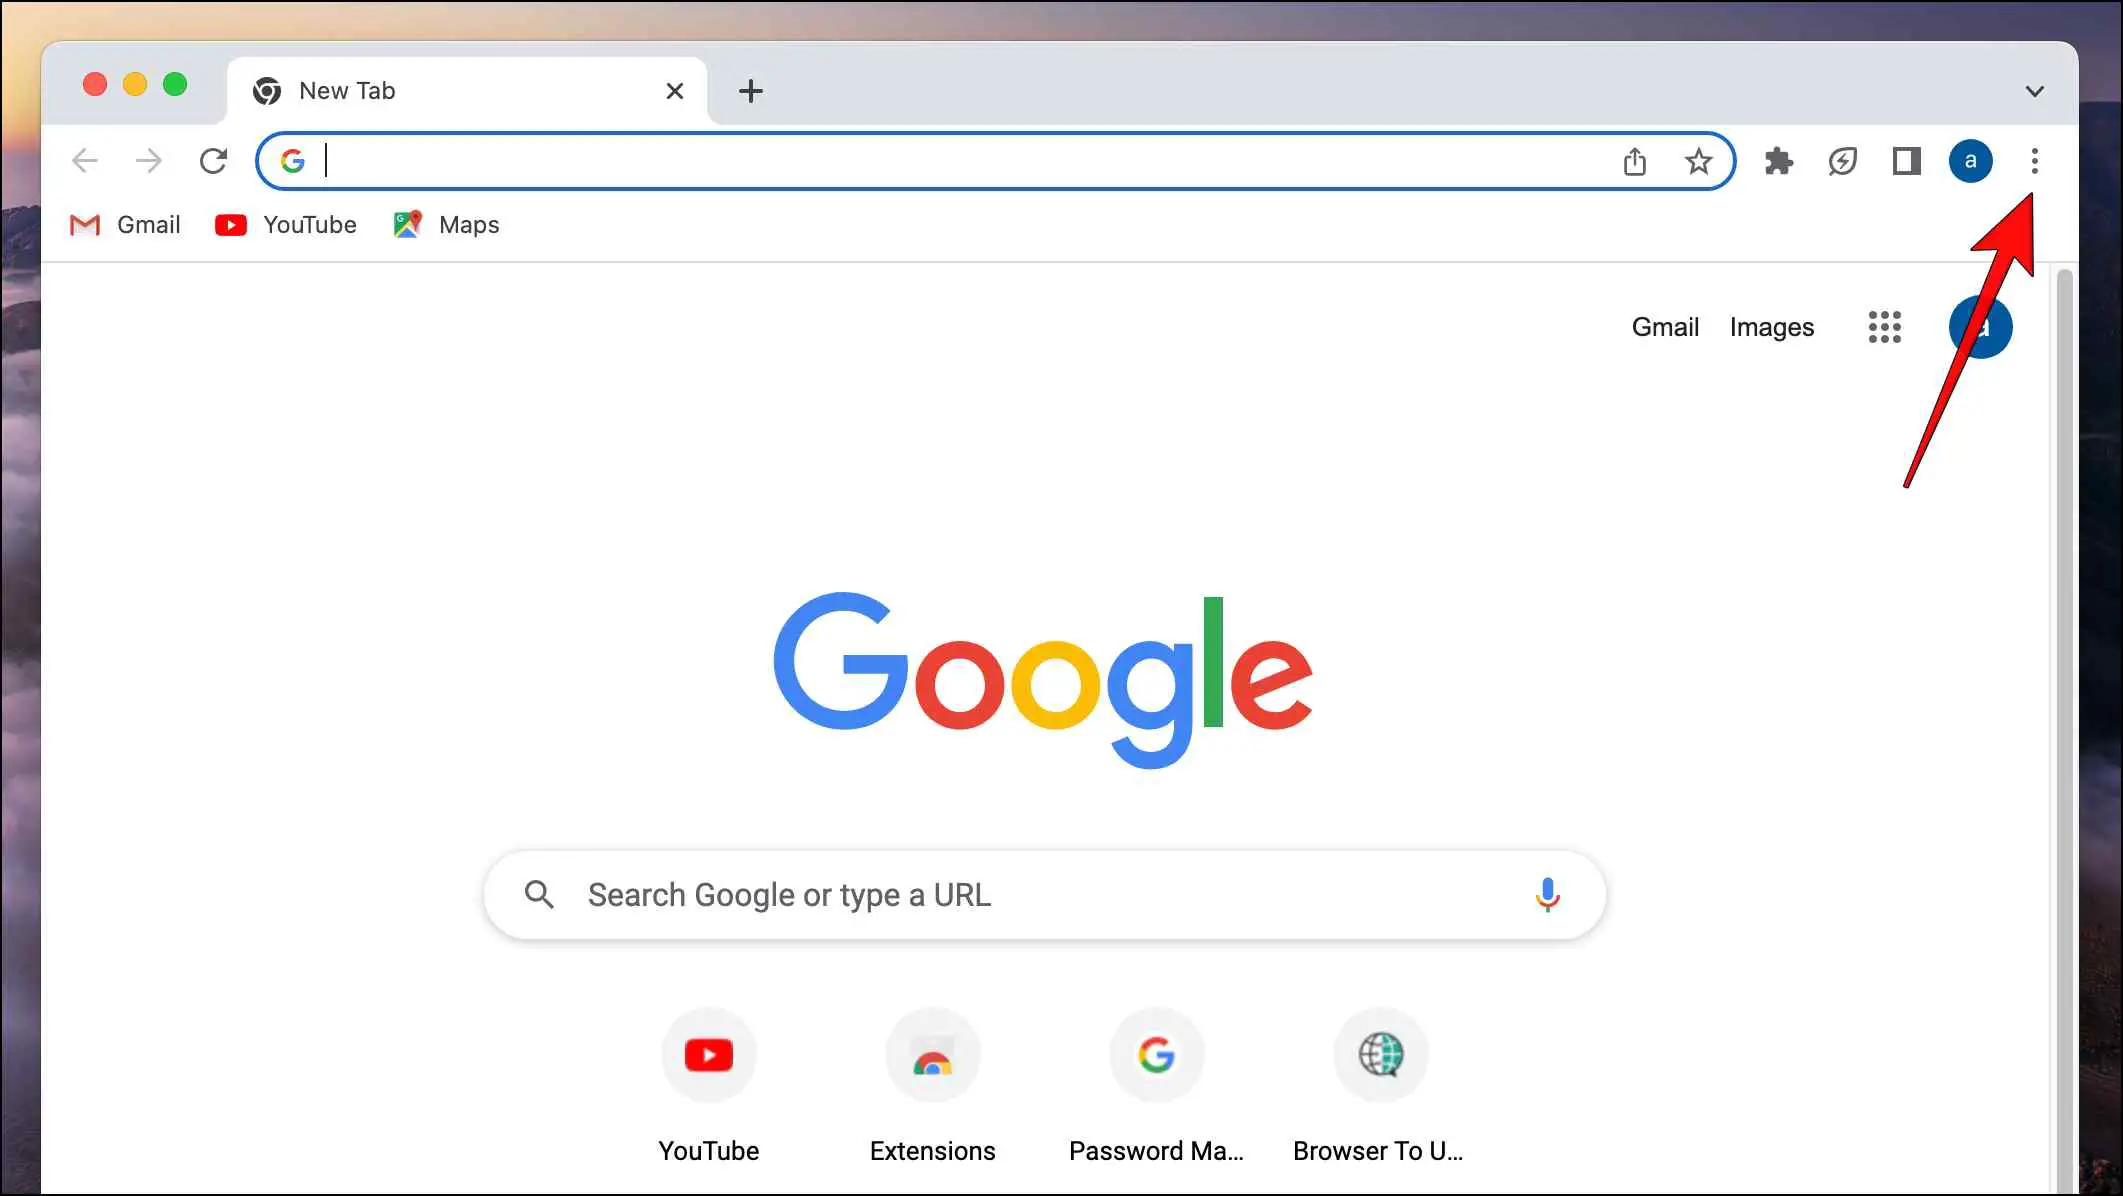
Step 1: On Chrome, click on the three-dot menu at the top right corner.
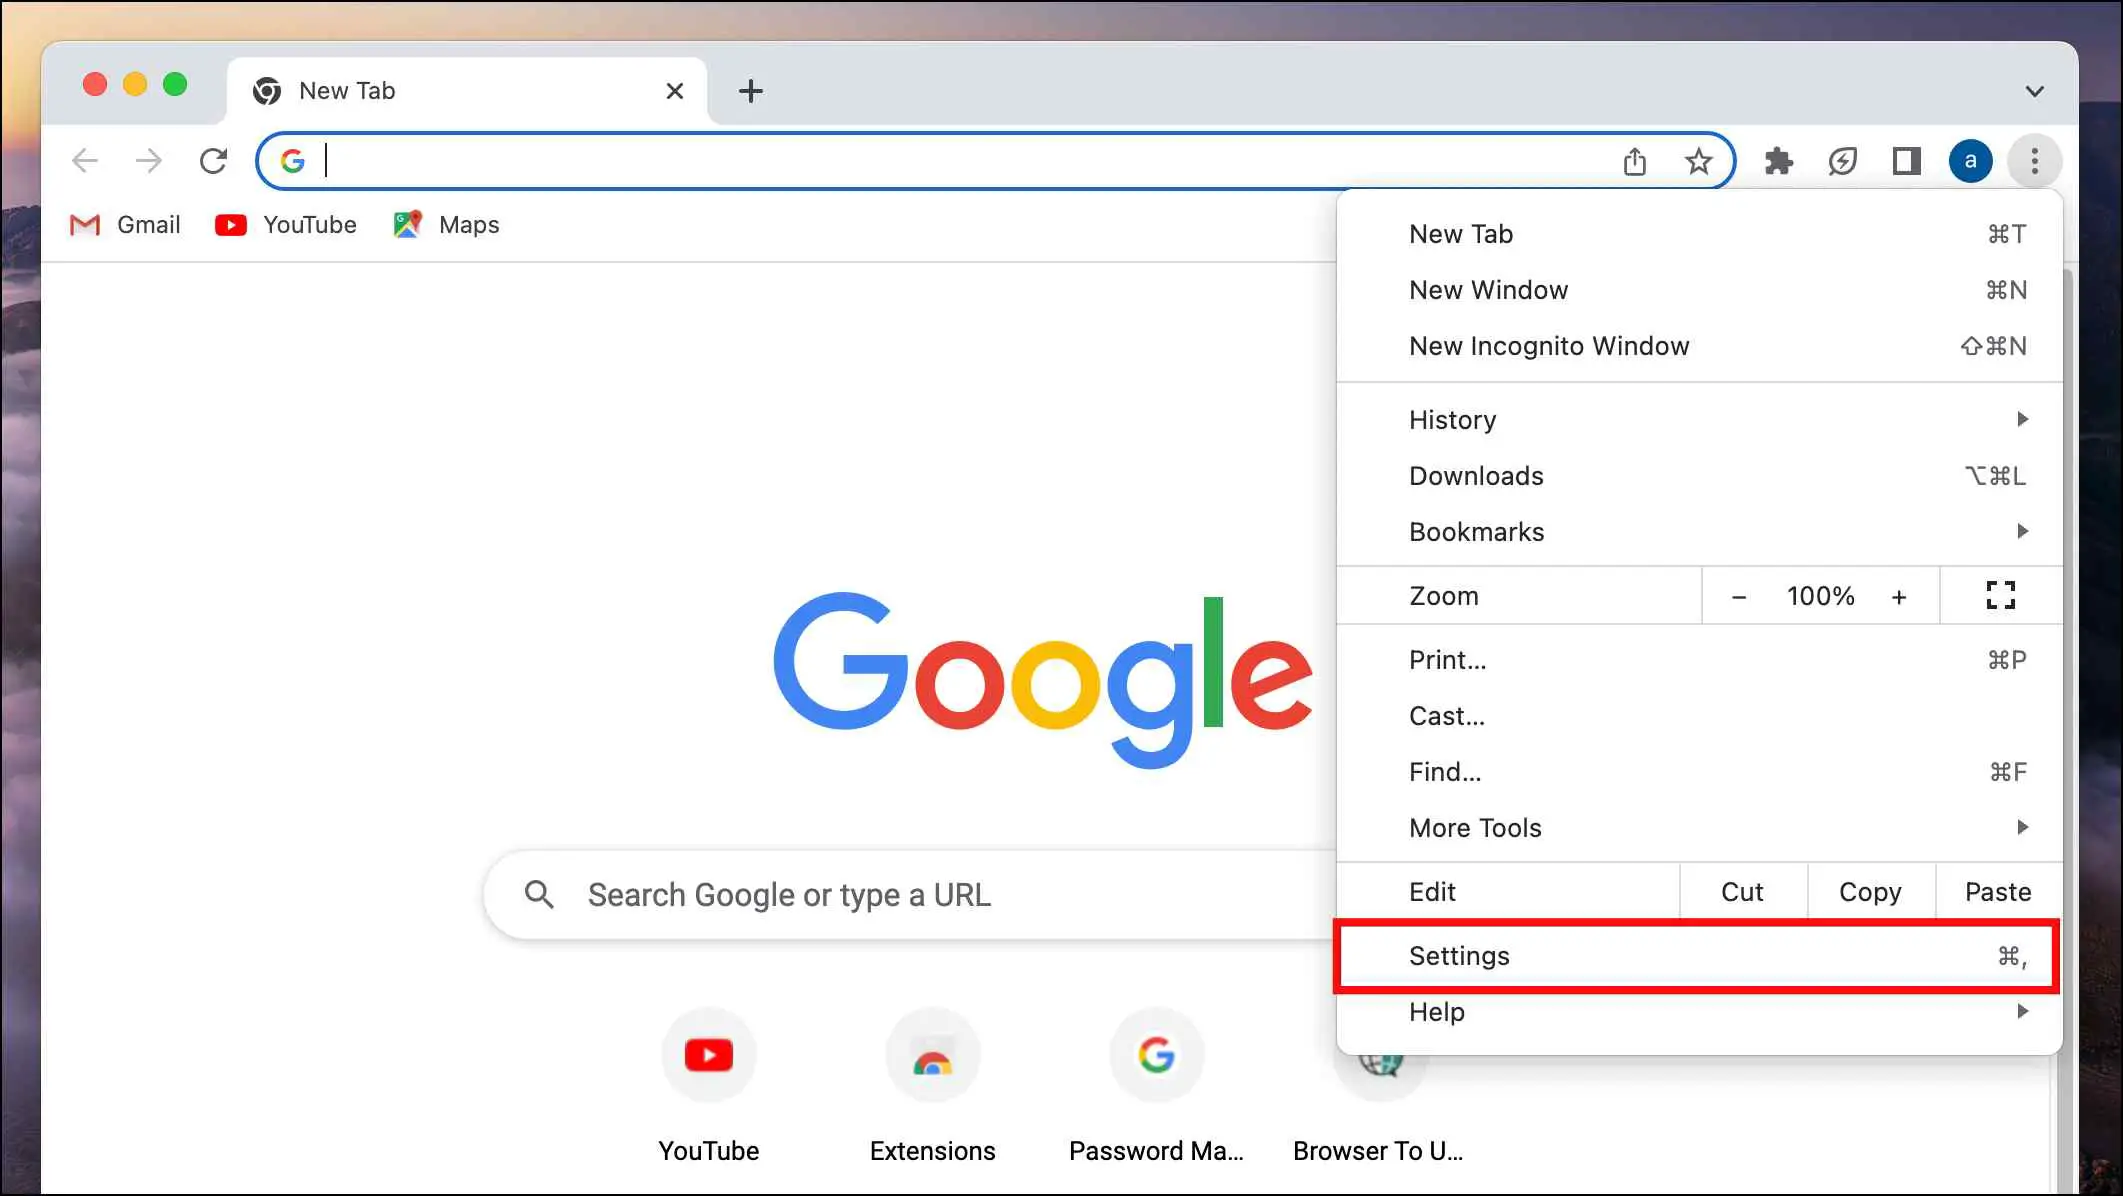
Step 2: Click on Settings.
Step 3: Select Appearance from the left sidebar.
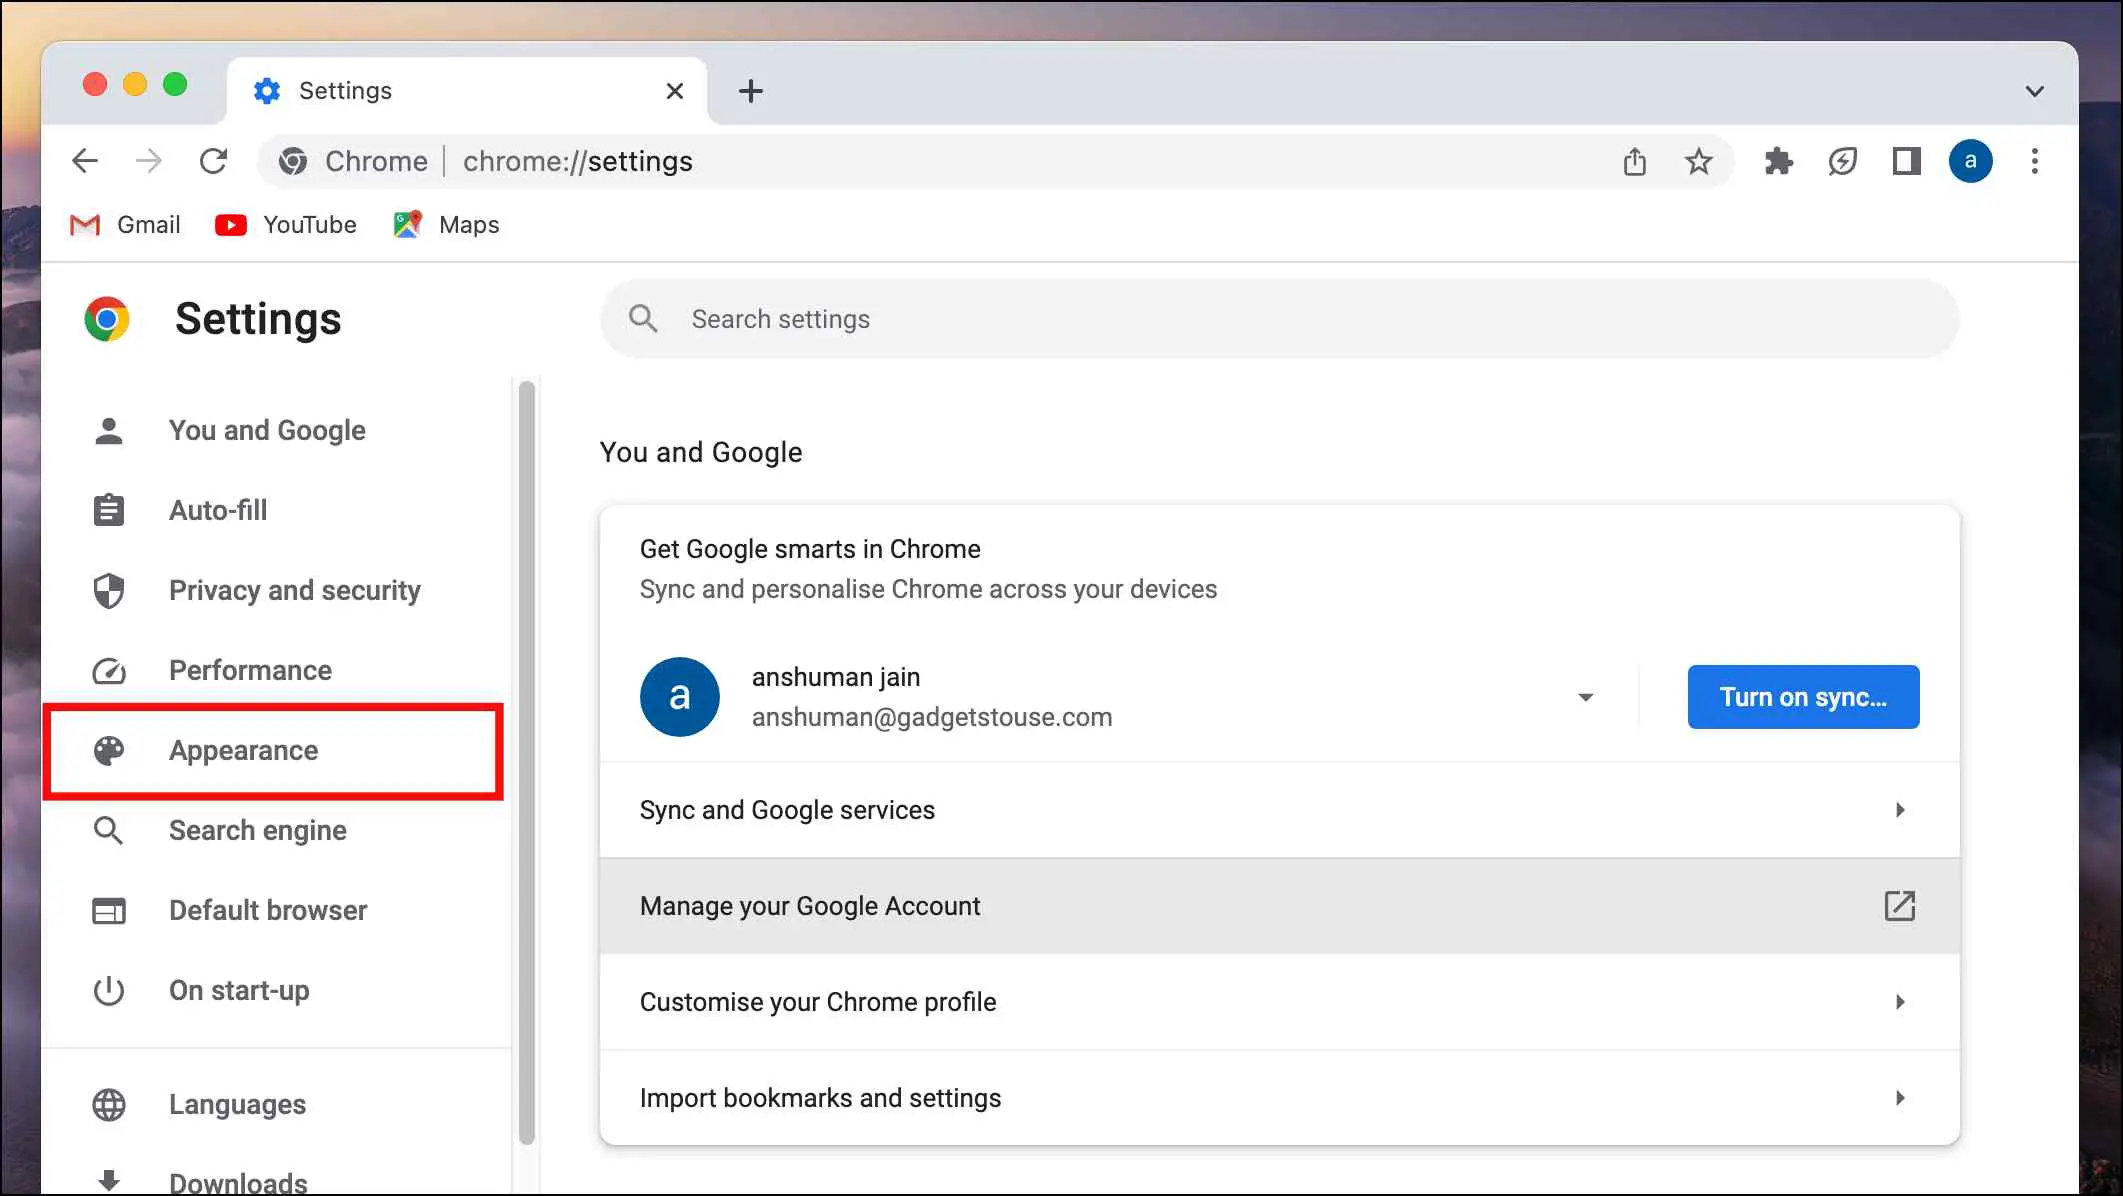
Step 4: Here, click on Customise fonts.
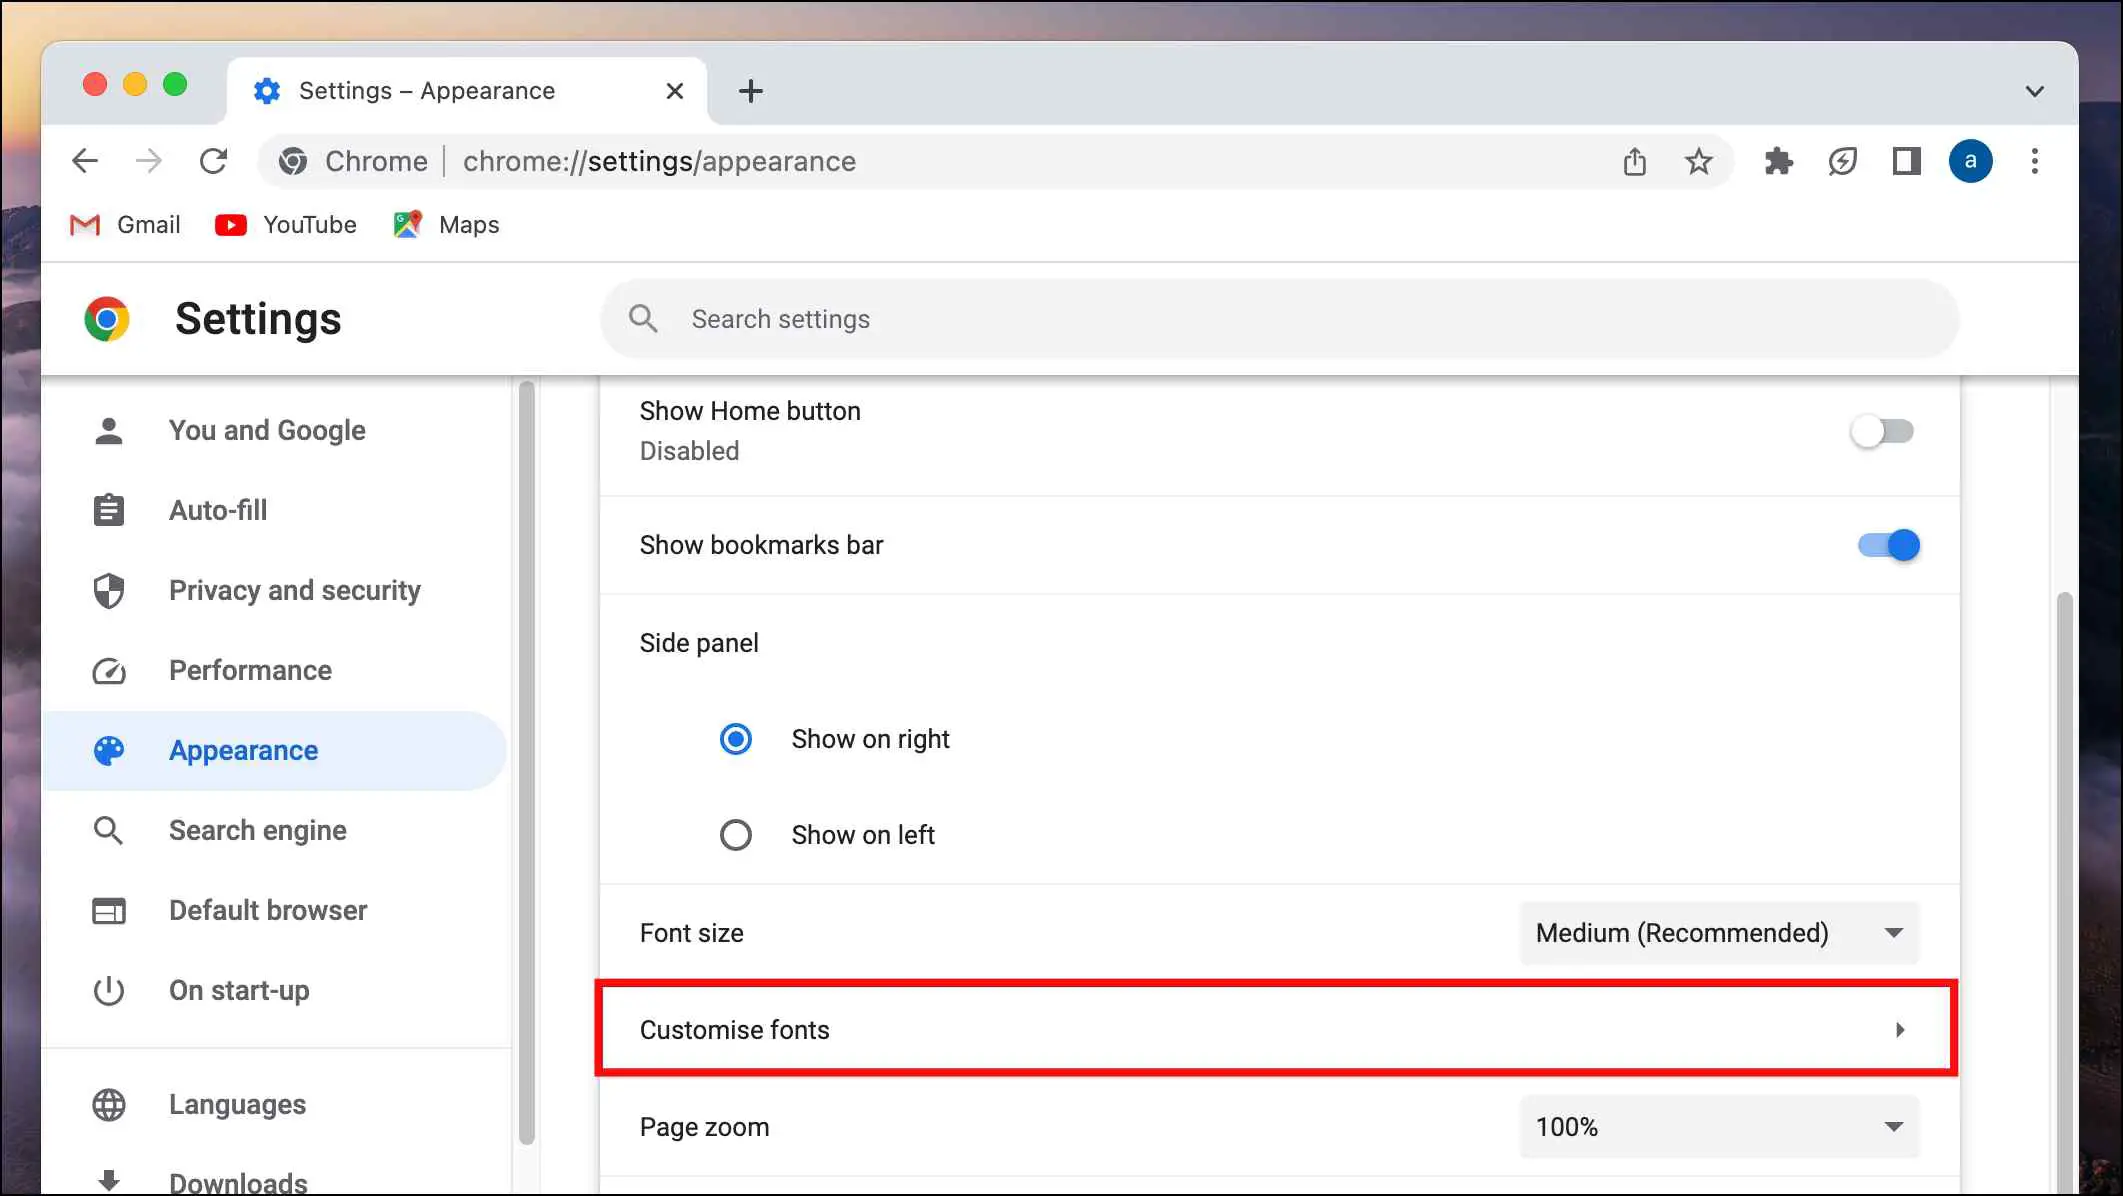
It will take you to a menu where you can make changes to the font style according to your liking and edit the size of the font so it is easily readable on a website.
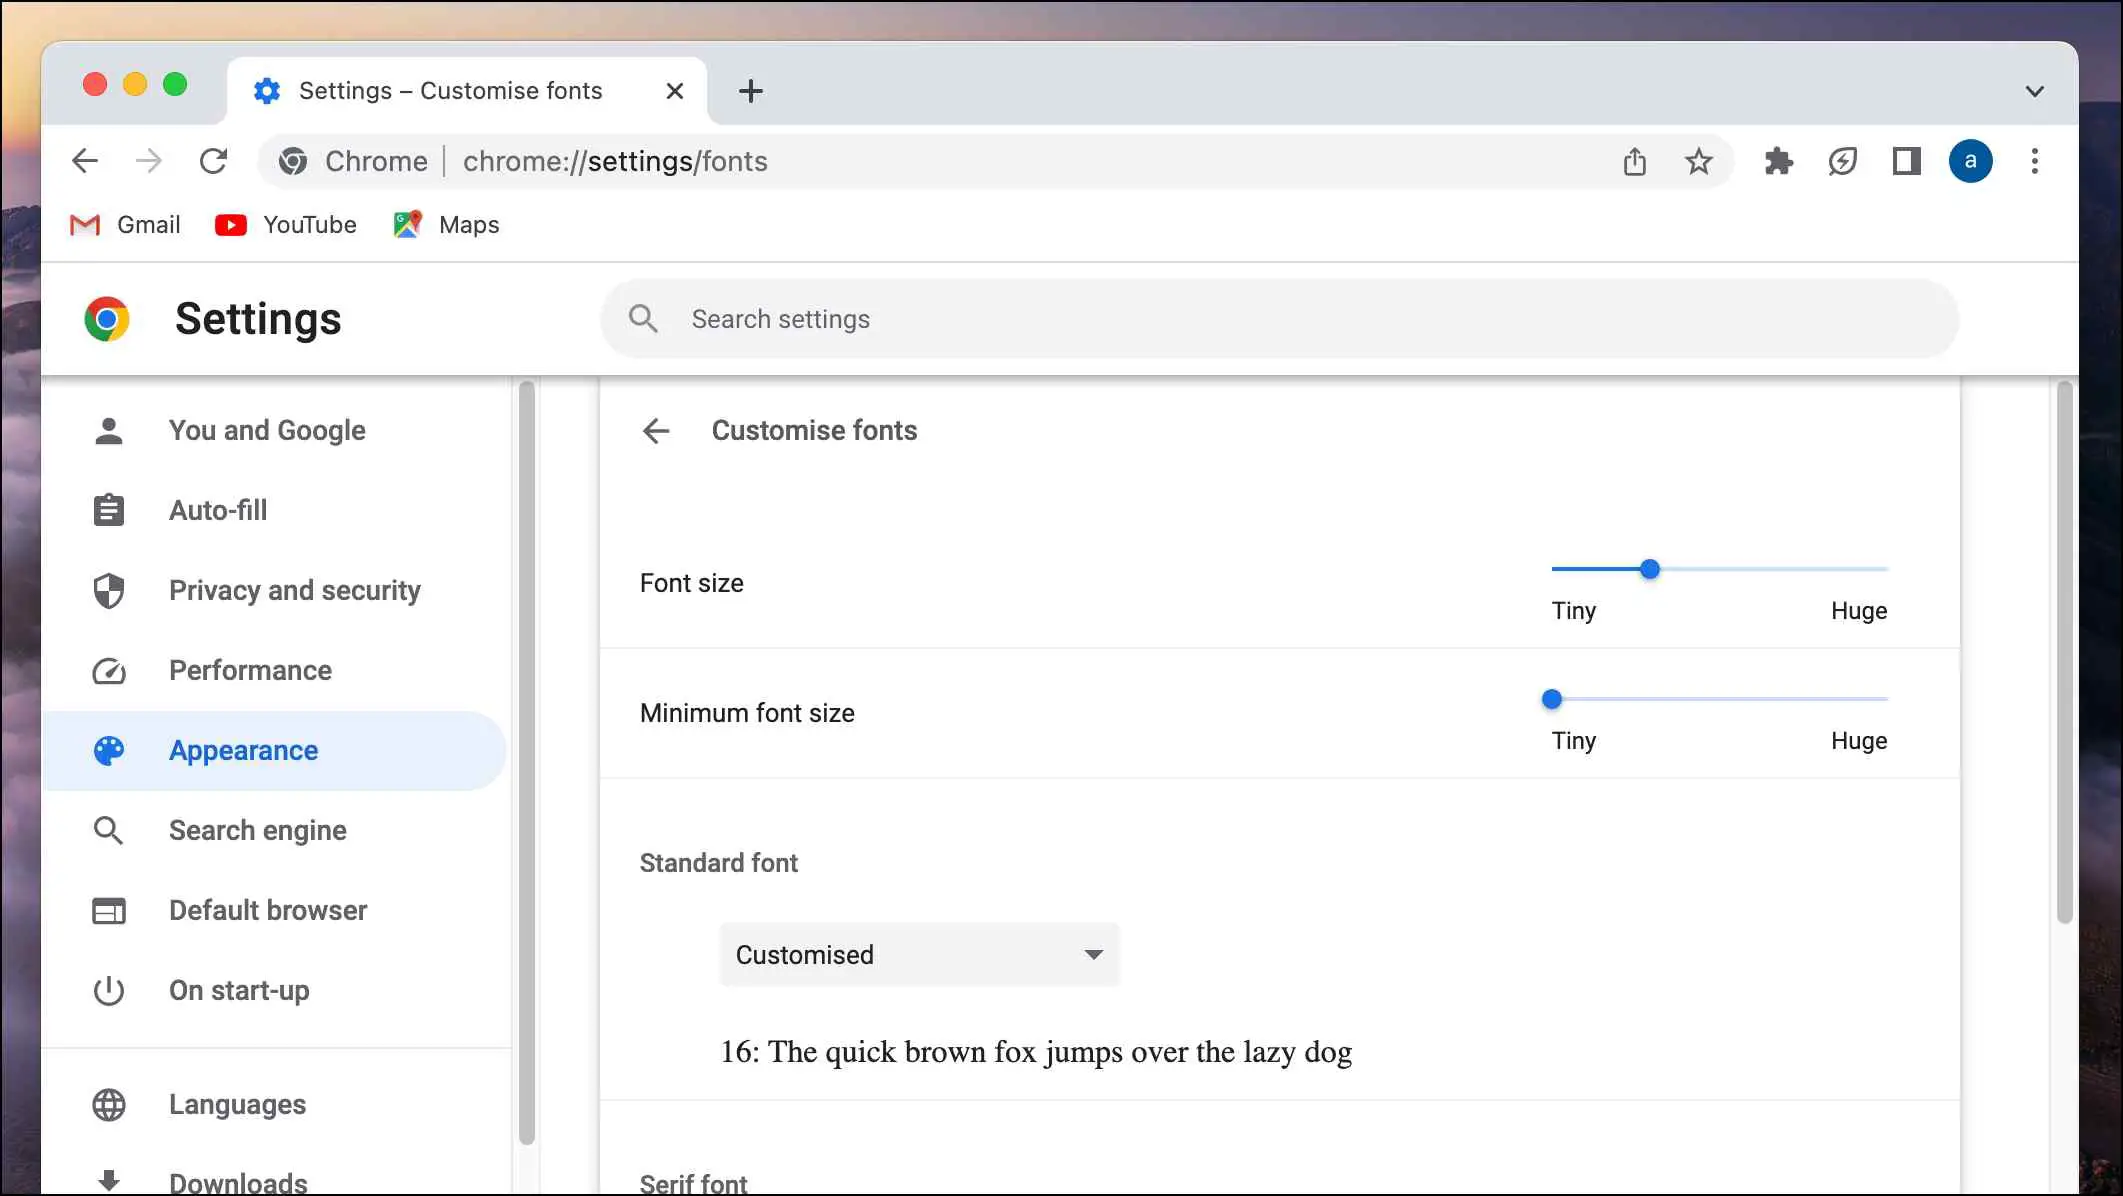
If you are getting confused about which option to change, then here is a quick summary of each Font setting:
- Standard font: The font you select here will be used as the default font type if the website has not declared a default font style.
- Serif font: Changing this will switch any serif font used in the website with the font style selected by you. The Serif are fonts with extra strokes at the edges of the letters. An example of a serif font would be Times New Roman.
- Sans-serif font: Sans-serif is a modern font style that doesn’t use the strokes at the edge of the letter. Changing this will change sans-serif style fonts if the website is using them.
- Fixed-width font: This font style is used for backend and code-related purposes. Changing this will switch any fixed-width font text to the one you selected.
3. Download the Font Changer Extension
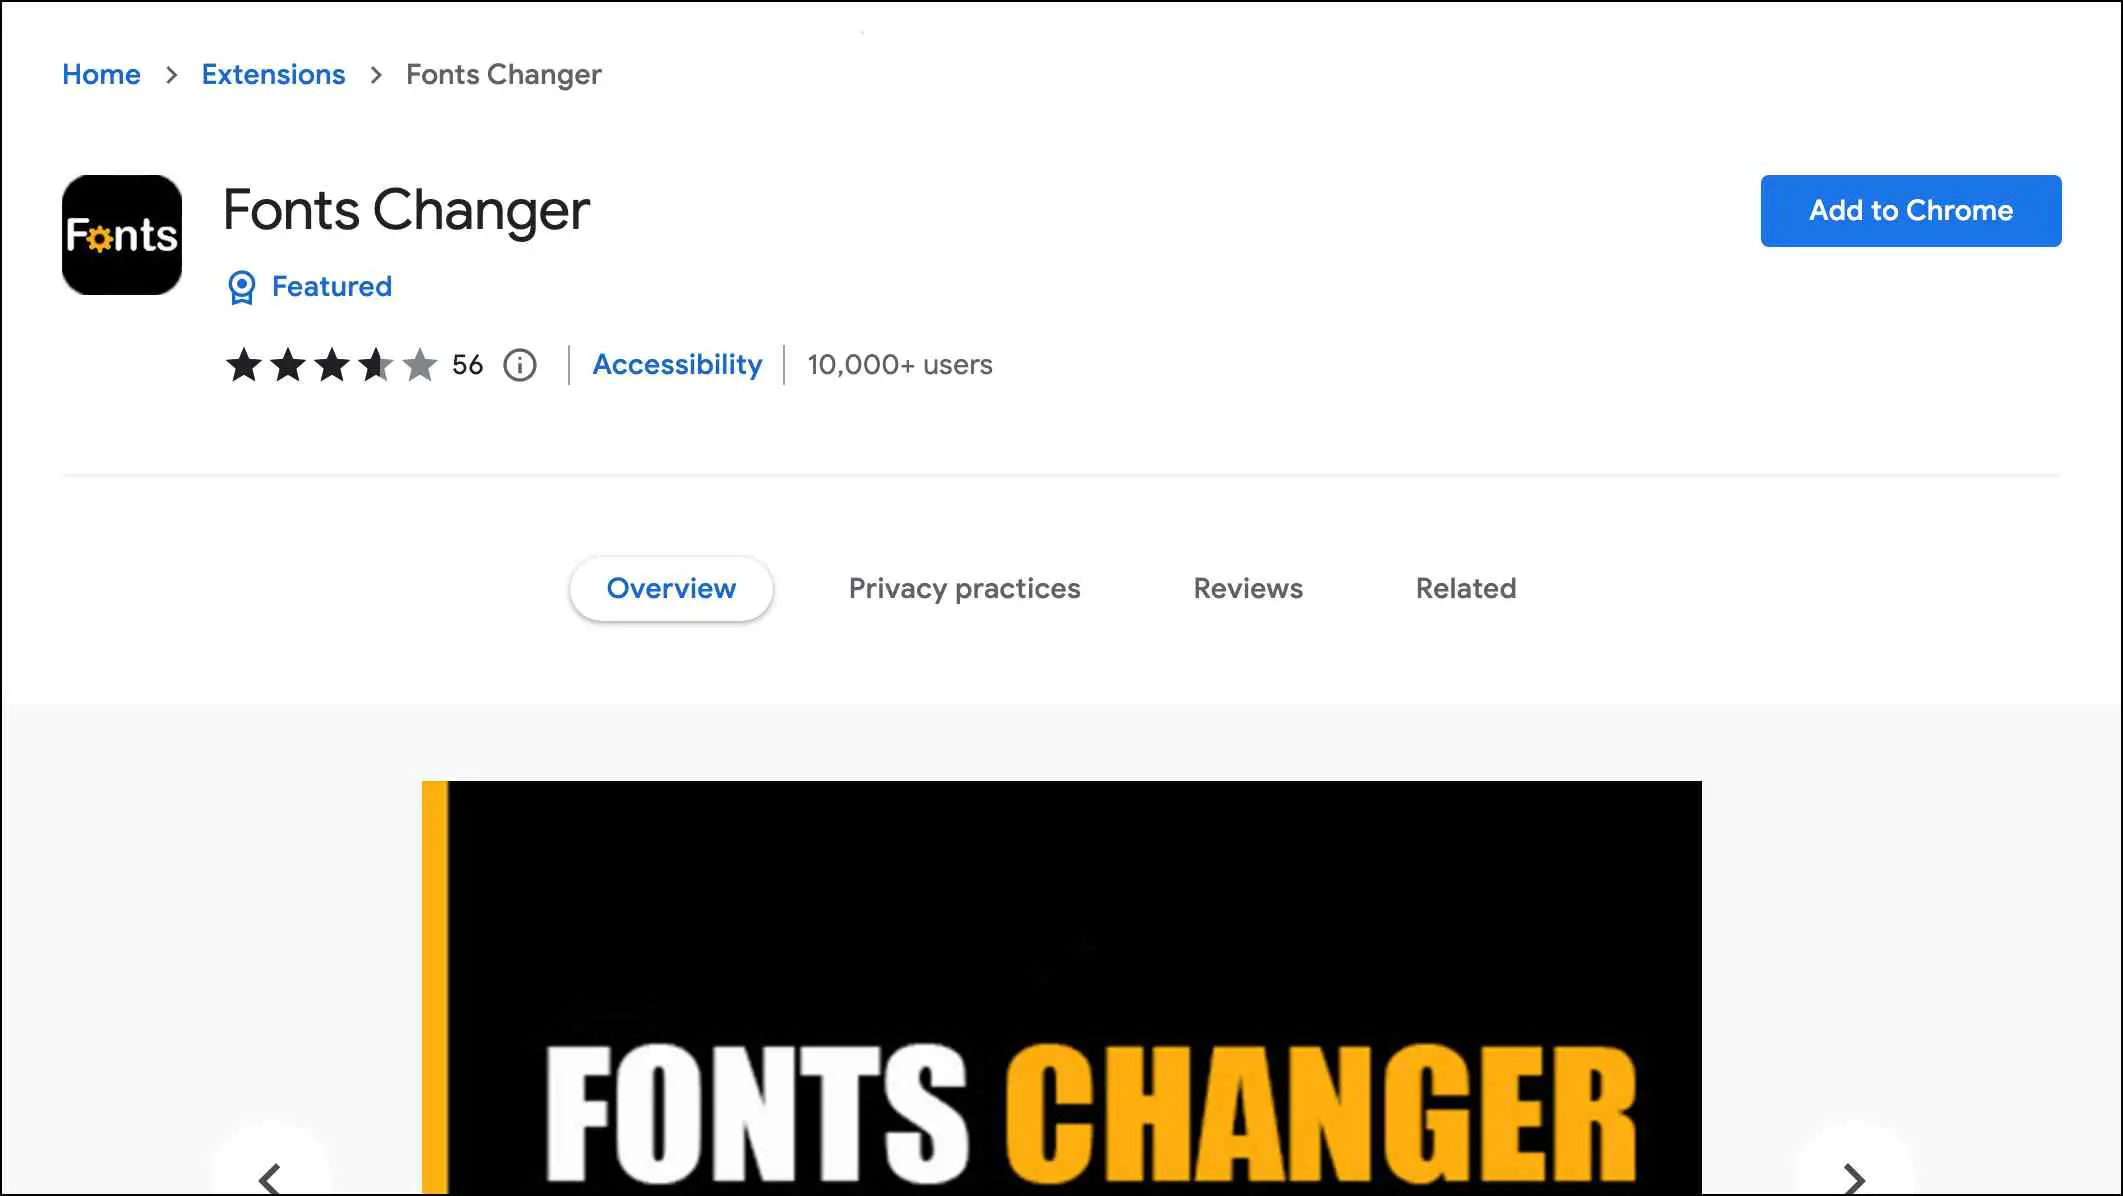
Font Changer extension does exactly what the Customise font menu in Chrome does, but the extension makes it easy to access the menu. Instead of fumbling in the settings to change font preferences, you can use the extension from the toolbar. Here’s how you set it up:
Step 1: Download the Font Changer extension from the Chrome Web Store.
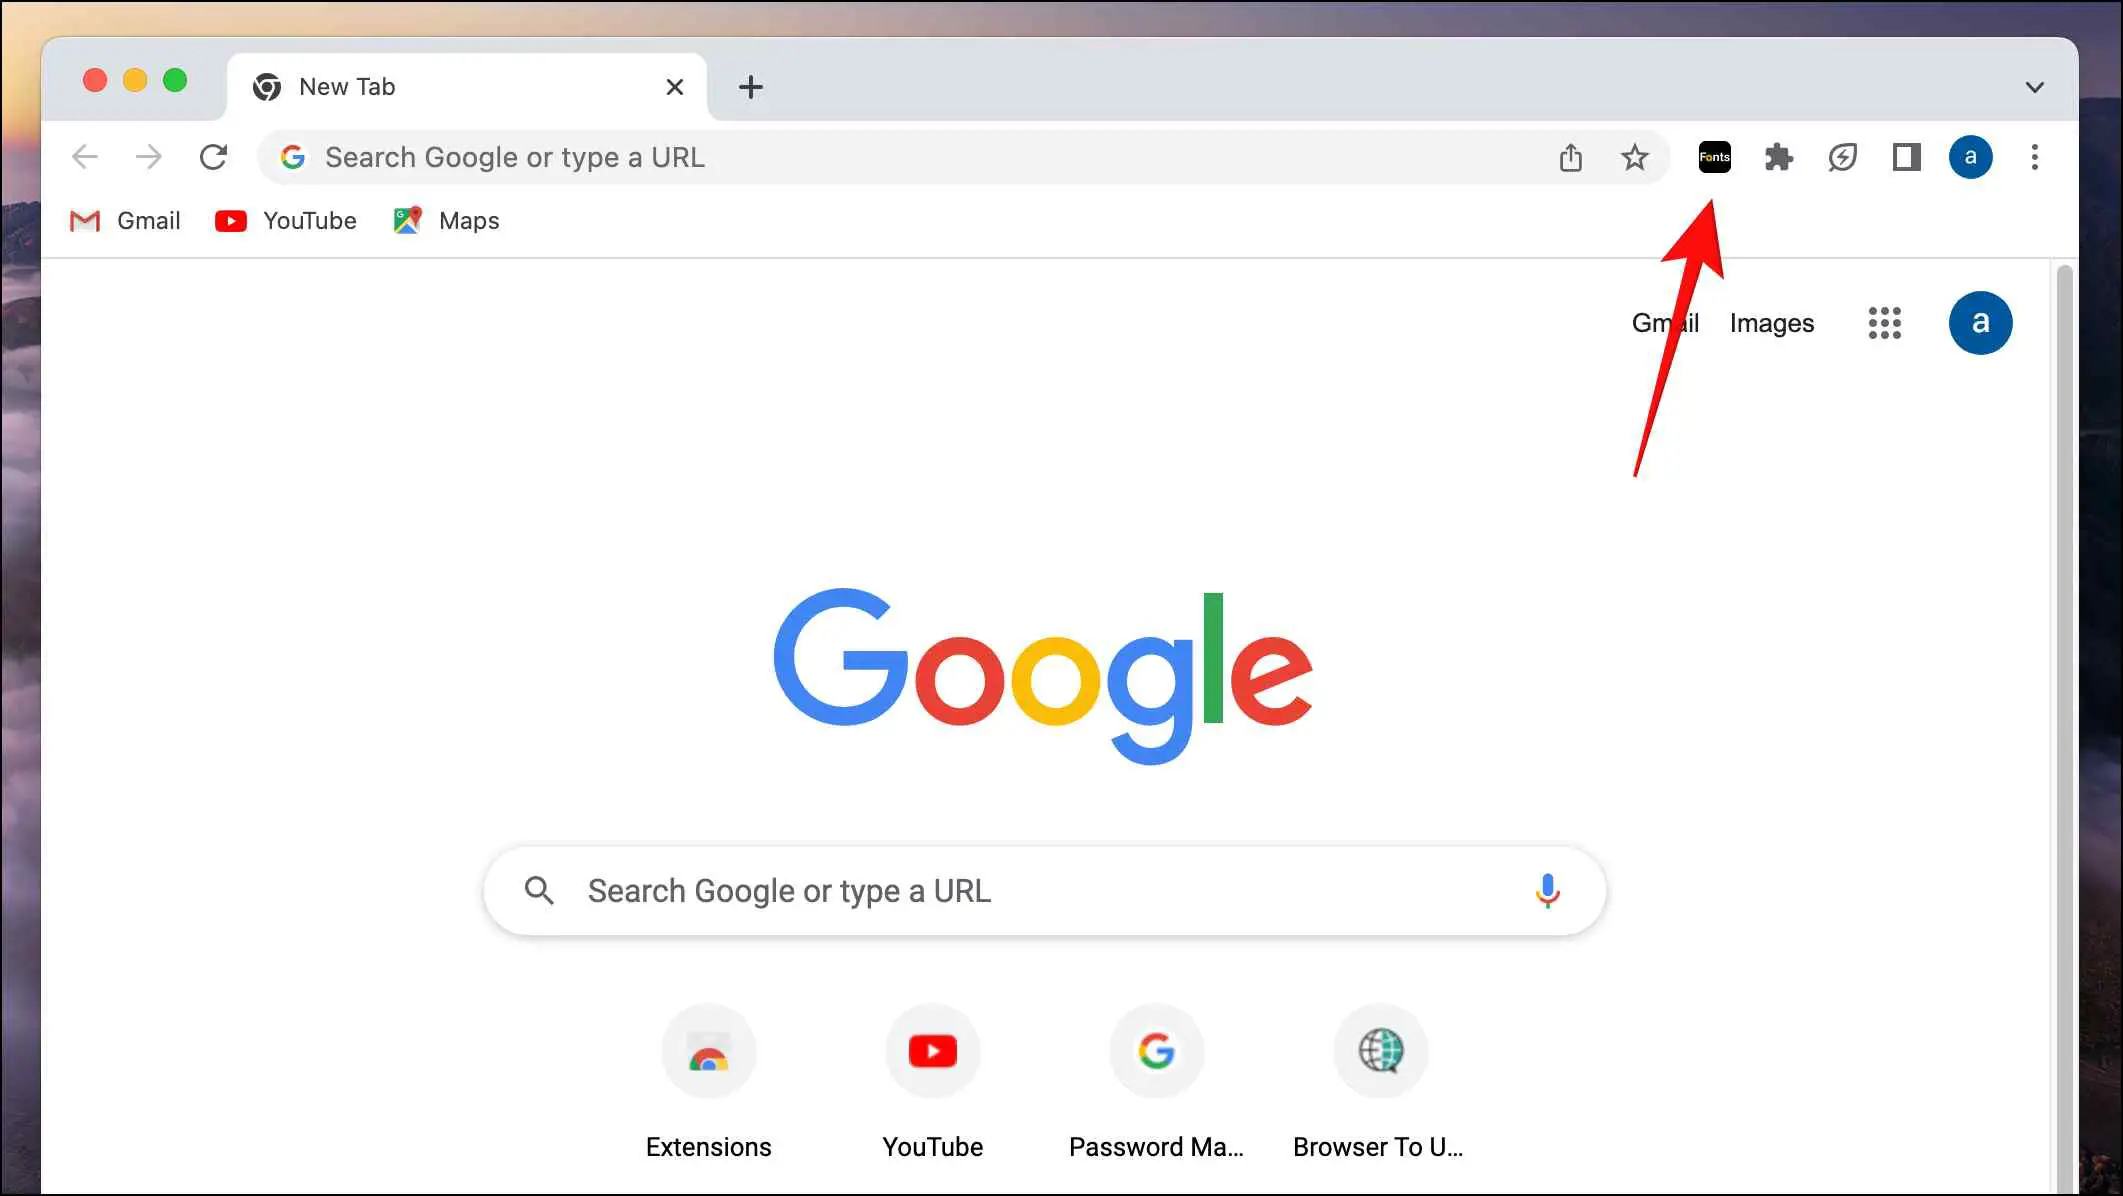
Step 2: Click on the extension icon in the Chrome toolbar.

Step 3: Here, click on the thumb pin icon next to the Font Changer extension.
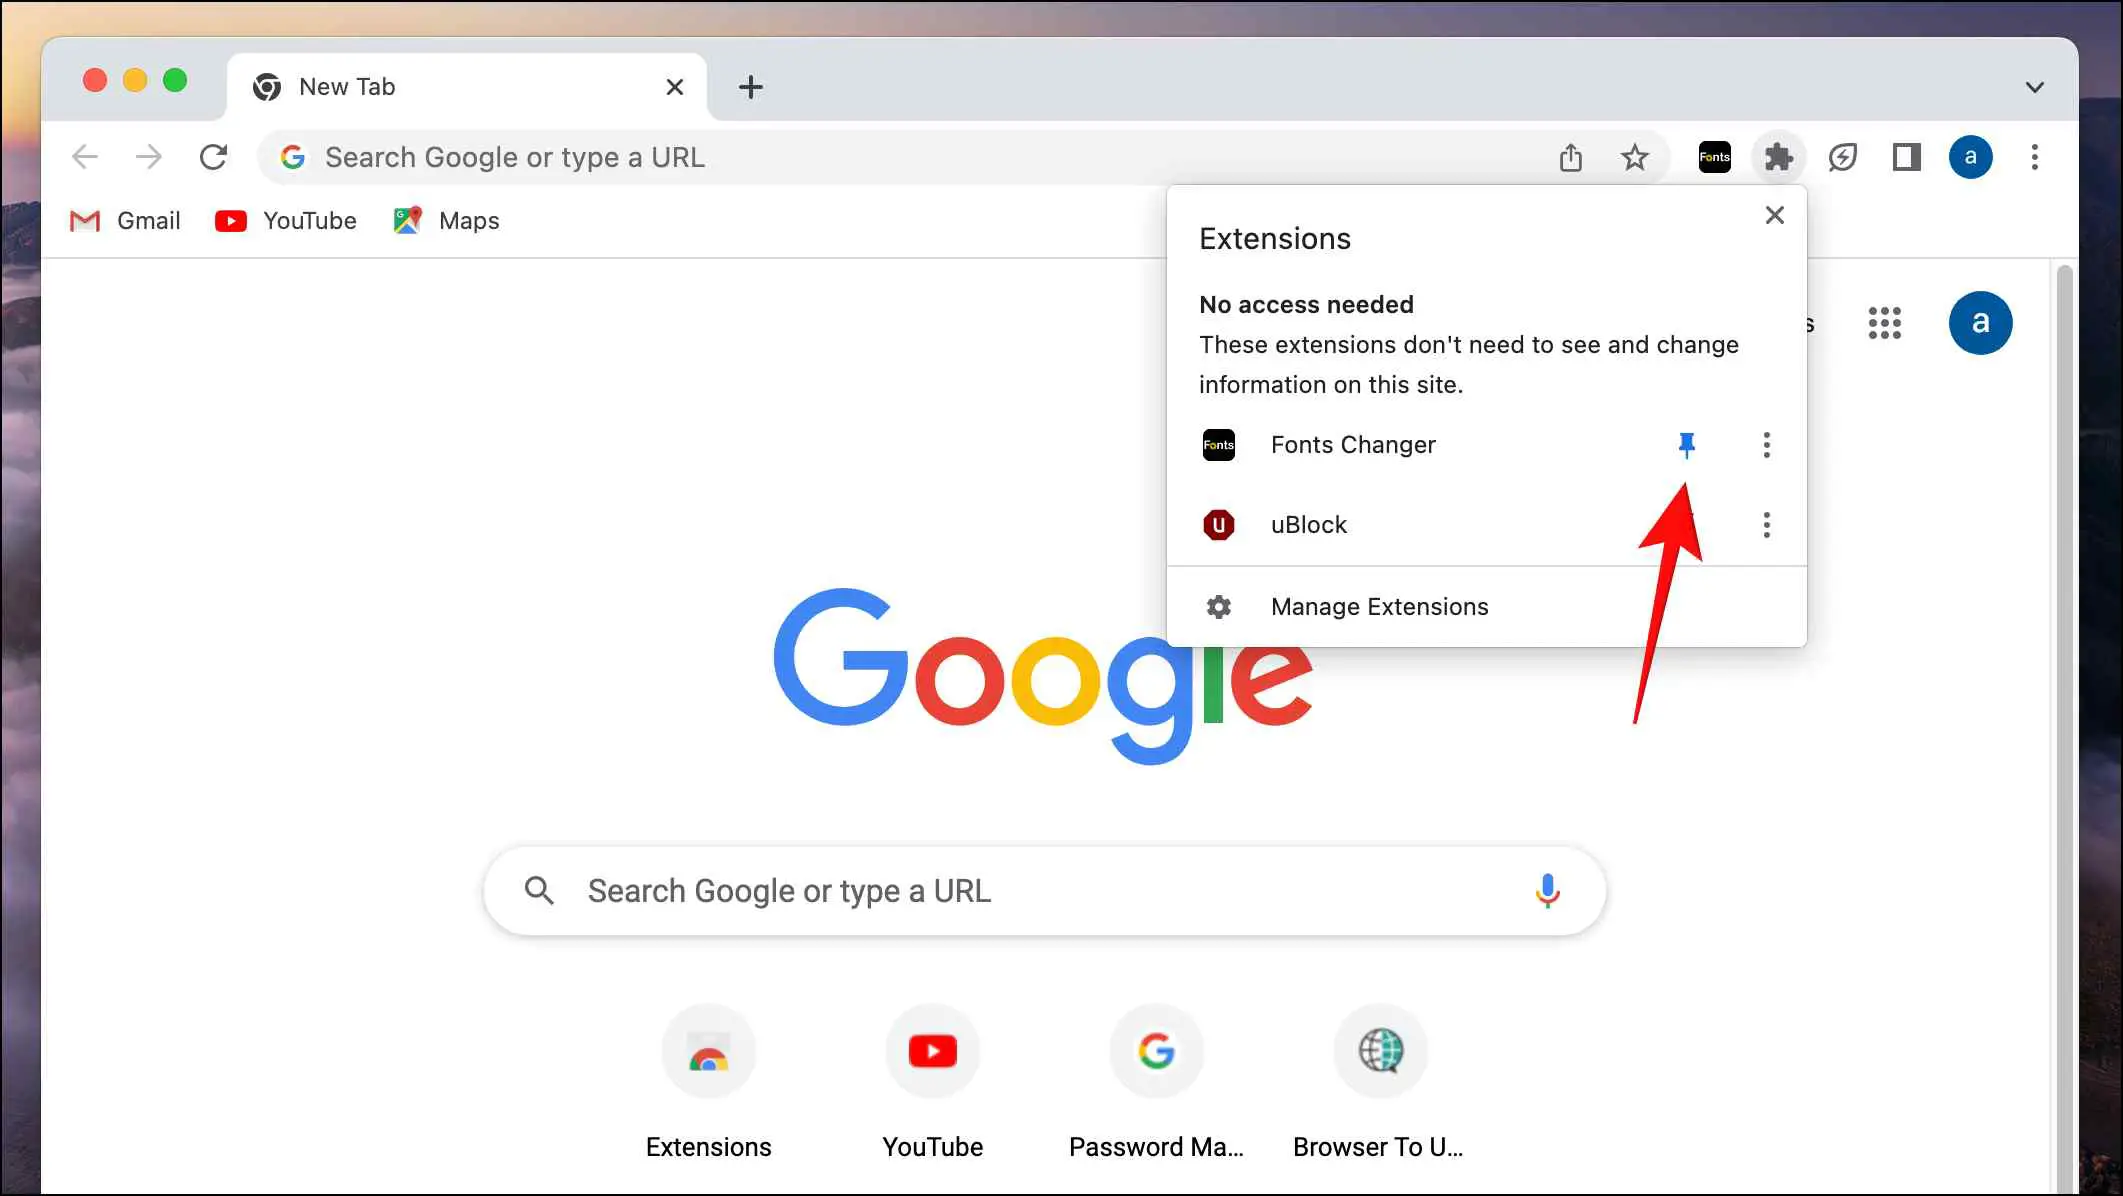
This will pin the extension to the toolbar making it more accessible.
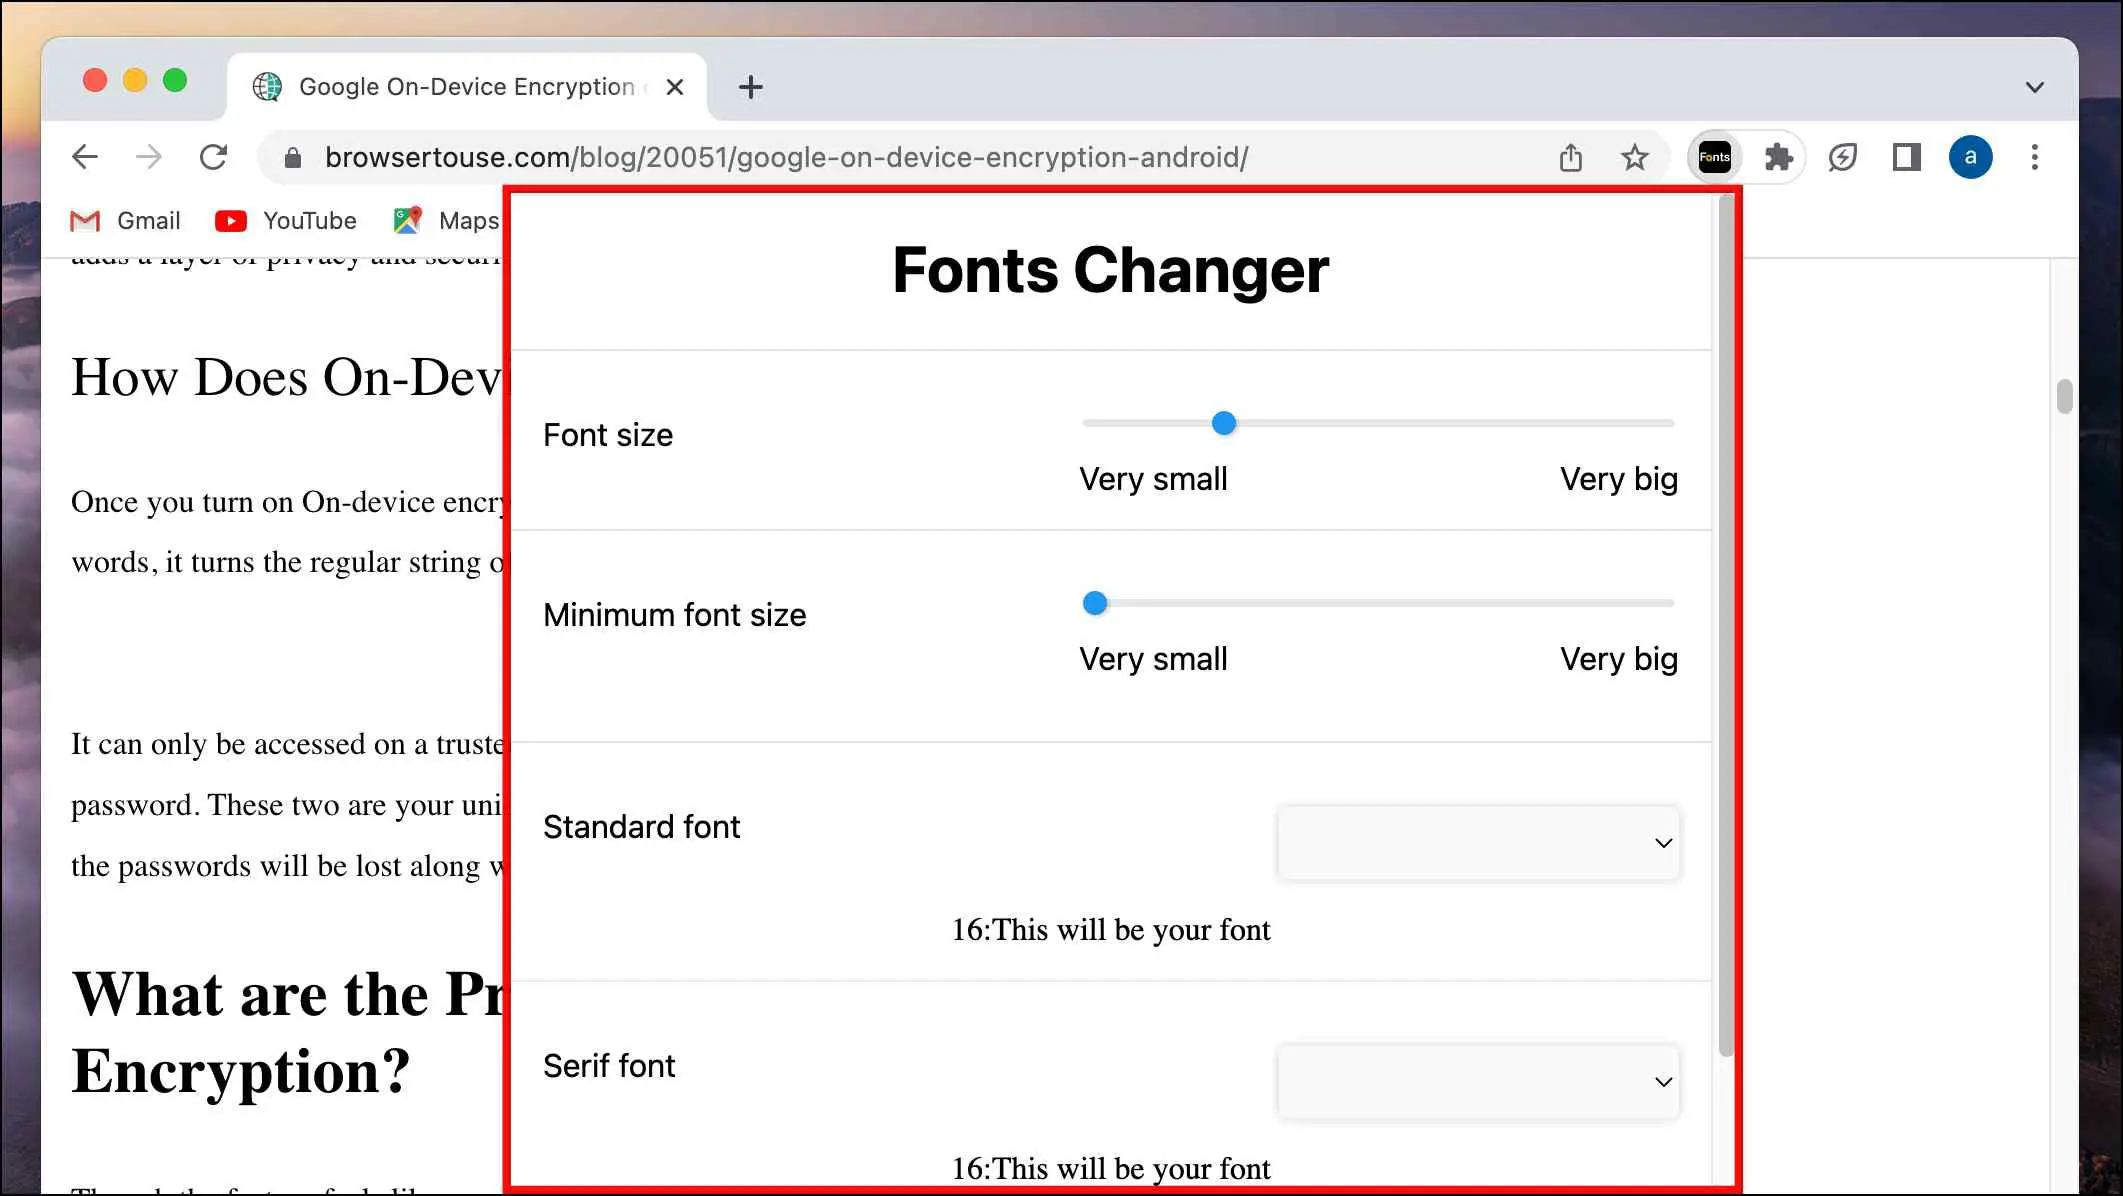
Step 4: Lastly, click on the Font Changer extension icon to customize fonts on a webpage.
The extension will open a menu similar to the Customise fonts menu in Chrome, and you can make changes to a webpage and check the results in real time.
4. Install the Font Customizer Extension
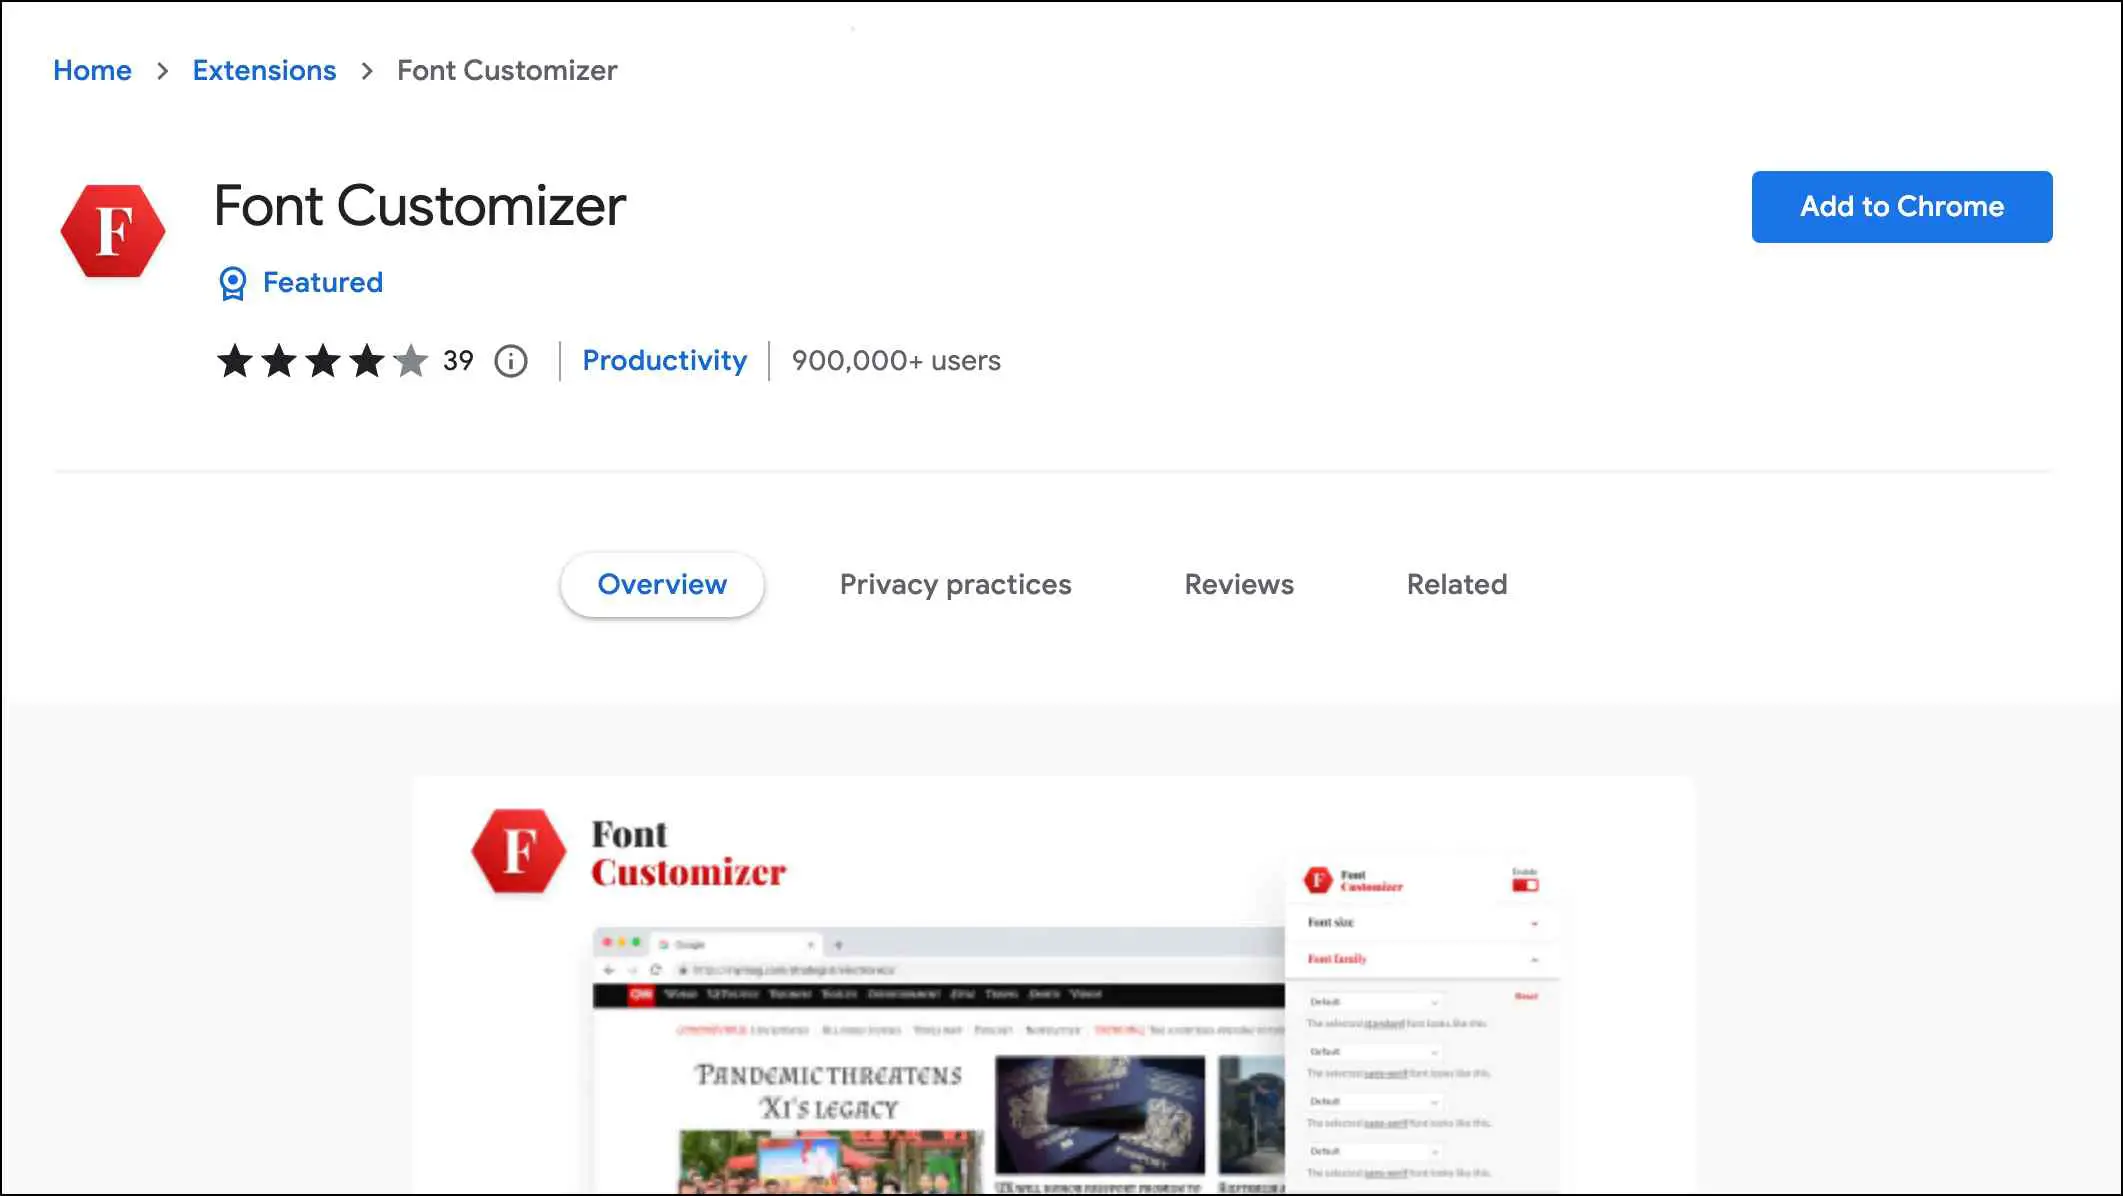
Font Customizer is an extension used by over 900 thousand users. The reason behind this extension’s popularity is its ease of use and customization options, with more than a hundred font styles to choose from. And it also lets you change font colors too. Setting it up is similar to the one we discussed above.
Step 1: Download the Font Customizer extension from the Chrome Web Store.
Step 2: Once downloaded, click on the extension icon on the Chrome toolbar.
Step 3: Click on the thumb pin icon next to the Font Customizer extension to pin it to the toolbar.

Step 4: Visit the webpage for which you want to change the font.
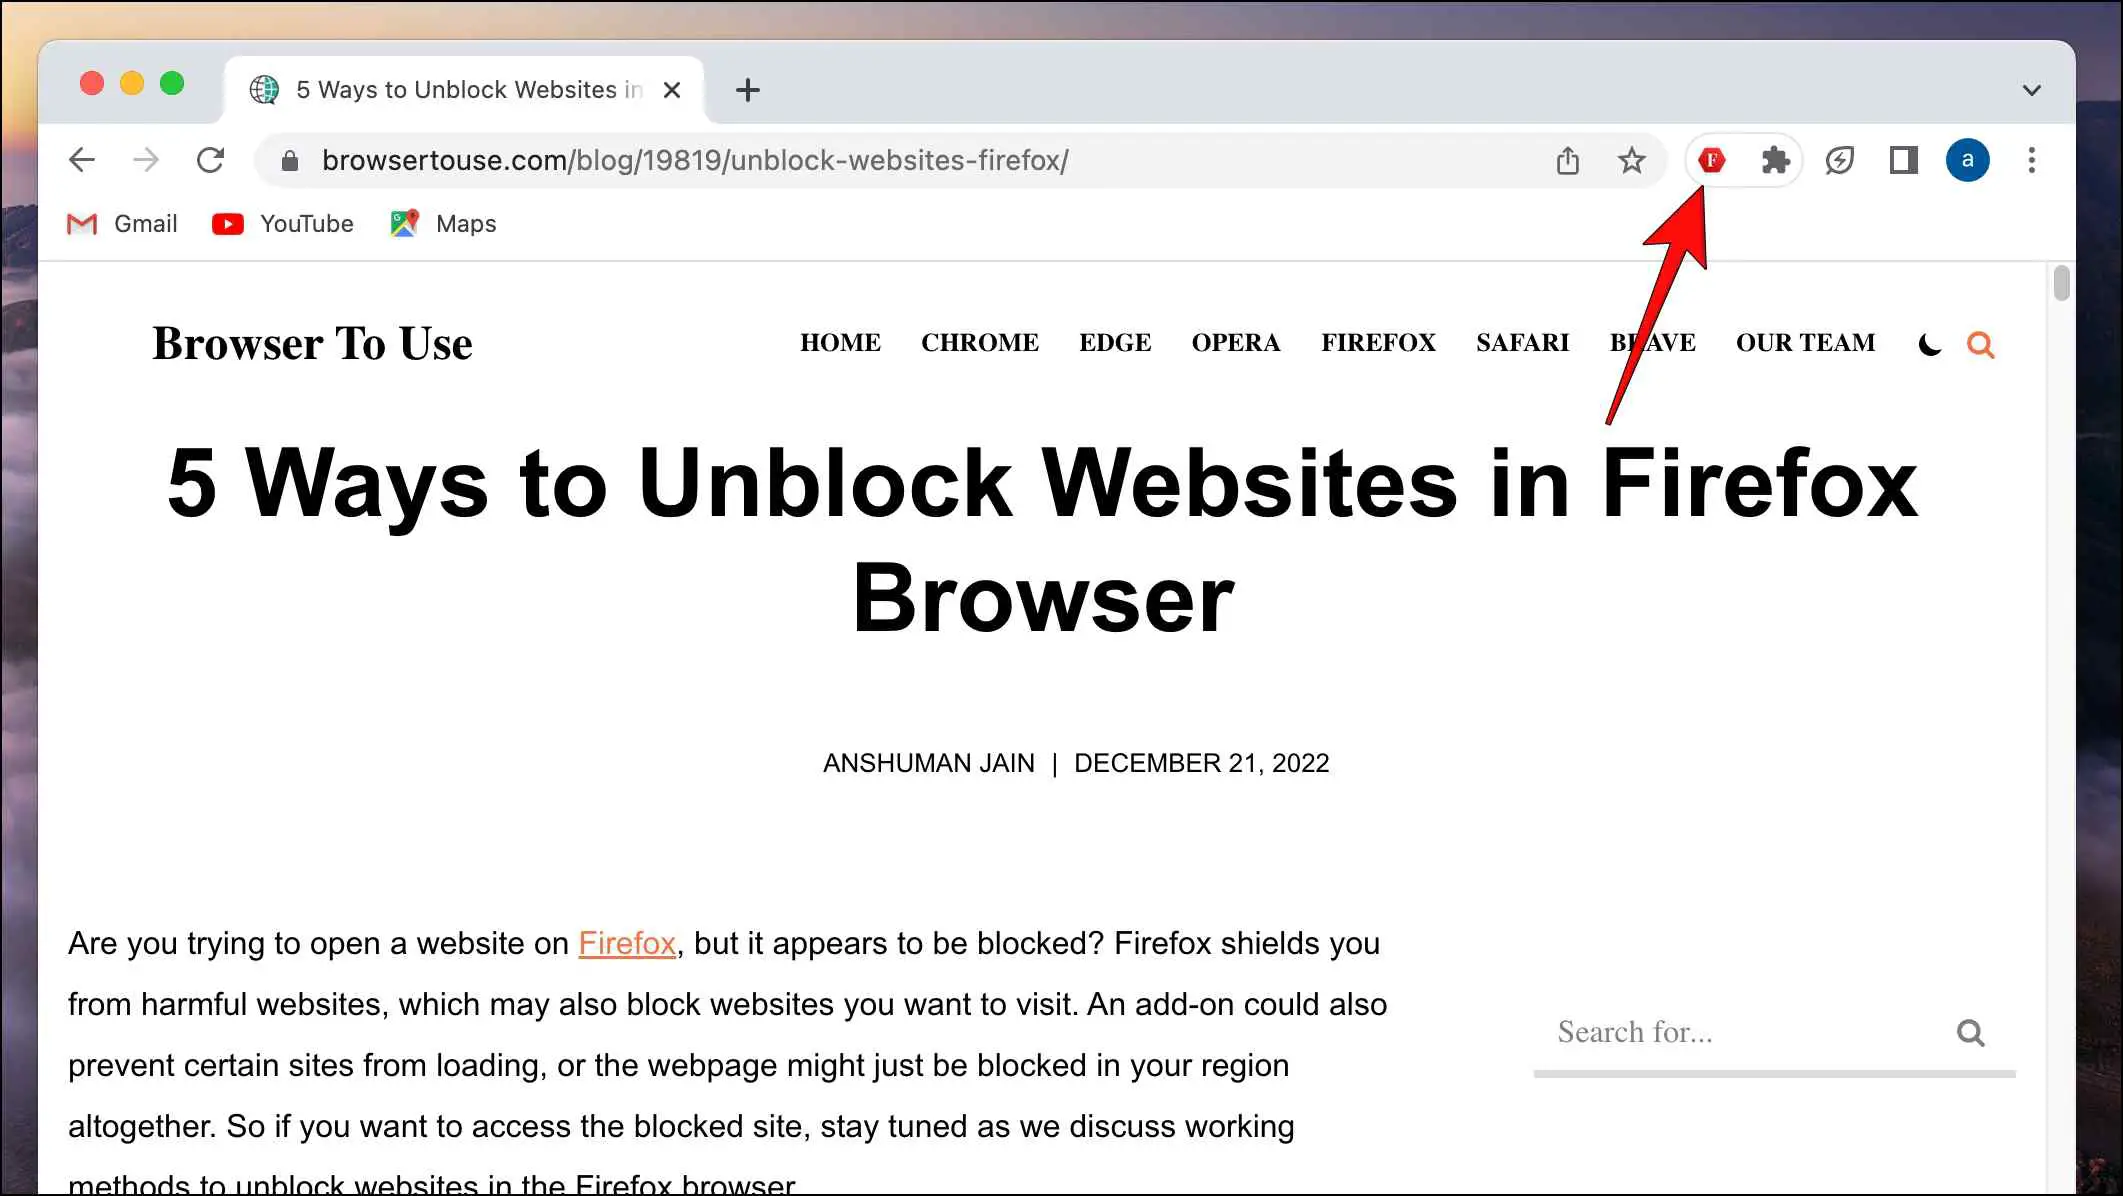
Step 5: Click on the Font Customizer extension icon.
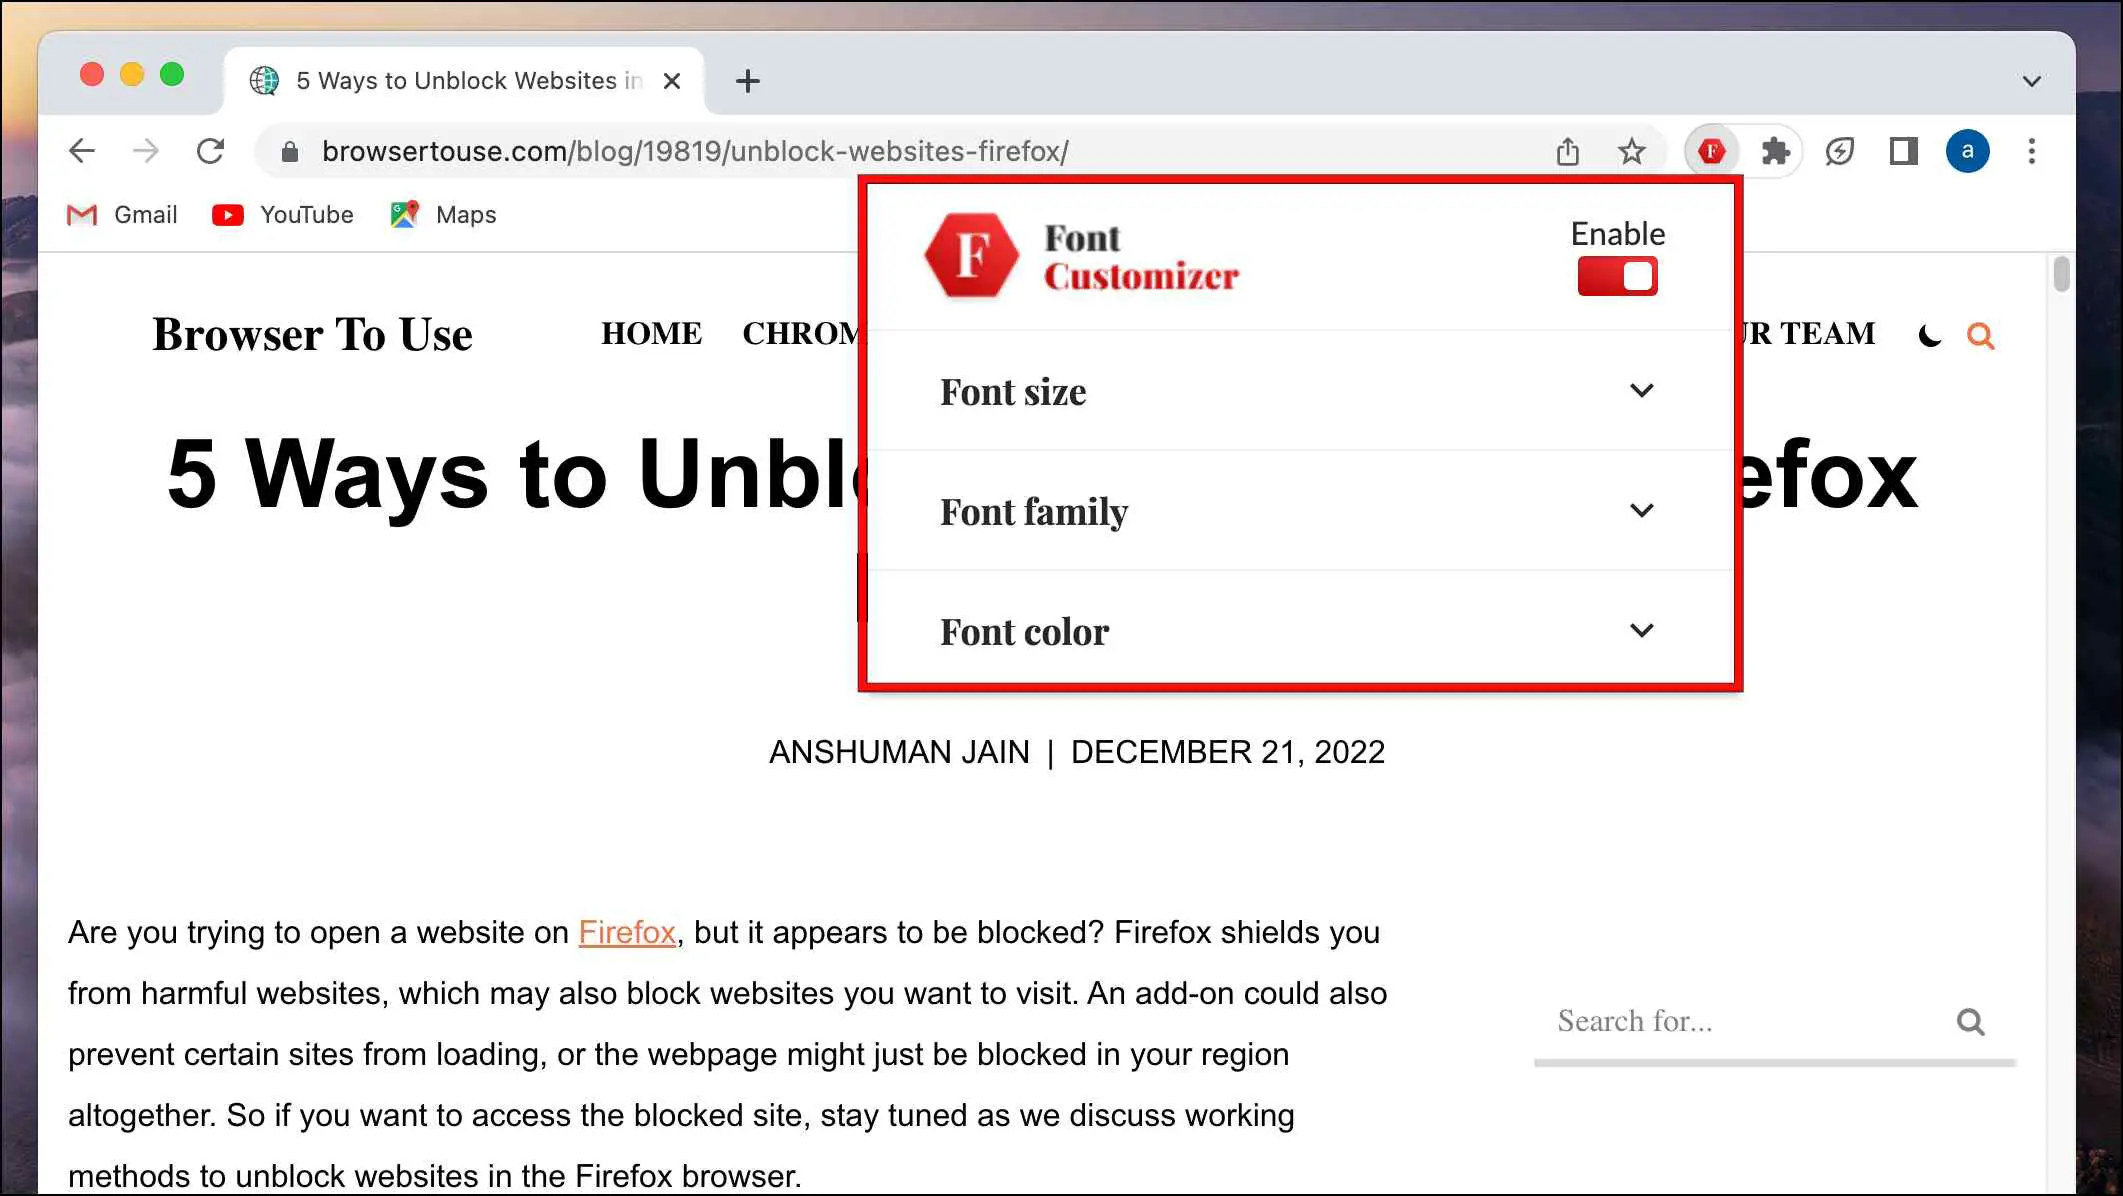
It will reveal a list of options from which you can choose and make adjustments to the fonts of the page.
How to Change Website Font and Size on Chrome Android?
Google Chrome on Android does not offer as much flexibility as its desktop counterpart. That is also because it lacks an extension store. But there is an option to change the font size in Google Chrome on Android. This will change the default text size of the page. Let us take a look at it.
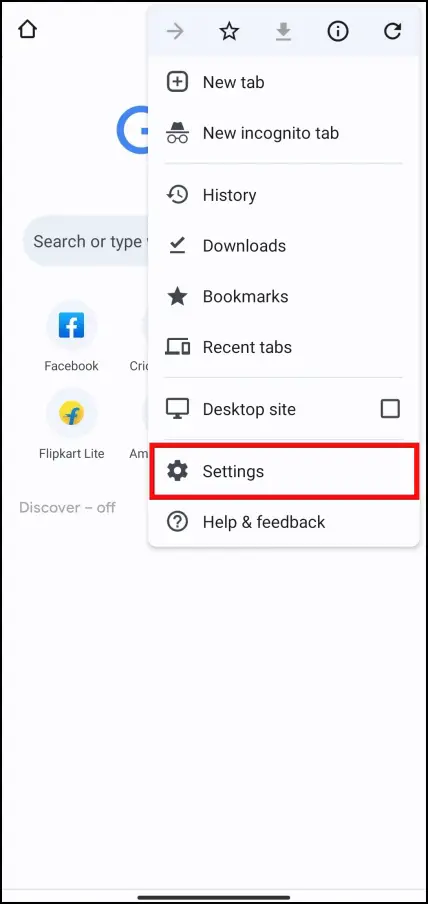
Step 1: Open Chrome and click on the three-dot menu in the top right corner.
Step 2: Go to Settings.

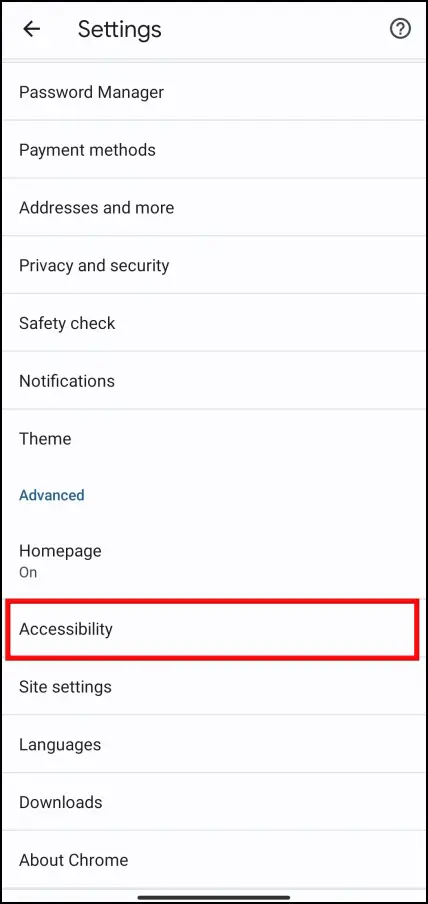
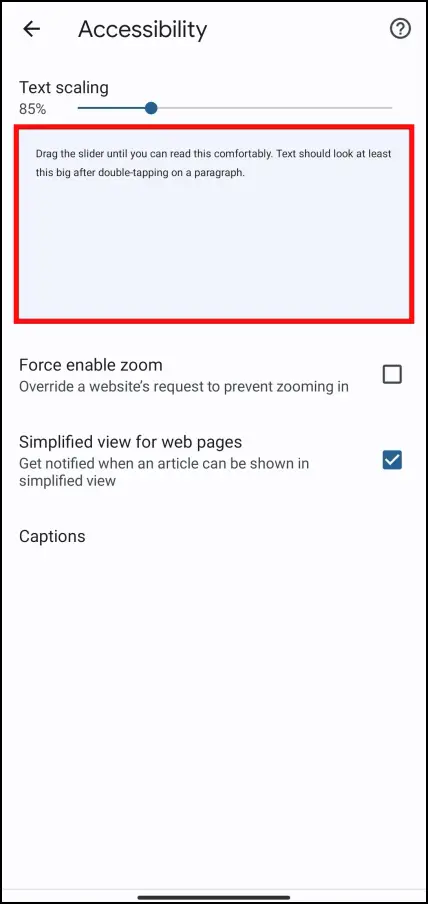
Step 3: Scroll down to Accessibility and tap on it.
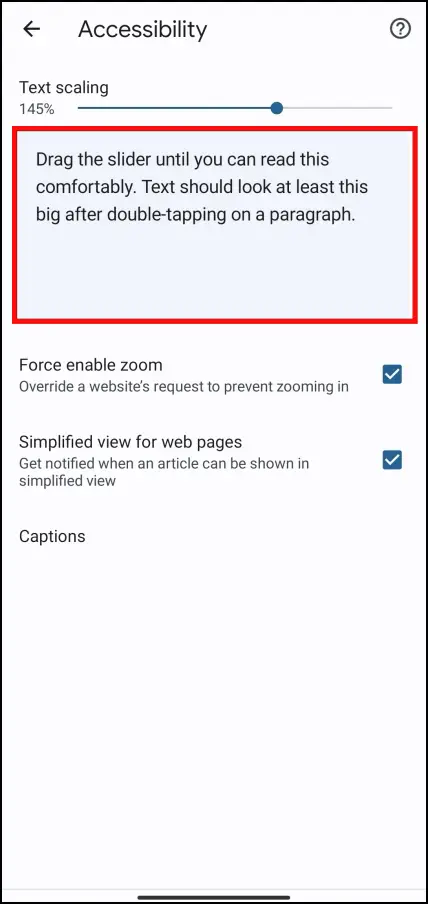
Step 4: Here, drag the slider under Text scaling to change the font size on websites.
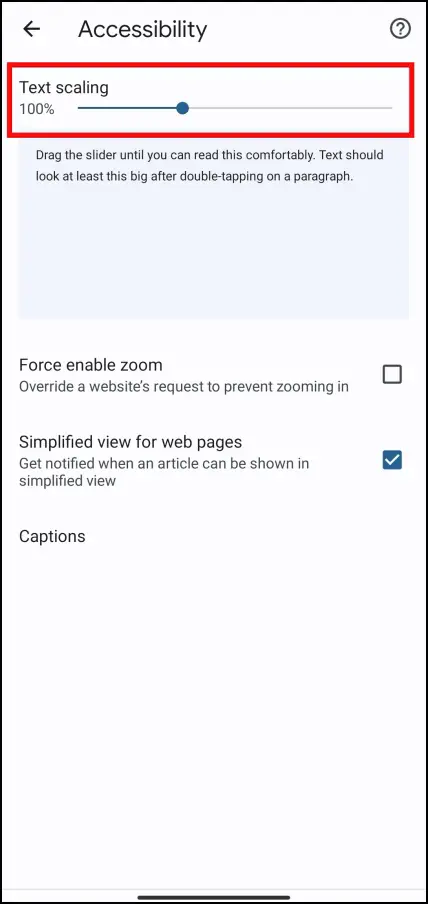
You can see the preview of how the text will appear on the website below the slider. Using this method, you can change the font size in Chrome on Android.
Wrapping Up
One of the best aspects of Chrome is that your functionality is not limited to what is offered in the browser, as you can download an extension to add any feature you are missing. And we showed you how you can use it to change the font style and size of the websites. Hopefully, this will make its way soon enough to the mobile version. If you have any queries related to the article, then do let us know in the comments below and stay tuned on Browsers To Use for more such articles and How-Tos.
Related:


