
Clearing the cache data of Google Chrome can be helpful as it speeds up and improves the browser’s performance, and anyone can do it by visiting the browser’s settings. However, it’s not as straightforward as it looks, which is why some people prefer extensions that allow users to do so, and in this read, you will learn how to clear Google Chrome cache with a single click shortcut.
Clear Cache in Google Chrome in Single Click
Chrome has a way by which users can clear the browser’s cache and speed it up. However, there are many instances when we want to clear the cache in one click, and hopefully, some extensions allow doing so. Here, you will have added the four best extensions by which you can clear the cache of the Chrome browser in a single click.
Clear Cache Extension
Clear Cache extension allows users to clear the cache and browsing data in a single tap. It also lets users customize what and how much data they want to clear on the options page. Apart from this, users can also remove cookies, downloads, history, plugin data, passwords, and more. Follow the below steps to install and use the extension.
Step 1: Open the Chrome Web Store on the browser.
Step 2: Head over to the Clear Cache extension page.
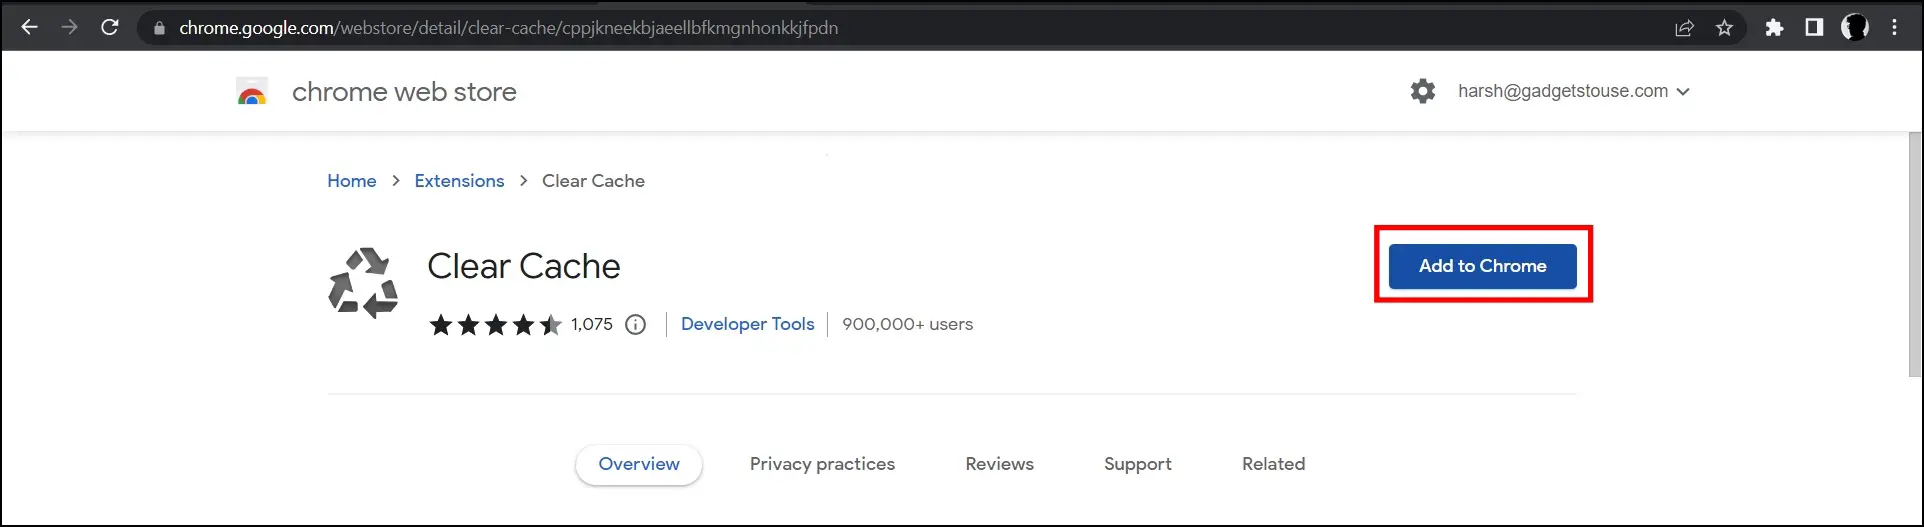
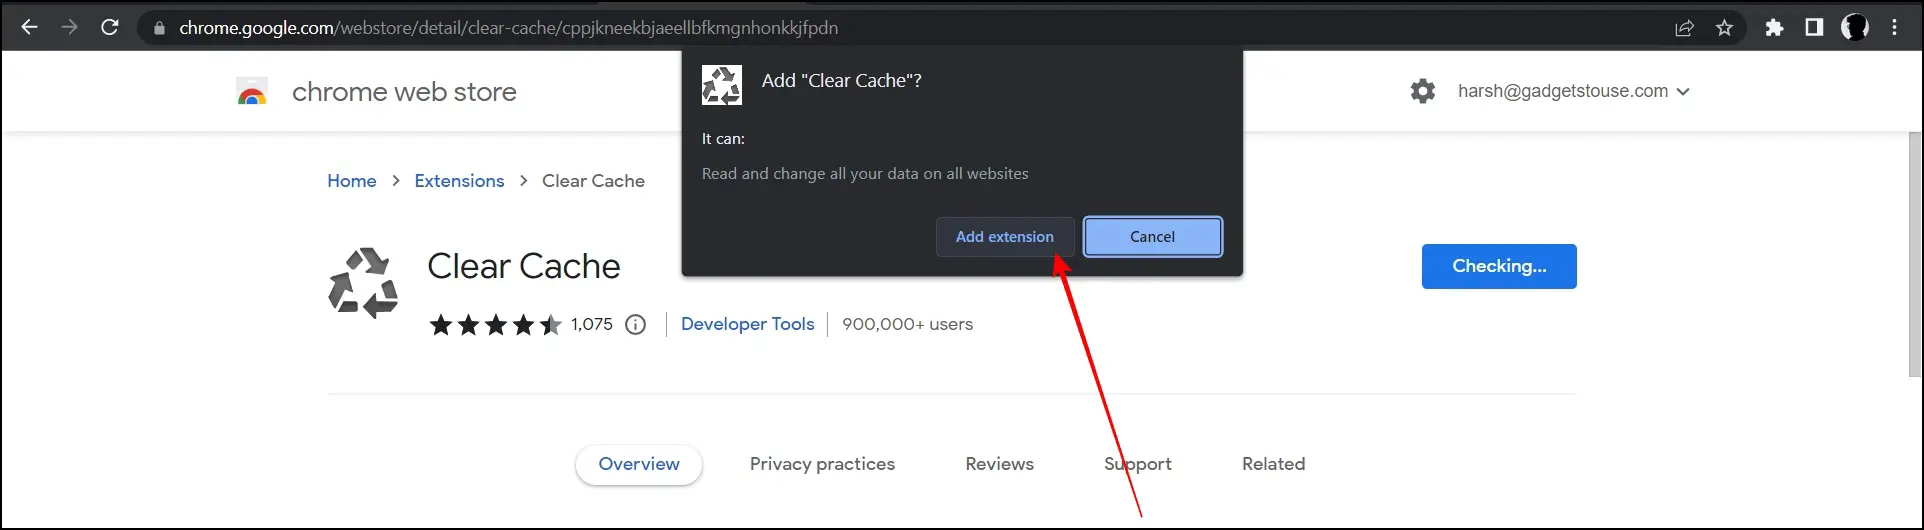
Step 3: Click on Add to Chrome, then tap Add Extension to confirm the installation.
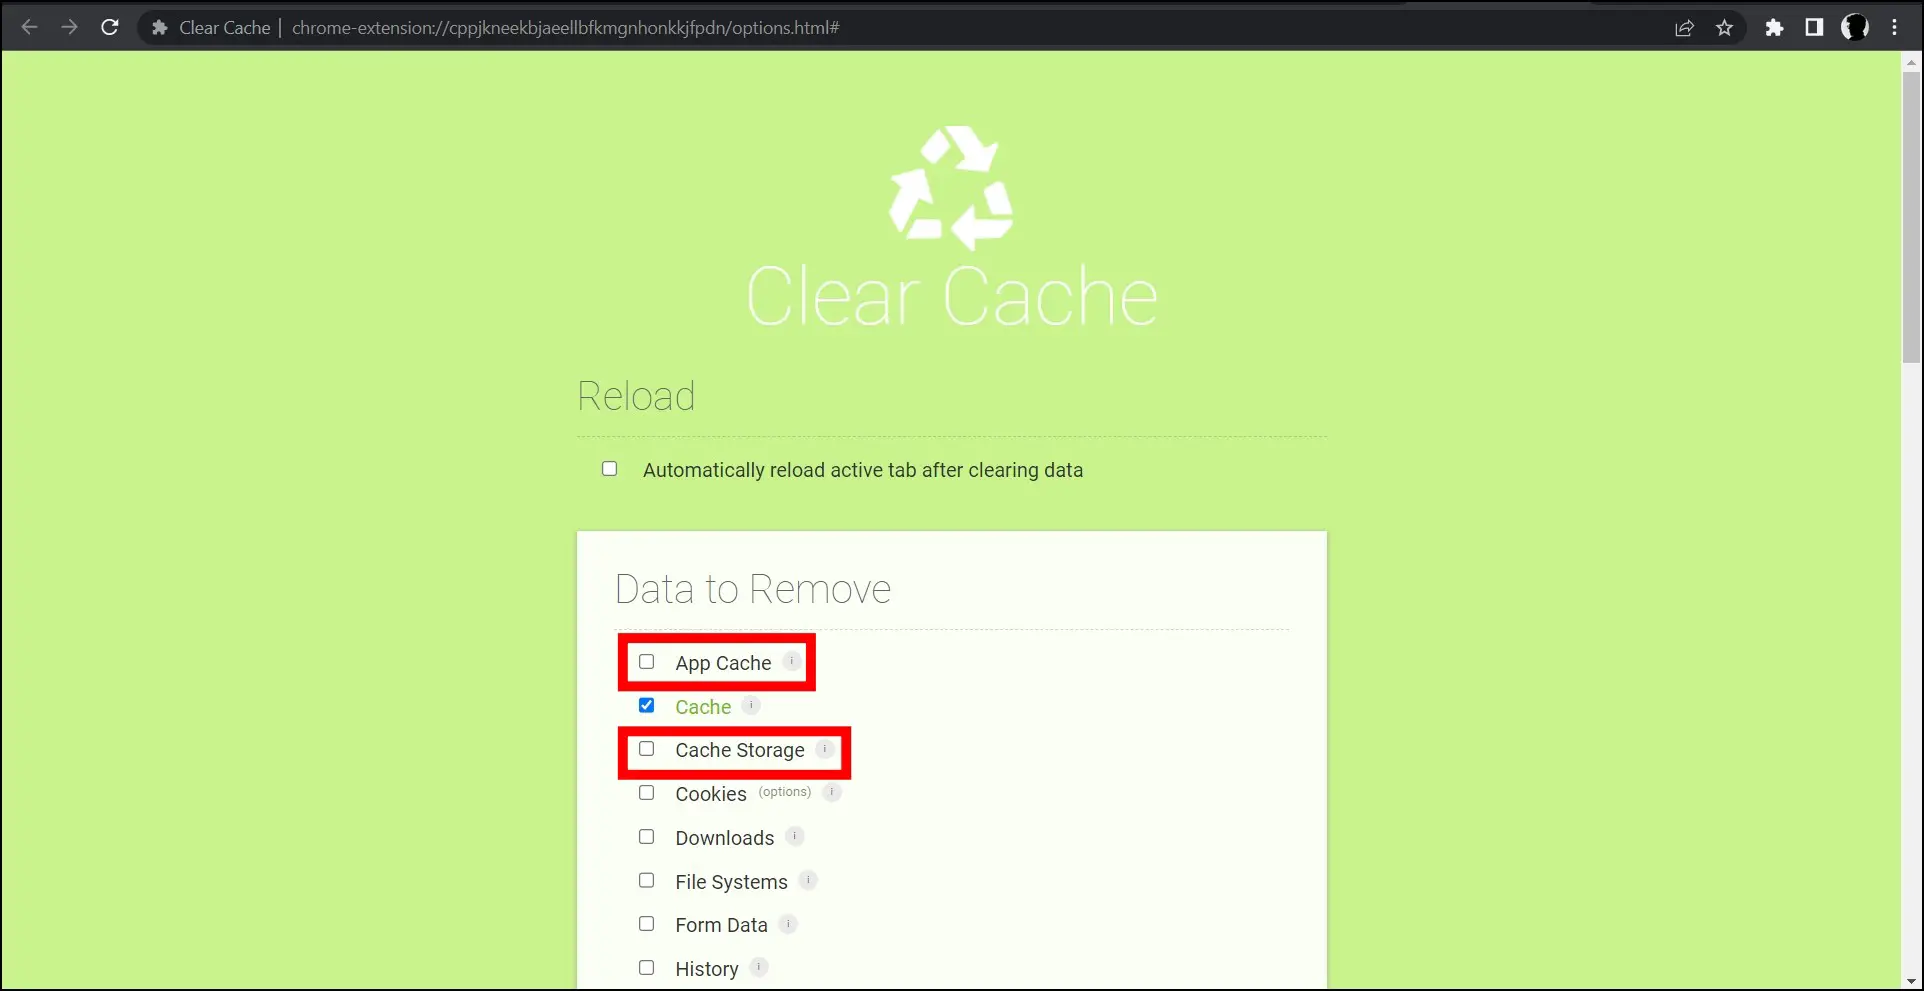
Step 4: Once installed, it will automatically take you to the configuration page. Select App Cache and Cache storage apart from the selected cache option.
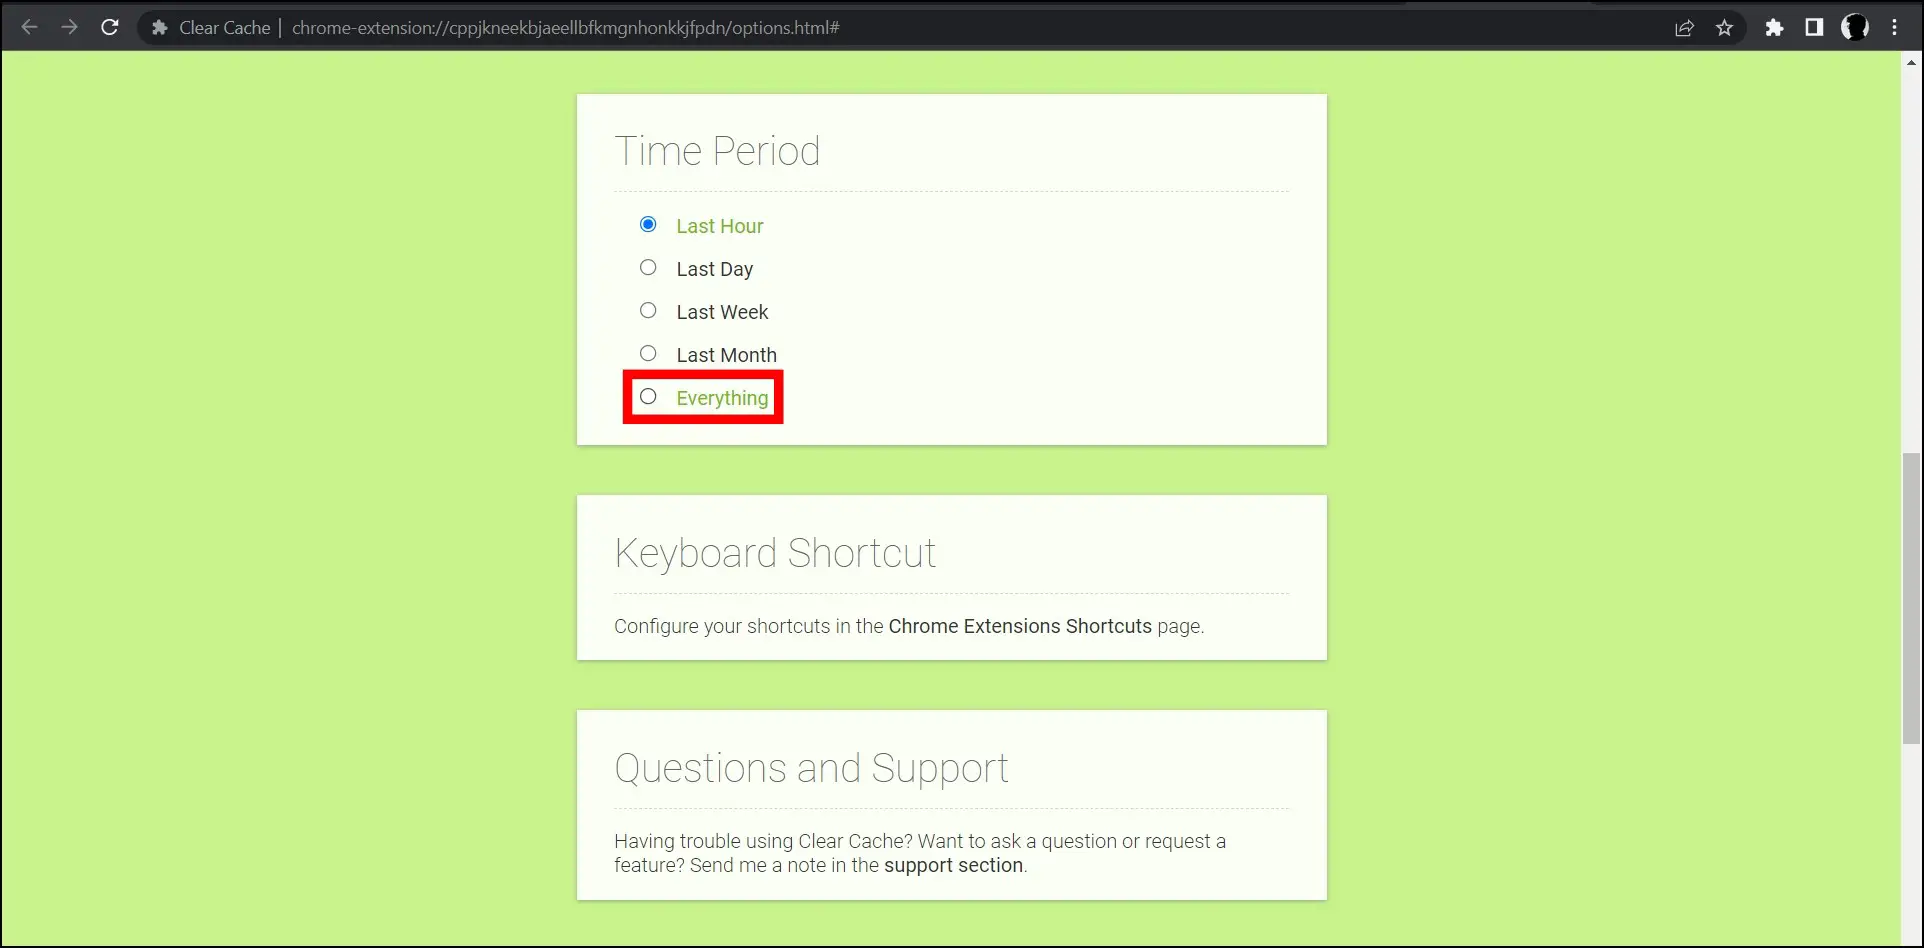
Step 5: Scroll down and select Everything in Time Period.
Step 6: After this, click on the extension icon at the top and select Clear Cache extension.
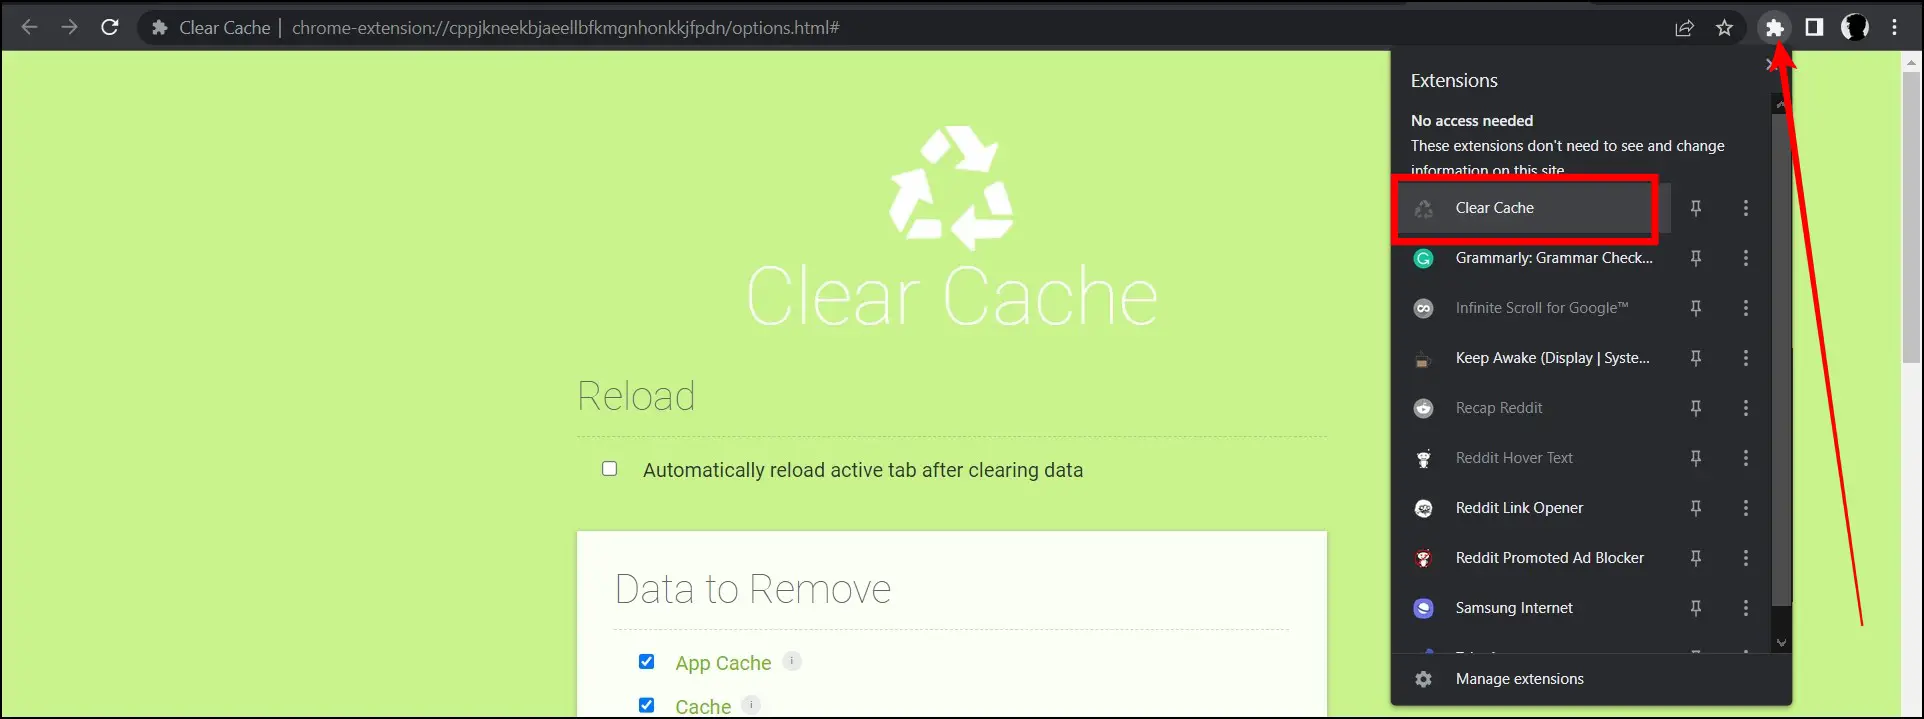
Once you do, it will clear all the browser cache in just one tap.
Clear Cache Shortcut Extension
Clearing cache data of the browser through the Clear Cache Shortcut extension is very straightforward and simple. Users have to tap on the extension icon to clear the cache. Here’s how you can install and use the extension on the browser.
Step 1: Open the Google Chrome browser on your PC.
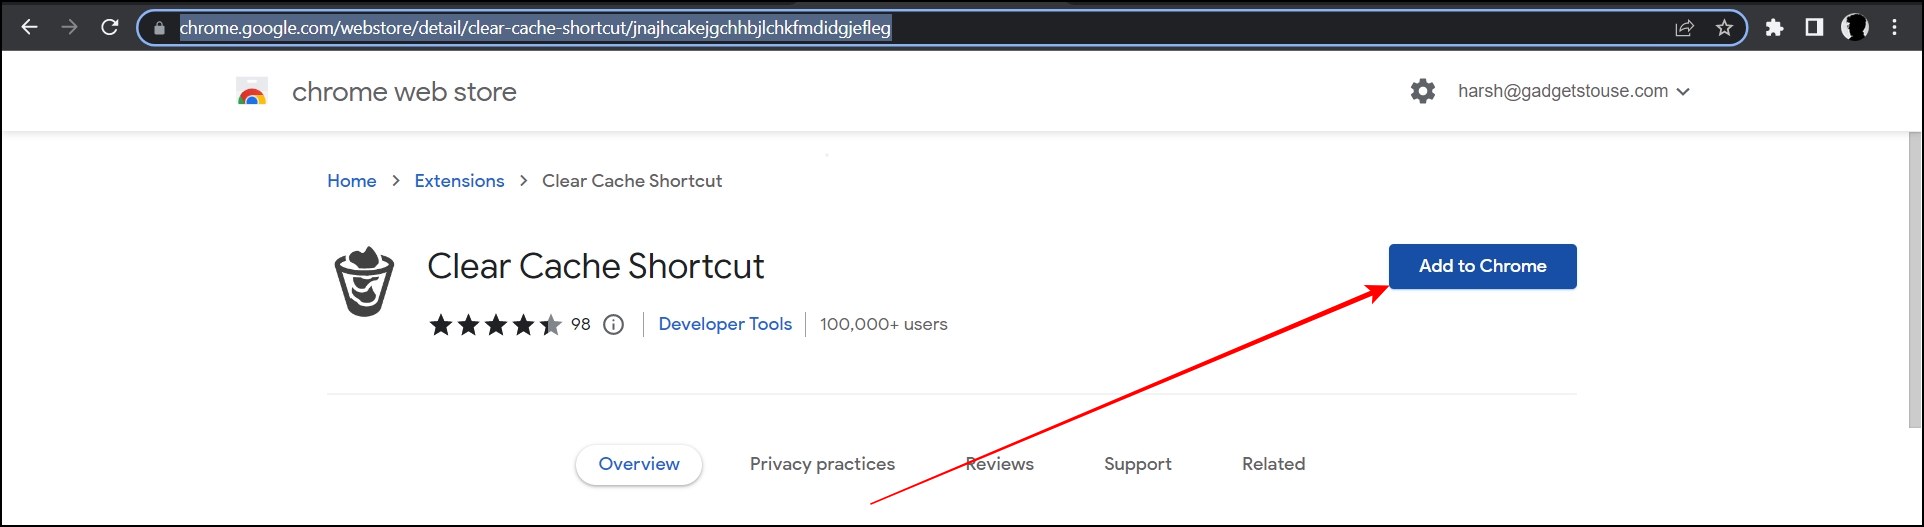
Step 2: Head over to the Clear Cache Shortcut extension page or visit this link.
Step 3: On the extension page, tap on Add to Chrome.
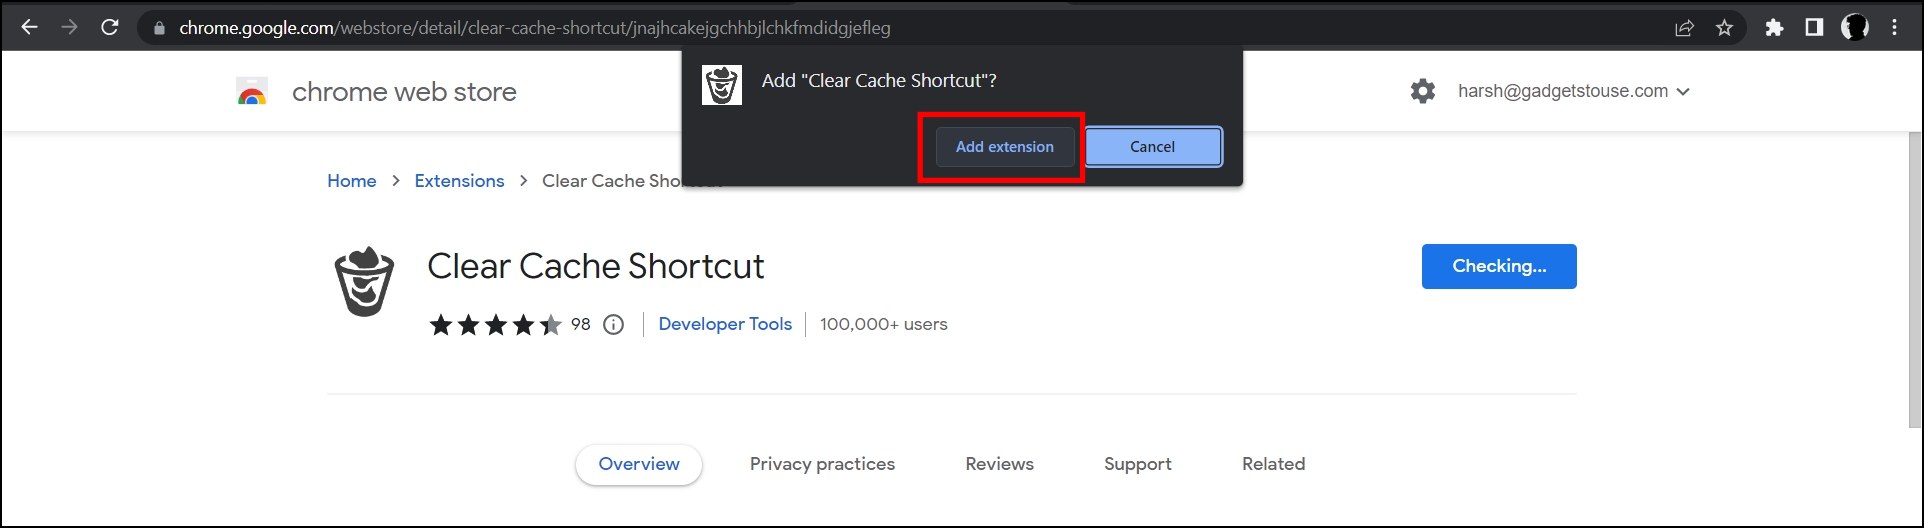
Step 4: Confirm the installation by tapping on Add Extension on the pop-up.
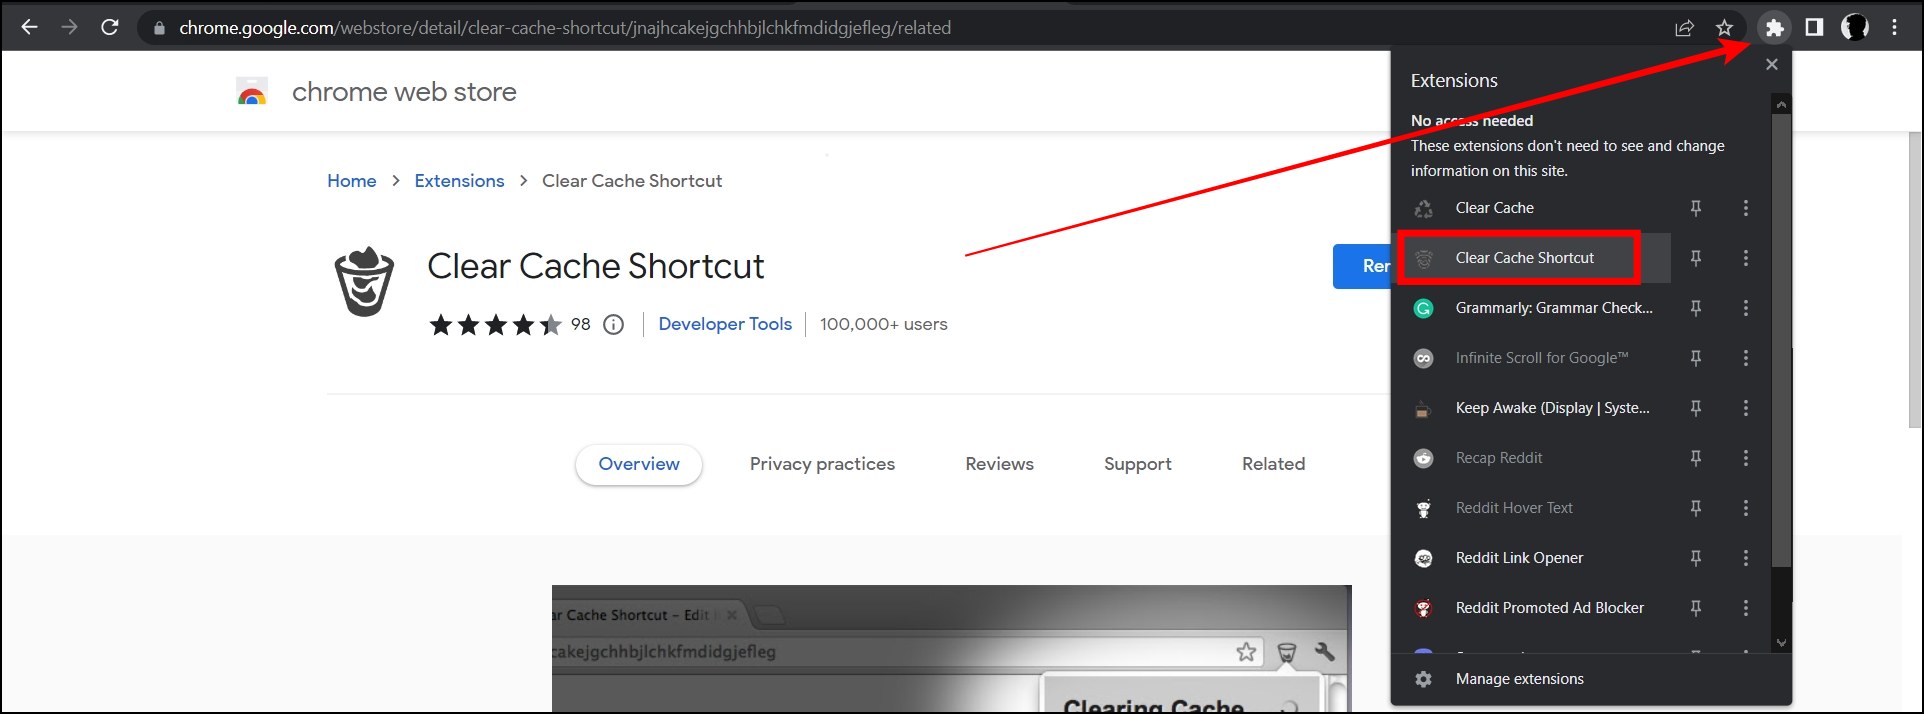
Step 5: Once installed, click on the extension menu icon at the top and select Clear Cache Shortcut extension.
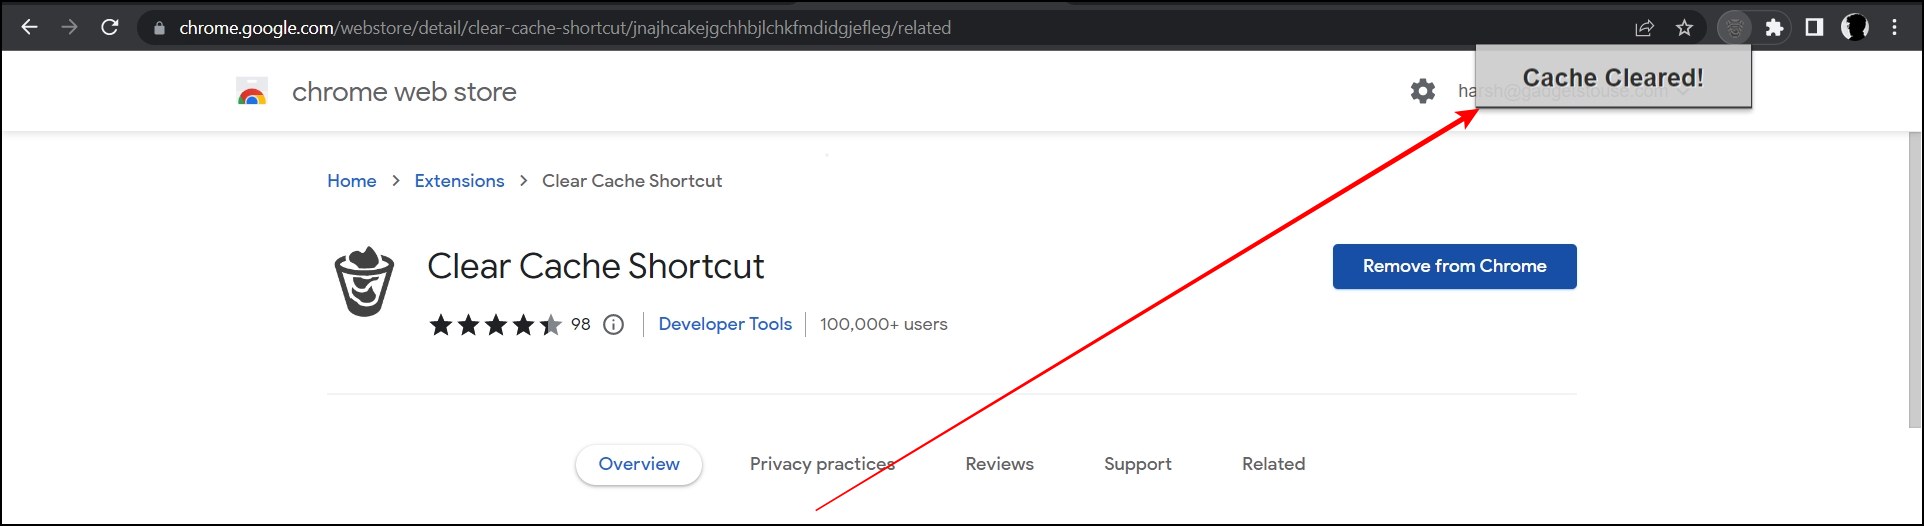
Once you do, the extension will clear all the cache of the browser, and you will see a confirmation message stating, “Cache Cleared!” at the top.
History & Cache Cleaner – Smart Clean Extension
History & Cache Cleaner extension lets users clear their cache with other actions like clearing history, downloads, cookies, passwords, and more. Here’s how you can install and use this extension.
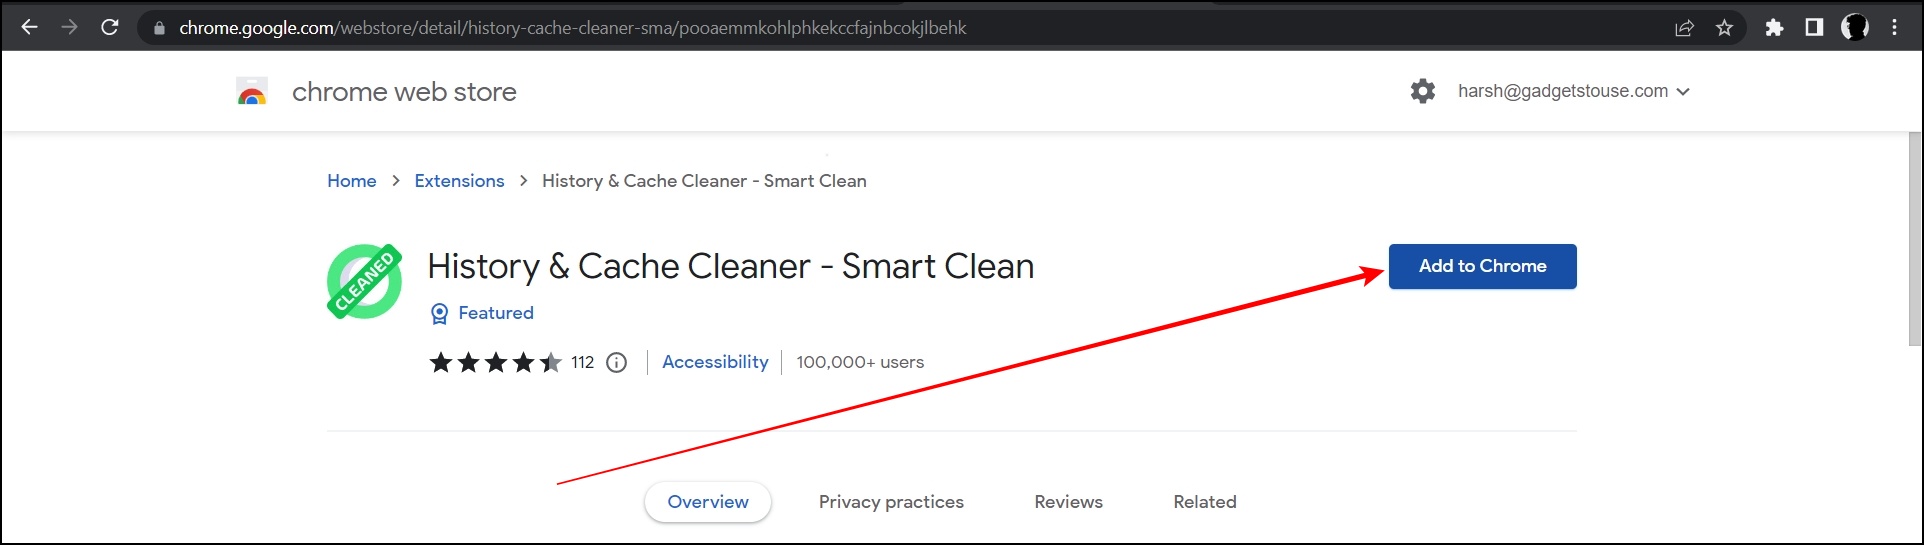
Step 1: Head over to the History & Cache Cleaner extension page.
Step 2: Click on Add to Chrome on the extension page.
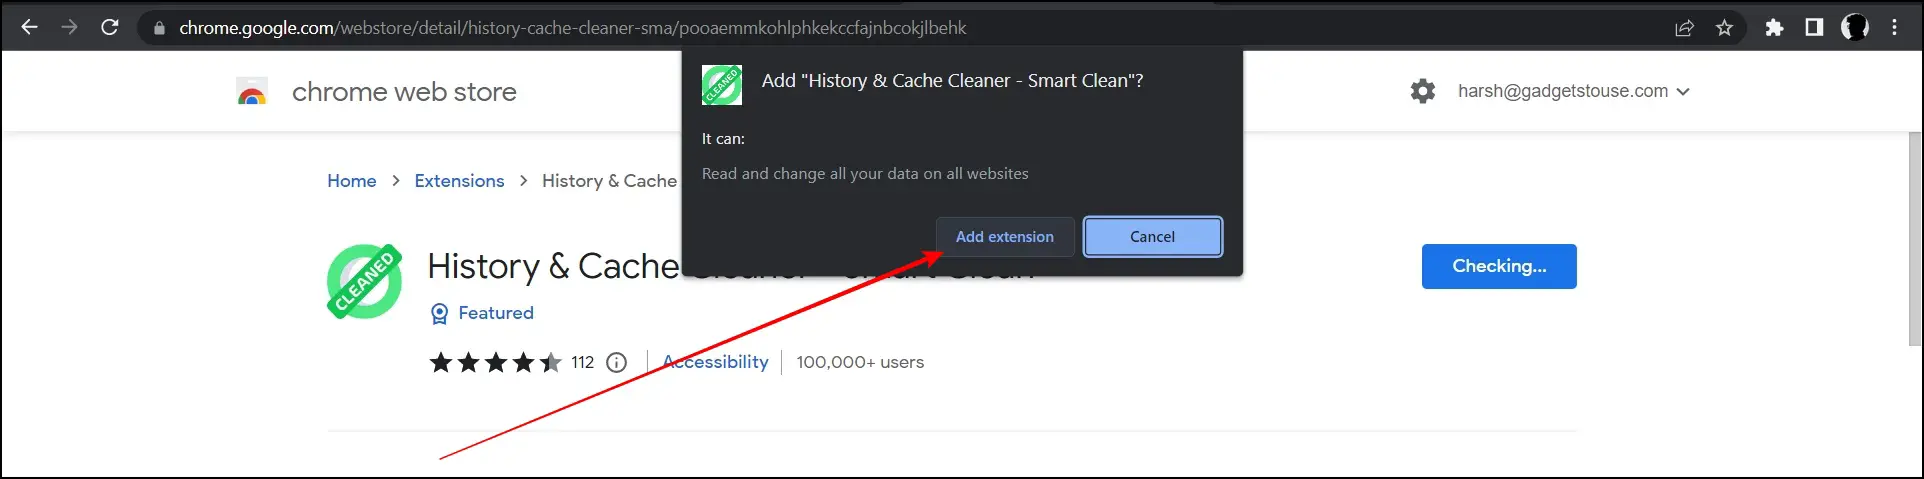
Step 3: Confirm the installation by tapping on Add Extension.
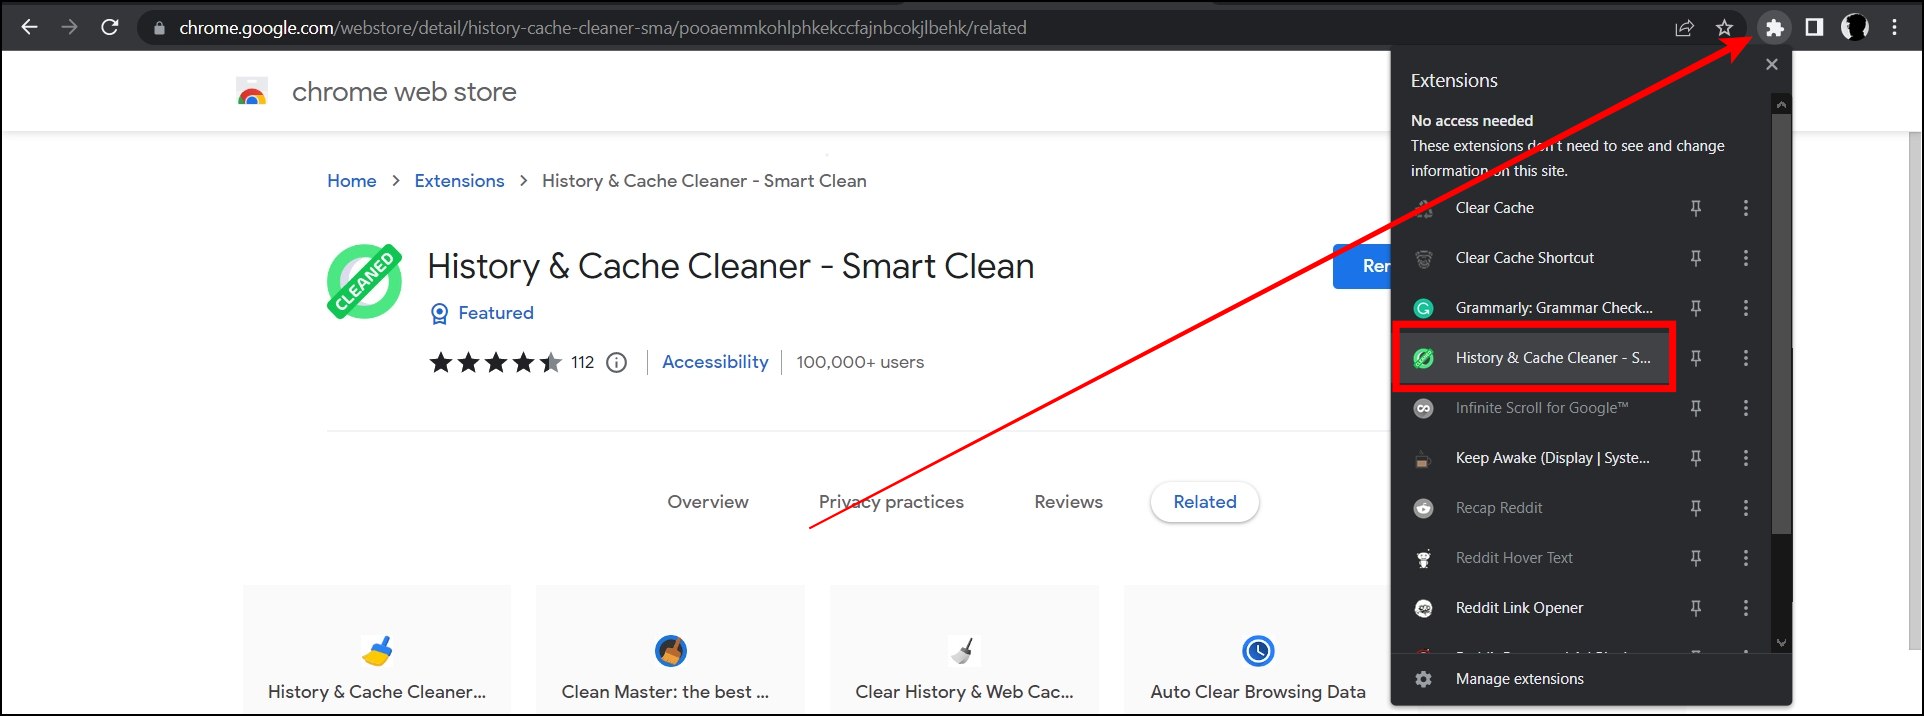
Step 4: Once installed, click on the extension menu icon, then tap on History & Cache Cleaner.
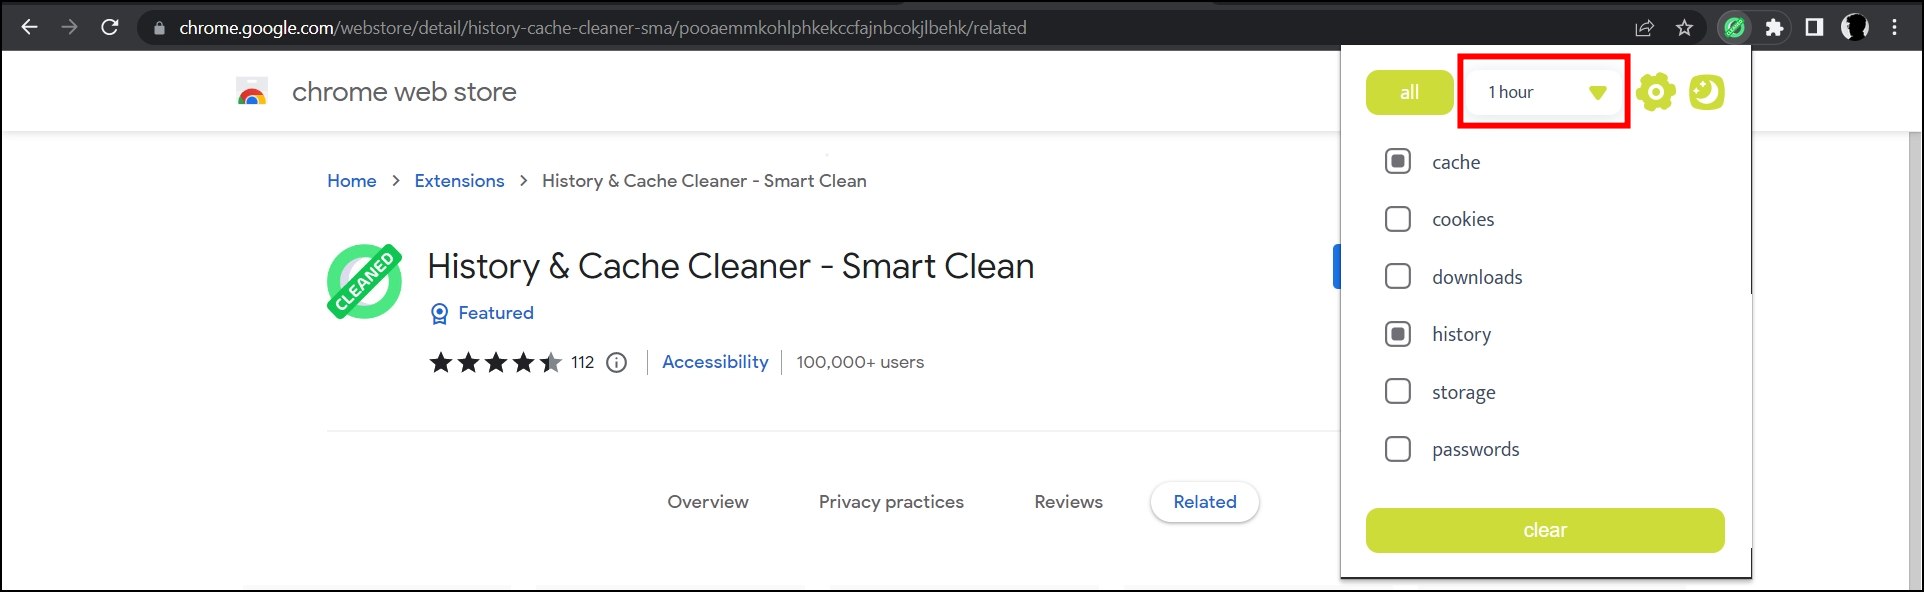
Step 5: Click on the time which is set to 1 hour by default.
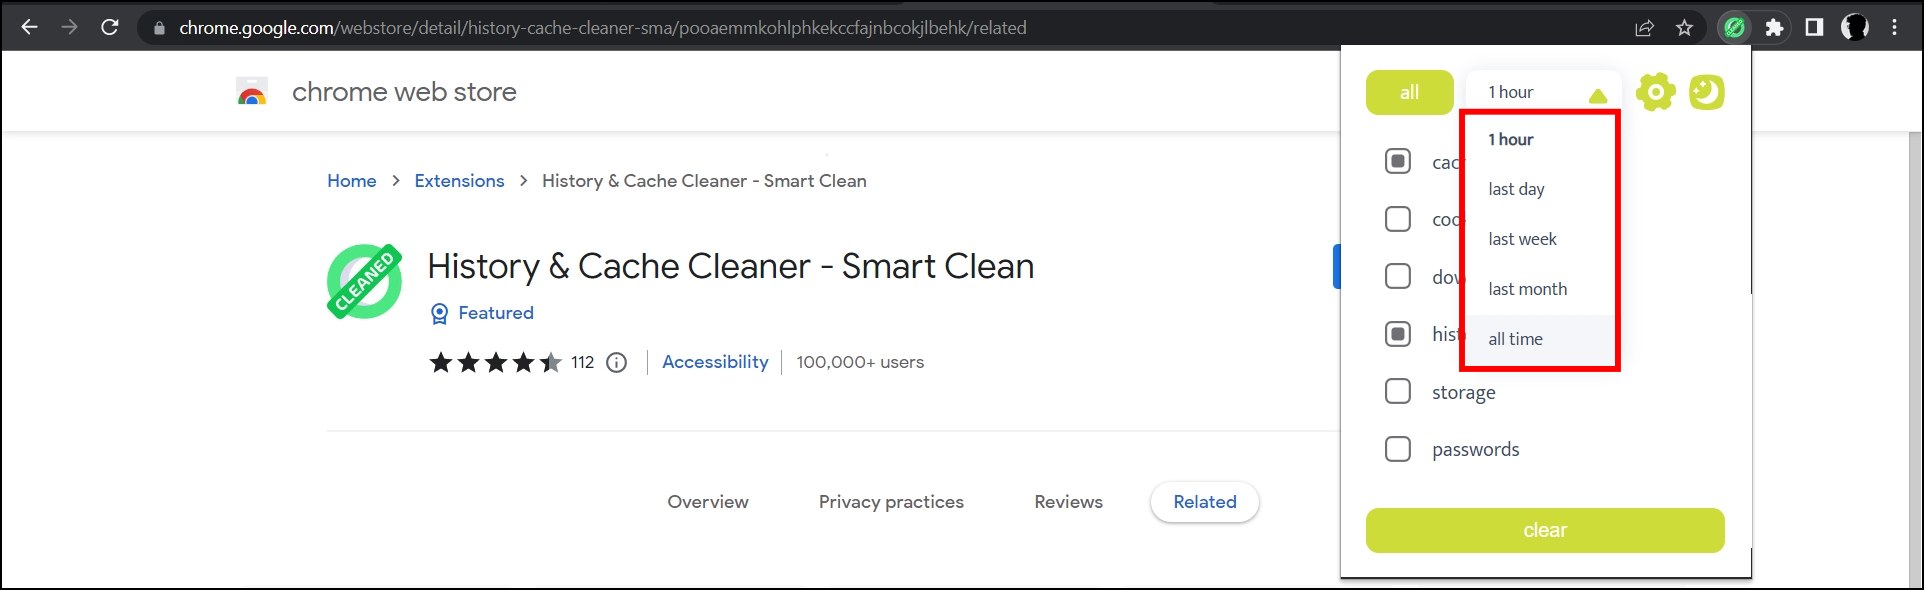
Step 6: Now, select the time range for which you want to delete the cache.
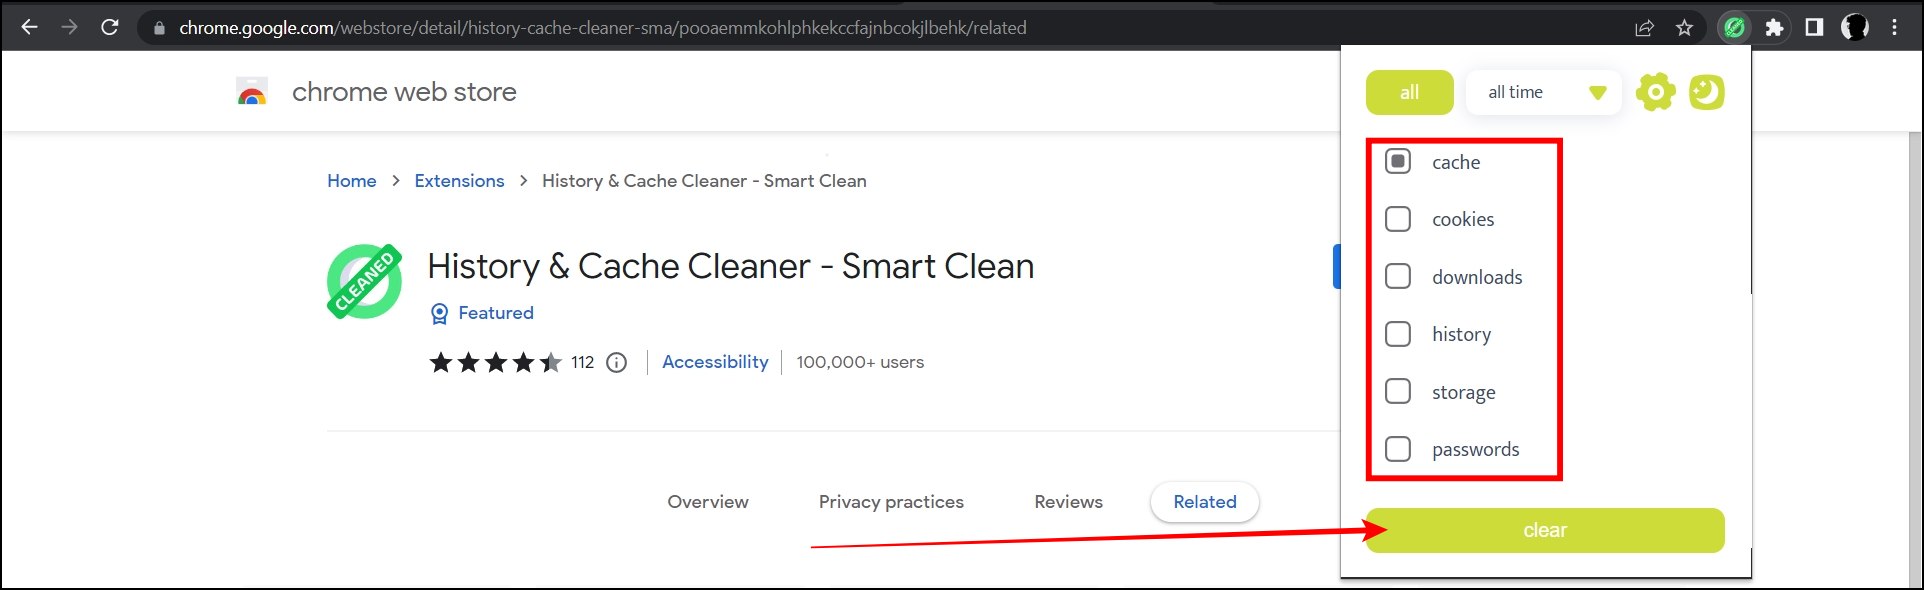
Step 7: Select the checkbox for Cache and other actions you want to delete then tap Clear.
History & Cache Cleaner for Google Chrome Extension
History & Cache Cleaner for Google Chrome extension allows users to clear the cache and other data in just a single tap. It also lets users customize what and how much data they want to clear on the settings page. Just like all other extensions, it’s also free. Follow the below steps to install and use the extension.
Step 1: Head to the History & Cache Cleaner for Google Chrome extension page.
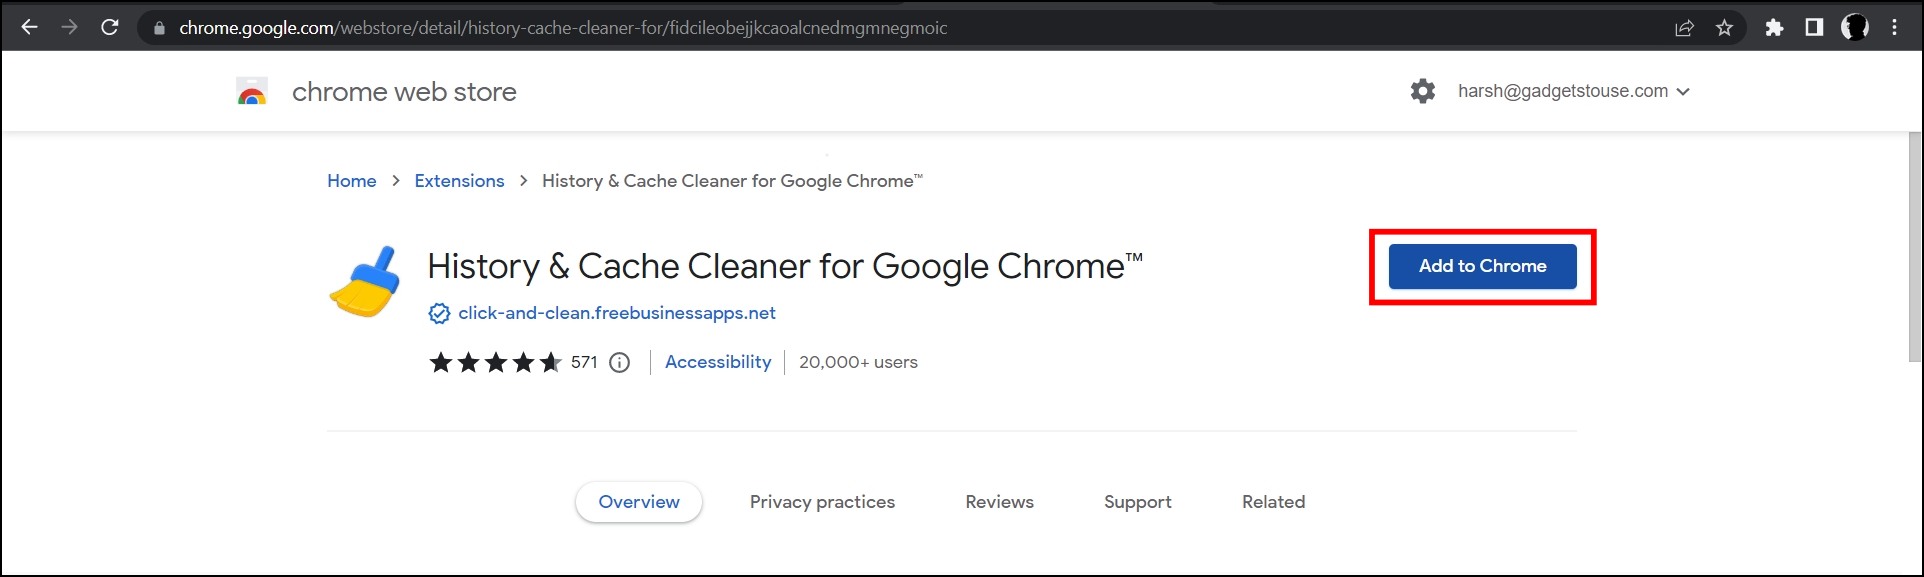
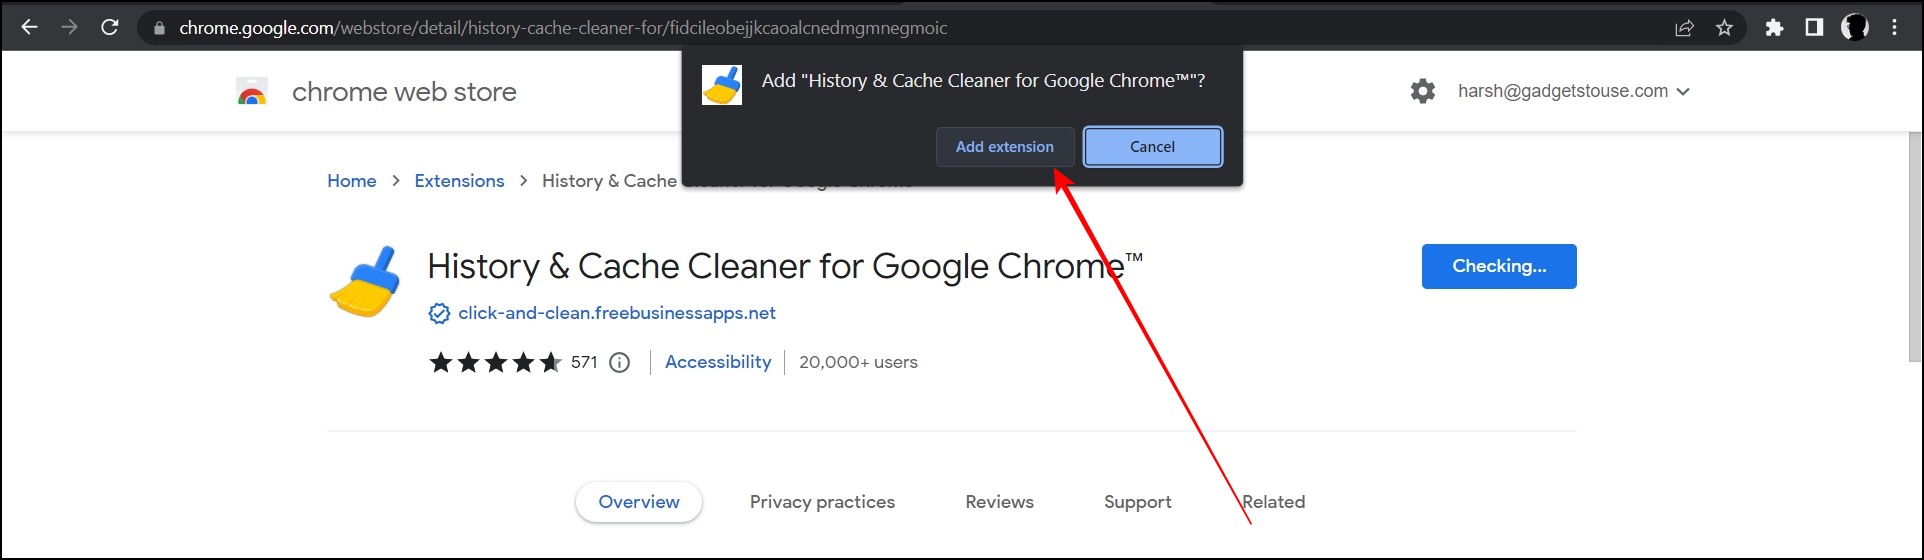
Step 2: Click Add to Chrome, then tap Add Extension on the pop-up to confirm the installation.
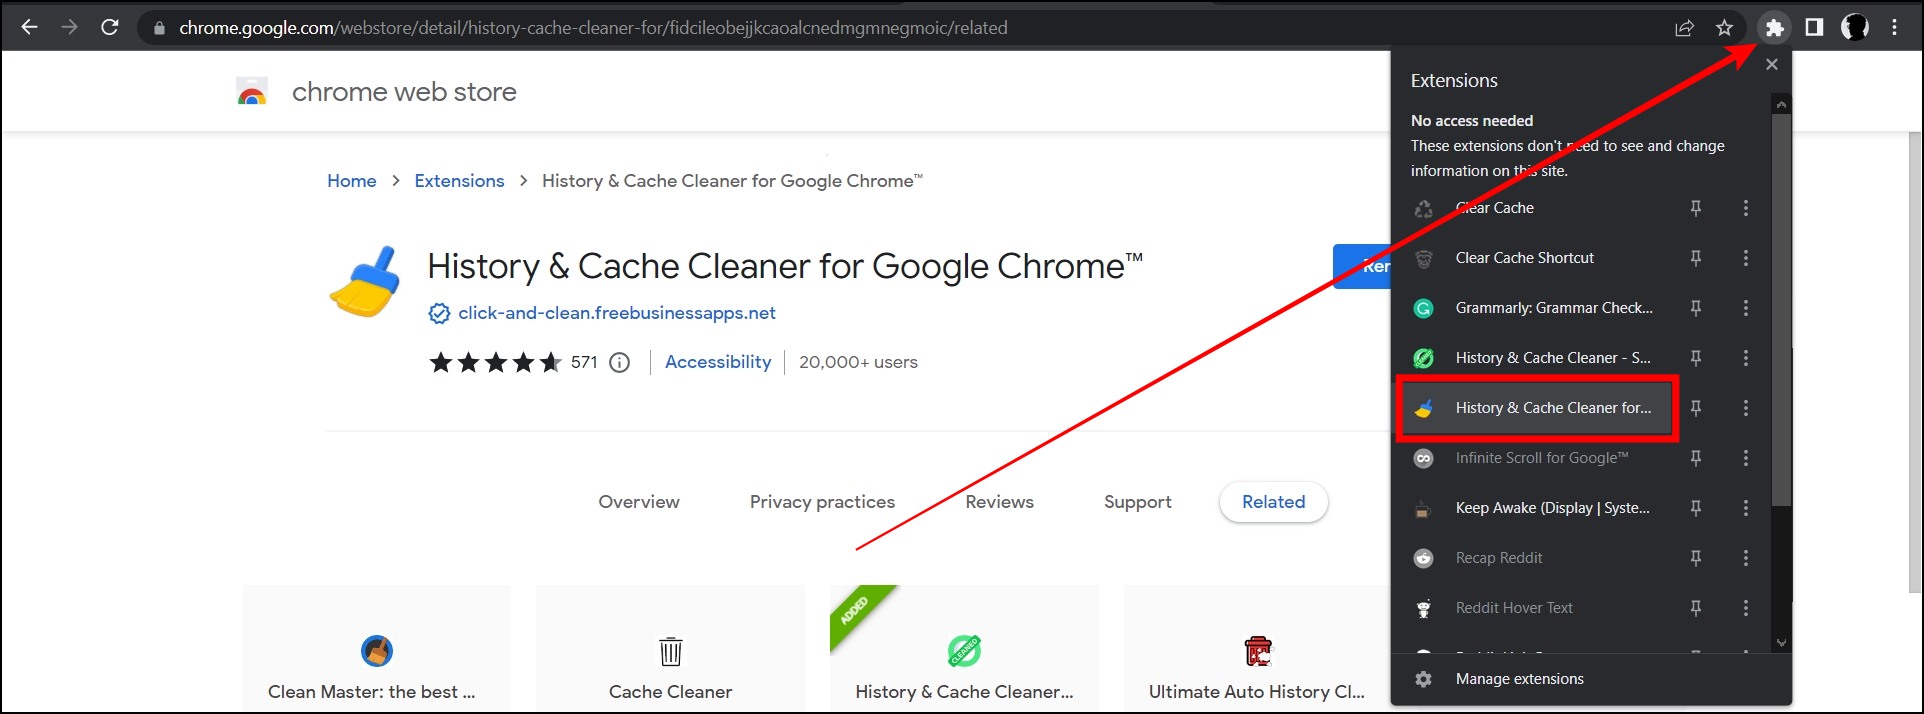
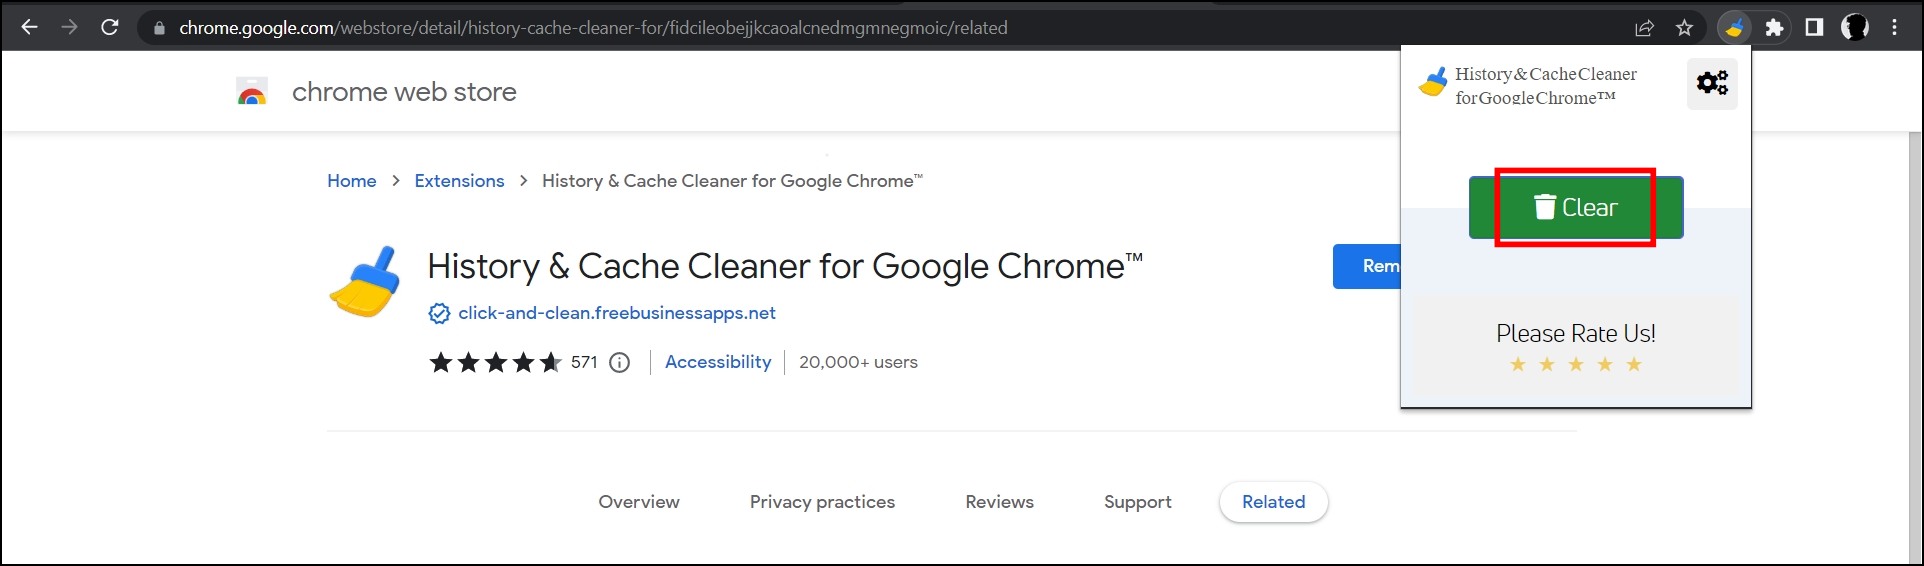
Step 3: Once installed, tap on the extension menu icon at the top and select History & Cache Cleaner for Google Chrome extension.
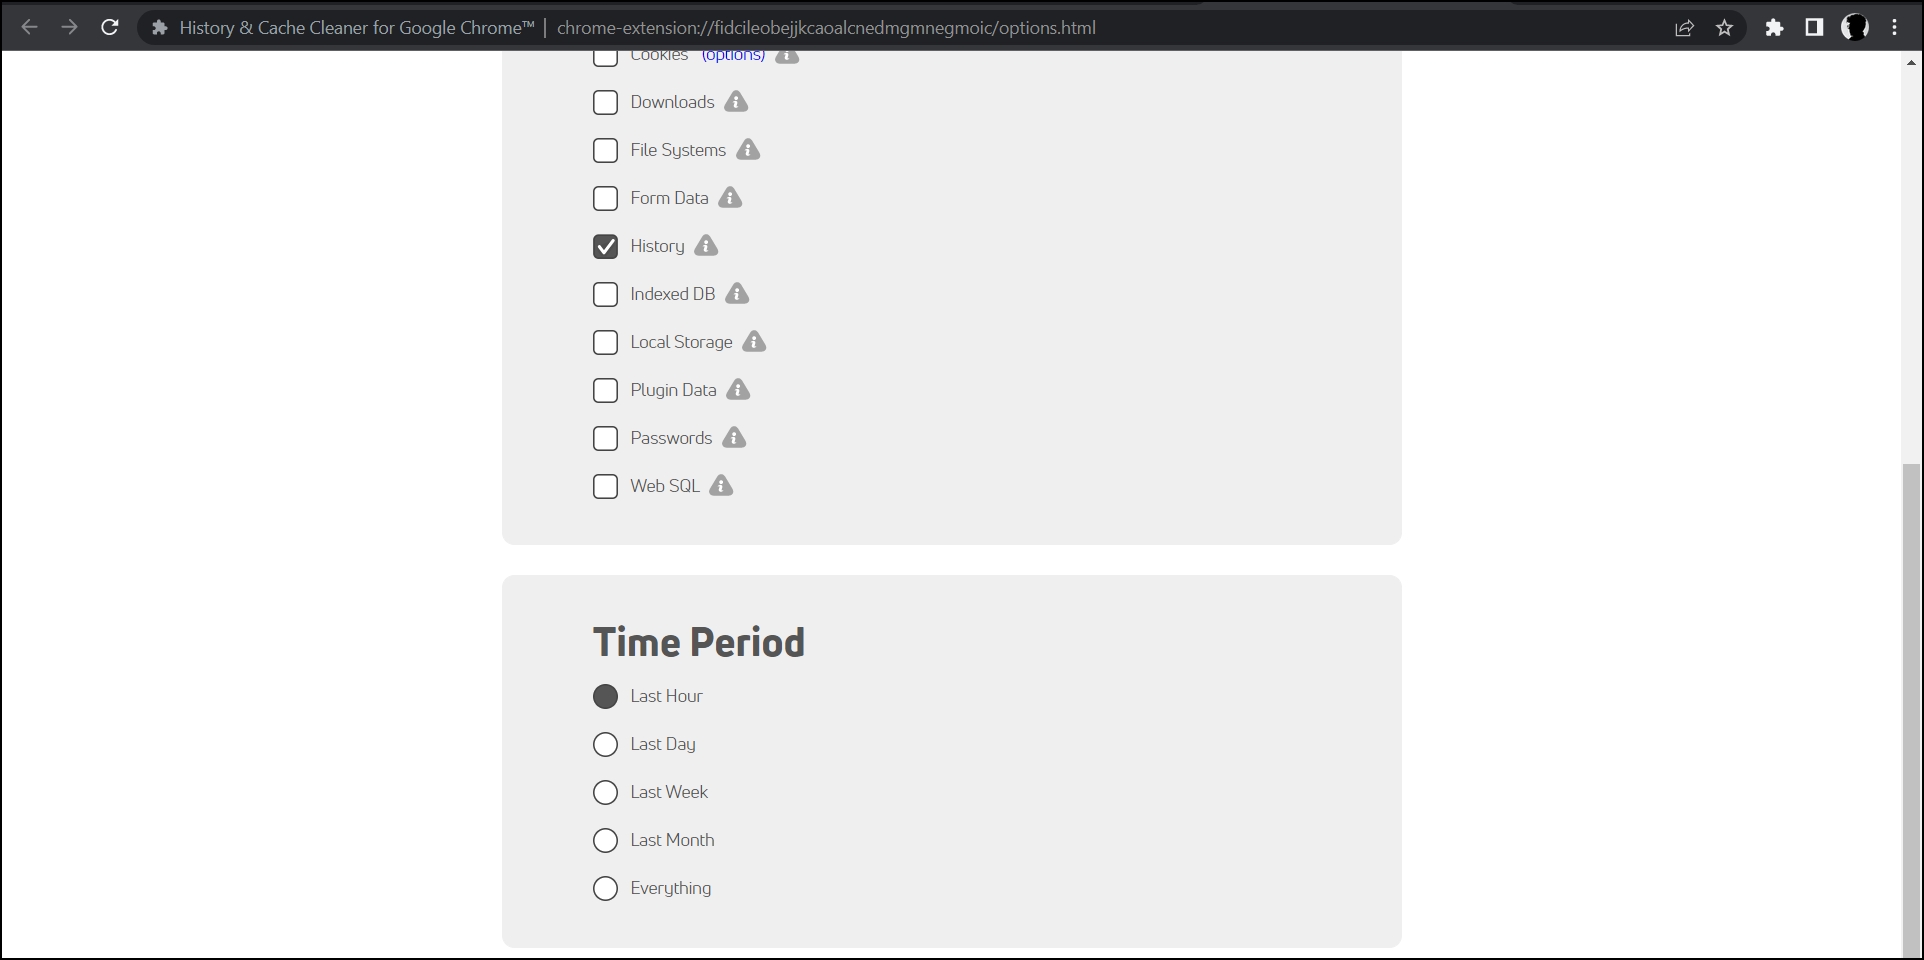
Step 4: To customize the data you want to clear, click on the gear icon at the top.
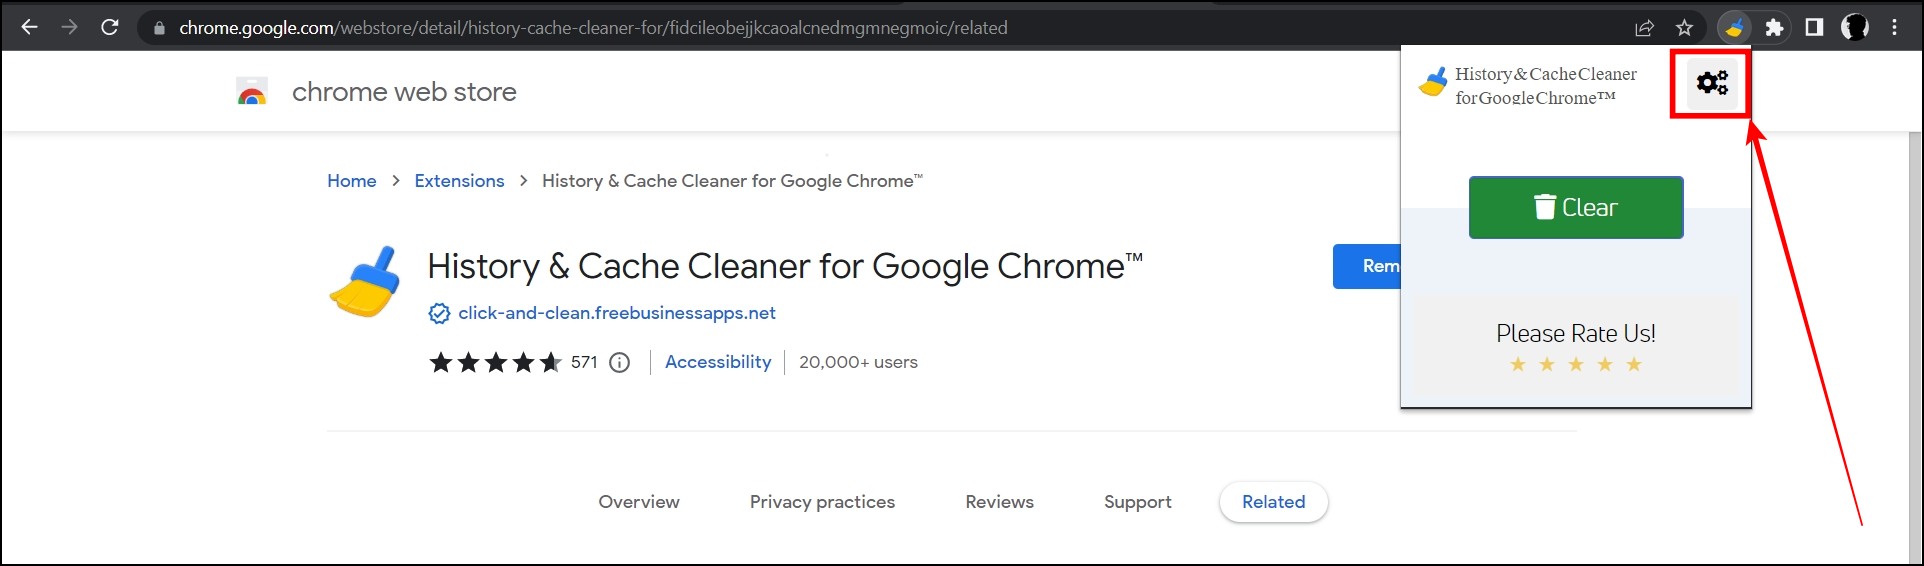
Step 5: Select the checkbox for the data and time range you want to remove.
Step 6: To clear the data, tap on the extension menu icon at the top, then select the extension and tap on the Clear button.
Wrapping Up
This is how you can clear the cache of the Google Chrome browser in a single click. I hope the above article helps you in clearing cache and other data for Chrome in a single-click shortcut. If you have any queries related to the article, let us know, and stay tuned on Browser To Use for more such articles and How-Tos.
Related:


