
Although Safari is already preinstalled on all Mac devices, most customers prefer to install Google Chrome on their recently purchased PCs. However, some people have trouble installing Chrome on their Macs since it frequently crashes or won’t launch. So in this article, we will go over seven ways to fix Google Chrome won’t install on Mac.
How to Install Google Chrome on Mac?
If you are new to macOS or just want to get a general idea of how to install Chrome on your Mac then here is a step-by-step process on how to install the Google Chrome browser on your Mac:
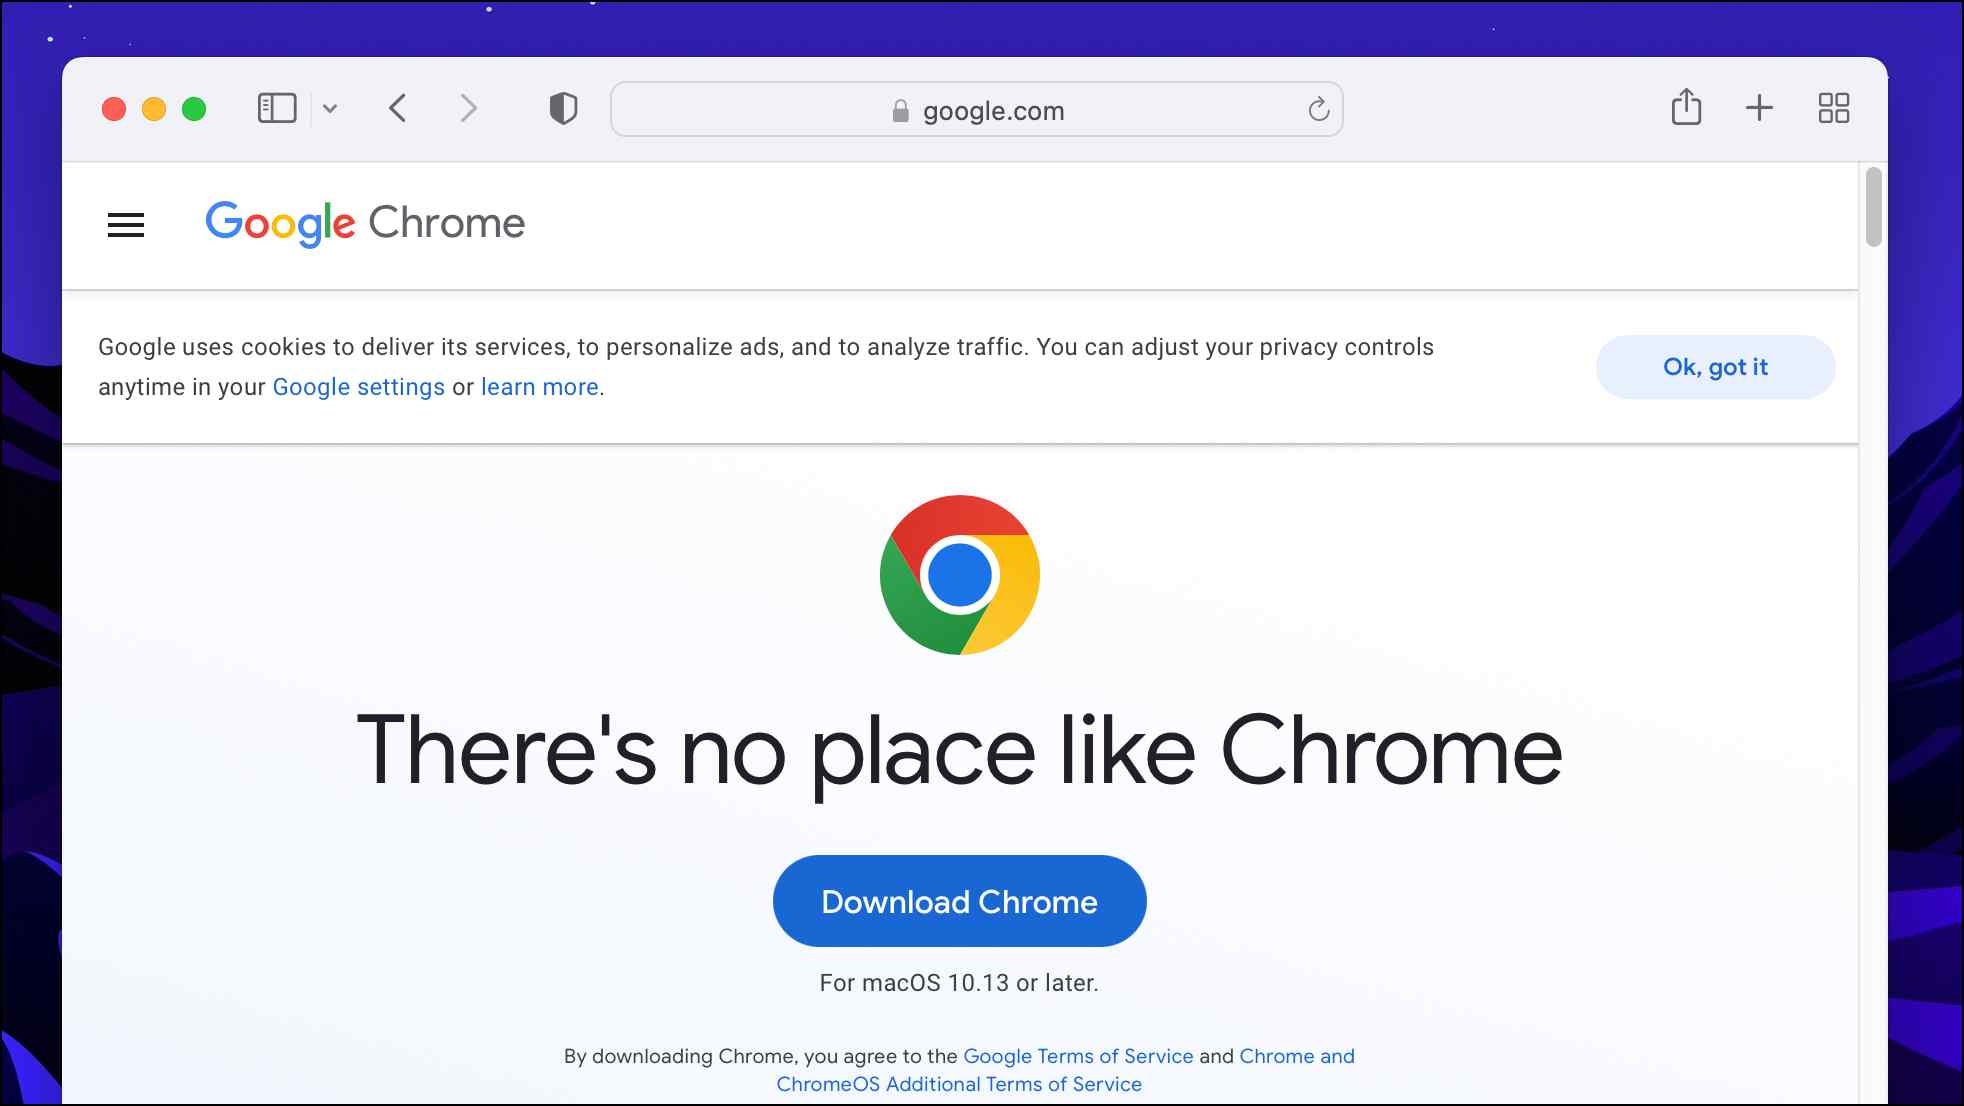
Step 1: Using Safari, head over to www.google.com/chrome and click on Download Chrome.
Step 2: Go to Safari Downloads and double-click on googlechrome.dmg.
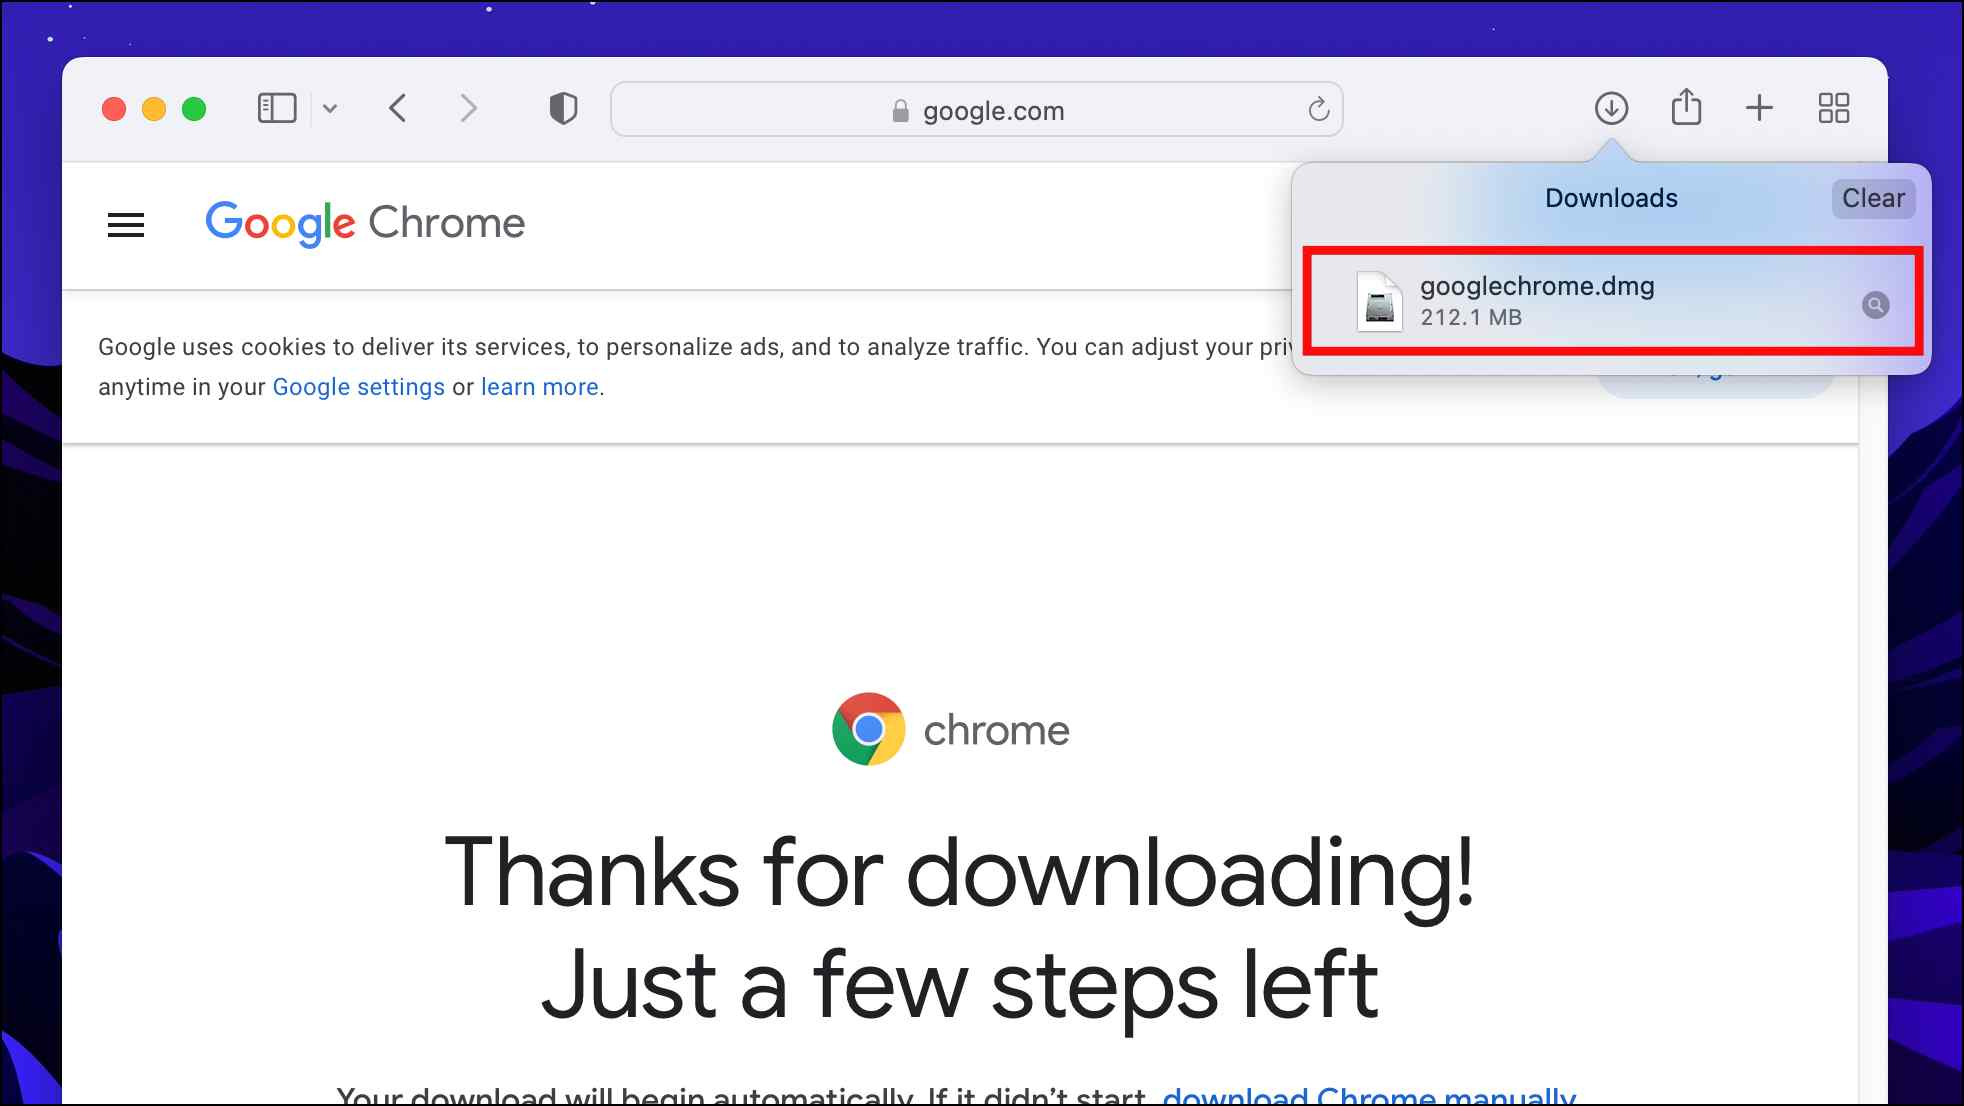
Alternatively, you can find the downloaded setup file in the Downloads folder.
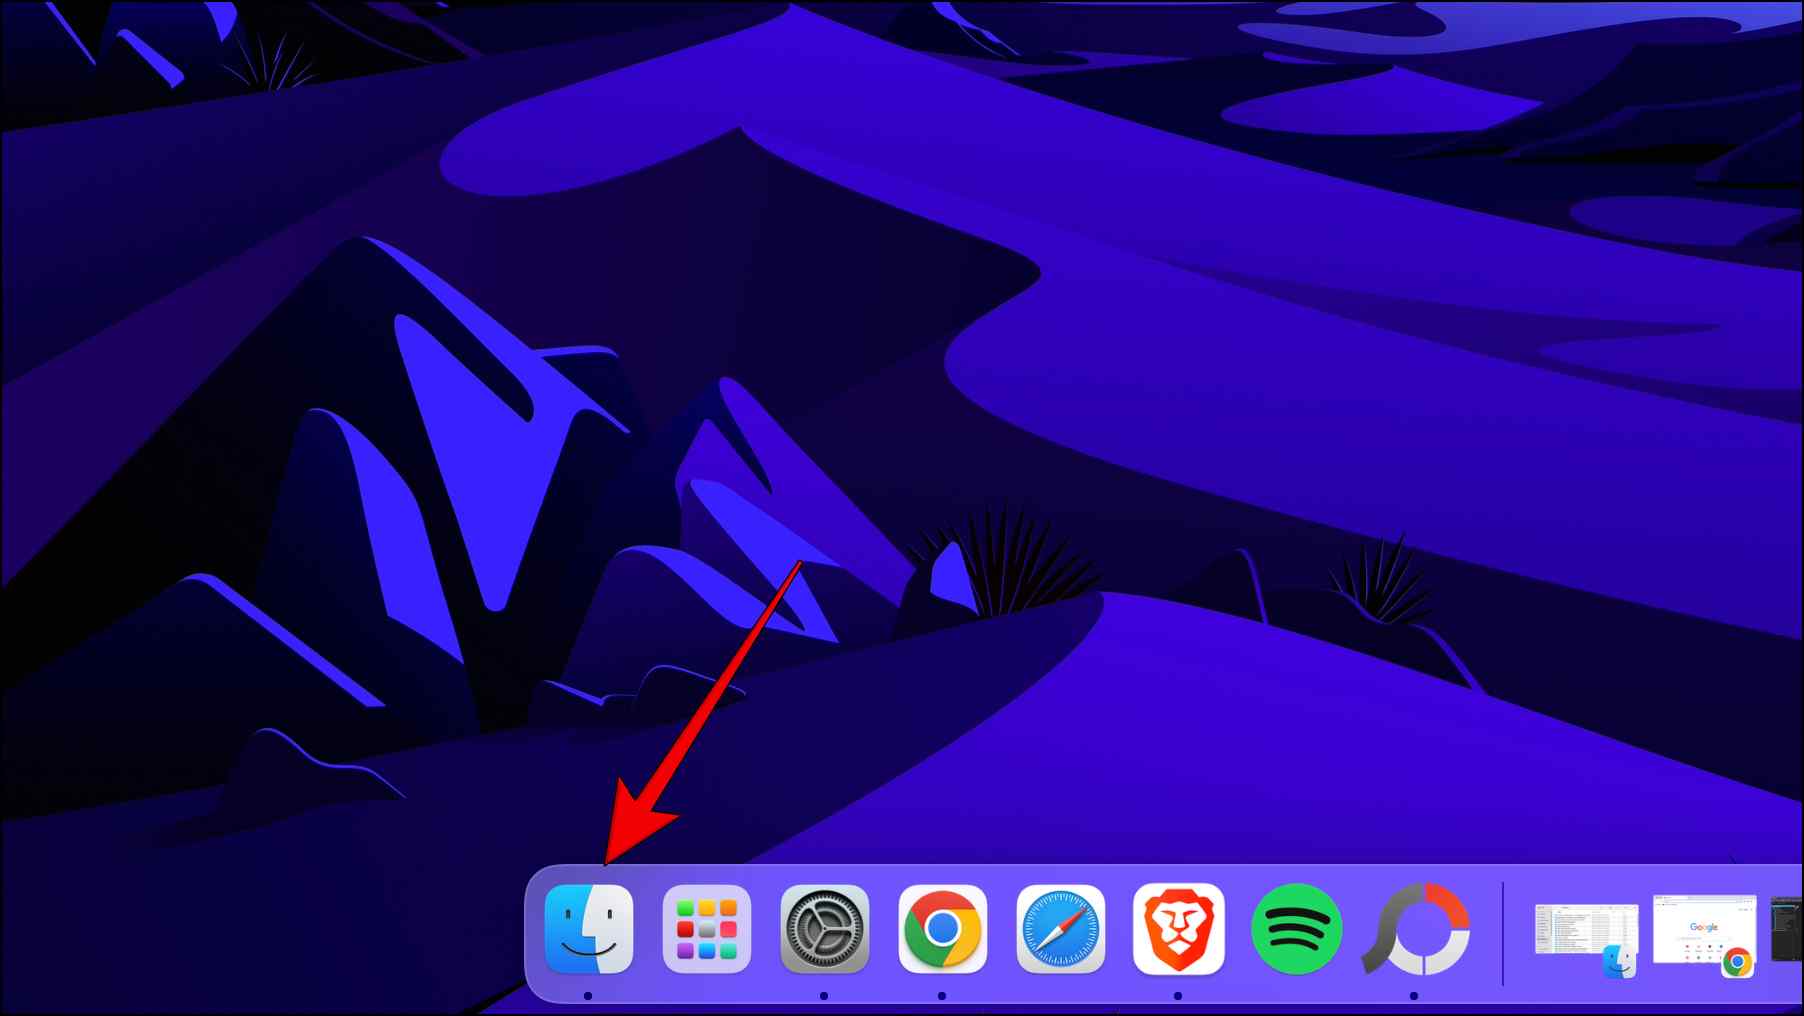
Step 3: Open Finder from the dock.
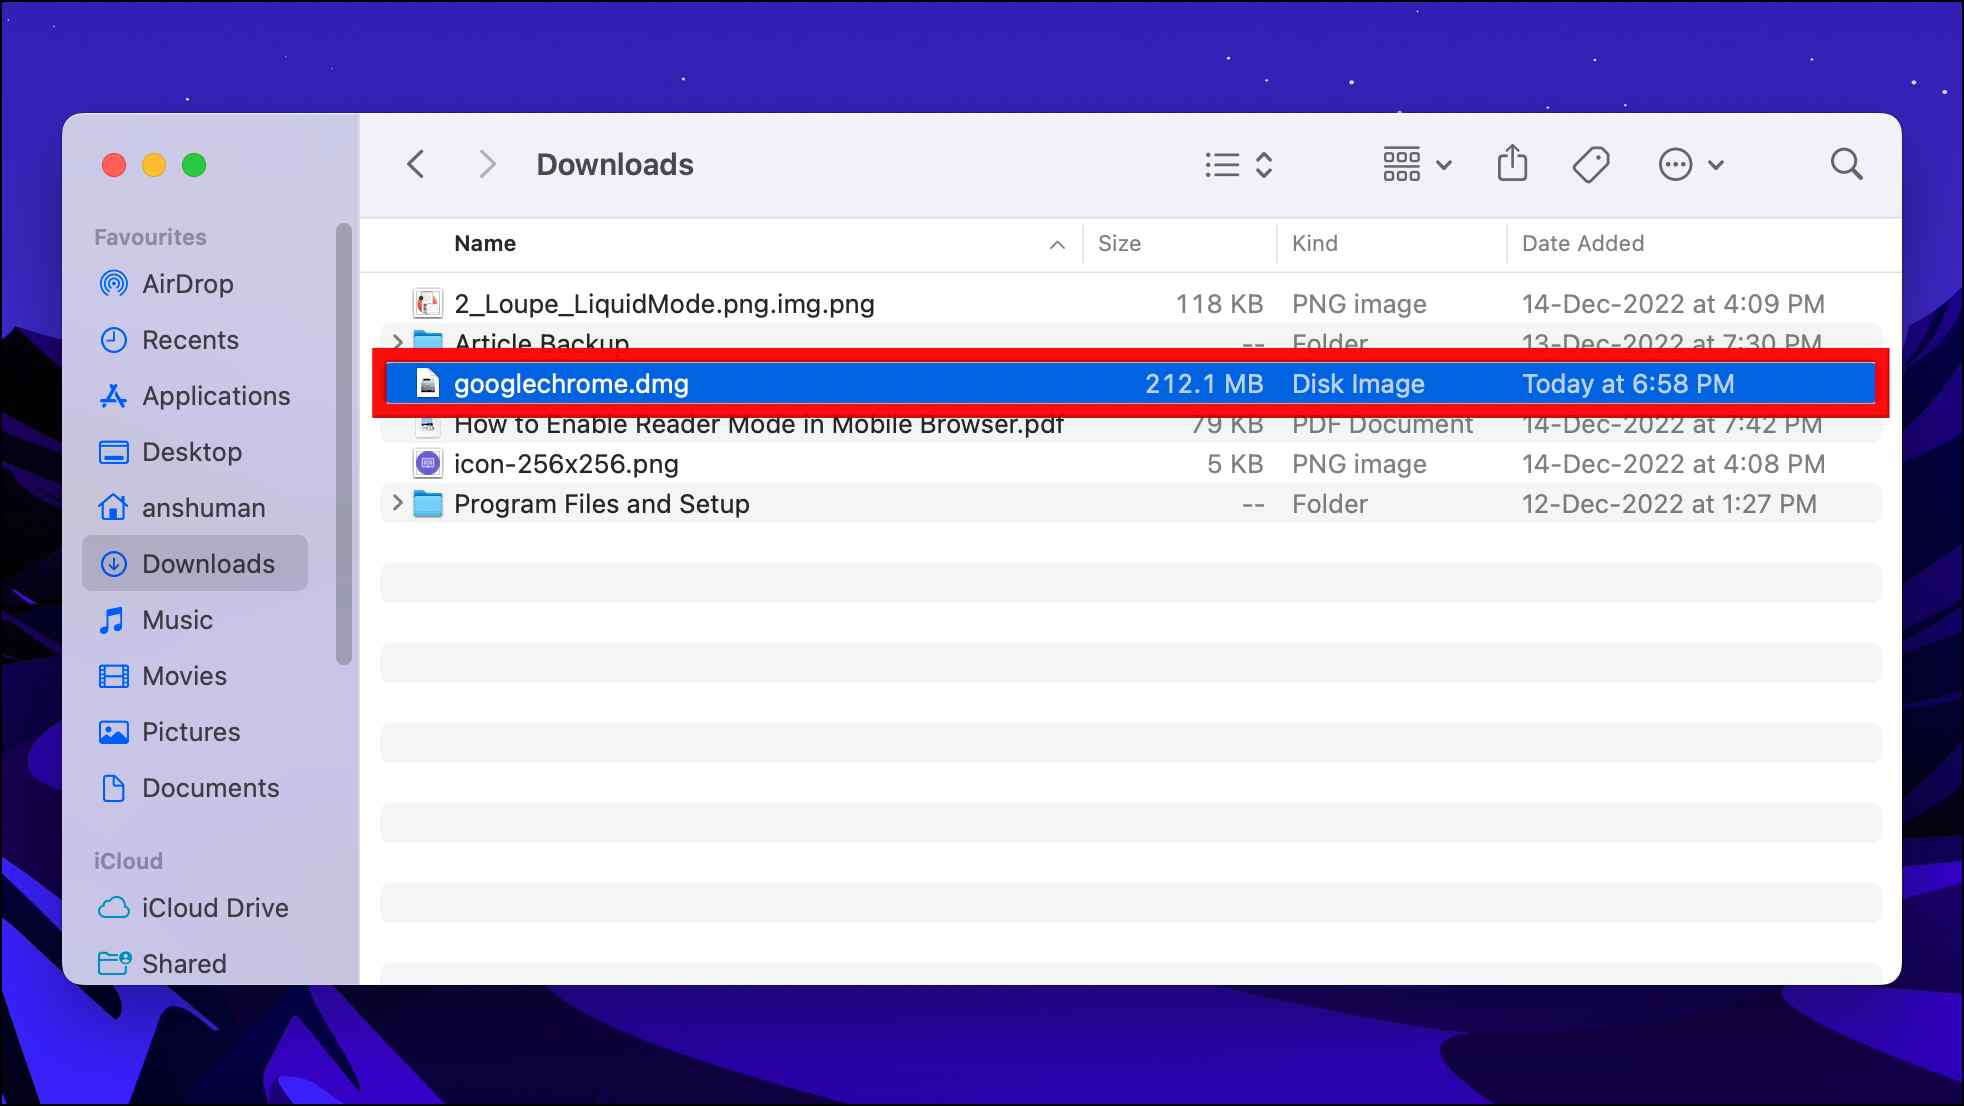
Step 4: Select the Downloads folder.
Step 5: Double-click on the googlechrome.dmg file.
Step 6: Drag the Chrome icon to the Applications folder.
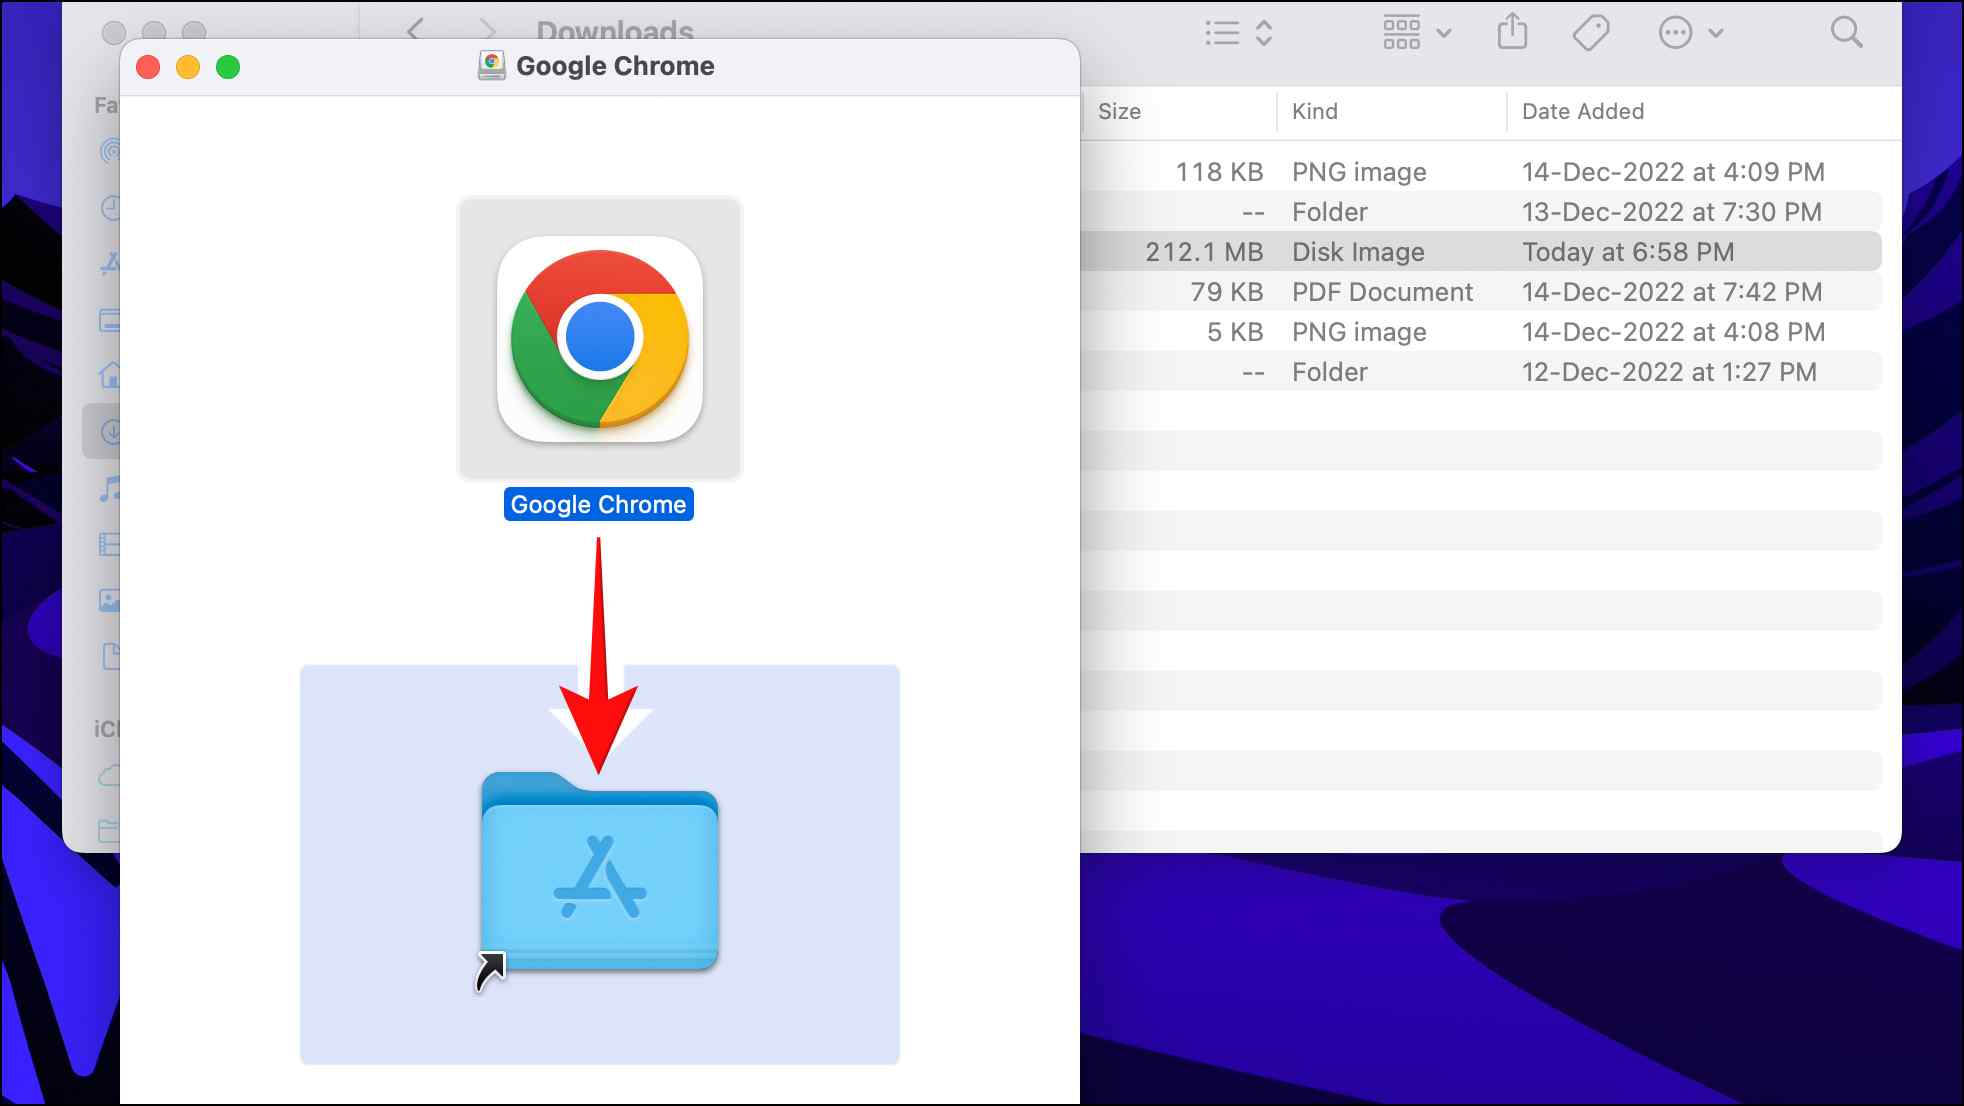
Wait for the Google Chrome file to be copied to the Applications folder.
Once copied, the application is ready to use, and you can access it from the Launchpad.
How to Fix Google Chrome won’t Install on Mac?
If the above steps to install Chrome did not help you out in the slightest, and the browser is still crashing on your system, then you should take a look at the list we have curated below to fix the Chrome installation issue on Mac.
1. Restart your Mac
If you are unable to install, Chrome or the browser seems to be running into a crashing issue, then the first fix would be to restart your Mac. This is a common fix for most problems because restarting your device force quits all applications running in your system and causes them to start from fresh.
Step 1: To restart your Mac, click on the Apple logo.

Step 2: Select the Restart… option from the list.

Step 3: In the confirmation prompt, select Restart.

Make sure to select Restart instead of Shut Down… as restarting your device will reload all applications in your device’s memory.
2. Allow Access to Third Party Apps
The macOS is a safe, closed operating system that puts privacy first in everything it does. Because of this, only programs downloaded from the App Store are by design permitted. However, you can modify it under System Settings to enable the installation of third-party apps.
Step 1: Click on the Apple logo in the top right corner.
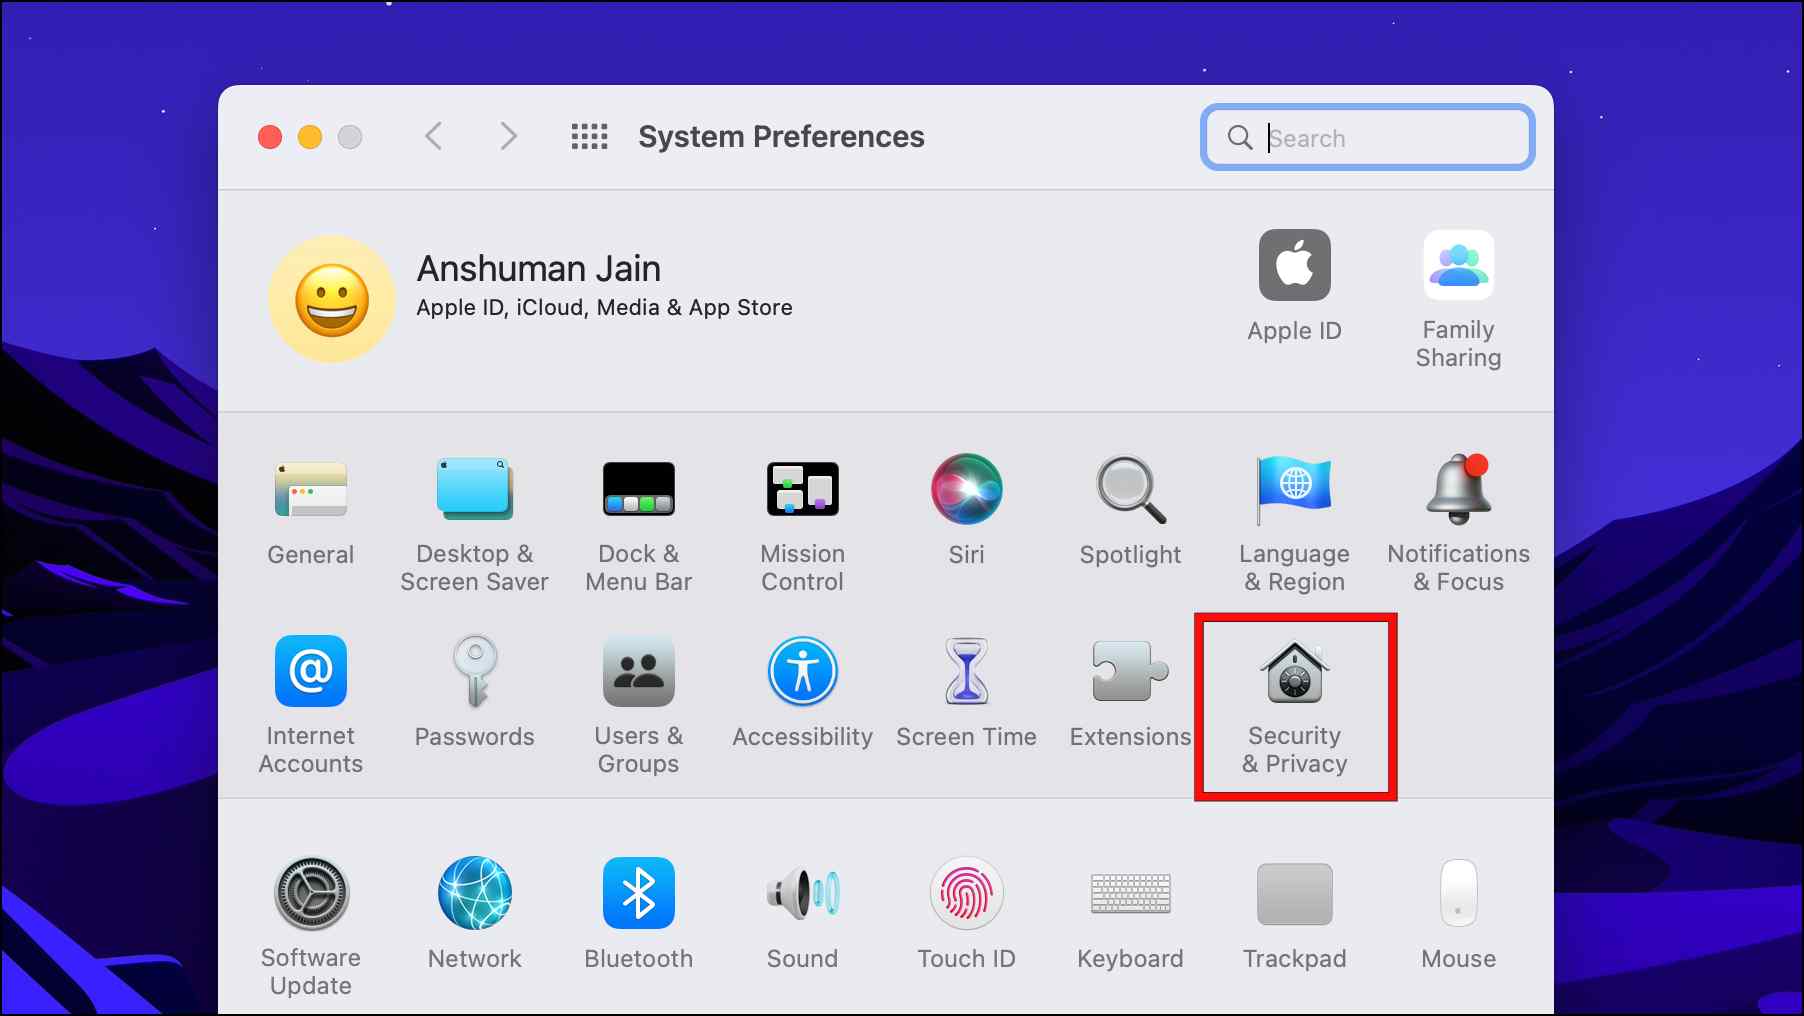
Step 2: Select System Preferences…

Step 3: Go to Security & Privacy.
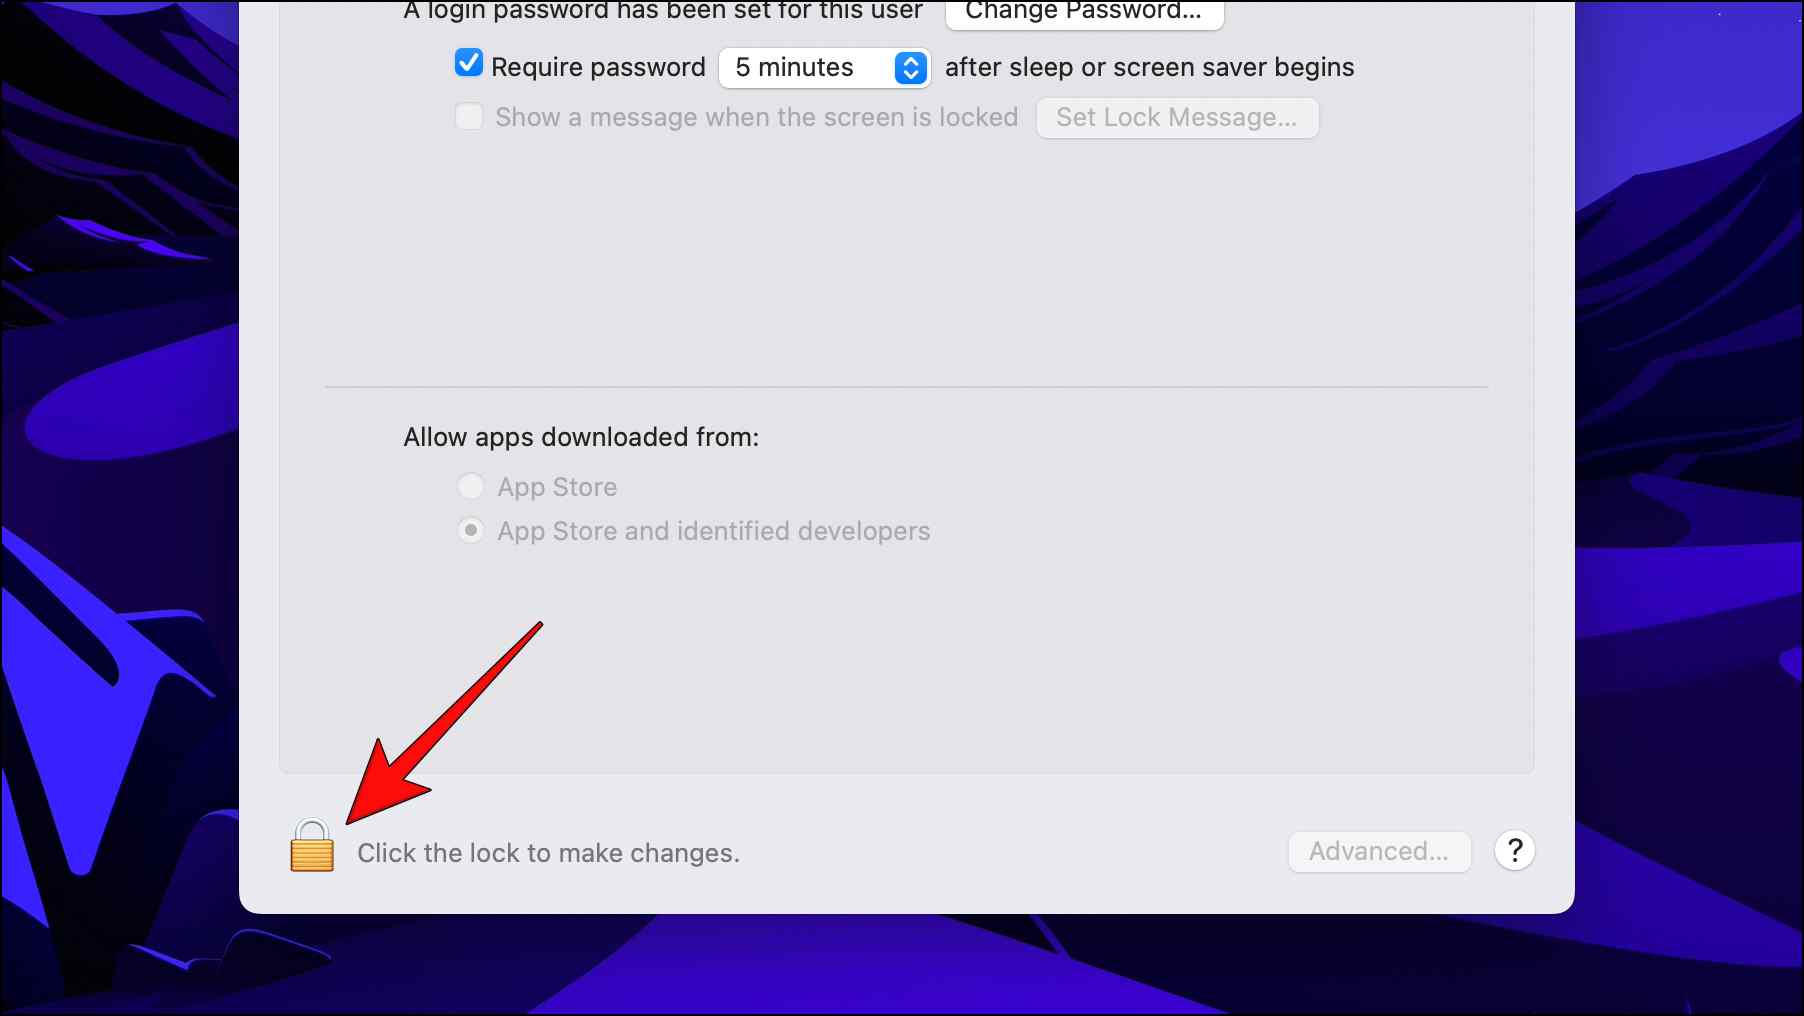
Step 4: Select the General tab.
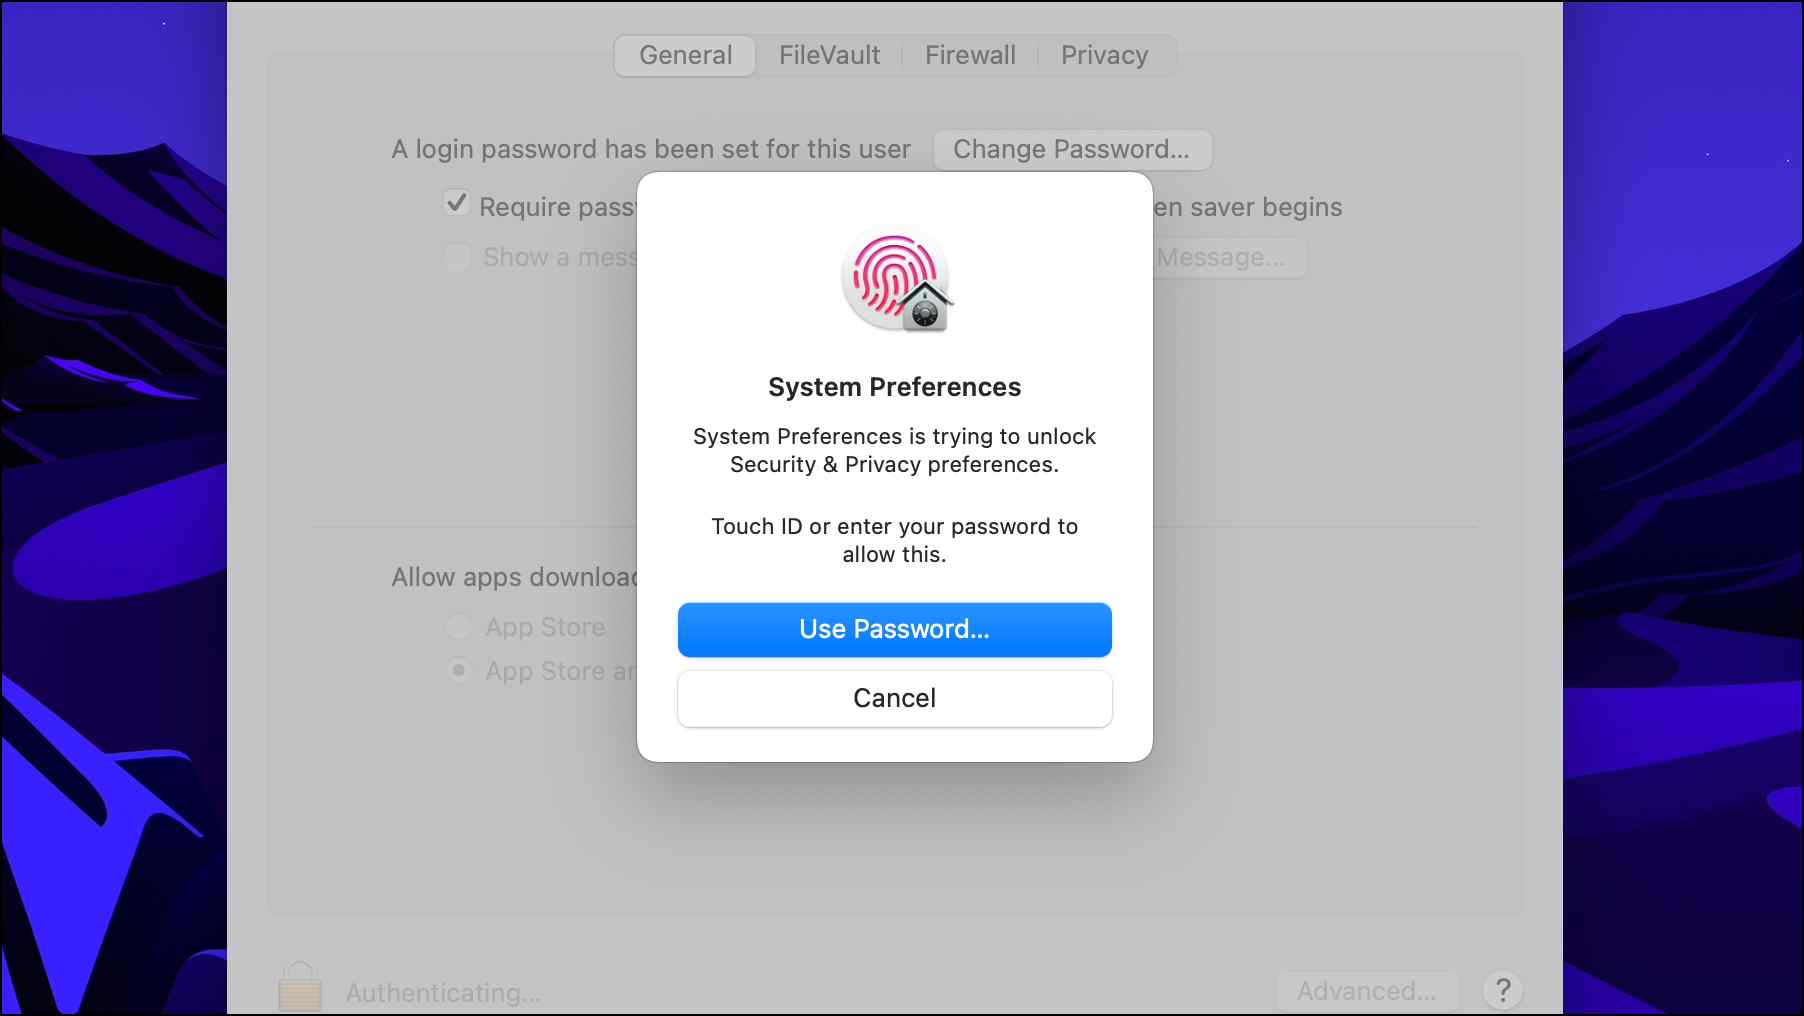
Step 5: To change these settings, click on the lock.
Step 6: Enter the username and password for the current Mac profile.
Step 7: Now select the Anywhere option under Allow apps downloaded from.
Changing this setting will allow you to download and install third-party apps like Chrome without any issues.
3. Reinstall The Chrome Browser
If Chrome is crashing after installation, then it could be the result of a corrupted files. In this case, it is best to delete the current build and reinstall the browser on your Mac.
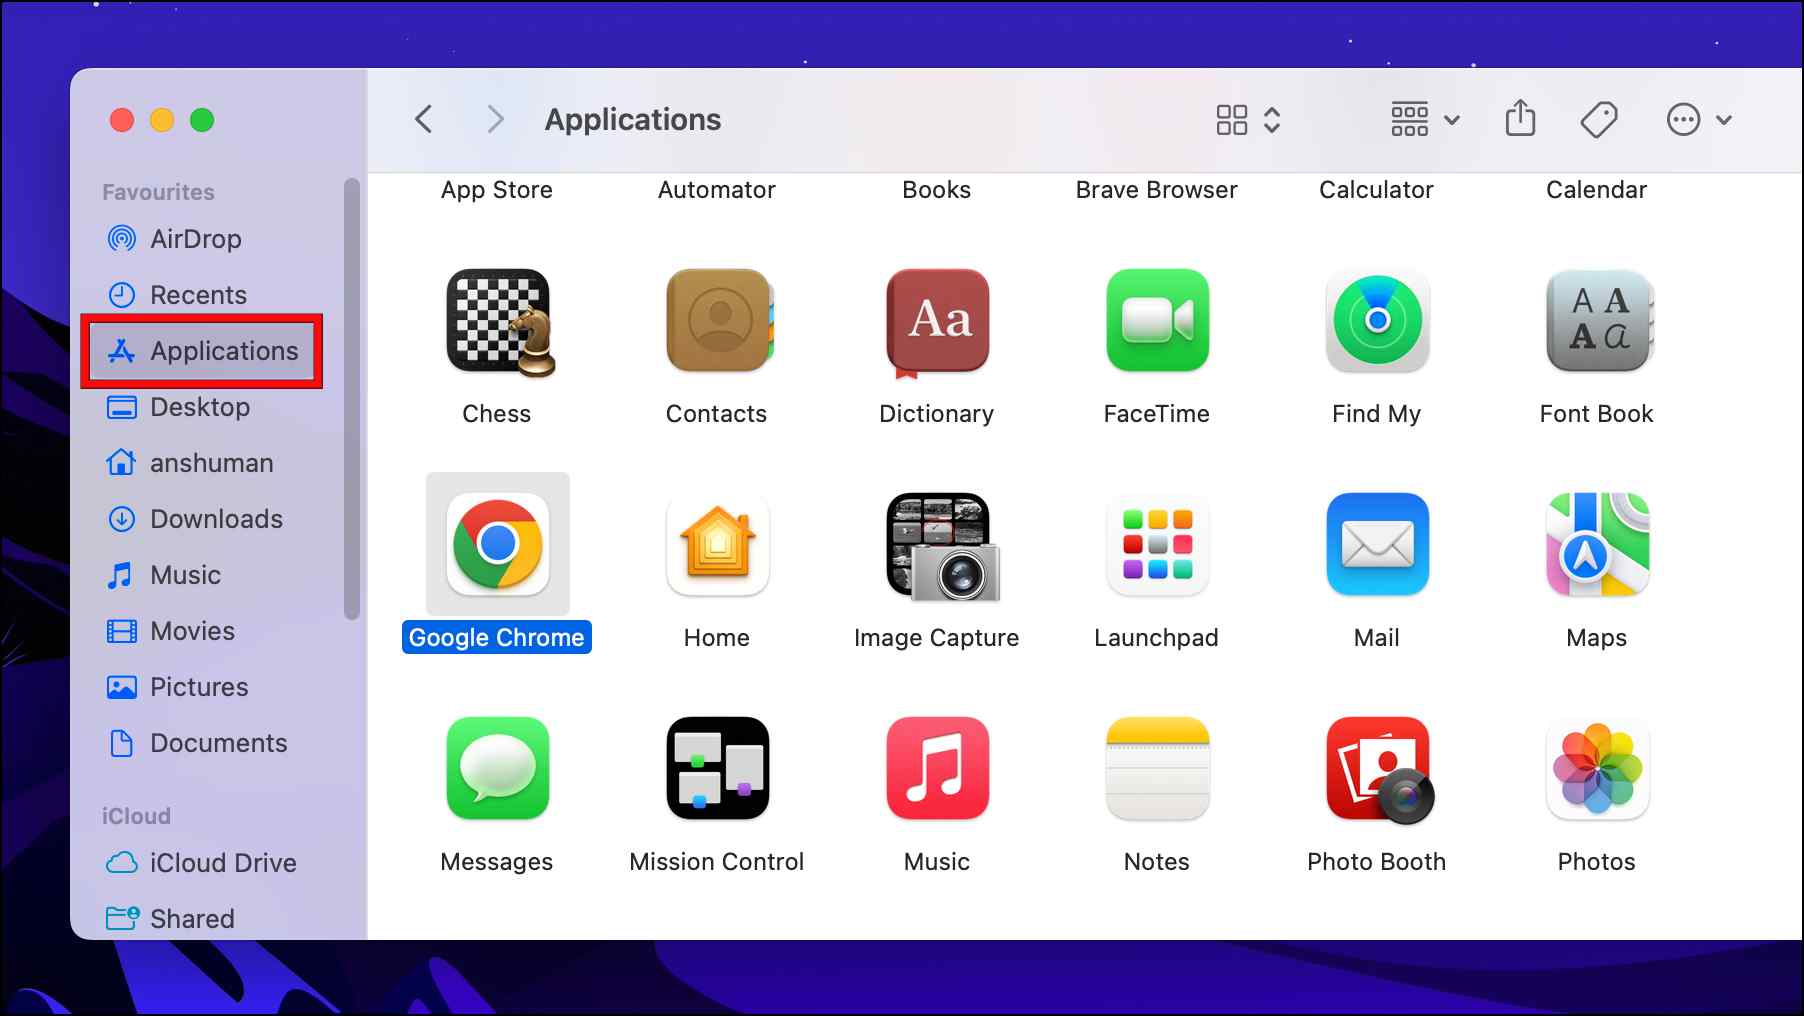
Step 1: To uninstall Chrome, first open the Finder.
Step 2: Go to the Applications folder.
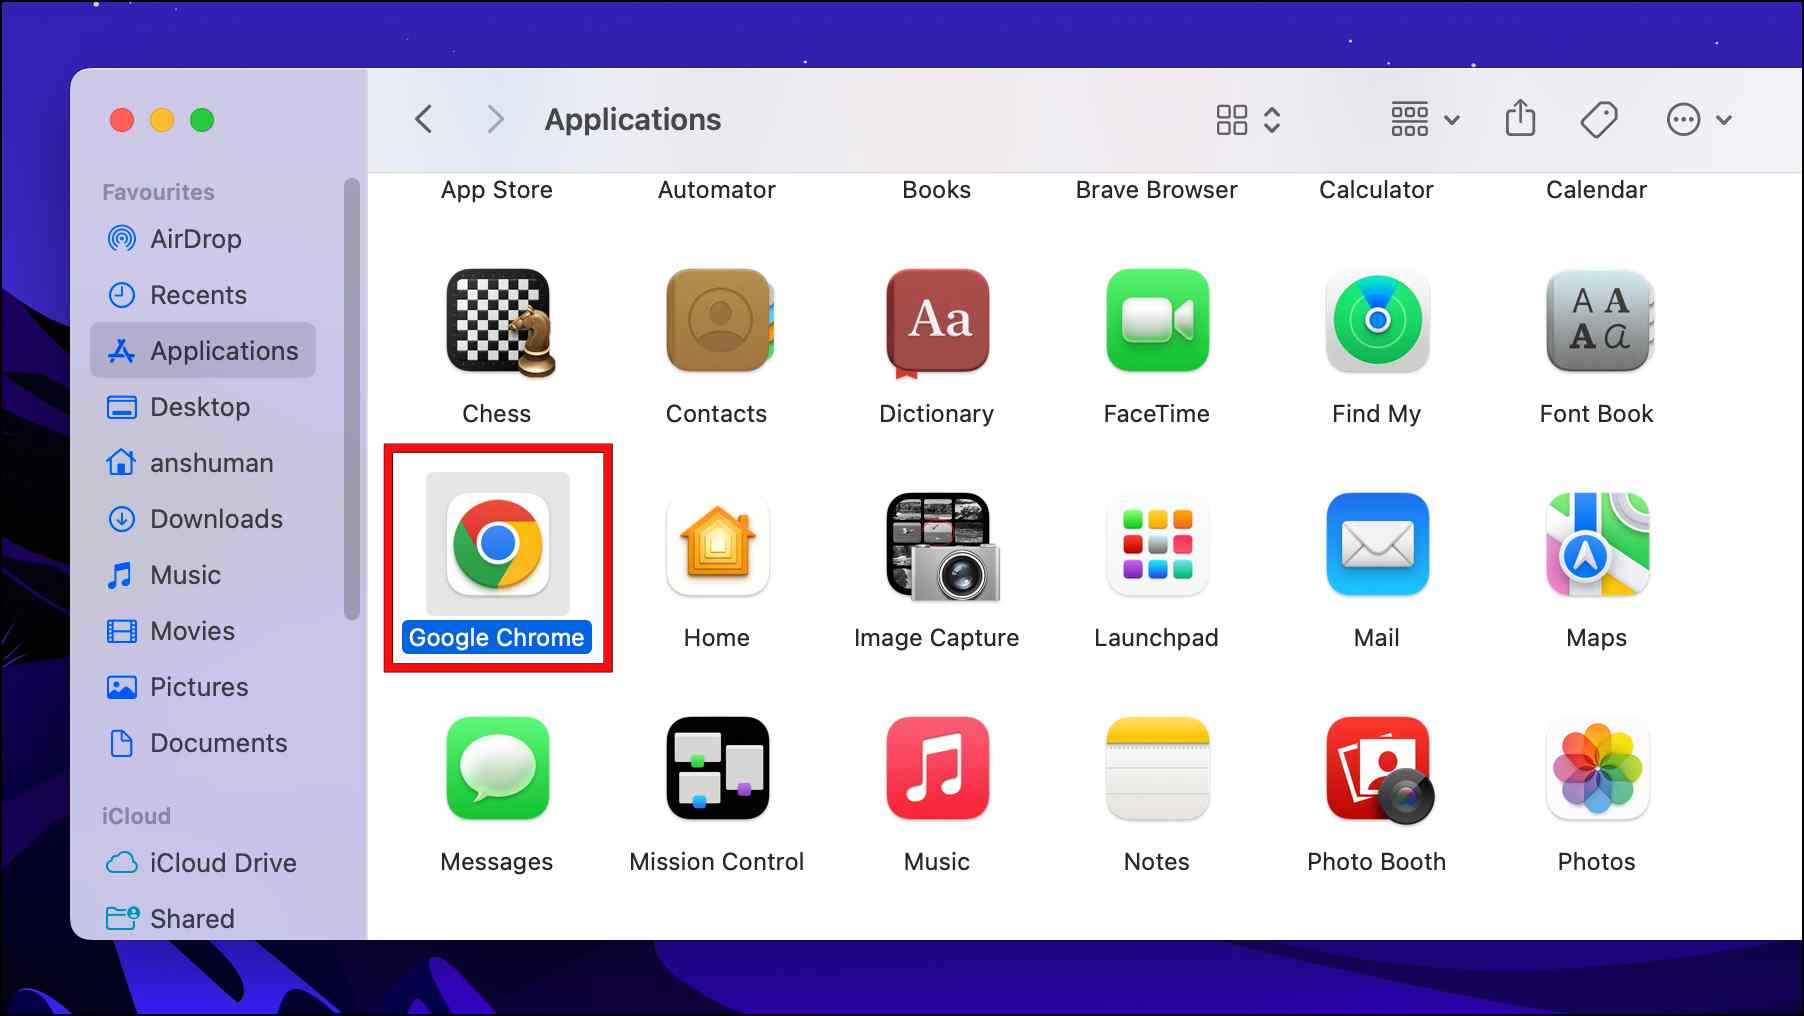
Step 3: Right-click on Google Chrome.
Step 4: Select the option Move to Bin.
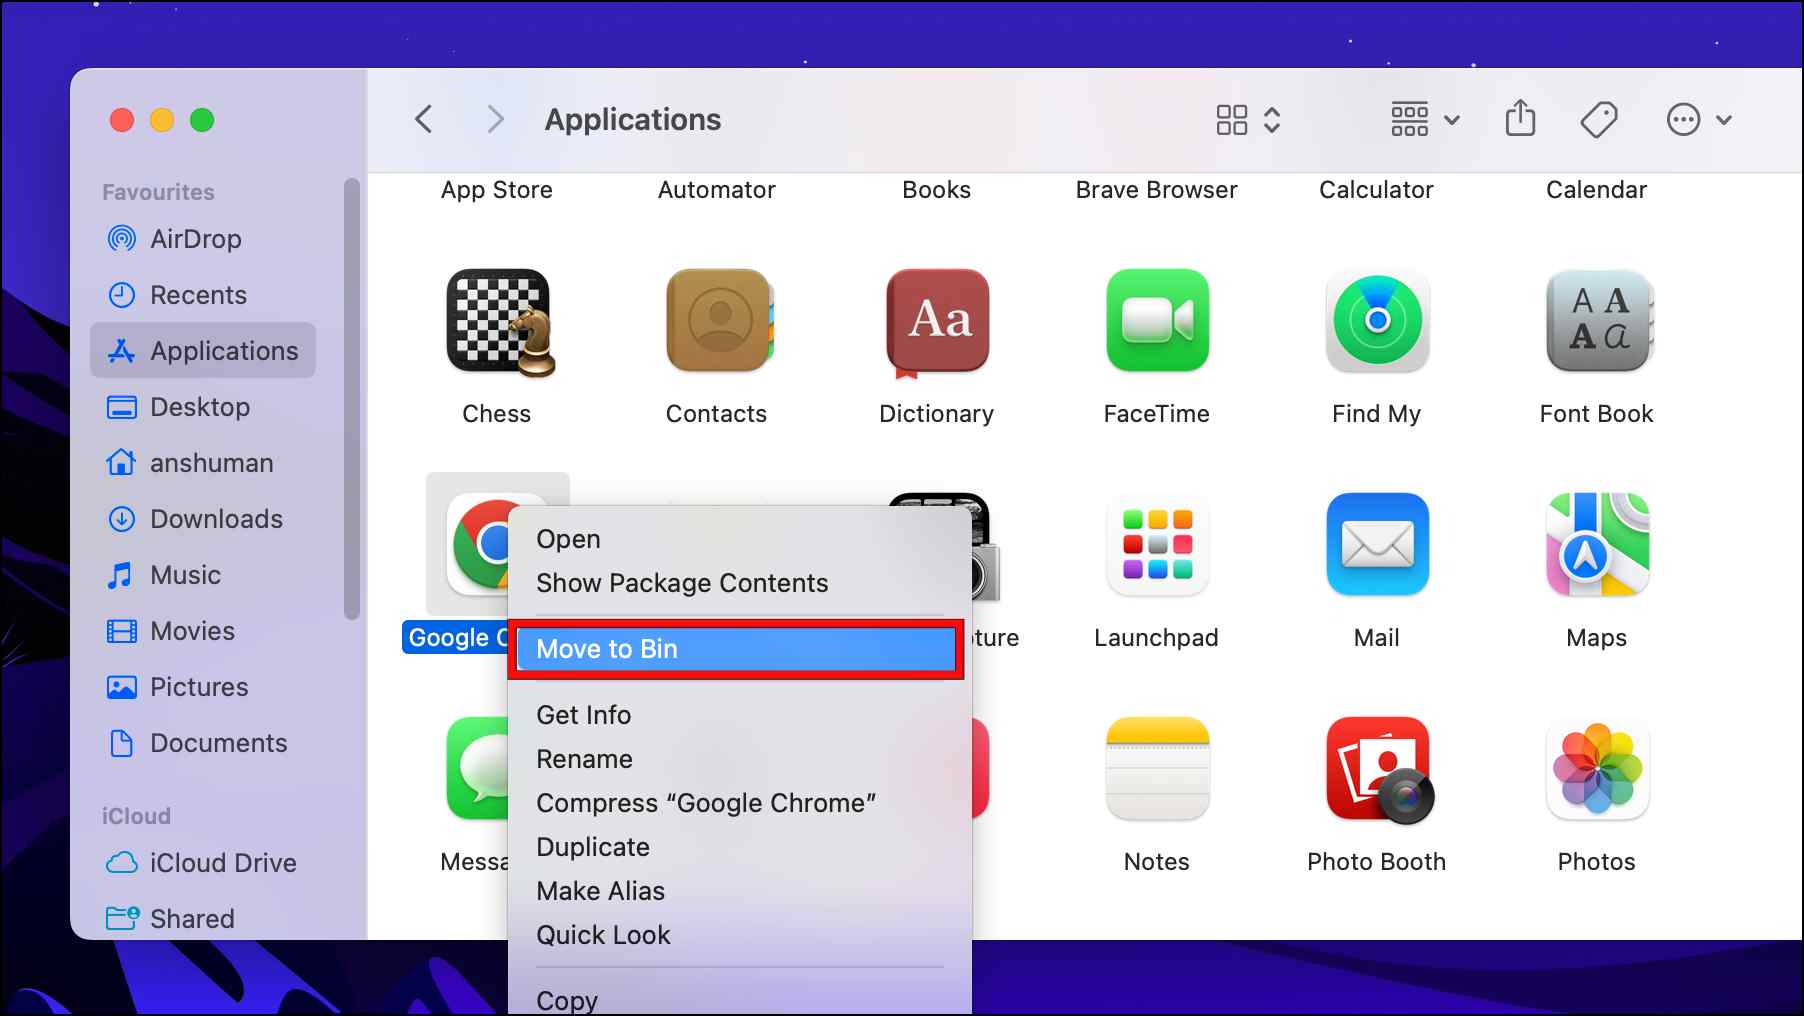
Using these steps, you can easily uninstall Chrome from your Mac.
To reinstall the browser, we recommend you download files for the browser from the official Chrome website again.
4. Delete Pre-Existing Chrome Files on Mac
When you uninstall Chrome, its files remain in your system, causing issues when you try to reinstall the browser. In such cases, delete all Chrome-related files from your Mac to reset the browser.
Step 1: Open Finder from the dock.
Step 2: Click on the Go option located in the status bar.
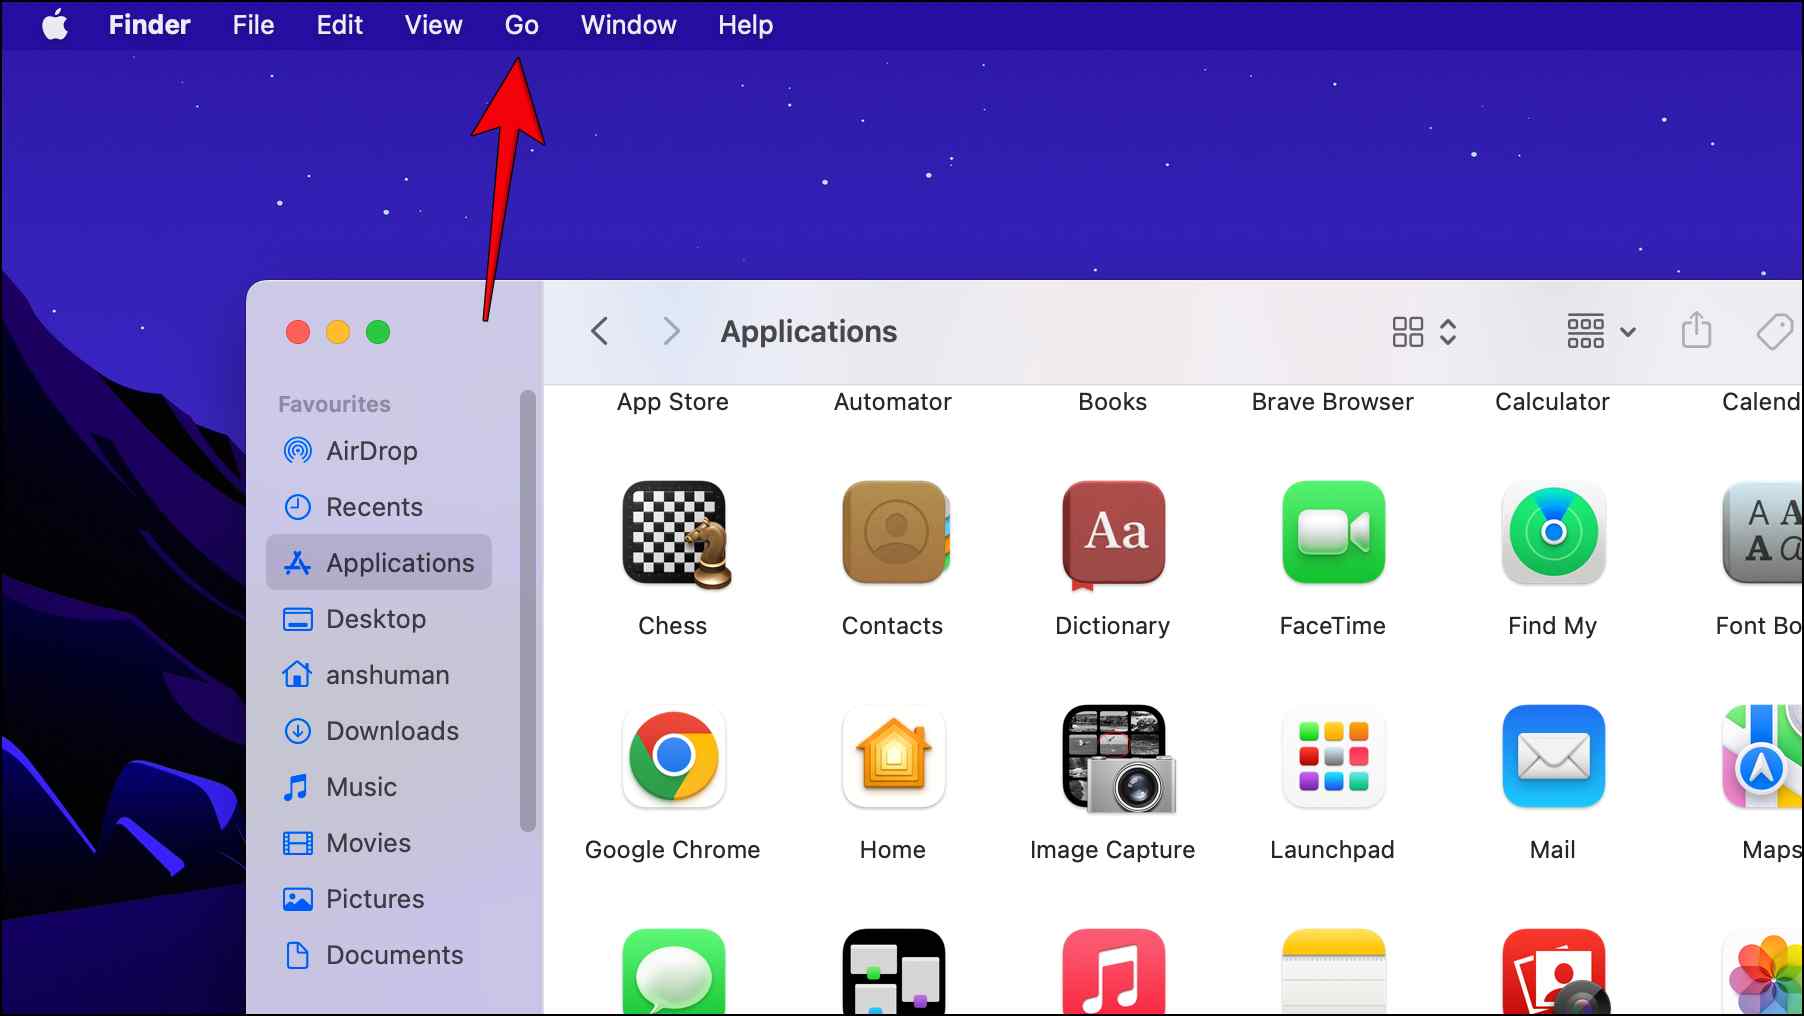
Step 3: Select Go to Folder…

Step 4: In the text field, type ~/Library/Application Support/Google/Chrome and press Return.
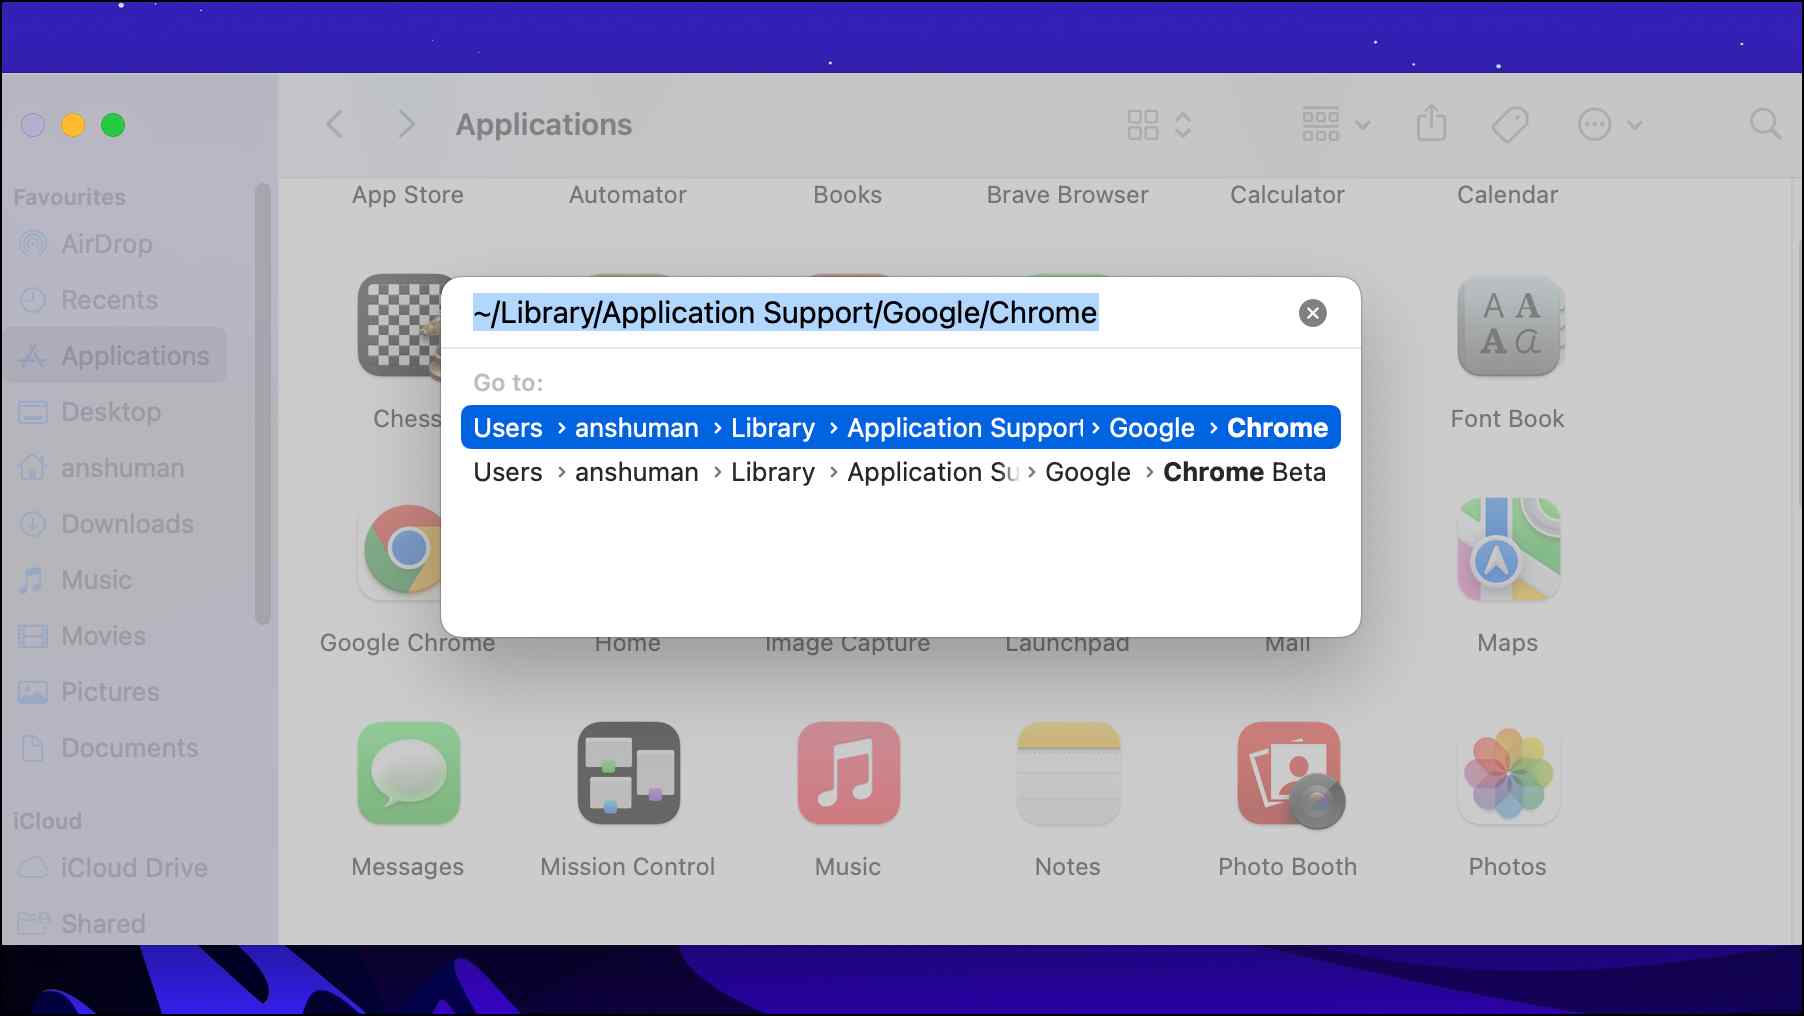
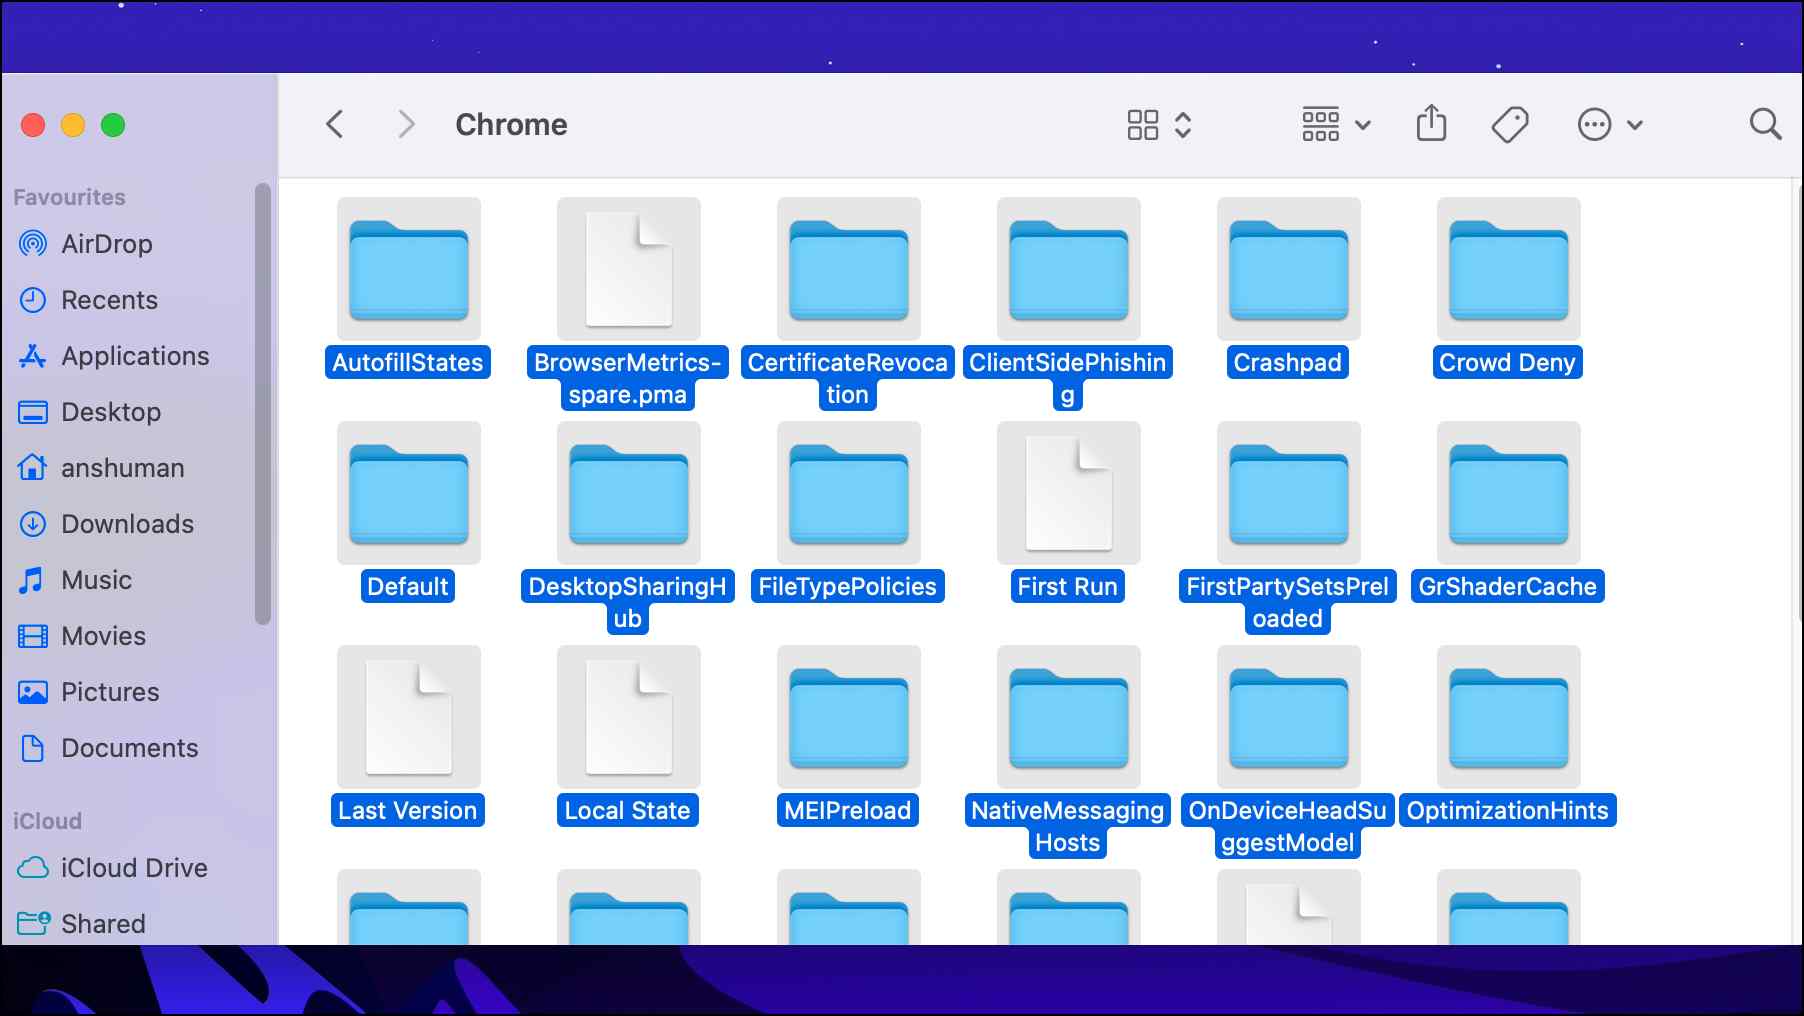
This will take you directly to the Chrome folder.
Step 5: Press Command + A to select all items.
Step 6: Right-click on it and select Move to Bin.
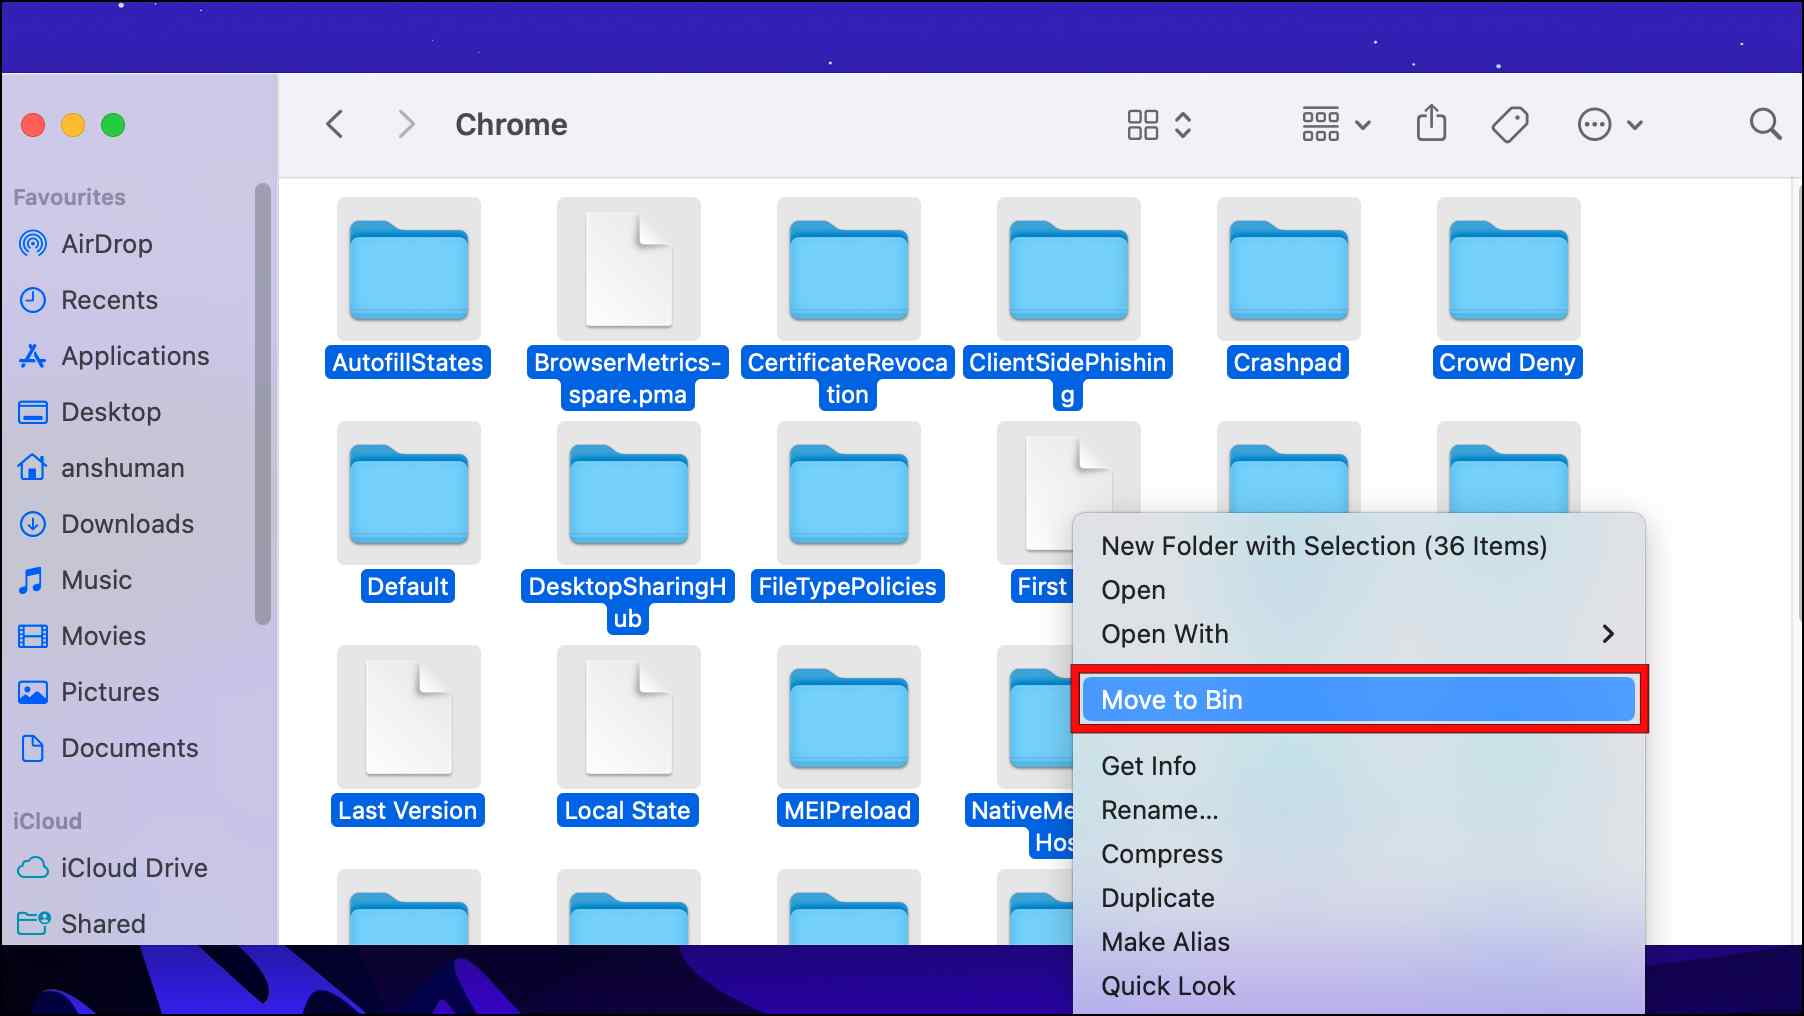
Deleting these files will also delete any stored bookmarks, history, extensions, or preferences, so create a backup before deleting them.
5. Install Chrome Beta on Mac
It’s probable that a bug in Chrome’s most recent stable release is what’s preventing Mac users from installing the browser. You can proceed and attempt to install Chrome Beta on your device in this situation. With a few extra experimental features, the beta channel is often relatively stable.

Download | Google Chrome Beta
6. Clear Any Temporary Data
Applications in your Mac create temporary files that can build up over time and cause issues with other programs like Chrome. If you are unable to properly install Chrome on your Mac, then clearing out the temporary data might help to fix the issue.
Step 1: Open Finder from the dock.
Step 2: Select the Go option located in the top status bar.
Step 3: Click on Go to Folder…
Step 4: Next, type ~/Library/Caches.
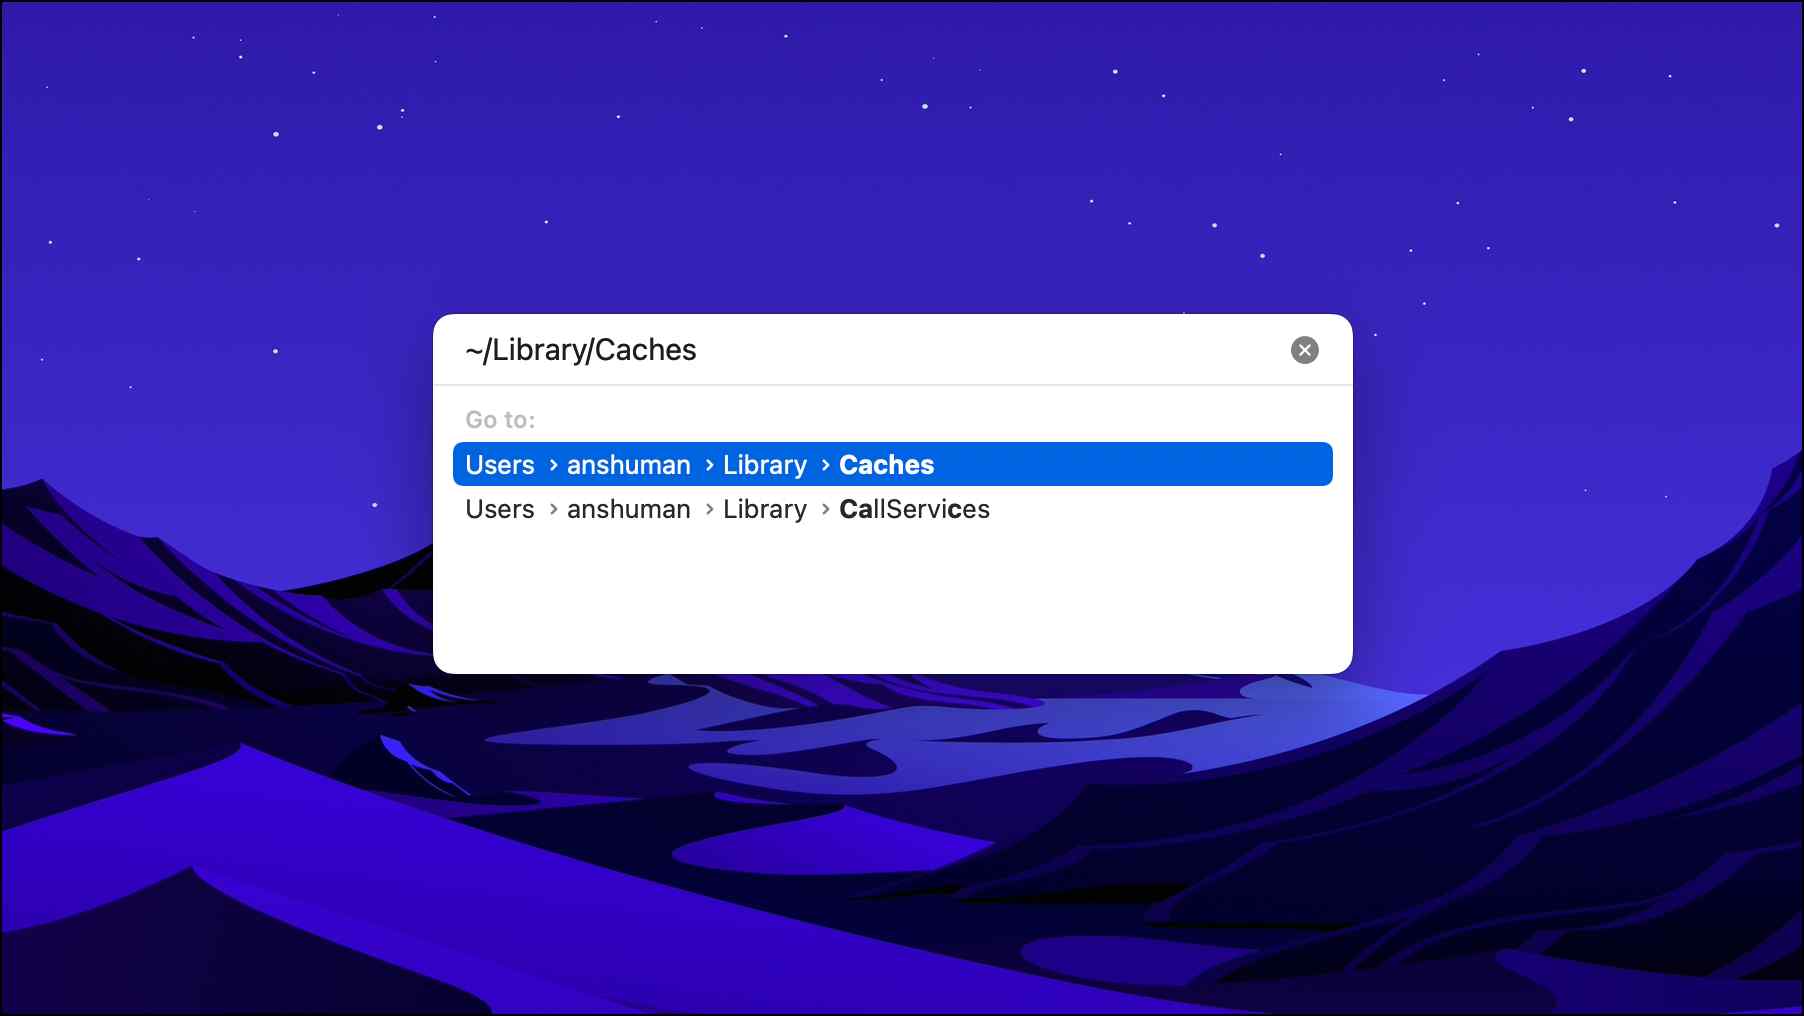
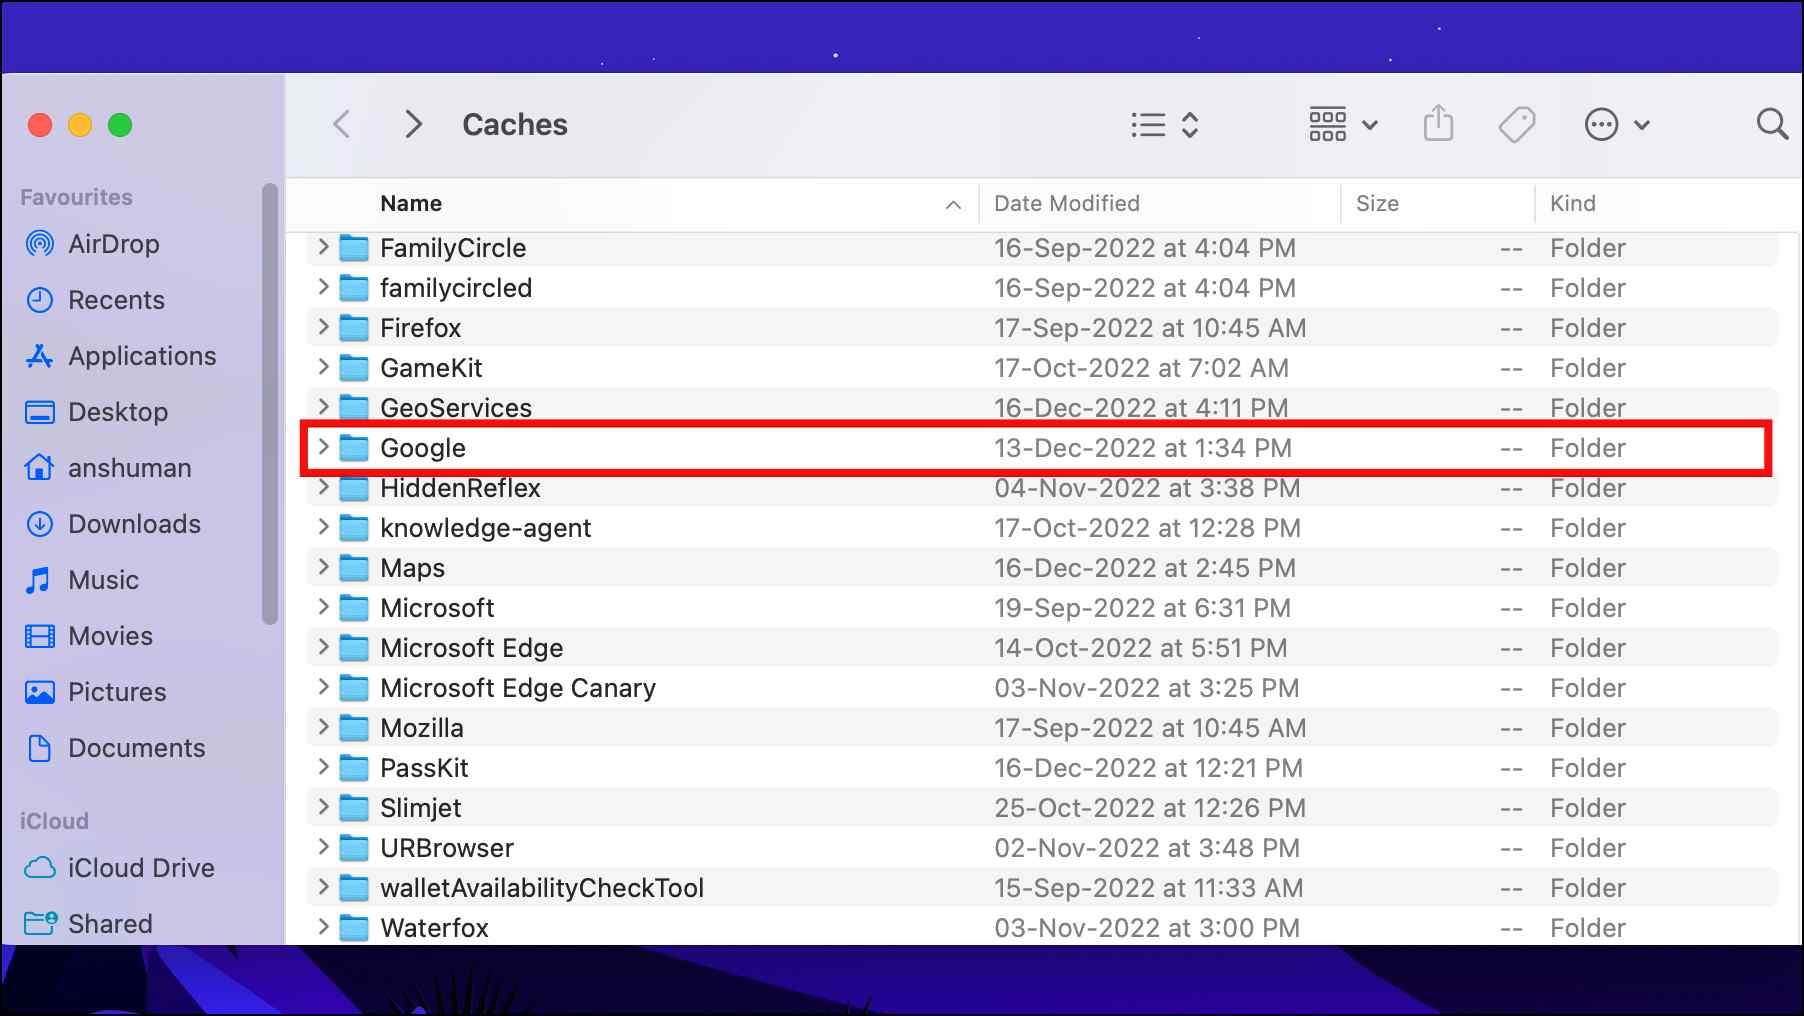
All the temporary files are available in the Caches folder. But we are only going to delete the temporary files for Chrome.
Step 5: Scroll down and click on Google. You will find the Chrome folder here.
Step 6: Right-click on Chrome and select Move to Bin.
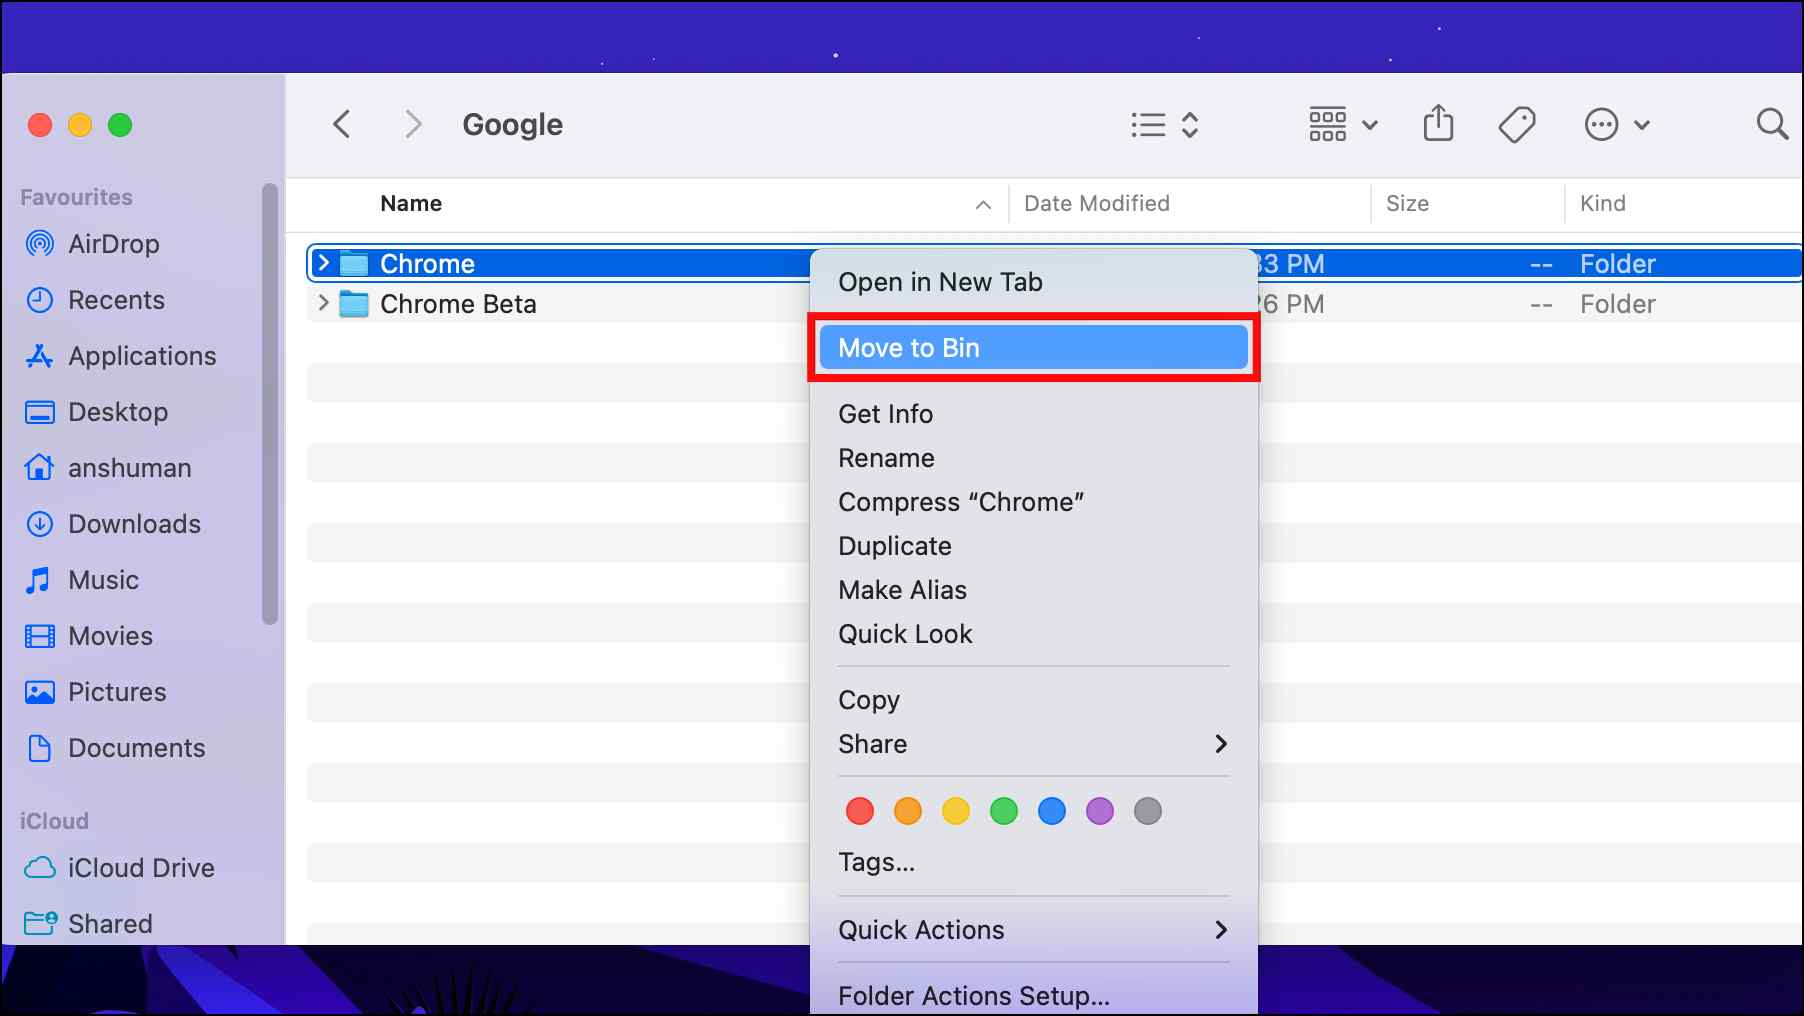
Any temporary data created by the Chrome browser will be deleted and you can try installing the .dmg file again.
7. Update to the Latest macOS Version
Chrome and other web browsers often drop support for older macOS versions for security reasons which could be the reason why Chrome is not installing on your device. If you are using macOS High Sierra 10.13 or earlier, it is time to update your Mac.
Step 1: Click on the Apple logo in the top left corner.
Step 2: Go to System Preferences…
Step 3: Click on Software Update.
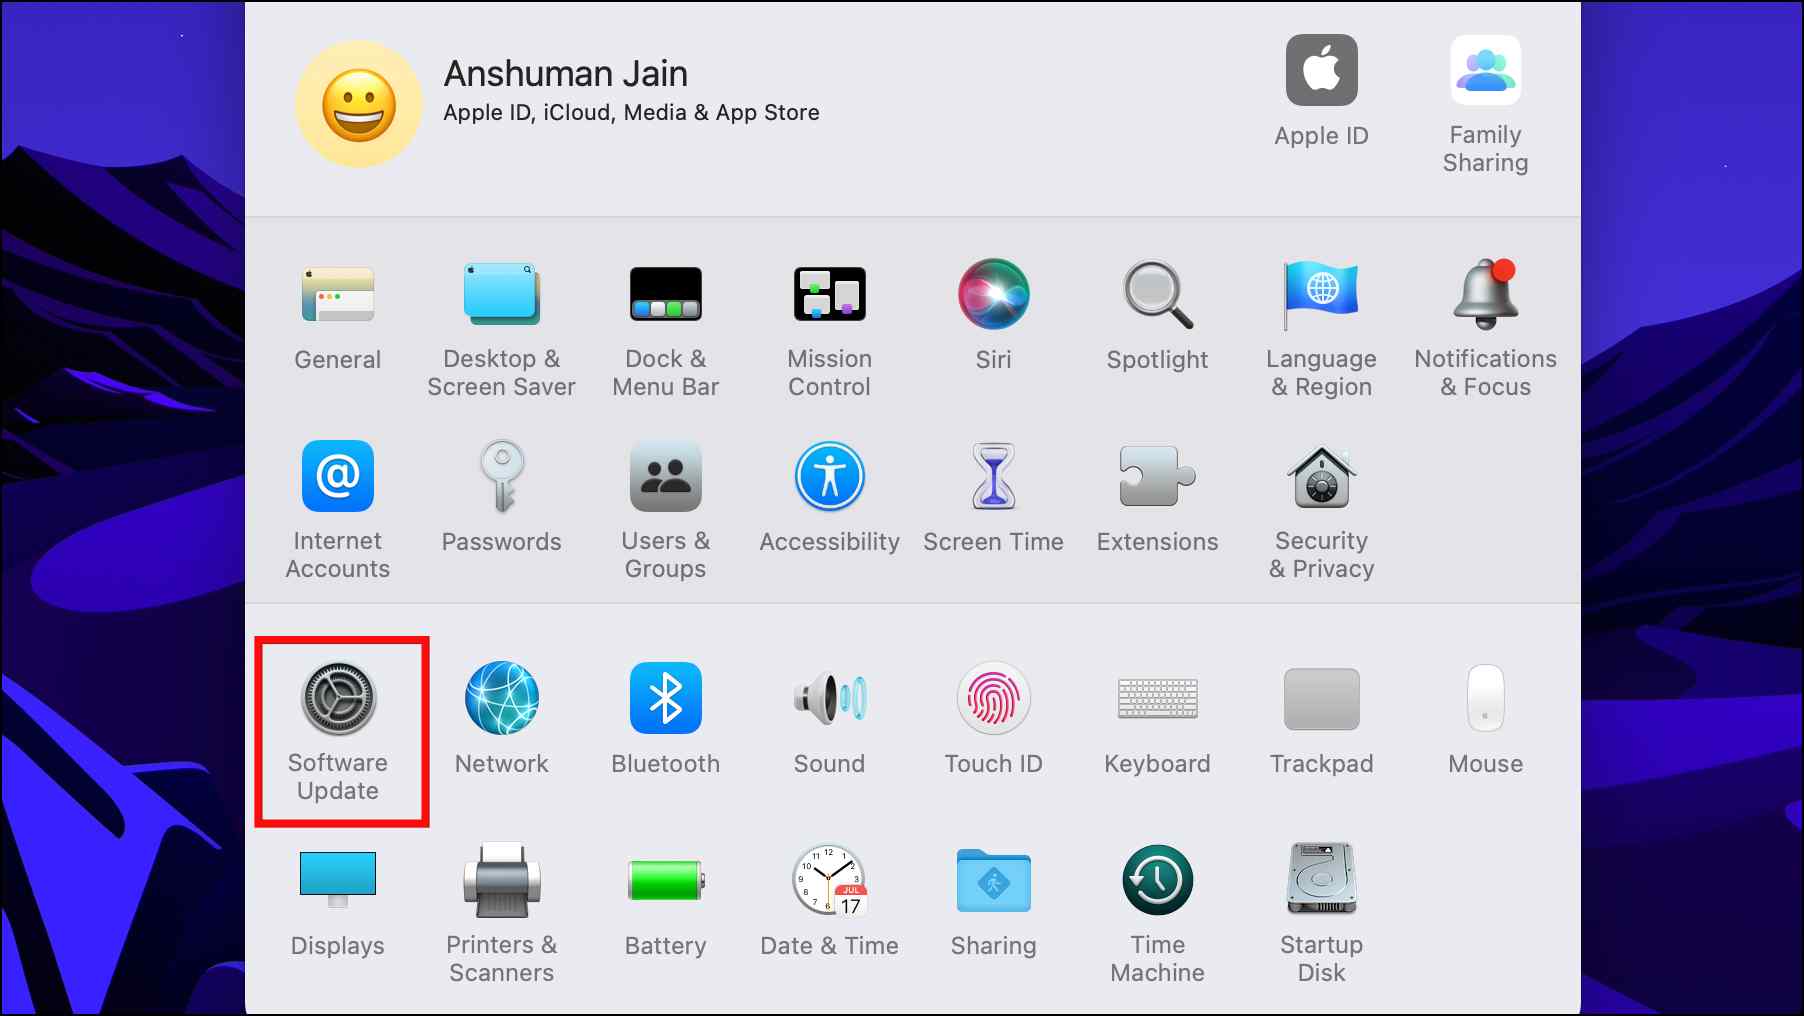
Wait for the device to check for the latest macOS version.
Step 4: If an update is available for your device, click on Upgrade Now.
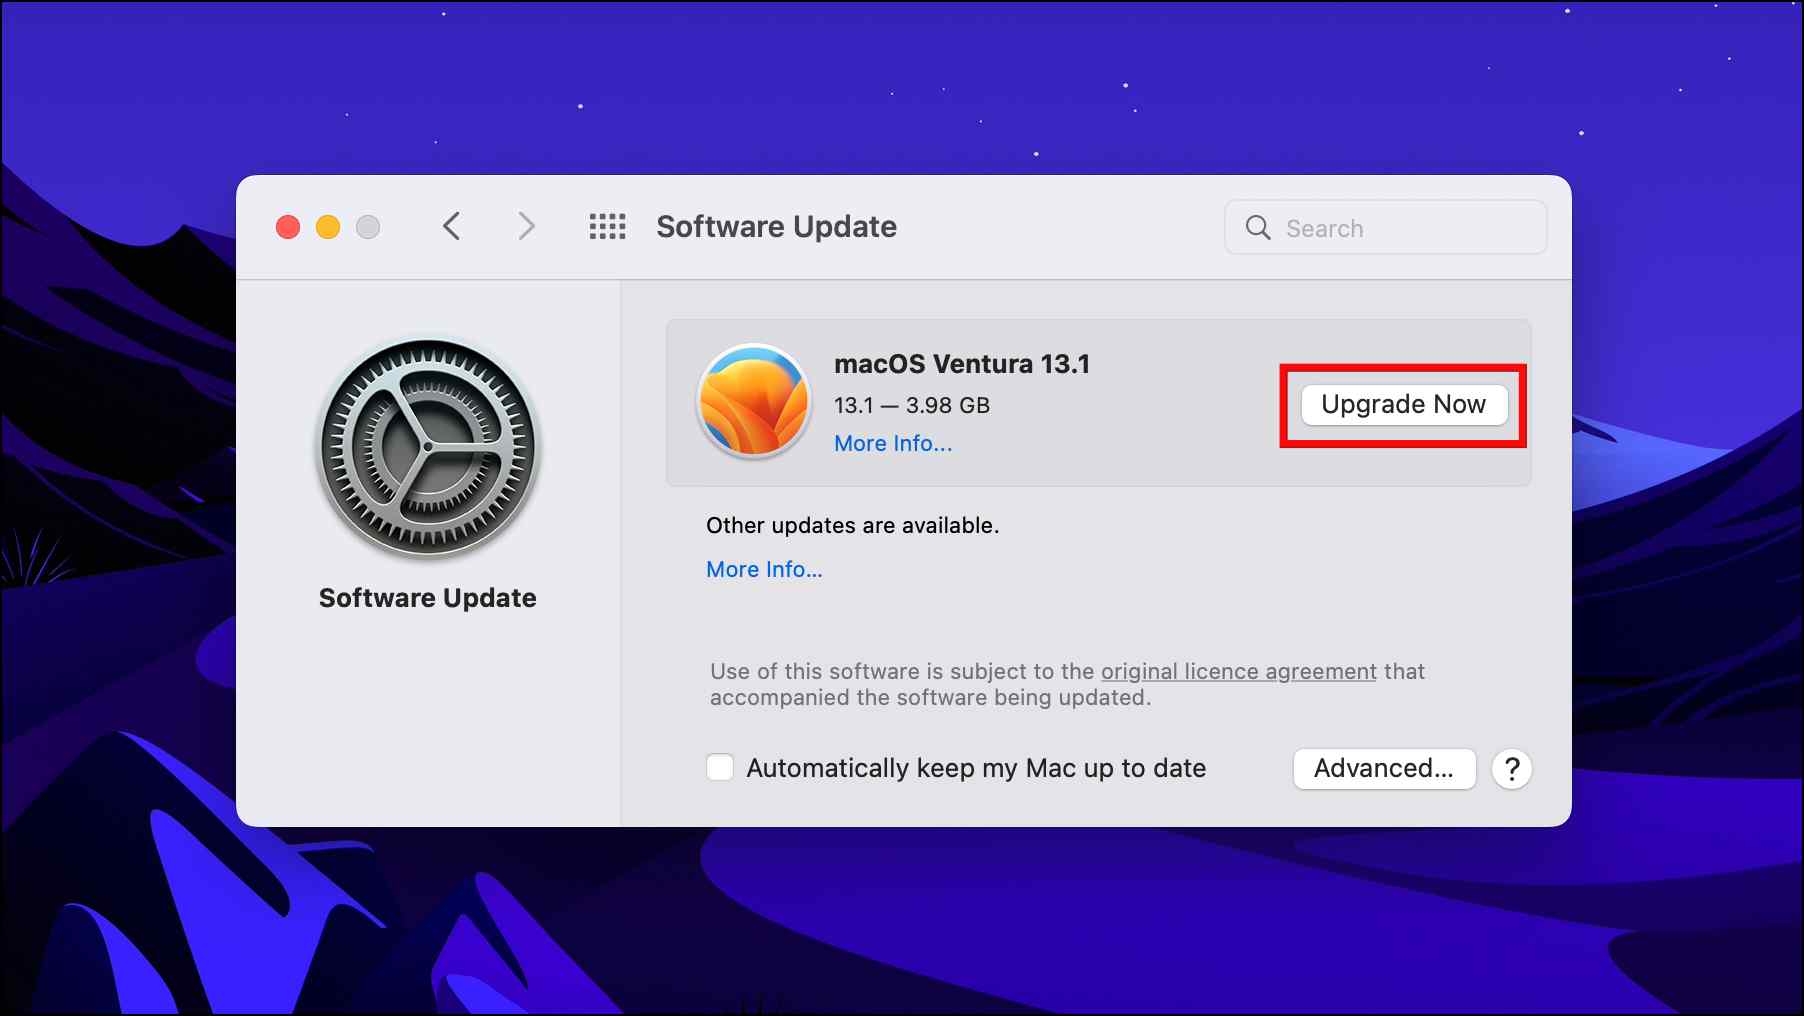
The download process will begin. Once downloaded, follow the onscreen instructions to install the latest update.
Once your device is updated to the latest available version, try reinstalling Chrome to see if it works.
Bonus: Try Out Other Troubleshooting Methods
If the above-listed methods could not resolve your issue, then you might have an issue with the Chrome browser itself. In this case, you can refer to one of our previously covered articles on fixing Chrome closes after it opens. There you might find some additional fixes that might help fix the installation issues with Chrome.
Frequently Asked Questions
Q. How Can I Install Chrome Offline?
Q. Does Chrome Supports Older Versions of Mac?
As of now, Chrome officially supports macOS High Sierra 10.13 and higher. If you are using an older version of macOS then you should upgrade your system or try using an older build of Chrome that supports your OS version.
Q. Do I Need to Update Safari Before Downloading Chrome?
No. Not necessarily, but if you are unable to open any website or download Chrome, then you might be required to Update Safari. In this case, you can look at our article on how to update Safari on Mac.
Wrapping Up
Installing Chrome on Mac is a relatively simple process, but certain factors can cause the browser to crash or not install as intended. In such cases, it is always recommended to try basic troubleshooting methods like rebooting your system and checking your internet connection. Let us know in the comments if this article helped to resolve your issue, and stay tuned on Browser To Use for more such articles and How-Tos.
Related:


