
The word Chrome is synonymous with web browsers so just like me, most other Mac users download Google Chrome as soon as they boot their new Macs. But according to some user reports, a Chrome service called KeyStone is slowing down their devices. So in this article, we will help you learn what is Google KeyStone, how to detect it, and how to remove it permanently alongside Chrome from your Mac.

What is Google KeyStone?
When you install Google Chrome on your device, it also installs an update manager service called Google KeyStone. KeyStone regularly checks for the latest version available for Chrome and other Google services installed on your device. If an update is available, it will download and install it to keep your browser up to date.
But unlike other update managers that run when you launch the app, KeyStone always runs in the background even when you are not using Chrome. On Mac, KeyStone somehow affects WindowServer which is a system process causing a spike in CPU usage. The result is your Mac slowing down and lagging.
A user shared his own experience when struggling with KeyStone and how deleting it not only resolved the issue but also improved the performance of his old 2015 MacBook. You can read more about it here.
Related | What is GoogleSoftwareUpdate.App on Mac? How to Remove? Pros and Cons
How to Detect Google Keystone is Slowing Down your Mac?
There can be several unrelated reasons why your Mac could be behaving slower than usual so how can you make sure that it is because of Google KeyStone? Well, one way is to take a look at your CPU usage through Activity Monitor. Follow the steps below to check if Google KeyStone is slowing down your Mac.
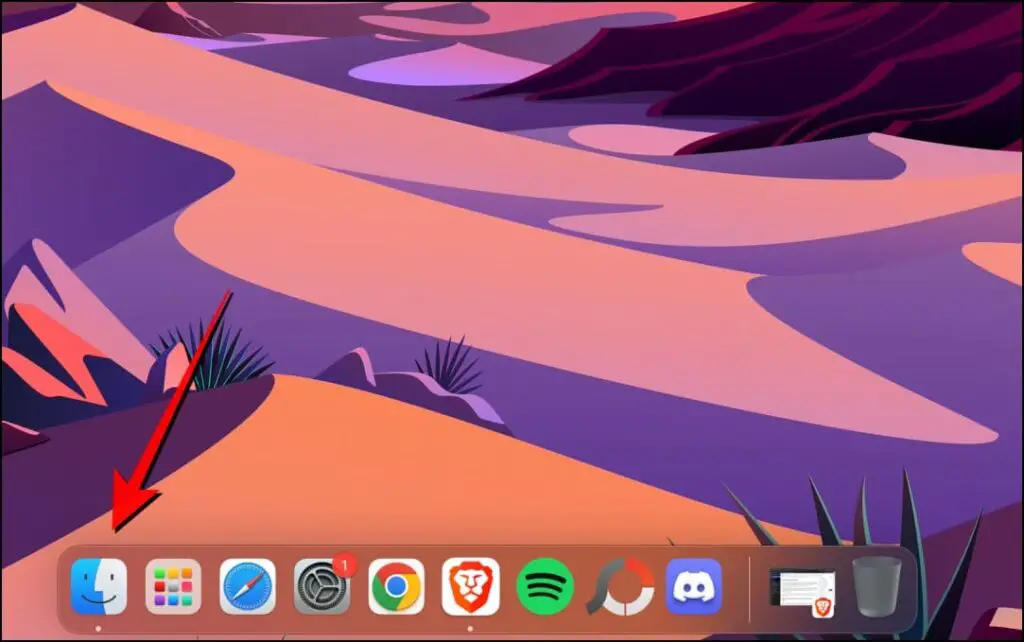
Step 1: On your Mac, click on Finder.
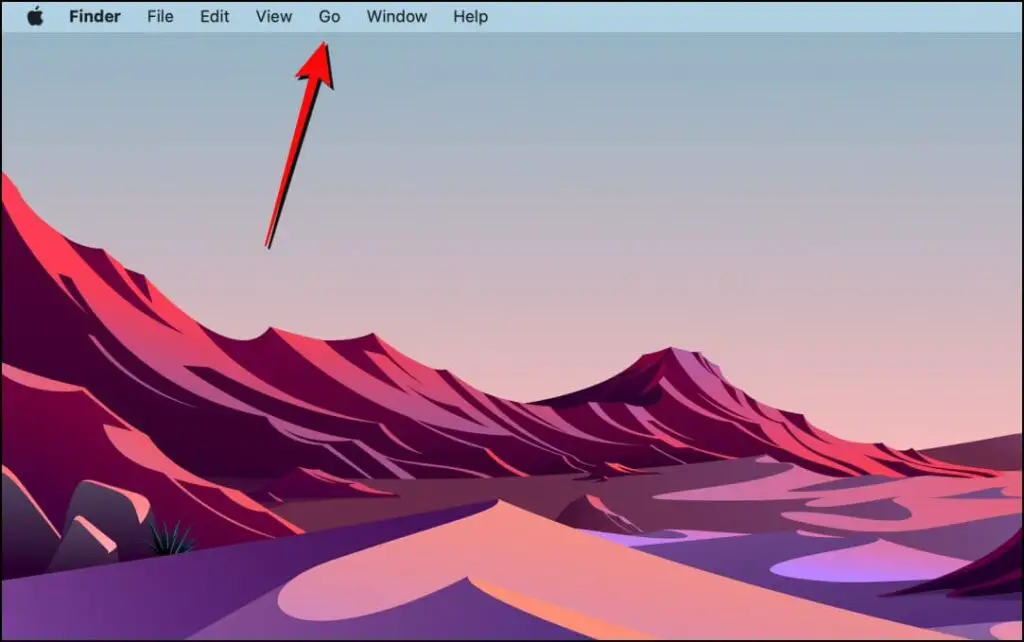
Step 2: Open the Go menu from the top bar.
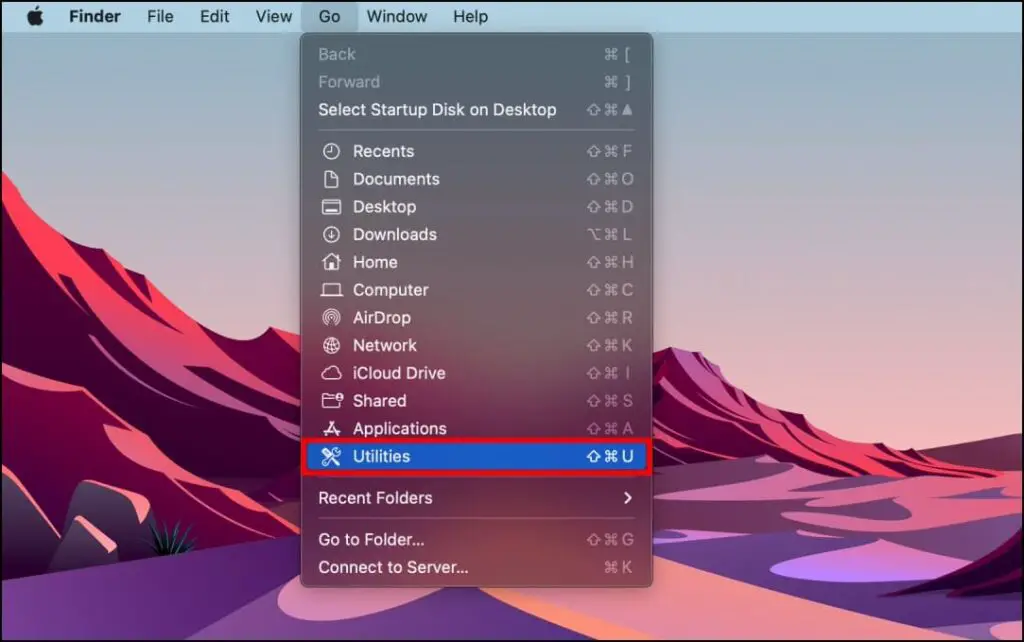
Step 3: Go to Utilities.
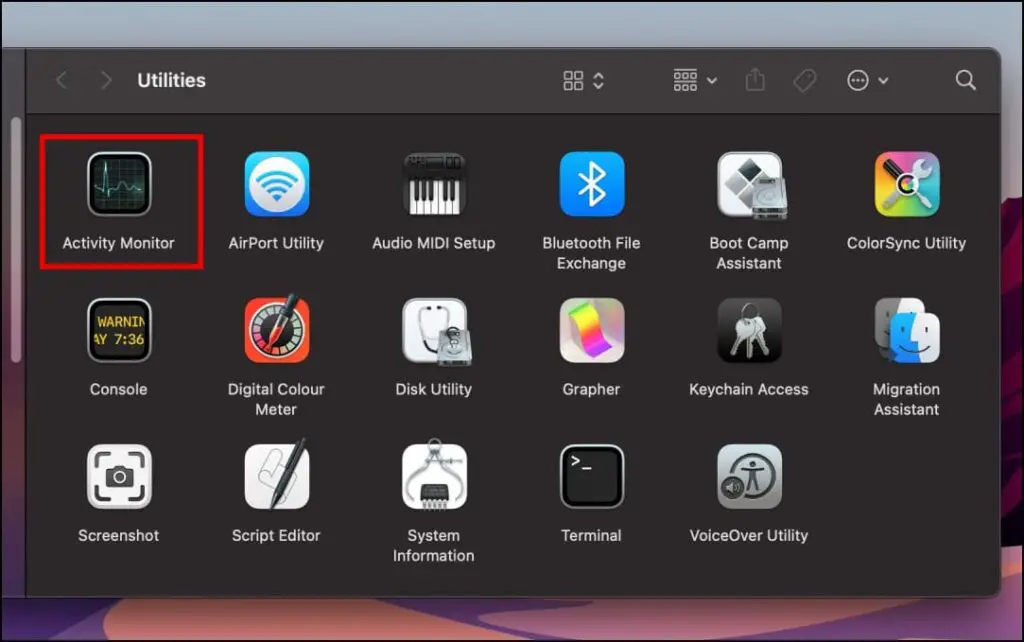
Step 4: Here, click on Activity Monitor.
Step 5: On Activity Monitor, check for the WindowServer process.
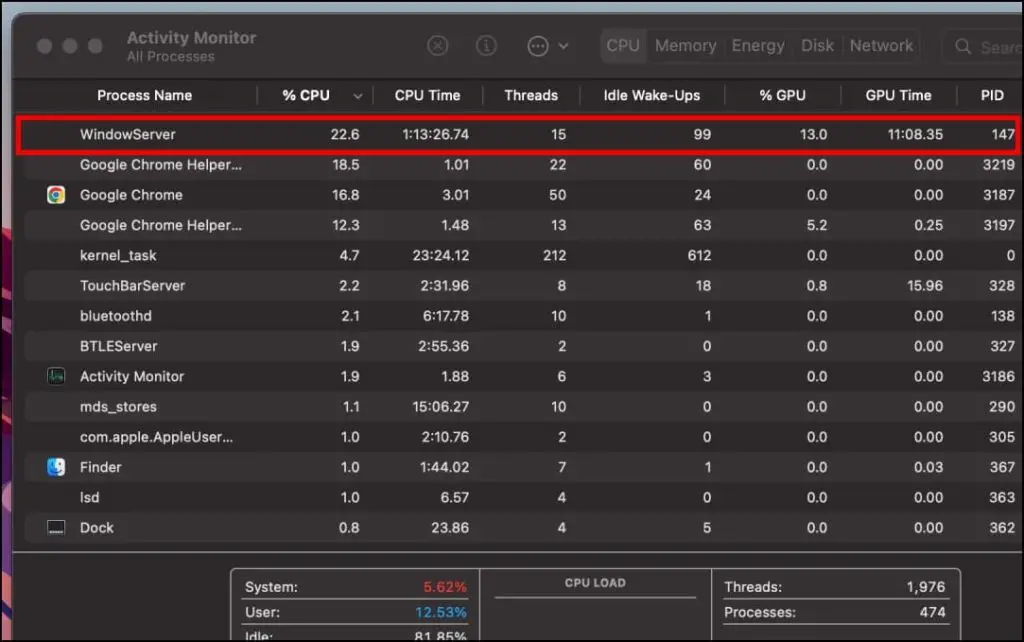
WindowServer should generally consume around 10% of CPU resources with minor ups and downs. But if it shows 30-40% CPU usage then it is highly likely that KeyStone is affecting your Mac.
How to Remove Google KeyStone Permanently from Mac?
Now that you have made sure that the culprit is likely the Google keyStone update service, the question that comes up is how do you stop it. Well, as long as you have Chrome on your device, KeyStone will exist as it is required to update your browser. But it is not as easy as uninstalling Chrome. Here is how you can remove Google KeyStone permanently from your Mac.
Uninstall Chrome from your Mac
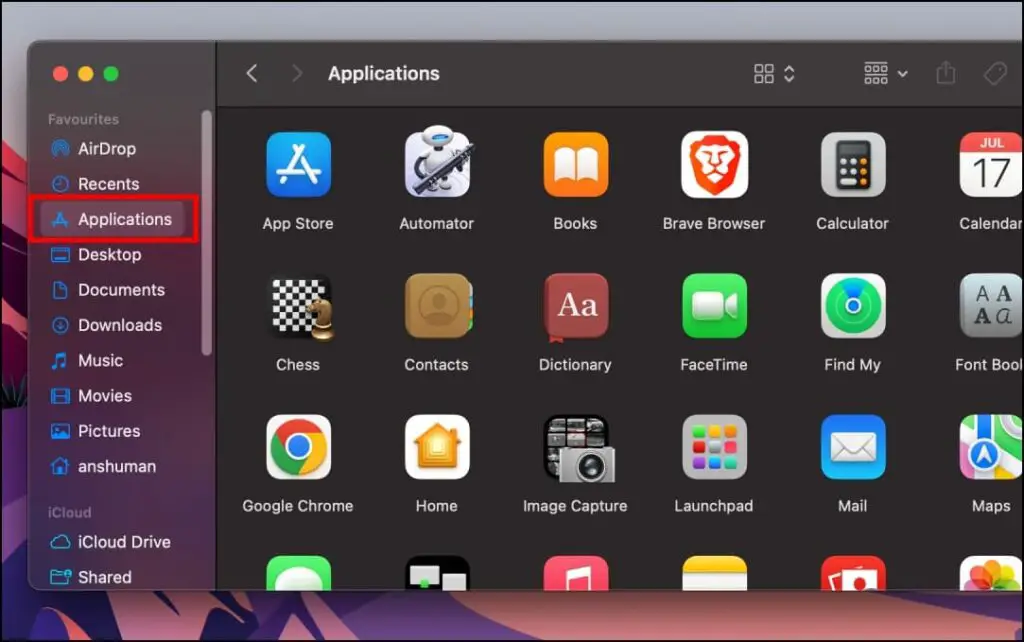
Step 1: Open Finder on your Mac.
Step 2: Click on Applications.
Step 3: Right-click on Chrome and select Move to Bin.
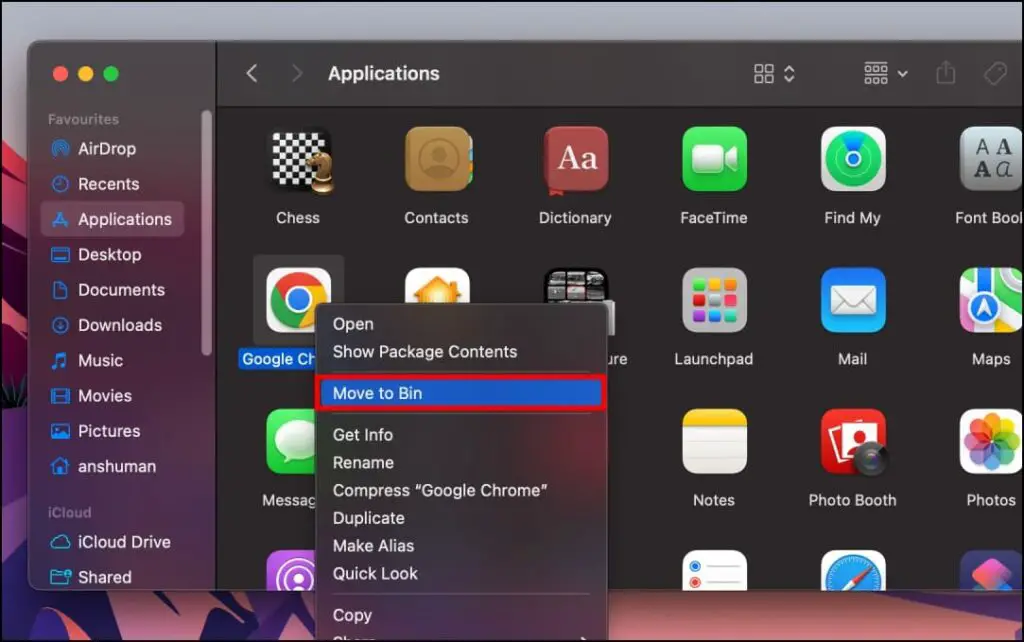
This will uninstall the Chrome browser from your device.
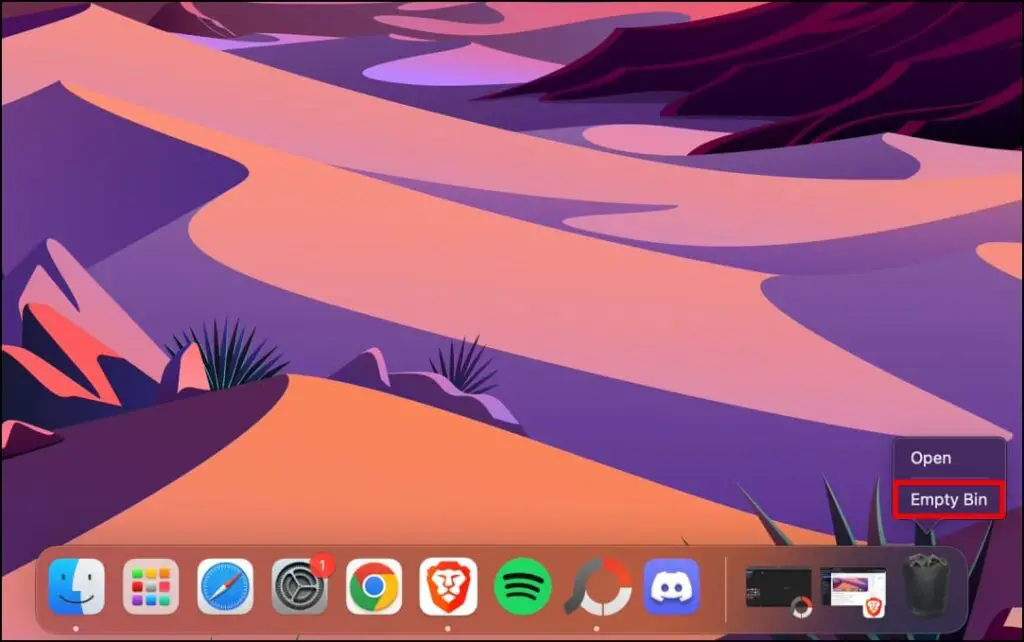
Step 4: Now right-click on the Bin icon and select Empty Bin.
Remove KeyStone from your Mac
Now, you need to clean up any residual files left by Chrome.
Step 1: Again open Finder.
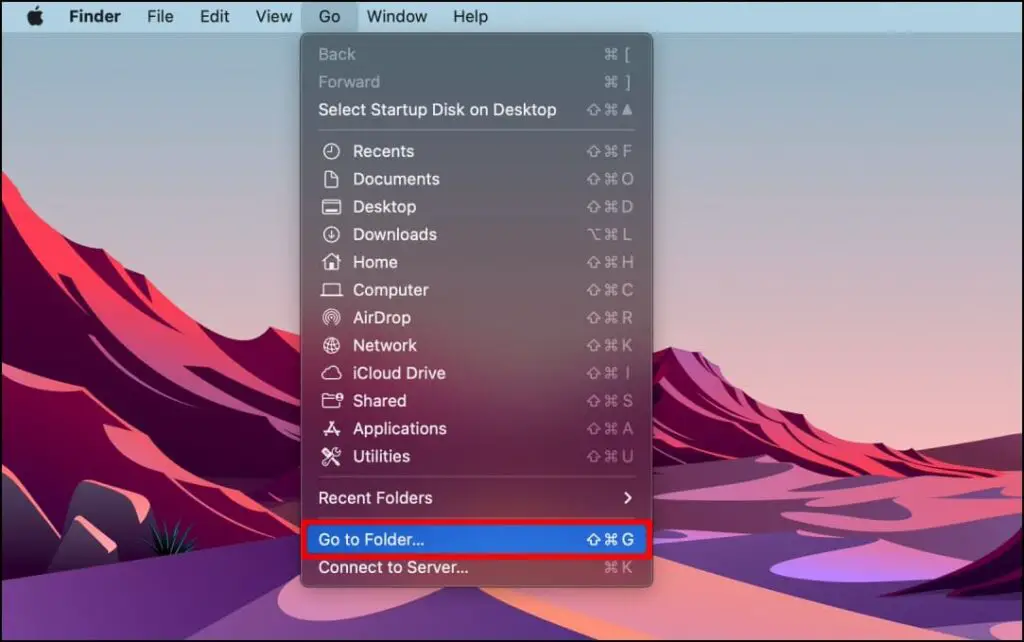
Step 2: Click on the Go menu from the top bar.
Step 3: Select Go to the folder… option from the list.
Step 4: Here, type /Library and press Enter.
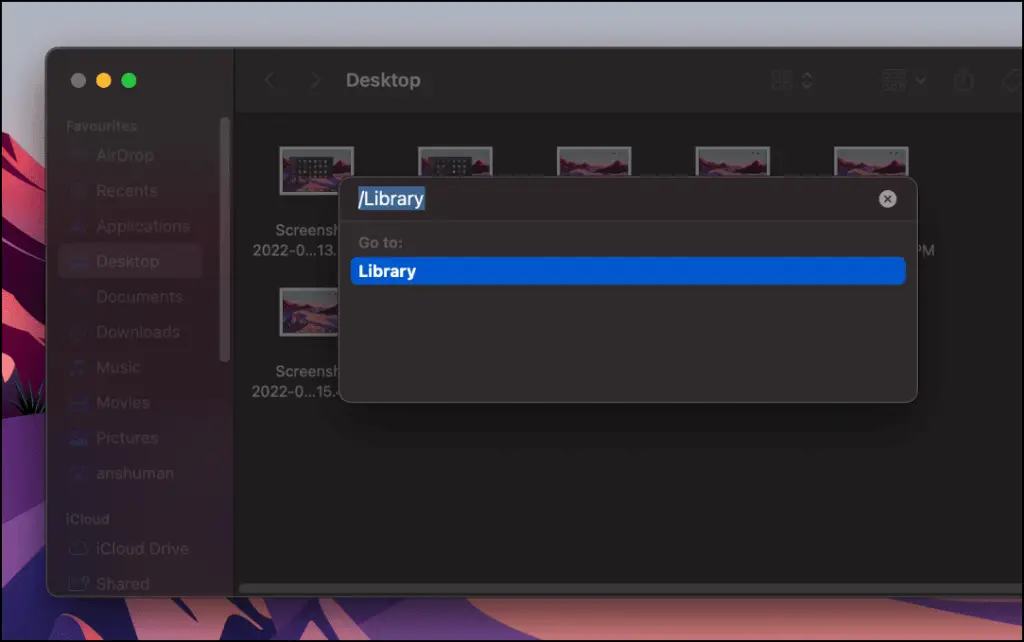
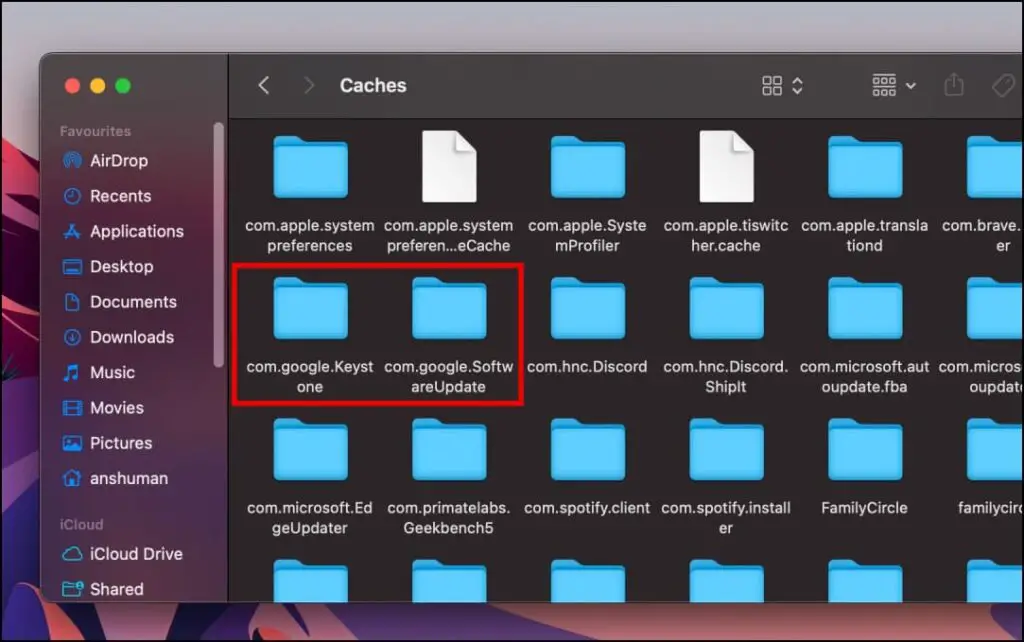
Step 5: In Library, check the following folder: Application Support, Caches, LaunchAgents, LaunchDaemons, and Preferences.
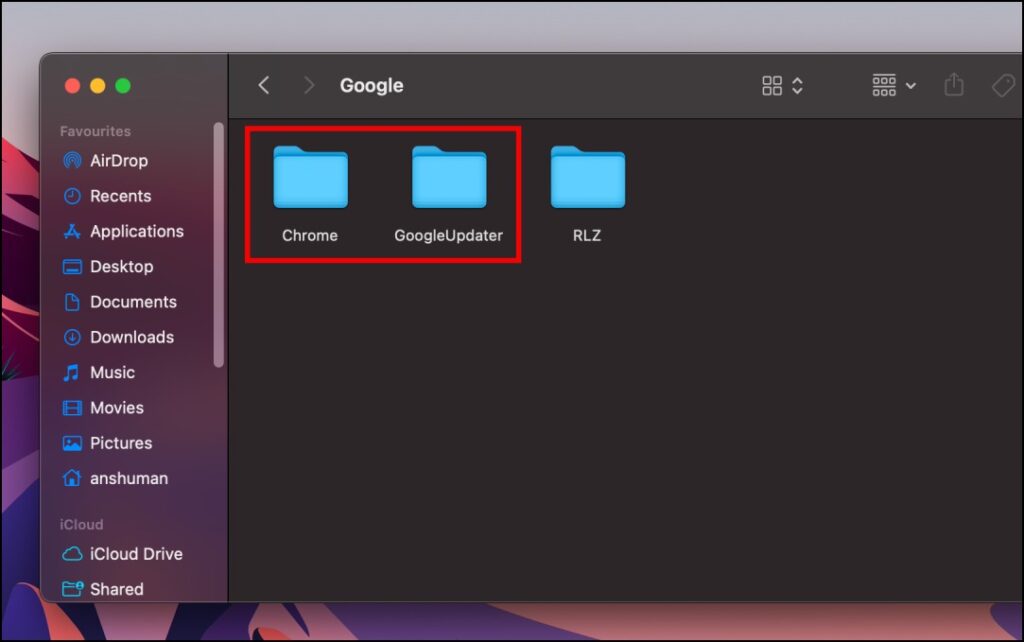
Step 6: Within these folders, delete any Google-related file or folder that starts with com.google… or com.google.keystone…

Step 7: Go back to the option Go to the folder… and type ~/Library. Make sure to add the “~” symbol.
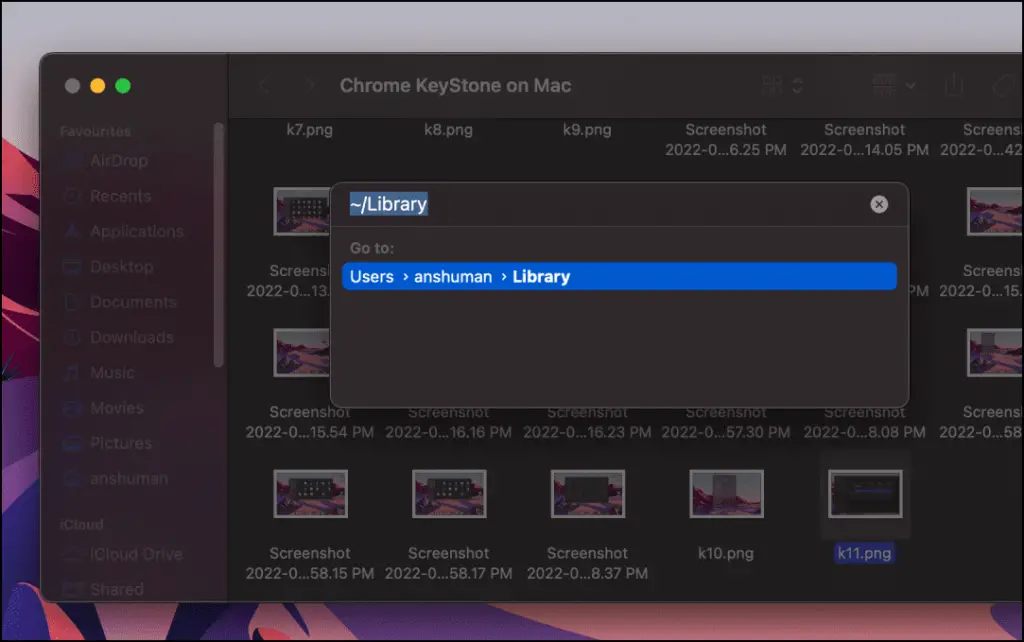
Step 8: Go through these folders: Application Support, Caches, LaunchAgents, and Preferences.
Step 9: Just like before, delete all Google folders that start with com.google… or com.google.keystone…
Once you have deleted all the Google-associated folders, restart your Mac and check the Activity Monitor again. WindowServer should be consuming fewer CPU resources. And your Mac should be working properly without any hiccups.
Alternative- Use AppCleaner

An alternate method would be to install AppCleaner on your Mac. You can then simply drag and drop Google Chrome inside the tool’s window. It will automatically prompt you to delete the remaining residual files of the browser.
Reporting the Issue to Google
Google has acknowledged this issue with KeyStone and is now asking users facing poor performance due to KeyStone on their Mac devices to perform some controlled tests to fix this issue. You can read this thread to learn more about the process.
Wrapping Up
There is no doubt that Google makes some amazing products that people around the globe love using. But they also create annoyances and issues with some of their services like the Google KeyStone. I hope the above guide helped you permanently remove Chrome and Google Keystone from your Mac. As for alternatives to Chrome, you can try other Chromium-based browsers like Brave, Microsoft Edge (Yes, it’s good), or Vivaldi.
Related:


