Reading news articles or researching online can land you on pages written in a foreign language you do not understand. While Chrome can automatically translate the web page to your preset language, Brave browser can’t since it lacks built-in auto-translate functionality. So in this article, we will discuss several easy ways to auto-translate a webpage in the Brave browser.

Why Can’t Brave Browser Auto Translate Web Pages?
Update: Brave has now rolled out its own translation service called Brave Translate. Here’s how you can use Brave Translate on your phone and PC, and how it compares to Google Translate.
The Brave browser offers fast browsing speeds, a focus on privacy and security, and various other features. But it is missing the ability to auto-translate websites because it does not come with the necessary components required to translate web pages.
The reason is to preserve user privacy as the page contents are sent to Google’s translation services, and the translated text is then sent back to Chrome. However, if you want to use the translate feature, you can easily add it using external methods.
Ways to Auto Translate Web Pages in Brave Browser
This list is comprised of 3 ways that you can use to translate web pages. We will take the help of extensions to add the ability to translate web pages in the brave browser. All the methods discussed here work quite well. Read on.
1. Using Google Translate Extension
The ever-so-popular Google Translate extension is one of the first choices for translating web pages. Even Brave recommends you download this extension. It accurately translates web pages and has support for several languages, which is why it lands as our first method. This is how you can use it.
Step 1: Download the Google Translate extension from the Chrome Web Store.
Step 2: Once downloaded, open the page you want to translate.
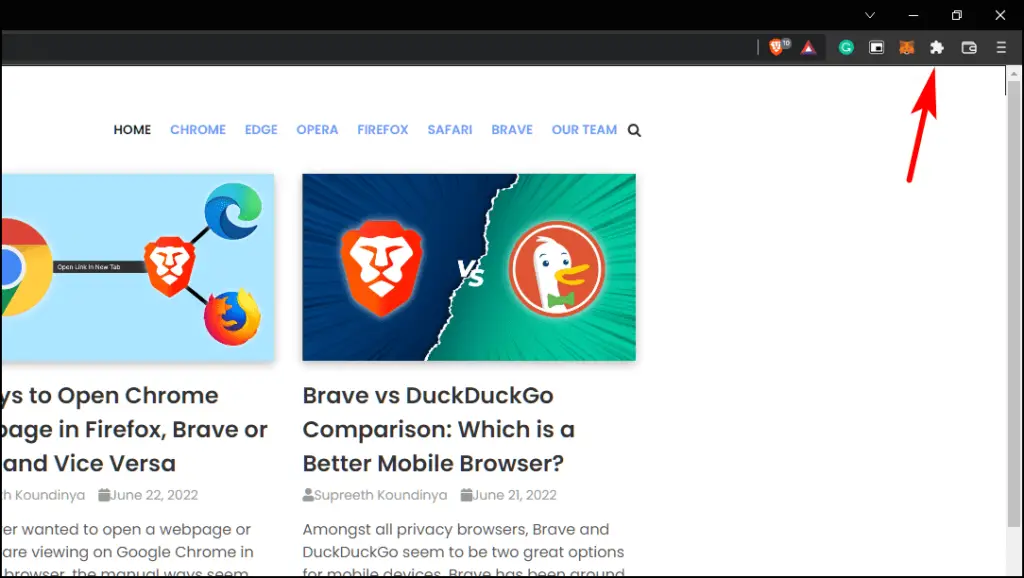
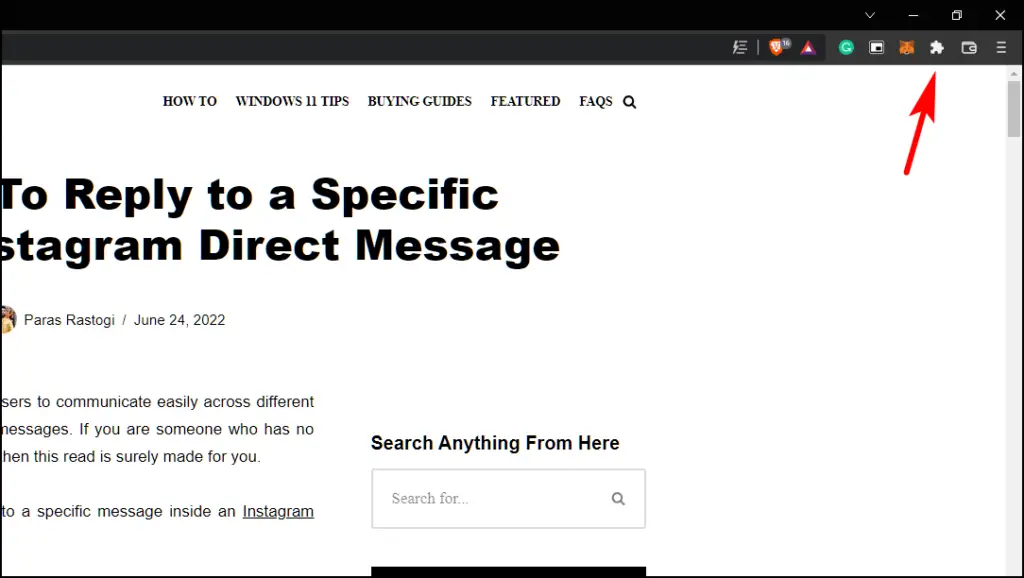
Step 3: Click on the extension icon at the top right side of your toolbar, as shown below.
![]()
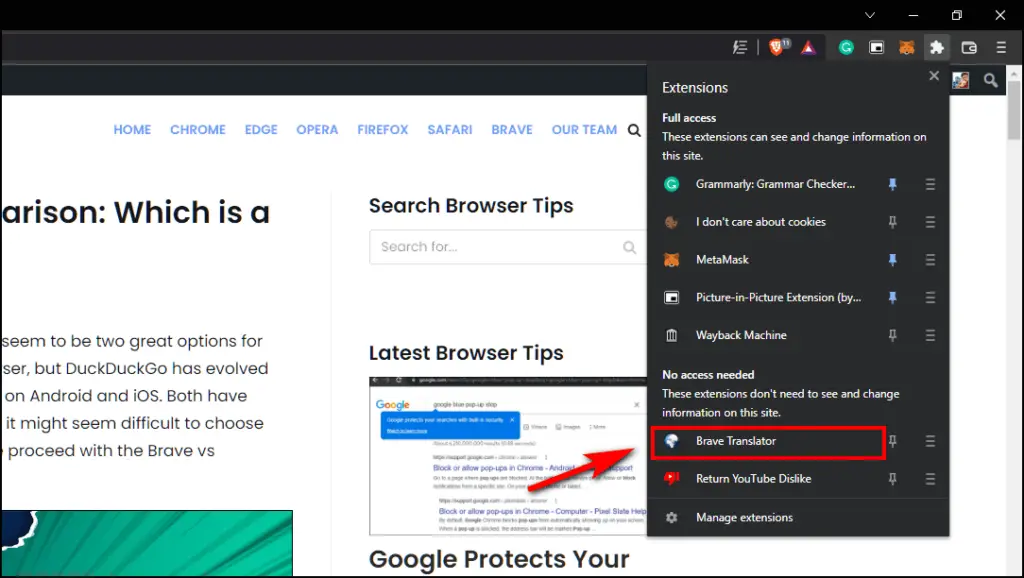
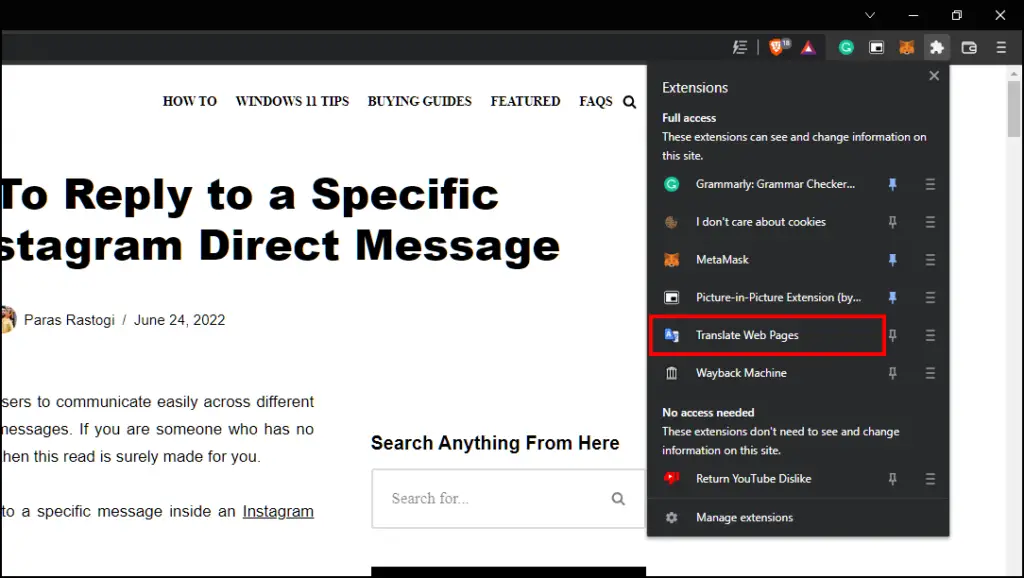
Step 4: Click on the Google Translate extension.
![]()
Step 5: Within the extension window, click on the option Translate this page.
![]()
Your web page will be translated to your system’s default language.
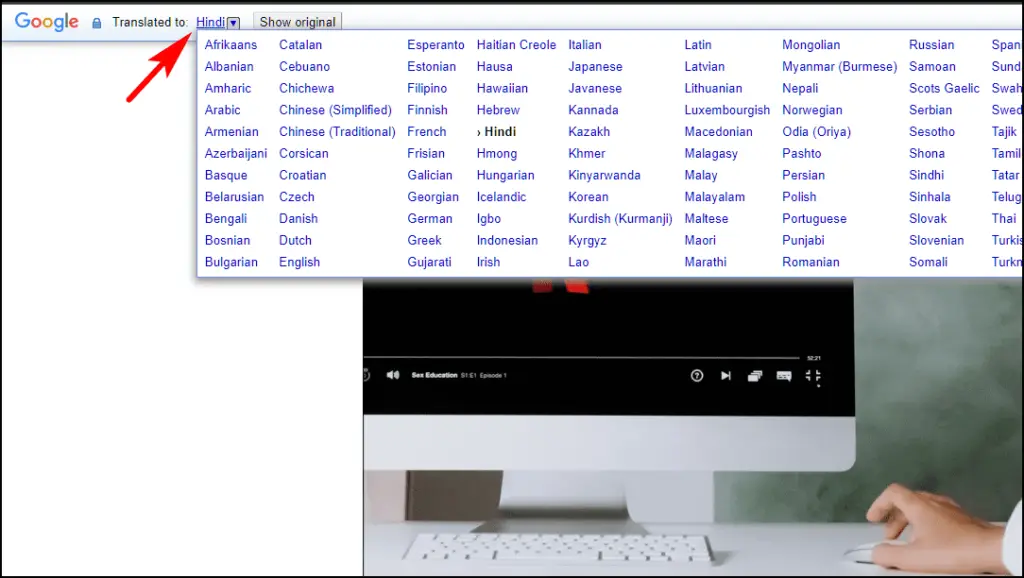
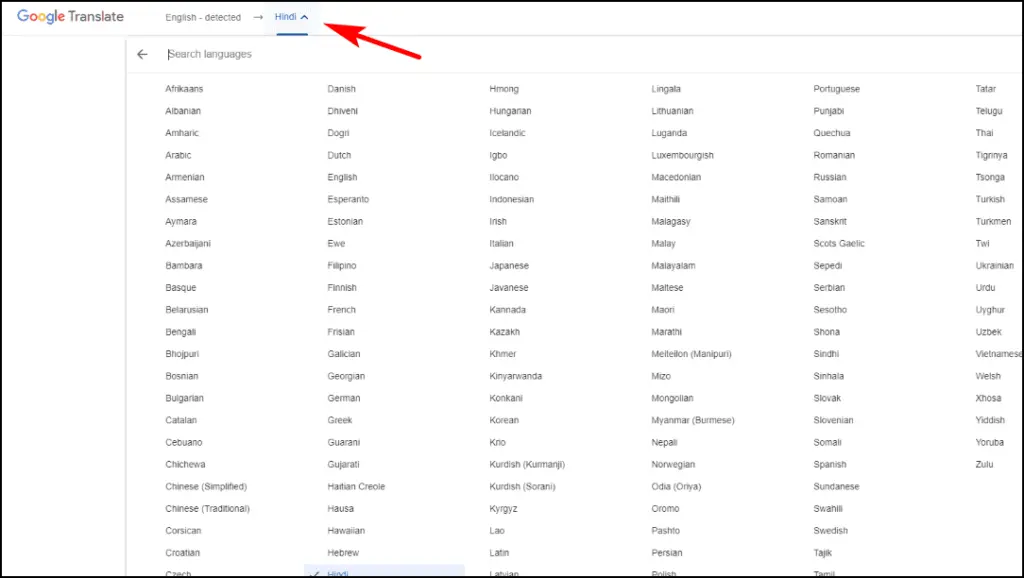
Step 6: If you want to translate the page to another language, click on the current language on the banner above the page and select another language.
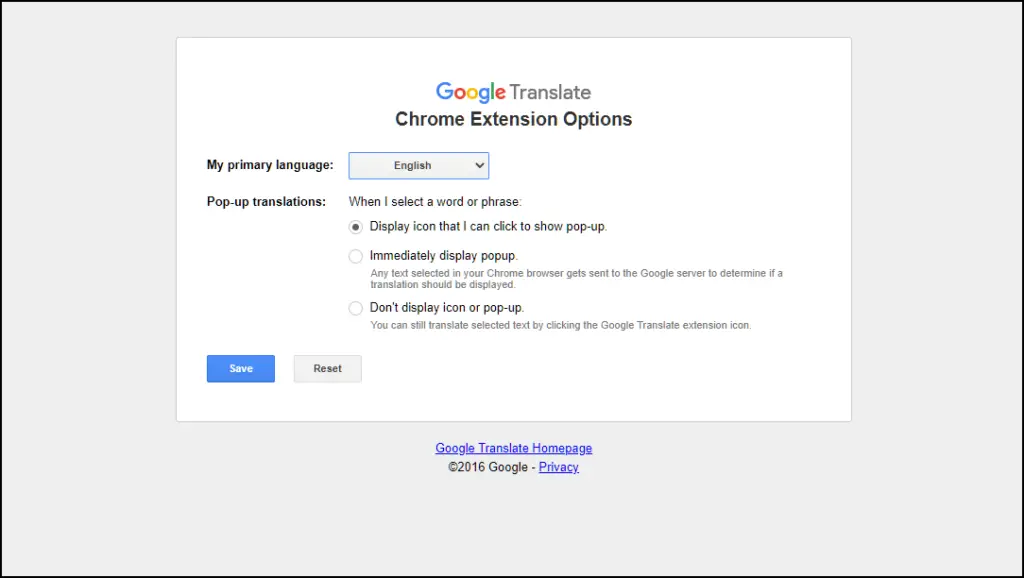
You can change your primary language and other settings of the extension by going to extension options.
Step 7: Click on the three horizontal lines next to the Google Translate extension.
![]()
Step 8: Select Options.
![]()
It will take you to the extension options page.
Related | Brave vs DuckDuckGo Comparison: Which is a Better Mobile Browser?
2. Translate Webpages with Brave Translator Extension
Another extension on this list is Brave Translator. It is a low-profile extension that uses Google services to translate web pages; it is easier to use and allows you to skip a few steps compared to the Google Translate extension. Here is how it works.
Step 1: Download the Brave Translator extension from the Chrome Web Store.
Step 2: Visit the web page or site you want to be translated.
Step 3: Click on the extension icon on the top right side of the toolbar.
Step 4: Click on the Brave Translate extension.
The extension automatically detects the language and translates the web page to the default system language.
Step 5: Alternatively, you can press Ctrl + Shift + 2 to translate the webpage and skip steps 3 and 4.
If you want to translate the page to another language, click the translated language and select another language.
3. Using Translate Web Page Extension
Translate Web Page is an extension available on Github by FilipePs that lets you translate web pages in real-time. It offers various translation options, and you can use Yandex or Bing’s translation services instead of being limited to Google.
You can also translate PDFs, but you must set it up manually. Below are the steps to do so.
Step 1: Download the Translate Web Page extension from Github.
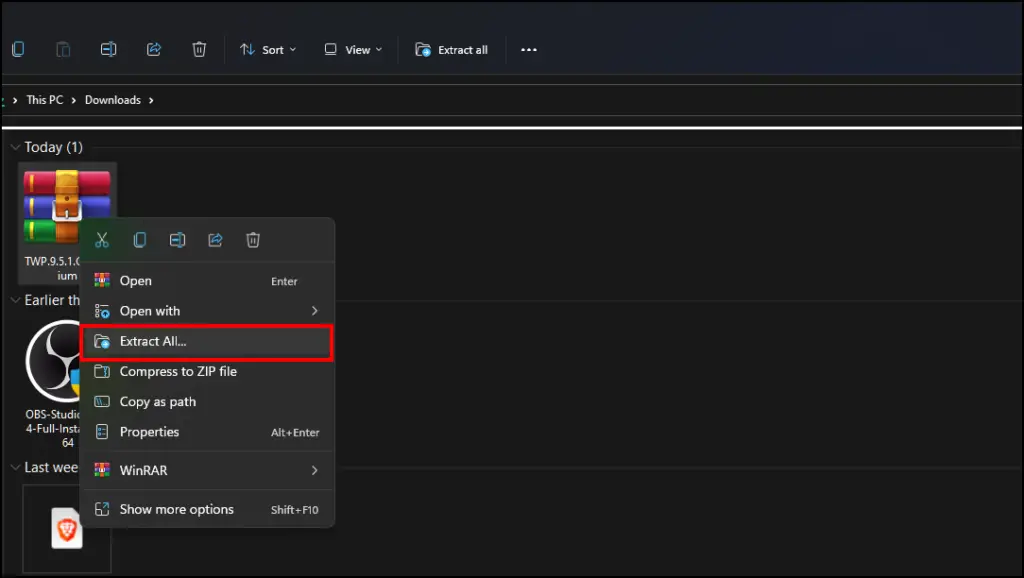
Step 2: Unzip the downloaded extension.
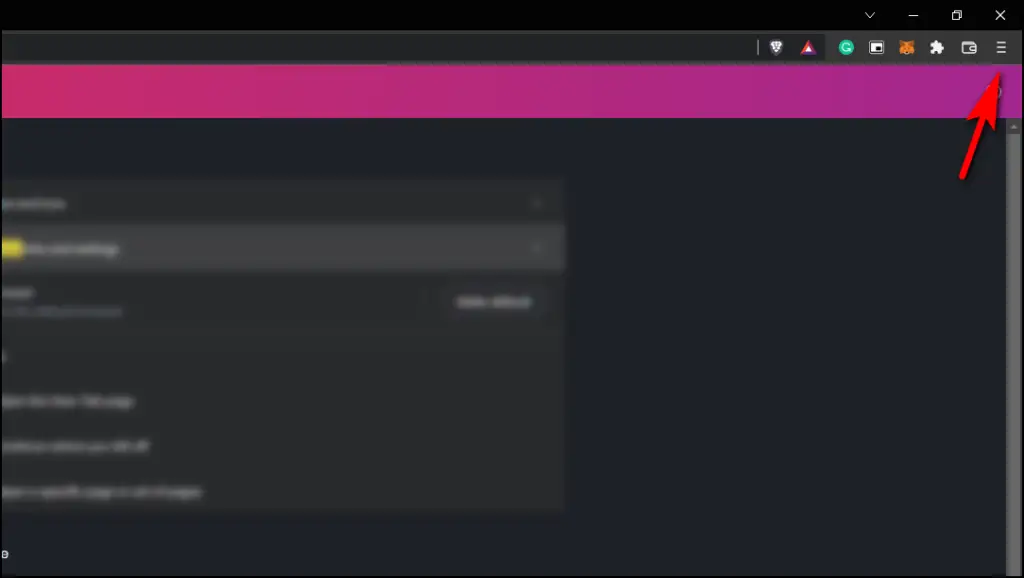
Step 3: On the Brave browser, click on the three horizontal lines in the upper right corner.
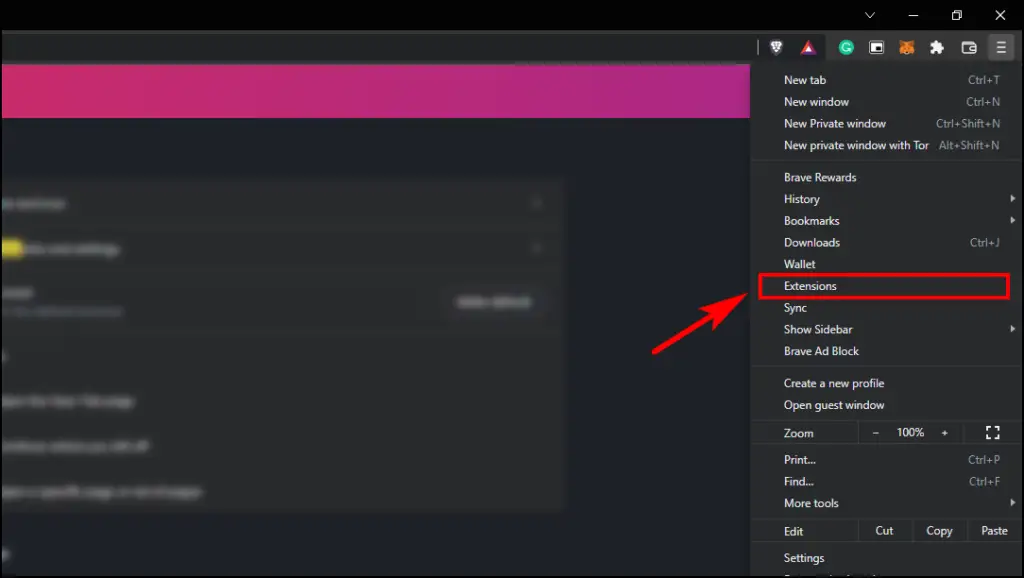
Step 4: Go to Extensions.
Step 5: Toggle On developer Mode on the top right corner of the Extension page.
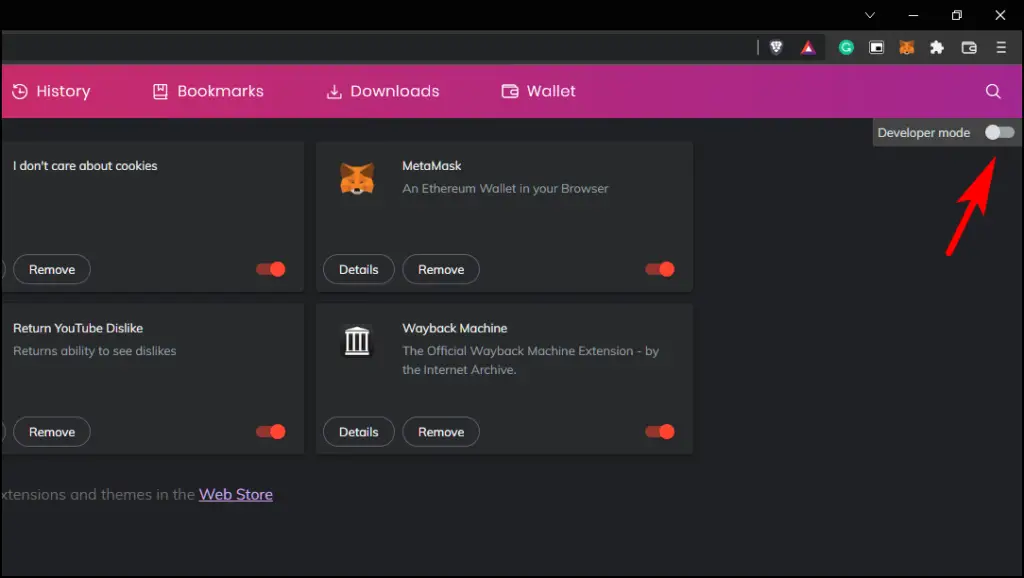
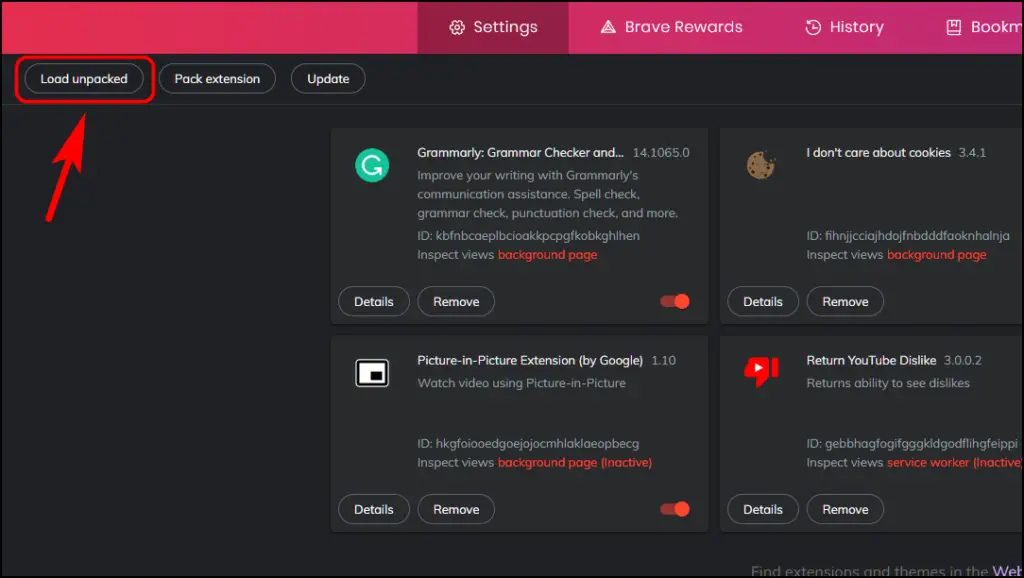
Step 6: Now go to Load Unpacked.
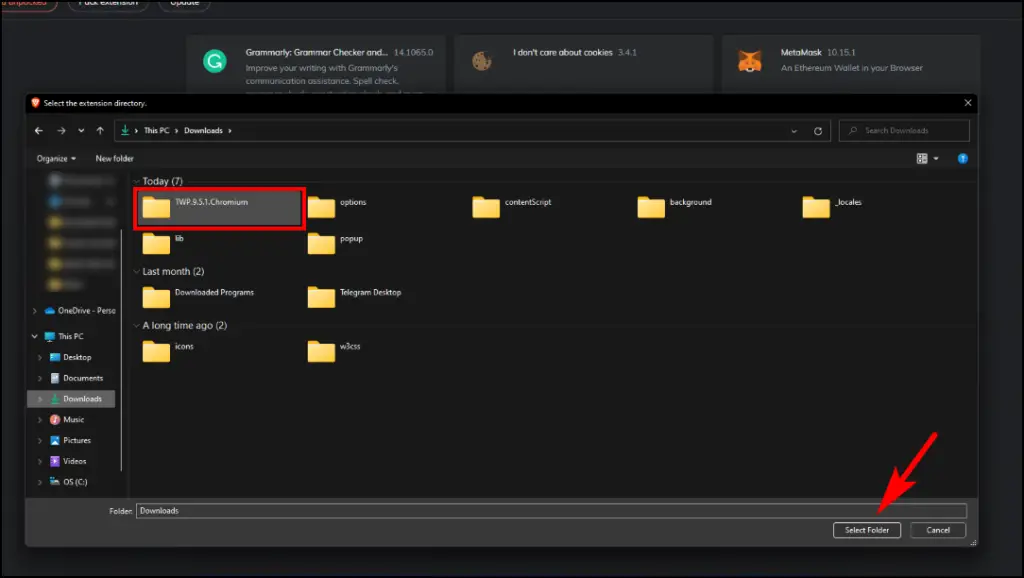
Step 7: Select the unzipped folder and then click on Select Folder.
The extension will be added to the browser. After adding the extension, a setup page will open in a new tab where you can adjust your preferences in language.
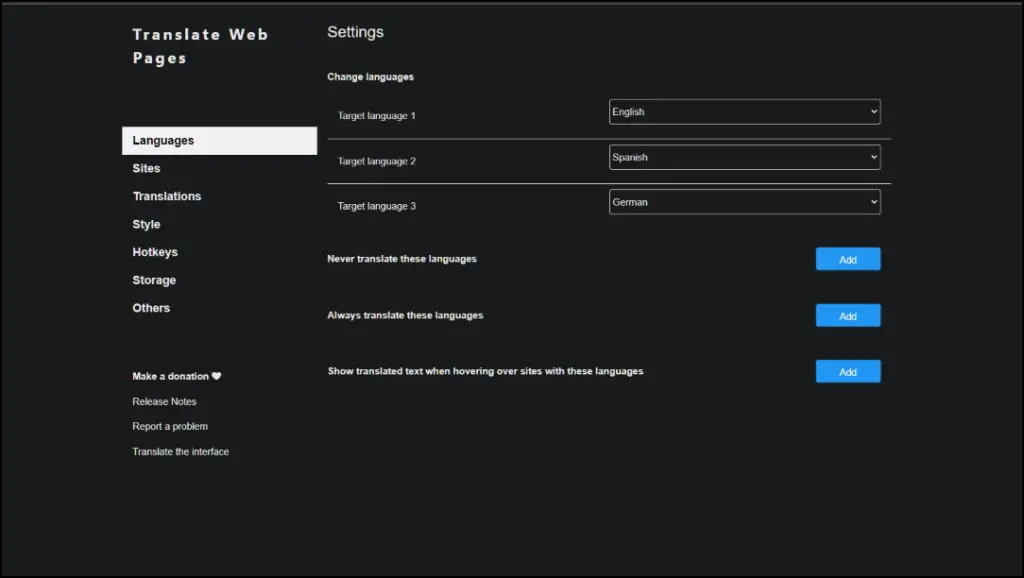
You can access this page anytime by going to extension options.
To use this extension, follow the steps below:
Step 1: Visit the page that you want to translate.
Step 2: Click on the extension icon on the top right side of the Brave toolbar.
Step 3: Now click on the Translate Web Pages extension.
Step 4: It will show a prompt to translate the page. Click on Translate.

The page and its content will be translated to your selected language. If you enjoy this extension, we recommend you donate to the creator of this extension to support this project.
Wrapping Up
This sums up our list of 3 ways to auto translate web pages on the Brave browser. The reason Brave chooses not to use Google’s service for translation by default is understandable, and since it targets a privacy-conscious audience, this move is justified. But thankfully, the Chromium code base allows you to download any extension of your choice for translation like the ones in this list. We hope you enjoyed this guide, and stay tuned to Browser To Use for more such amazing guides and how-to’s.
Related: