
Expanding its online services and tools constantly, Google does not shy away from finding more methods to monitor users. It is safe to say that with Chrome’s Idle Detection feature, many users feel that Google has gone a bit overboard. While it does sound controversial, there are always two sides to a story. This article will tell you how to disable Idle Detection in Chrome, what it is, and its pros and cons.

Related | How to Disable Privacy Sandbox & FLOC on Chrome (And Why?)
What is Idle Detection in Chrome?
Released with Chrome 94, idle detection is an API that lets applications know if a user is idle or active. While this detects the user’s physical activity, a few developers seem to accept and use the API to extend the functionality of their apps. The API notifies the developer when :
- The user is not interacting with his computer through a mouse or keyboard.
- The user has locked his screen.
- The user has switched to a new tab, making one tab inactive.
- The user activates a screensaver.
Advantages of Idle Detection
But why would developers need such kind of information? Google stated and suggested the following pros through a few use cases for the idle detection API:
- Social networking apps can benefit the most, as they can detect if a user is idle and automatically detect the status and share the same with their contacts.
- Apps in public kiosks can use the API, and the home view can be restored to the device if no one is interacting with the apps.
- Apps requiring calculations can use the API to limit the calculations only when the user interacts with the device.
Disadvantages of Idle Detection
On certain grounds, Idle Detection invades the user privacy on a physical level and has raised a lot of concerns the same.
- Officials at Mozilla believe this API aids surveillance capitalism, as it invades physical privacy. It can help keep long-term records to store users’ daily behavioral patterns and can be used for “psychological manipulation.”
- Privacy first giants Apple also expressed their worries about Idle detection as it can be used by websites to mine cryptocurrencies when the user is idle. By the way, here’s how you can block crypto mining in your browser.
- Idle detection can also add to the fingerprinting problem, as it can now add extra information regarding the user’s physical activity.
Ensuring privacy online is the need of the hour, and it is essential to try our best to disable any form of user tracking. We recommend you use the methods mentioned to disable idle detection in Chrome.
How to Disable Idle Detection in Chrome
Here’s a step-by-step procedure to disable idle detection in Chrome. But before you begin, make sure you have a Chrome version higher than 94.
Step 1: Click on the three dots icon in the top right corner.
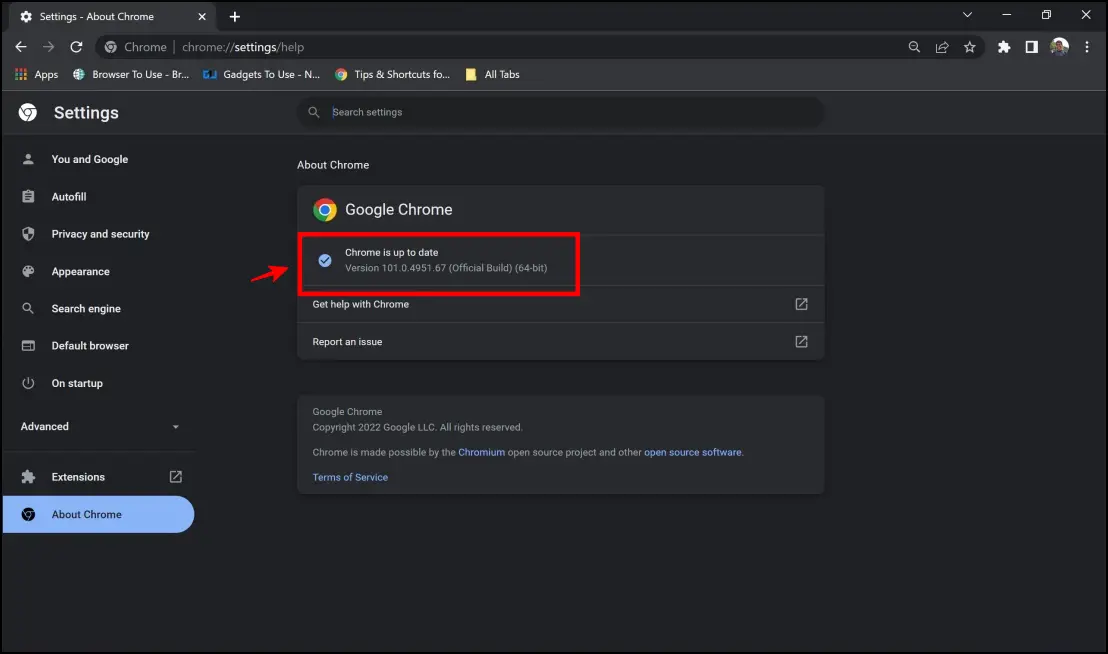
Step 2: Click on Help > About Google Chrome.

Step 3: Make sure you are running Chrome 94+. If not, update your browser in the same menu.
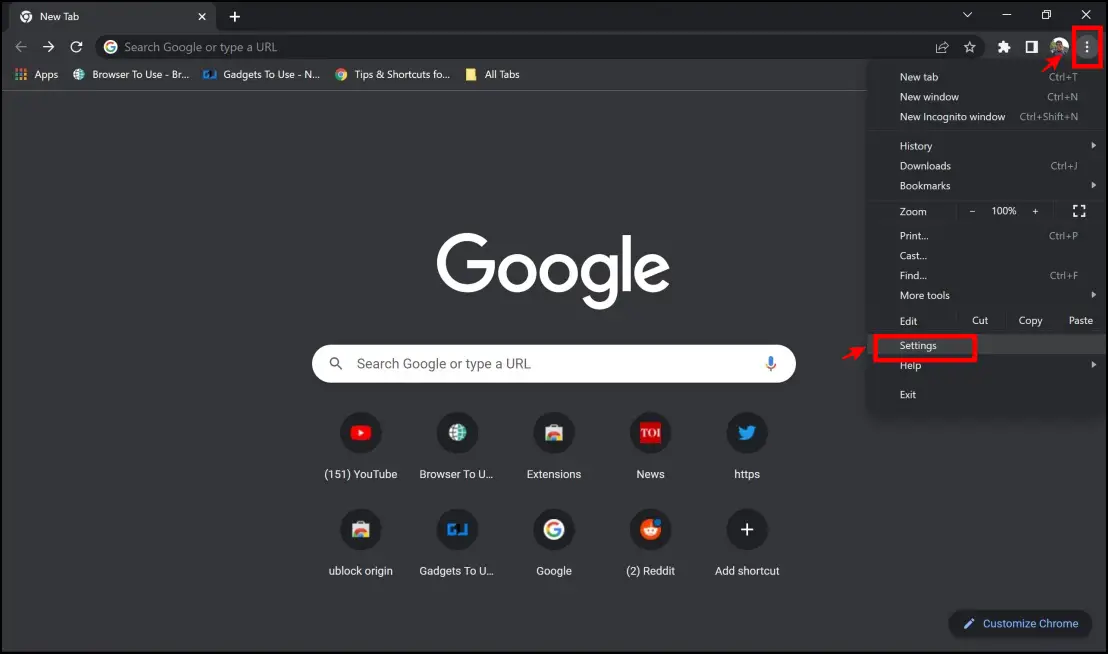
Step 4: Now click on the three dots icon on the top right corner, and click on Settings.
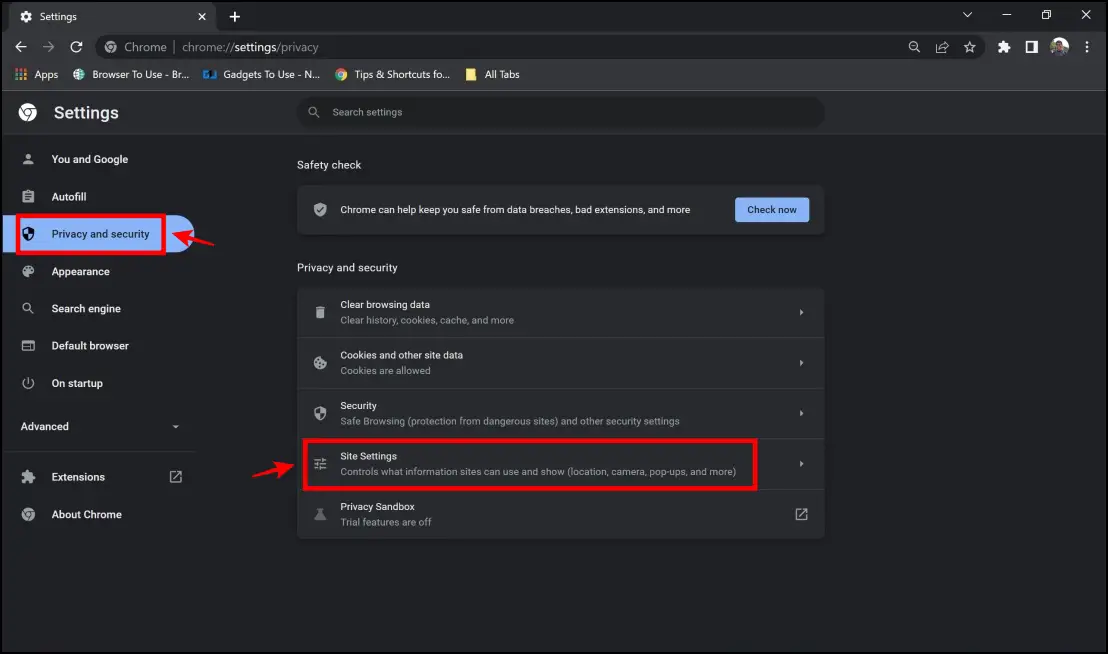
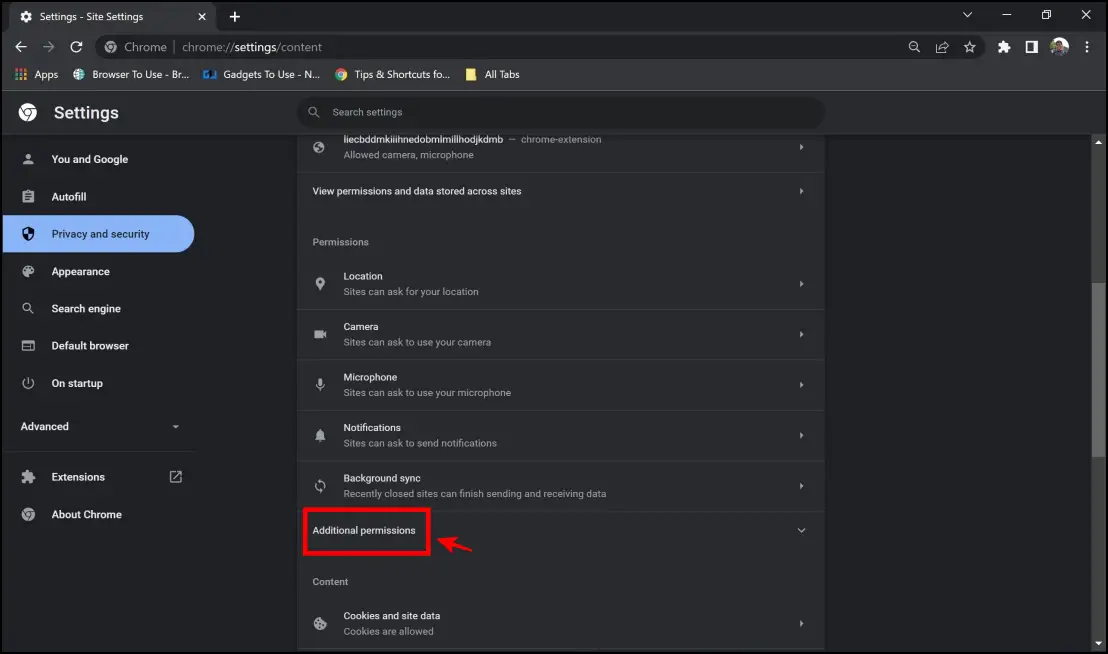
Step 5: Click on Privacy and Security > Site Settings.
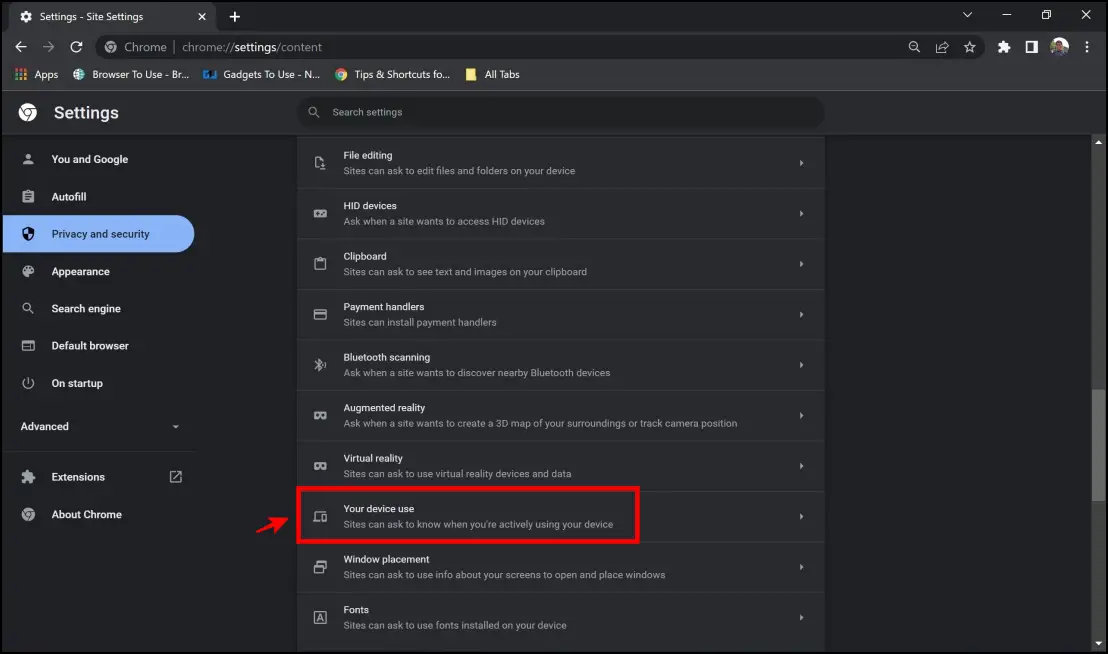
Step 6: Click on Your device use.
Step 7: Click on Additional Permissions.
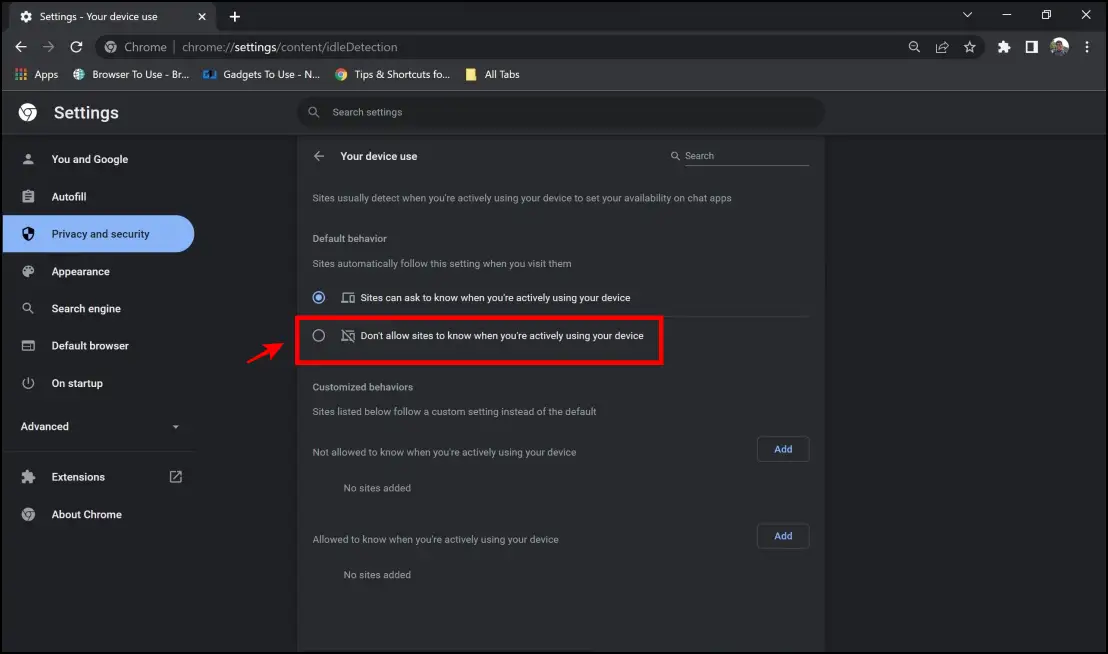
Step 8: Check the option for Don’t allow sites to know you’re actively using your device.
That’s it. You have successfully disabled the idle detection feature on your Chrome browser.
Can’t Find Idle Detection in Chrome Settings? You can directly reach there by pasting and entering chrome://settings/content/idleDetection in the address bar.
Bonus: Extensions to Avoid Trackers in Chrome
As a bonus, here are a few methods and extensions you can use to block trackers and fingerprinting in Chrome.
1. uBlock Origin
uBlock Origin is an all-in-one tracker and fingerprinting blocker extension available for Chromium Browsers and Firefox. It is a fairly simple extension to configure, as shown below:
Step 1: Visit the uBlock Origin Extension page.
Step 2: Click on Add to Chrome > Add Extension.

Step 2: Tap the uBlock Origin icon from the extension menu on the toolbar.

Step 3: By default, the options on uBlock Origin help you avoid and block most trackers and identifiers from websites.

2. Privacy Badger
Blocking trackers and ads that track your web browsing activity can stop fingerprinting to a certain extent. Privacy Badger is a popular extension for Google Chrome that helps you block trackers.
Step 1: Visit the Privacy Badger extension page. Click on Add to Chrome > Add Extension.

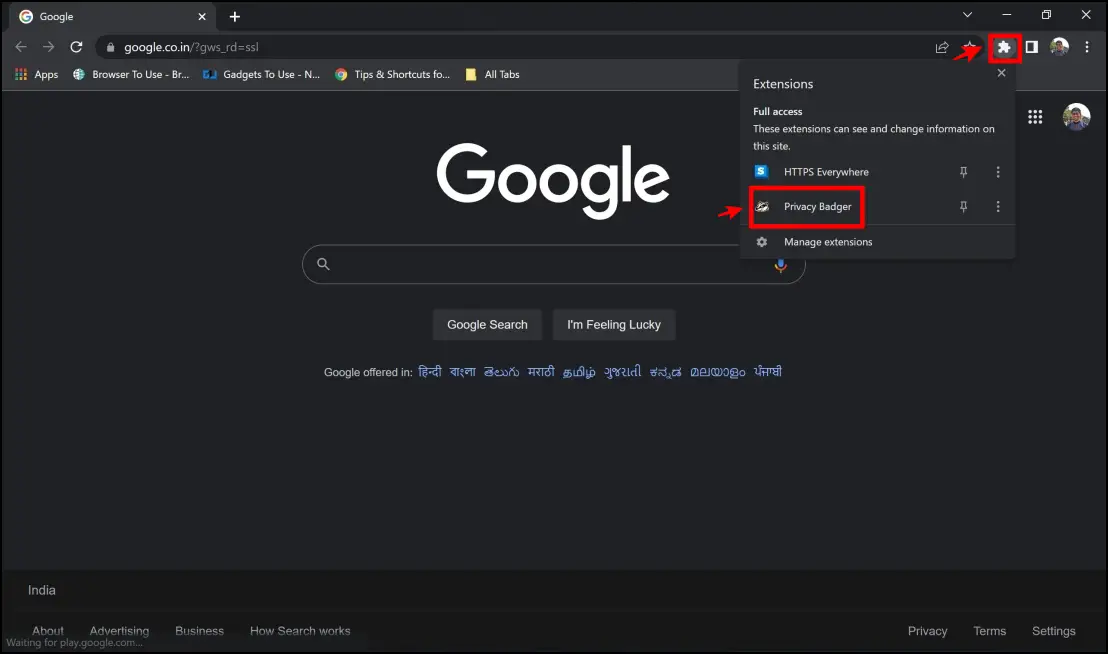
Step 2: You must complete the first step to activate the extension and its features.
To explore the extension further, click on the extensions menu in the top right corner and click on Privacy Badger.
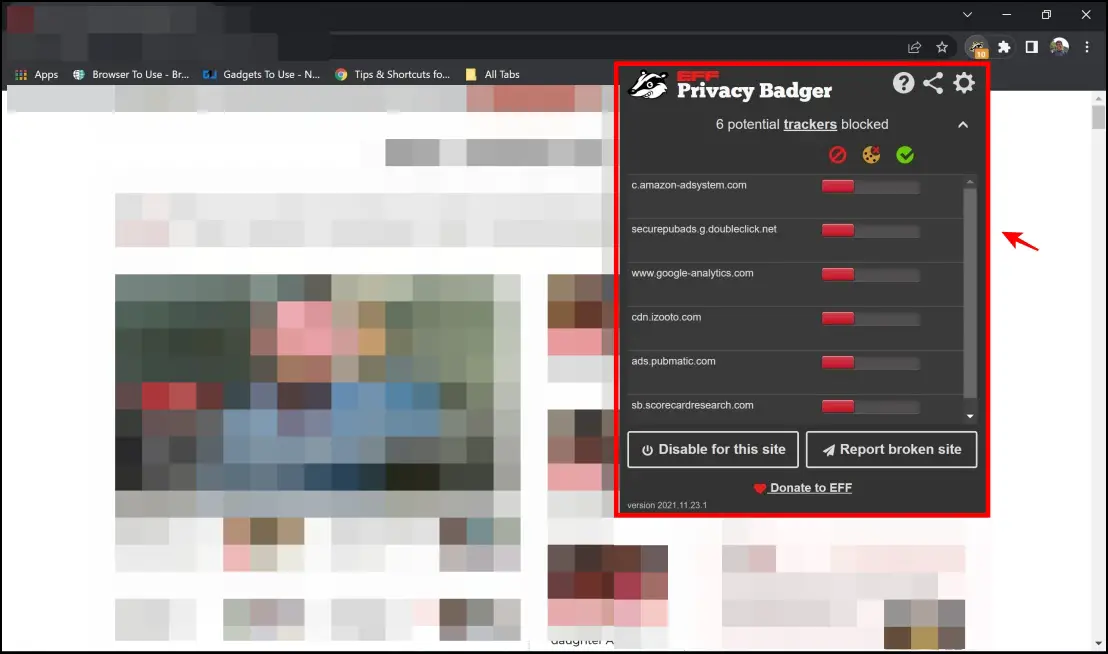
Step 3: The main interface displays the number of trackers it has blocked.
3. Canvas Fingerprint Blocker
Canvas Fingerprint Defender is a super minimal extension available on Chrome. It defends you from fingerprinting by generating fake values for the fingerprint – essentially keeping your personal information secure.
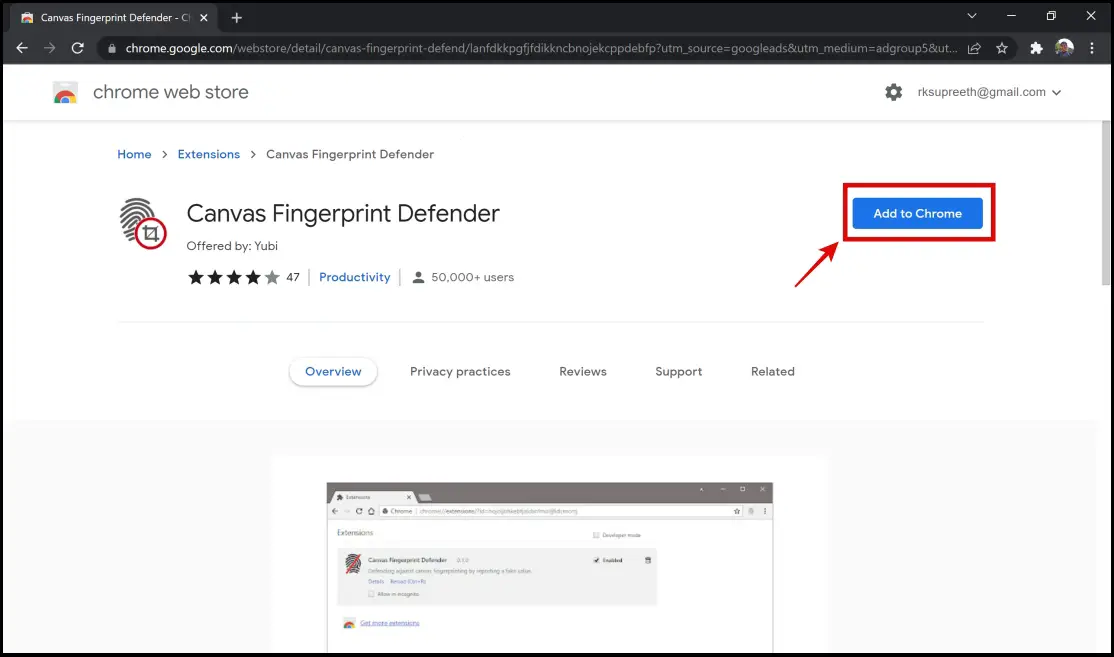
Step 1: Vist the Canvas Fingerprint Extension page. Click on Add to Chrome > Add Extension.
Step 2: Once the installation is complete, click on the extension menu on the toolbar. Then, click on the Canvas Fingerprint Defender extension.
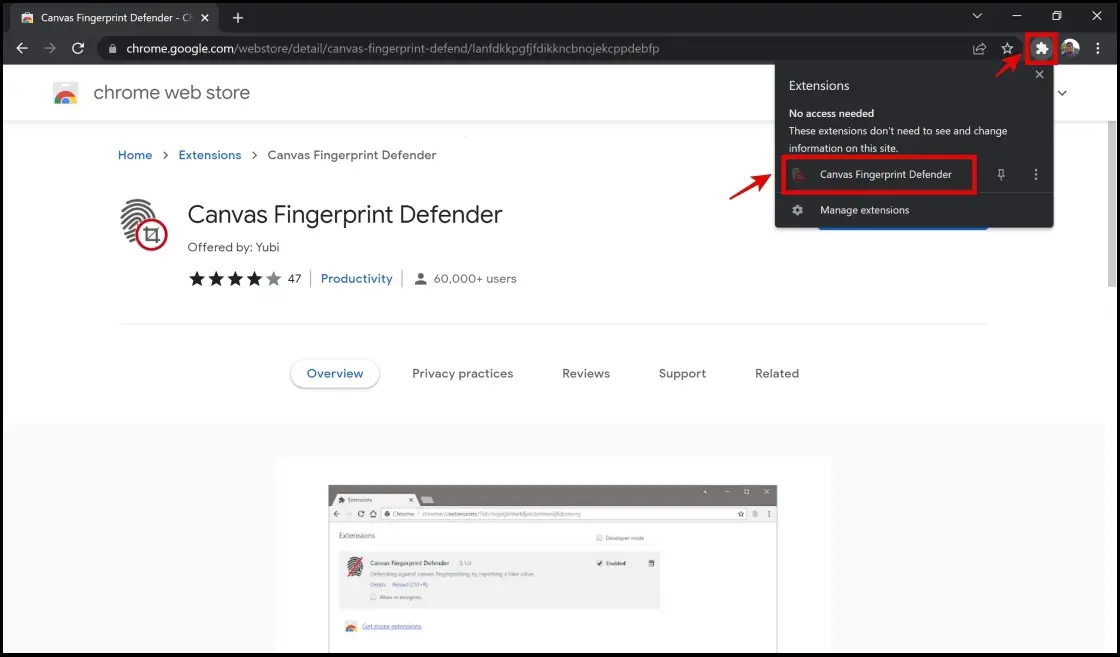
Step 3: The extension will now be active with protection features immediately.
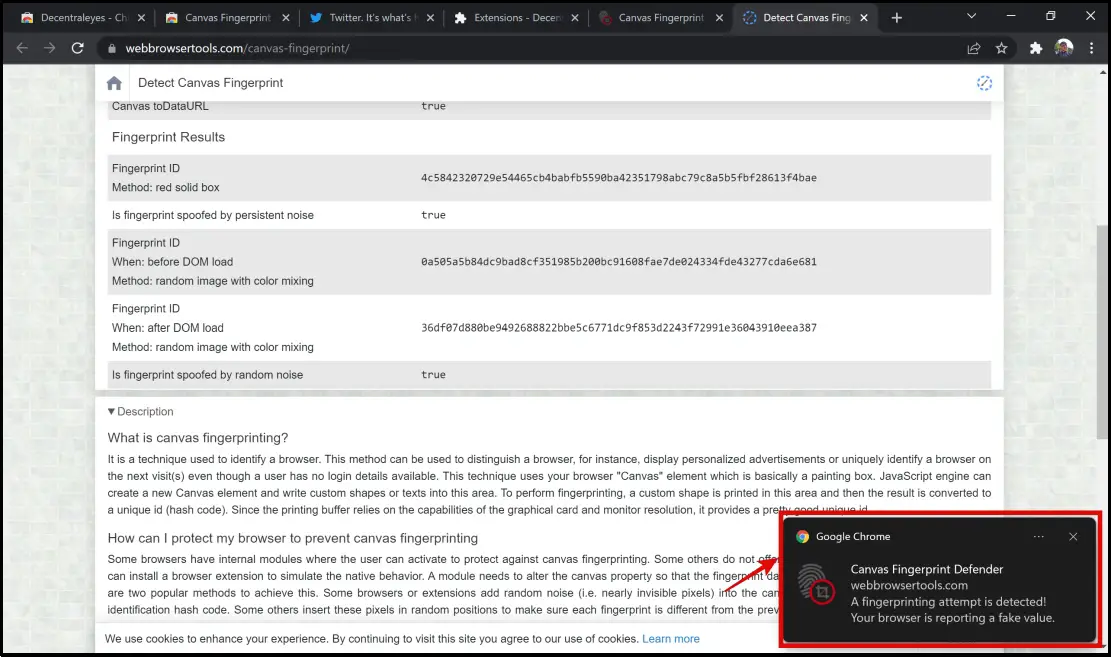
For example, the image below shows how the extension notifies you whenever it defends you against a fingerprinting attempt.
Here’s our guide to blocking fingerprinting in Chrome, Edge, Firefox, and Brave browsers.
Wrapping Up
This is all you need to know about idle detection in Chrome. We hope this article helped you understand what it is and how to disable idle detection in Chrome. Stay tuned for more such articles to understand how to maintain privacy on your web browser.


