
Screenshots are a great way to capture clippings of your browsing activity. And at times, adding annotations and editing screenshots can be helpful to add meaning and context to it. Google Chrome now comes with a built-in Screenshot Editor, which only a few are aware of. This article will explore three ways to capture and edit screenshots in Google Chrome.
Related | How to Take Screenshots Using Firefox Screenshot Tool
How to Capture and Edit Screenshots in Google Chrome
You can capture and edit screenshots in Google Chrome using either the inbuilt method or by using third-party extensions. Note that in whichever method works for you, you will be able to capture and edit screenshots easily. Here are three tried and tested methods for the same.
Method 1- Use Screenshot Editor in Chrome
While you can capture screenshots on Google Chrome, editing screenshots are possible once you enable a flag. As of yet, the screenshot editor is available only on Chrome Canary, a version of Google Chrome that lets you experiment and test the raw version of the browser. Once you install Google Canary, you can enable these flags to edit screenshots. Here’s how to do it.
Step 1: Download and install Google Chrome Canary from the official website.
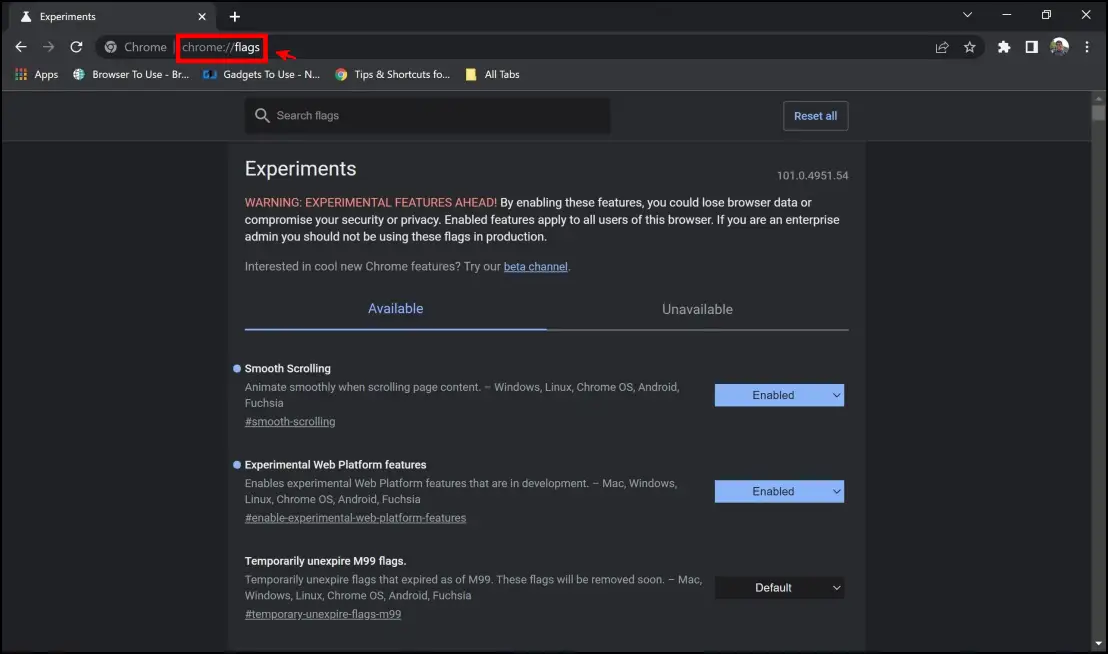
Step 2: Open and type in chrome://flags in the address bar once installed.
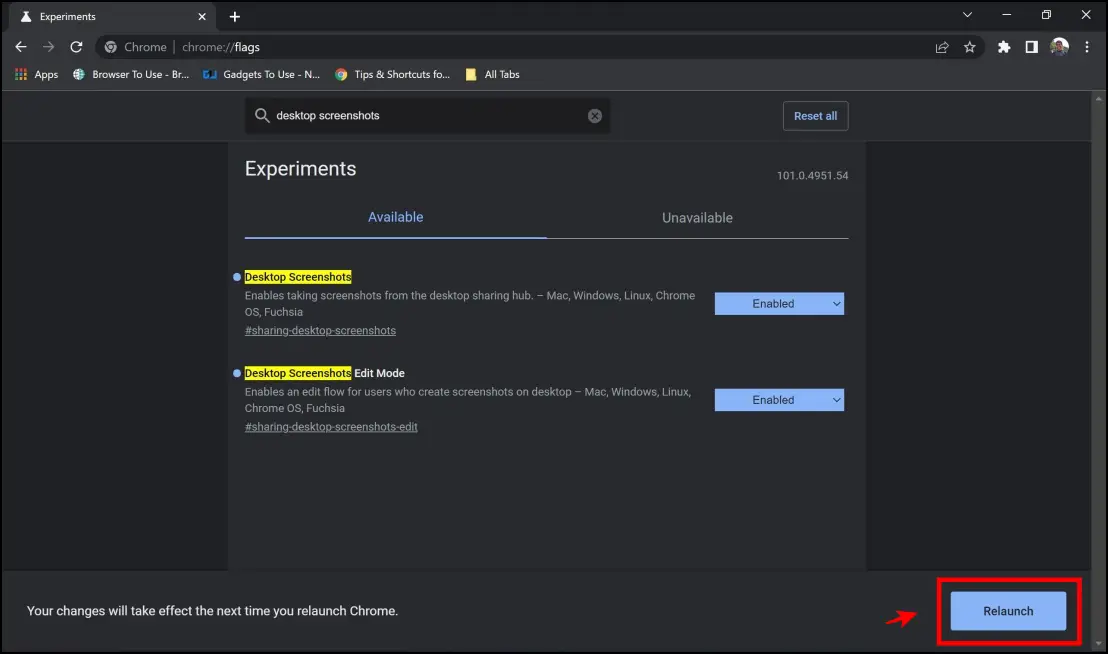
 Step 3: Once you land on the flags page, type in desktop screenshots.
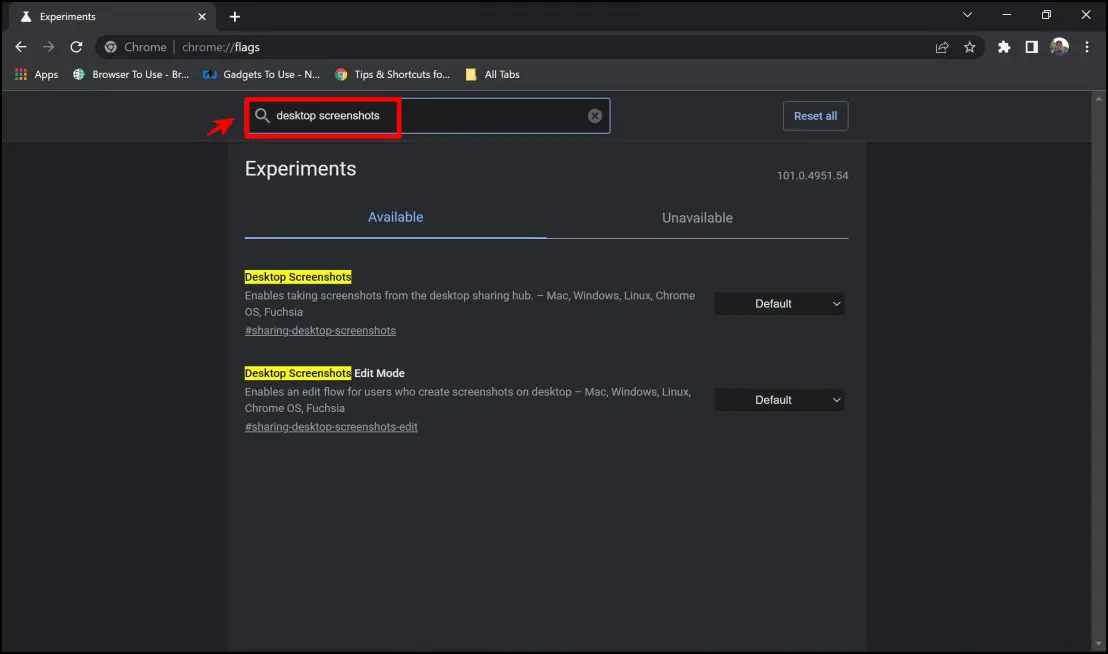
Step 4: You will find two flags: Desktop Screenshots and Desktop Screenshots edit mode. Enable them both by clicking on the dropdown menu and selecting Enable.
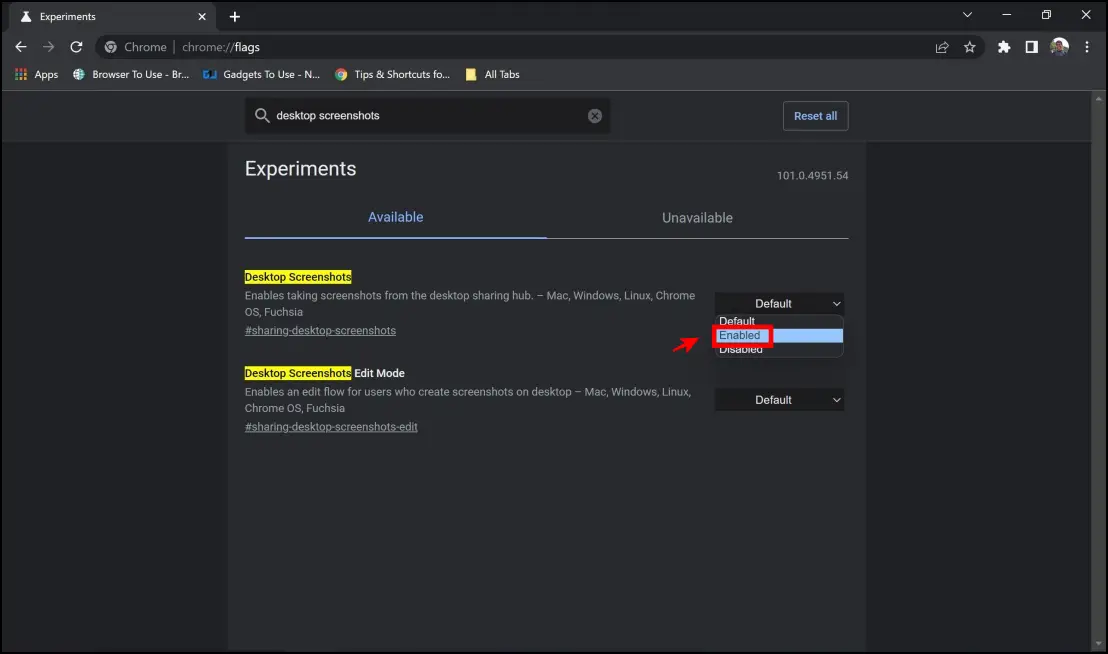

Step 5: Once you enable both the flags, you need to Relaunch Chrome by using the prompt provided.
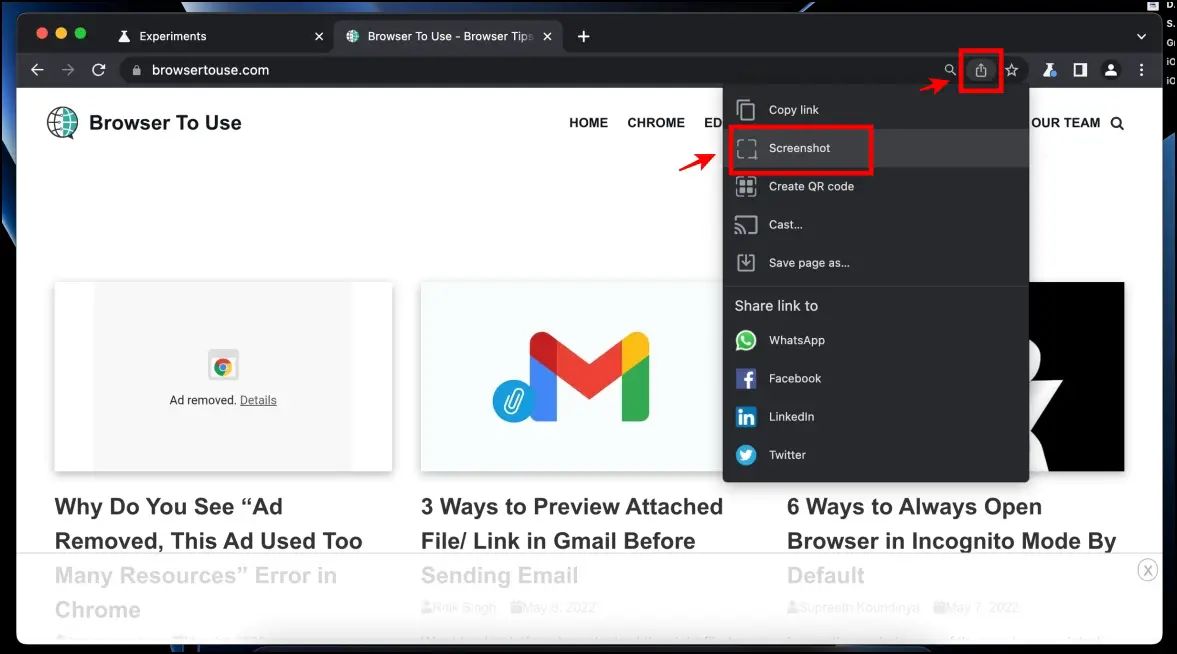
Step 6: Once you are present on the page on which you need to take the screenshot, click on the share button on the Chrome toolbar.
Step 7: Now, click on the Screenshot option.
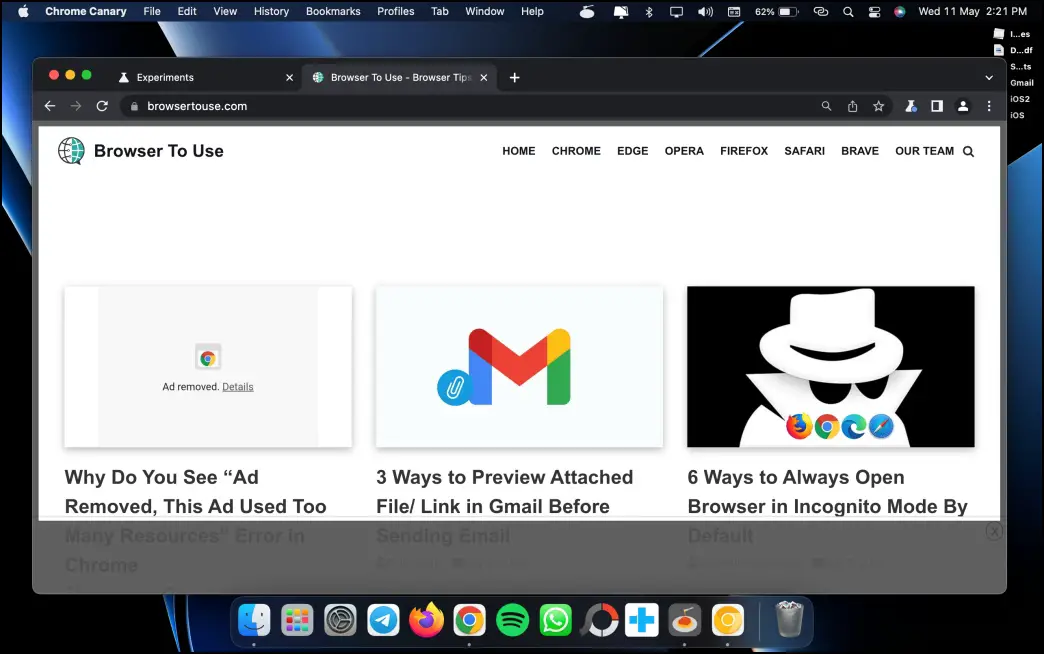
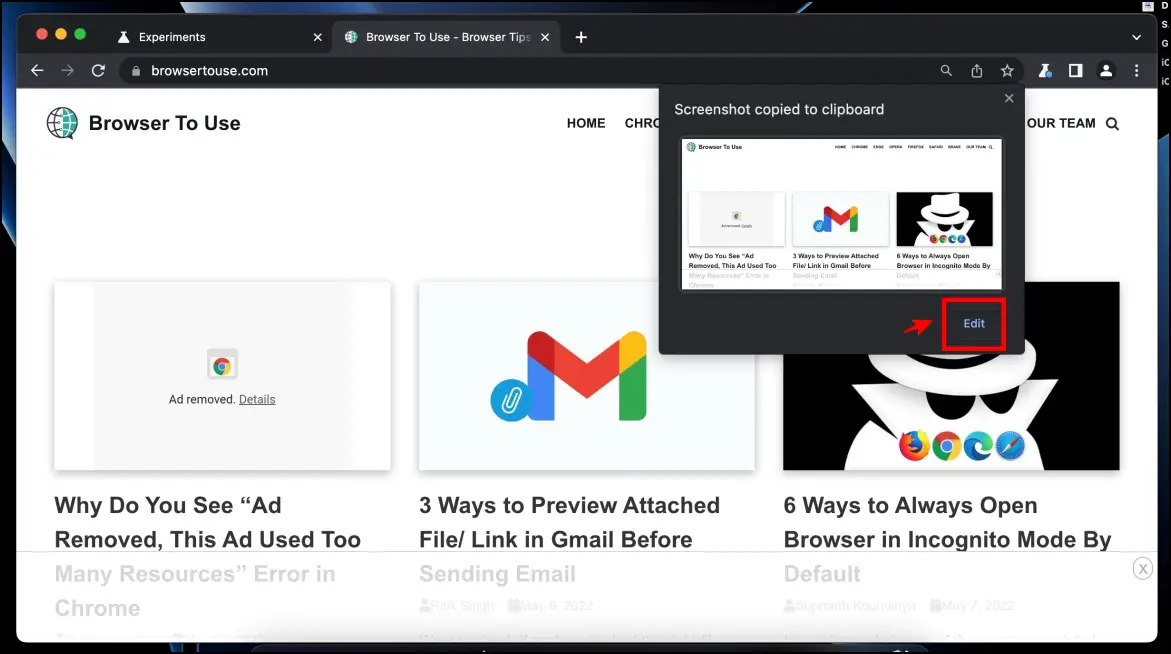
Step 8: Select the area which needs to be captured. Once captured, you will be shown a small preview of the screenshot.
Step 9: Under the preview, you will now see an option to edit the screenshot. Click on Edit.
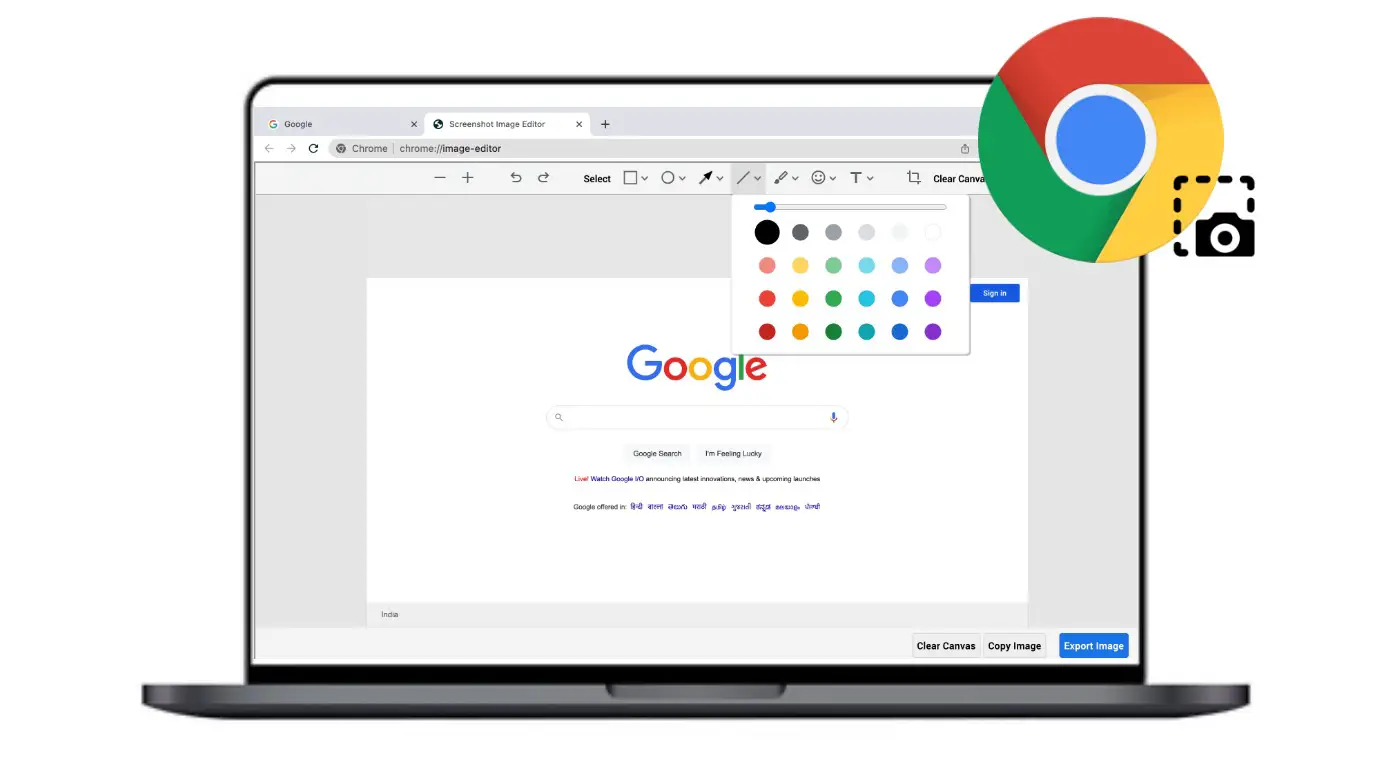
Step 10: You will now be taken to the edit page to edit your screenshot, where you get an array of options to edit your screenshot. Note that the edit page is quite unstable and works on a few builds of Chrome Canary only. We hope Google fixes this issue as soon as possible.

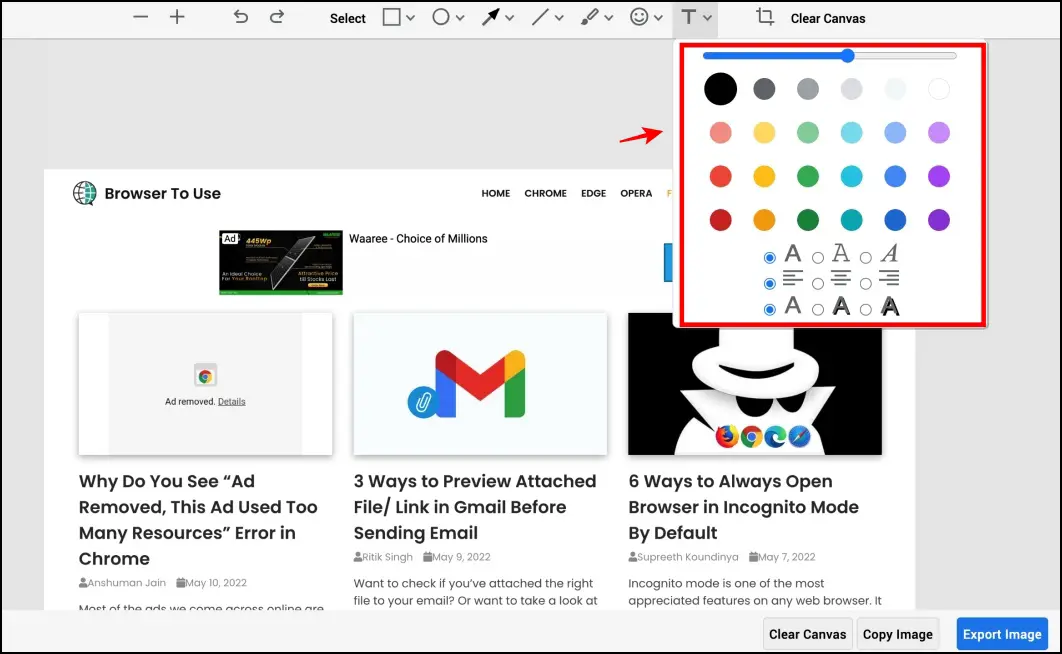
Step 11: Under the edit page, you can annotate using text and drawings over your screenshot.
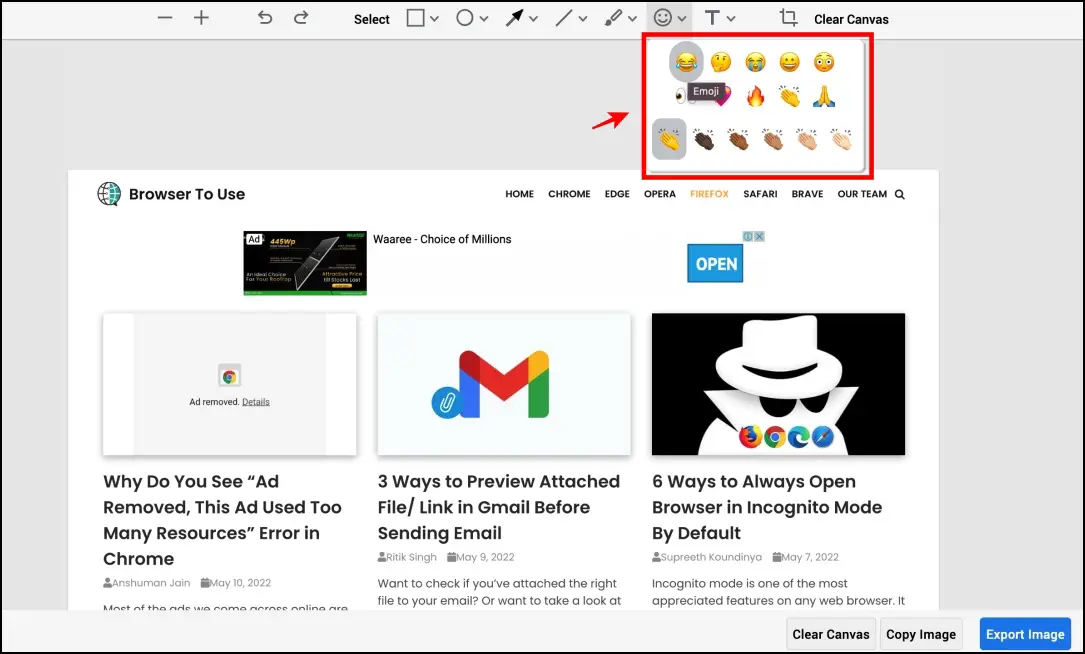
Step 12: Among all the other features in the edit section, we like the provision to add emojis to your screenshots.
Besides, you can also add shapes, and boxes, make arrows, draw lines, and more on the screenshot using the Editor in Chrome. Once done, tap Export Image to save it. Or simply click on Copy Image to paste it where required.
Also, read | 3 Ways to Capture Full Page Scrolling Screenshots in Google Chrome
Method 2- Capture & Edit Using Screenshot Tool Extension
We mentioned that the first method only works for some builds of Google Chrome Canary, which has to be an extra installation for the regular user. You can avoid that and use an extension that lets you do the same.
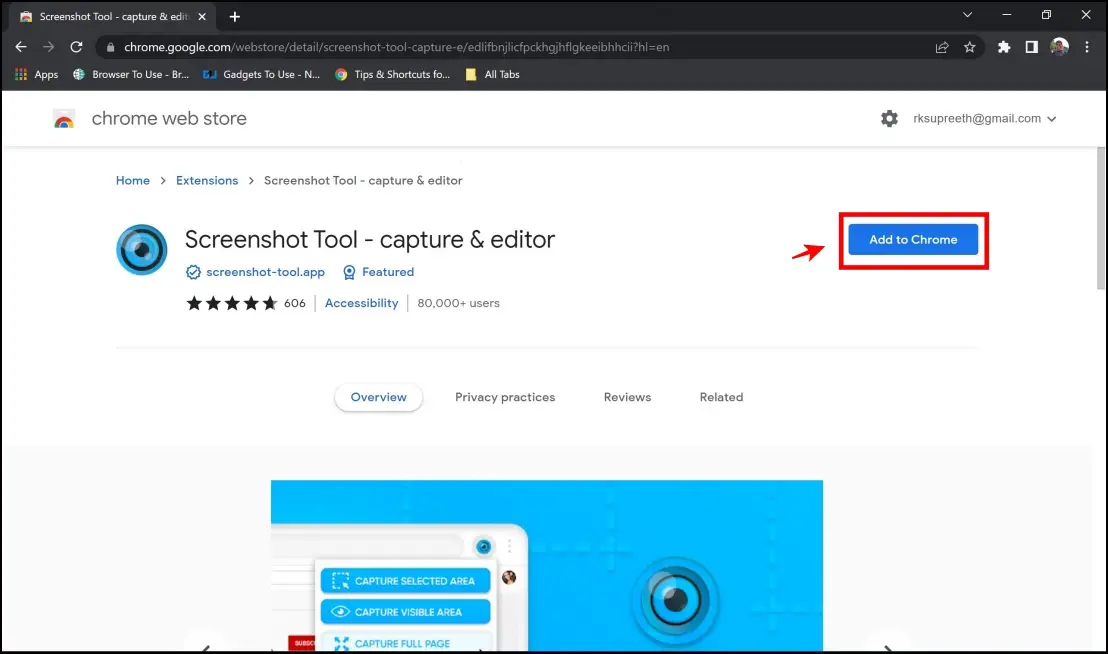
The first extension that we’ll explore is the Screenshot Tool extension. It is a highly rated extension and, rightfully so, comes with a range of options to capture and edit screenshots in Google Chrome.
Step 1: Visit the Screenshot Tool extension page. Click on Add to Chrome > Add Extension.
Step 2: Once installed, click on the extensions menu in the top right corner. Click on Screenshot Tool.
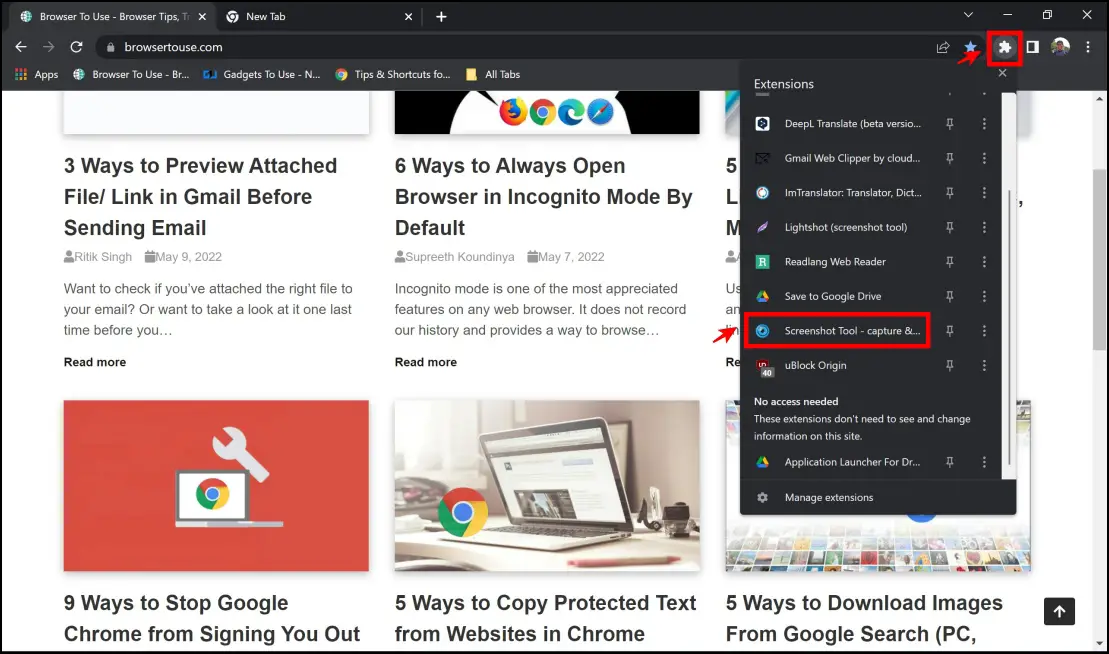
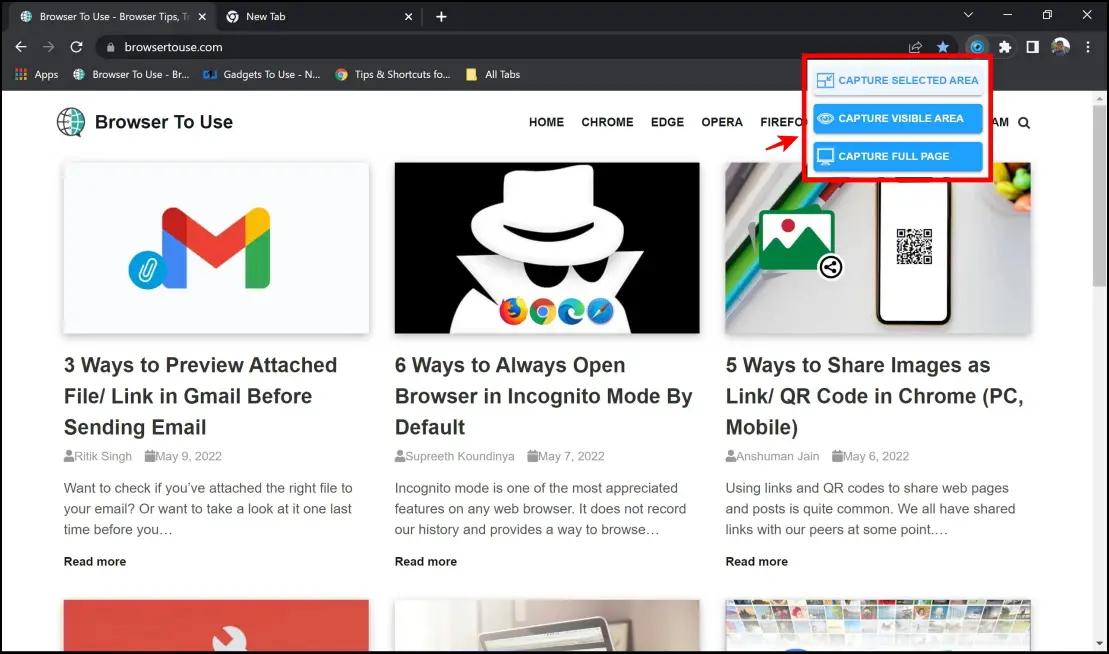
Step 3: It will now provide you with different options to capture a screenshot; select the one you prefer and use to drag tool to capture the screenshot.
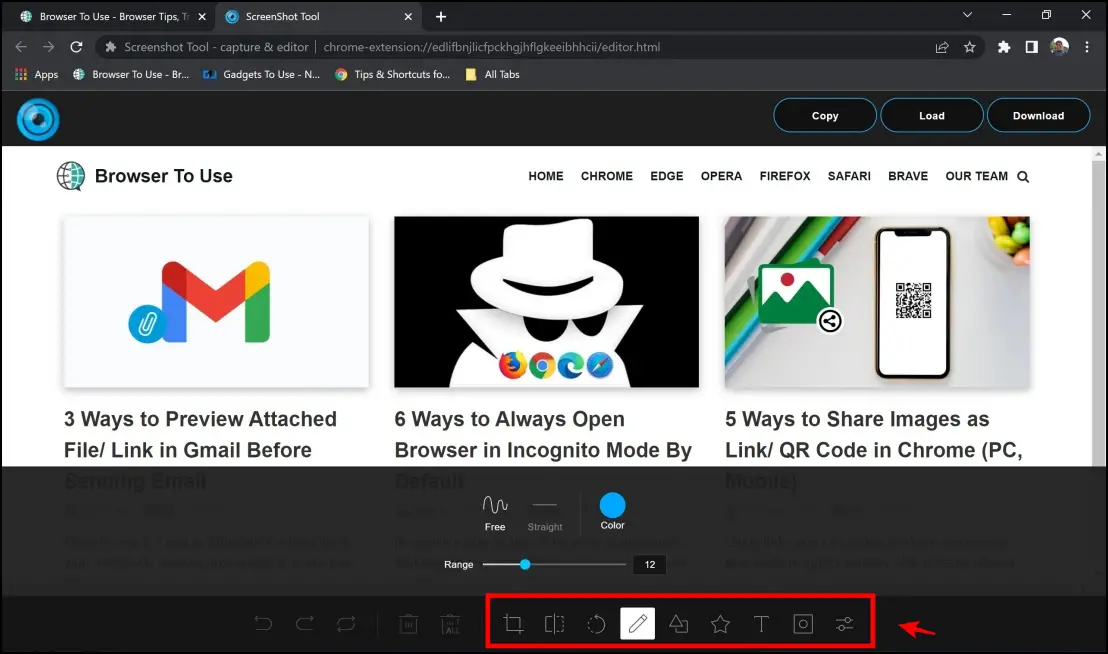
Step 4: Once you capture the screenshot, you will be provided with tools to edit the screenshot.
This extension provides plenty of options that include cropping, rotating, annotating, and adding text to the image.
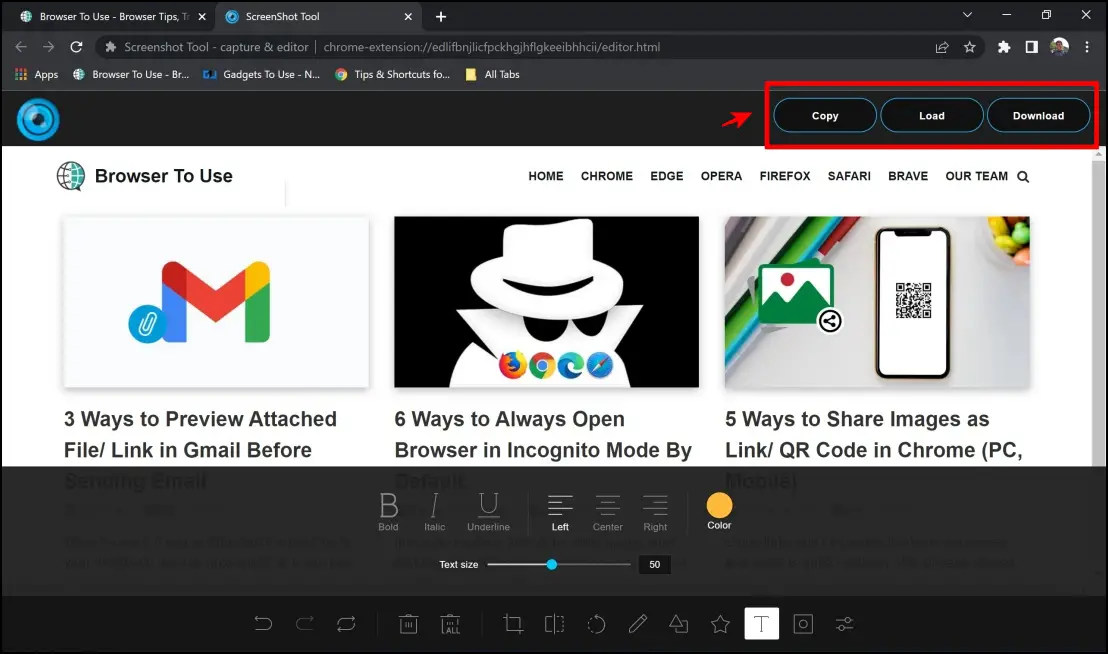
Step 5: Once you are done editing the screenshot, use the provided options to save your screenshots locally.
Method 3- Edit Screenshots With Lightshot Chrome Extension
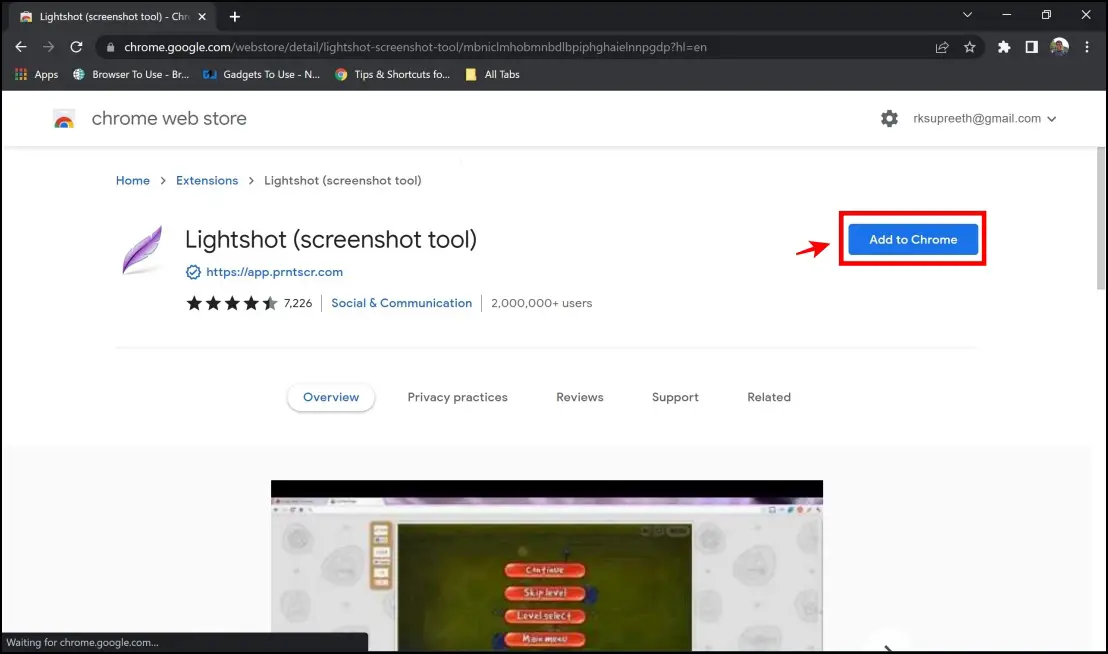
Lightshot is another extension to capture and edit screenshots in Google Chrome. It is quite a feature-rich and reliable extension with over two million users to get the job done. Here’s a step-by-step procedure to install and use the extension.
Step 1: Visit the Lightshot extension page. Click on Add to Chrome > Add Extension.
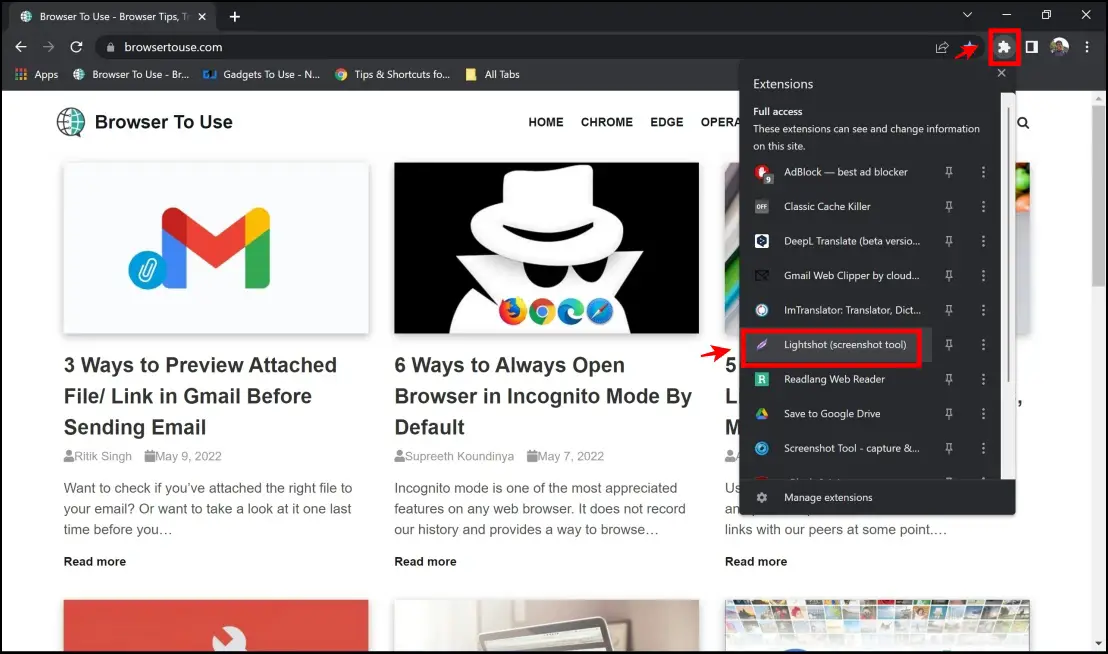
Step 2: Click on the extensions menu in the top right corner. Click on Lightshot.
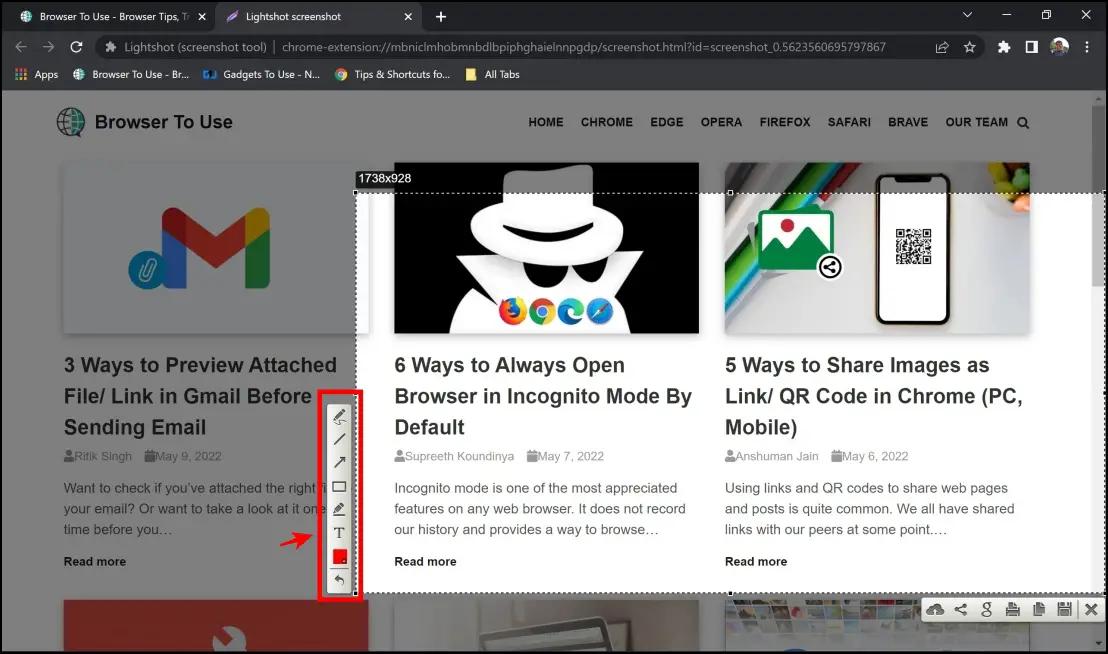
Step 3: Drag and select the area that you want to capture. Once you do, you instantly get options to edit the screenshot. You can add text and objects and annotate your screenshot.
Step 4: Once you finish editing your screenshot, you can save and download your screenshot in multiple ways the extension lets you do so.

You can also directly save and upload screenshots to the cloud, which can be handy for many users.
Wrapping Up
These are handy methods you can capture and edit screenshots in Google Chrome. We hope these methods helped you capture clippings of websites and add your edits to them. Stay tuned for more such articles for different ways in which you can enhance your browsing experience.


